Angle Grinder precision engineering (not!)
So, having finished the new bookshelf I decided to reposition my anglepoise style illuminated magnifier. Clamping it high on a shelf this time rather than to the desk. This turned out to be a surprising improvement - not only did it give it a wider range of positions it could now cover, it seemed much better at staying put exactly where you wanted it. Result!
Until
Until that is I moved it one time, and the lamp/magnifying head fell off in my hand! Leaving it attached only by its power flex.
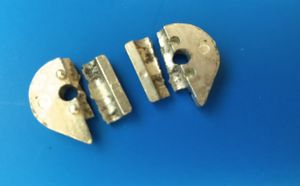
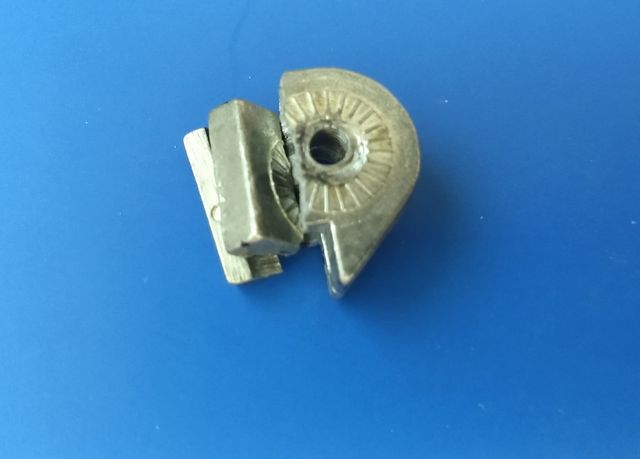
A quick post mortem was performed and a scabby looking casting of not very convincing metal appeared to have failed:
Fabricating a replacement
Now those of you with proper machining skills might want to look away!
This was one of those tiny parts that is probably made from unobtaininium, without which the lamp is useless. So I figured it ought to be possible to do a quick lashup and make another. So after some measurements were taken (about 10mm thick in total, 4mm through hole for the tensioning bolt, and a 6mm hole up the pair of bits for the spigot on the back of the lamp), off to the workshop I went.
I found a bit of 5mm thick flat bar about 50mm wide, Laid out the remainder of the bits on it, and drew round them with a Sharpie. Then cut out the shape roughly with a 1mm thick slitting disk in the angle grinder. Clamped the two bits together in the vice, and made them look a bit more pretty with a 80g flap disc. Drilled the 4mm through hole on the pillar drill, and then the slightly more tricky 6mm longitudinal hole (this in drilled down the join, so that half the hole is in each part).
Last job, run the slitting disk along the join on the side of the 6mm hole, to leave a little space to help clamp up the bits tightly.
So it looked plausible. Went for a test fit. OK but the 6mm hole was too small. Moral of that story was just because the drill bit came out of the 6mm position in the drill box, does not mean it actually was 6mm - 5.5 mm fits the hole just fine! :-)
Oops
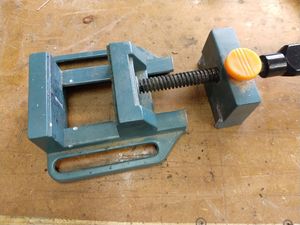
So I clamped the bits up in the drill vice again, went to open out the hole to 6mm, and while not paying enough attention to what I was doing, the drill bit snagged in the hole and spun the drill vice round out of my grip (which I was not holding tightly enough and was not clamped or bolted to the table). The vice hit the pillar of the drill and promptly shattered into several bits! (second moral of the story, if you only spend £12 for a drill vice from Toolstation, don't expect it to take much (any!) abuse).
So I clamped the bits back in a proper vice, and drilled the hole by hand!
Test fit again - better - Now it all goes in, but the block is a tad too wide for the lamp arm, and also you can't get a good enough grip to stop the lamp head rotating. So back to the workshop, and grind off a bit of material from the inner faces (thus also allowing the two sides to pinch closer together around the spigot on the lamp).
Result
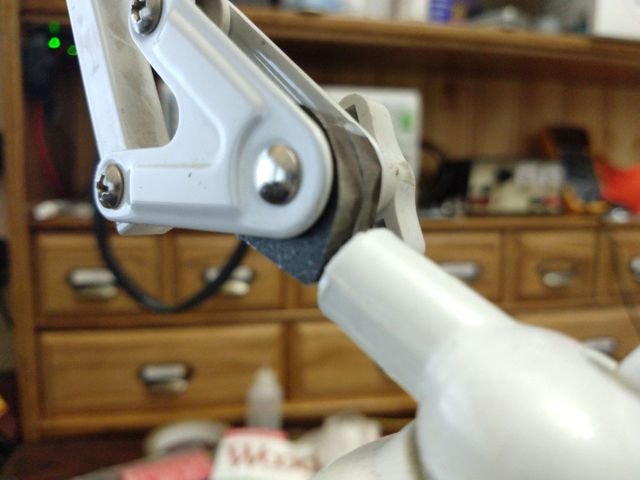
Worked like a charm:
So 15 mins work, and a few pence worth of materials (and let's ignore the £40 for a new drill vice!)...


