Desktop apothecary drawers and shelf
I have a special desk in my office. It allows time travel! You look under the top layer of stuff, and find half completed jobs and projects from the past. Dig beneath those and find more, older still! This is my second desk where I would carry out various hardware diagnostic and repair jobs, but due to the accumulation of cruft, it always seems to require a Moses like parting of a sea of "stuff" to find space to work.
So this is the tale of what I conceived to try and get the space a bit more organized.
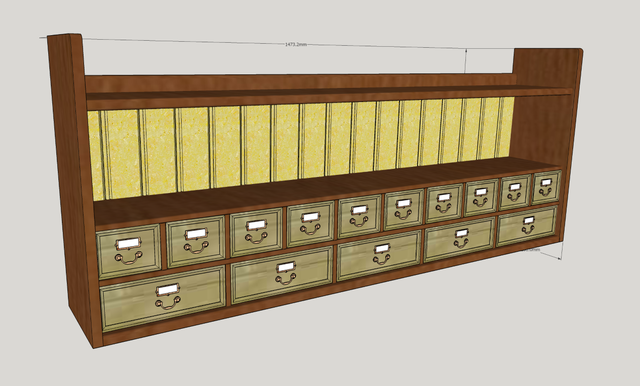
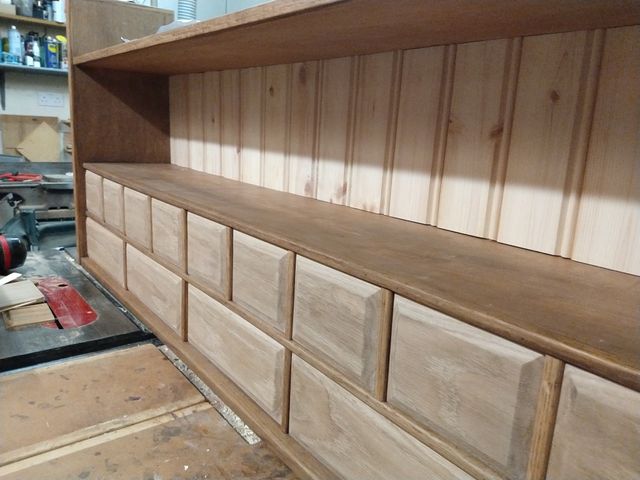
Previously I concocted a desk bookshelf, and that has sat on the back of the desk ever since. While it certainly helped in keeping some of the chaos in check, it did not really have enough storage to do what was required. Also it only used half of the available desk width. So this time I decided to combine the concept of a full desk width shelf with a set of apothecary style drawers to allow some organisation and storage of the kind of small tat that seems to accumulate on the desk.
Here was the rough idea as a sketchup model:
Materials
The choice of materials was to be carefully informed by "whatever happened to be laying about in the workshop!"
Ideally an "all hardwood" construction would have been nice (if rather heavy and expensive), but I did not have enough boards of any one particular wood to make that work. However I did have lots of bits of ply left over from previous jobs, and also a length of sawn oak that could be used to spruce everything up a bit and make it look a little more convincing.
Construction
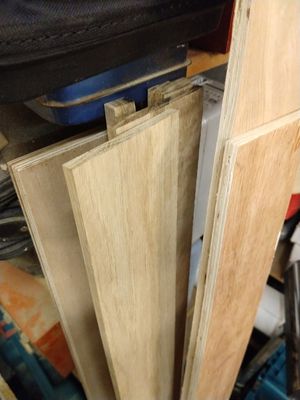
So the first job was selecting stock and ripping everything down to size. I had a 10' length of 5x2", of what was supposed to be American White Oak, but judging by the darker colour might actually have been English Oak. So I used about 5' of that to cut lippings to hide the visible edges of the ply, and to make the back rail and the drawer fronts.
I found a length of what was probably 19mm hardwood shuttering ply that had one reasonable looking face, and one fairly ugly one with lots of visible voids. So that would be ok for the base since most of it will not be seen.
Also a couple of bits of 12mm ply that would do for the lower shelves, and a nice looking bit of 19mm for the top shelf.
Building the cabinet
Run rabbet run
The main construction was to be done using rabbets or dado joints. The idea being a joint strong enough to work with only glue, and also to give positive location and registration of the parts when assembled.
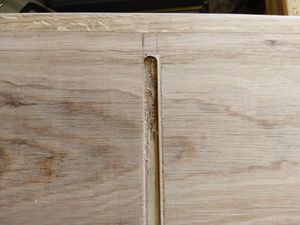
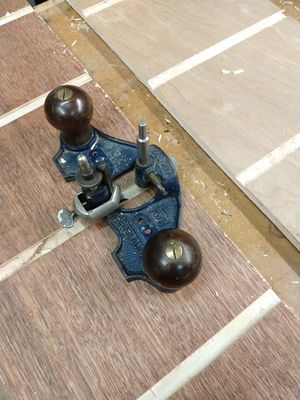
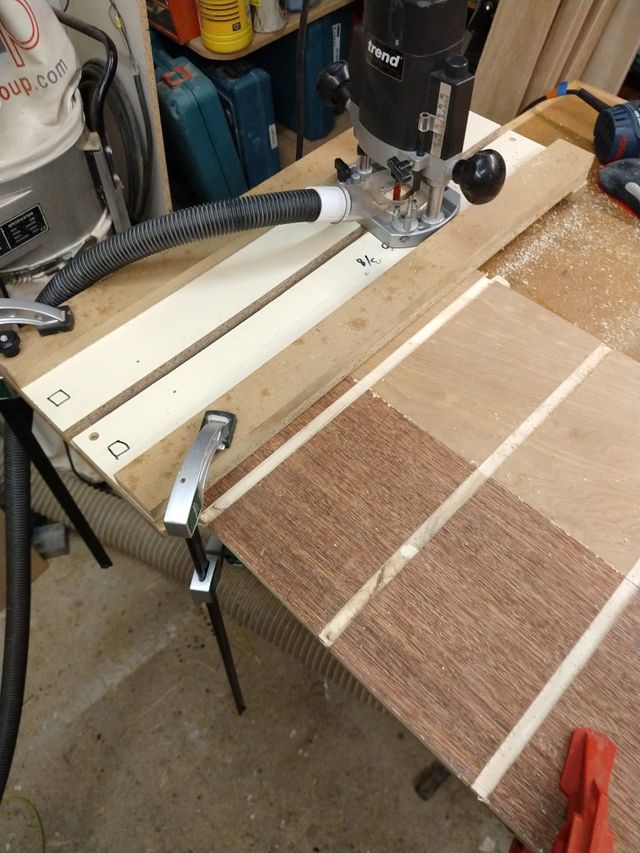
I pondered whether to do these with a dado blade in the table saw or using a router jig. In the end I decided my Routerboard custom dado jig would be best suited since one thing you can guarantee about both half inch and three quarter inch ply, is that it will be anything but those thicknesses. While cutting non standard widths with a table saw dado blade is doable, it takes a bit of messing about with shims to get exactly the right spacing to match the material. The router jig on the other hand is designed to easily adapt to whatever sized dado you need with ease.
Marking out
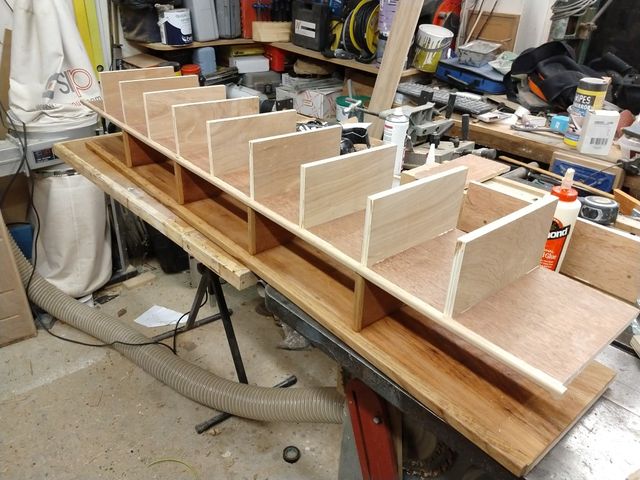
So having glued an oak lipping to the front of the base board, the next job was to mark out the positions of the dados for all the lower drawer dividers.
How difficult could it be? Well apparently, surprisingly!.
First you have the normal "fence post errors" to contend with - needing one more "side" than you have drawers. Then you have to remember to allow for the thickness of all the dividers, and subtract that from the total width before laying out the positions. Then (alas having already cut the first dado) you remember that you did not allow for the tenons on the ends of the shelf. Which shifts things a bit again.
So lots of marking, rubbing out, re-marking, and in some cases re-cutting dados ensued.
By the ends of that we had dados ready.
Next I cut the lower dividers from another scrap of 12mm ply. Alas I did not have enough of the same board to do all the dividers, and had to do the upper ones from a different (subtly thicker) 12mm board.
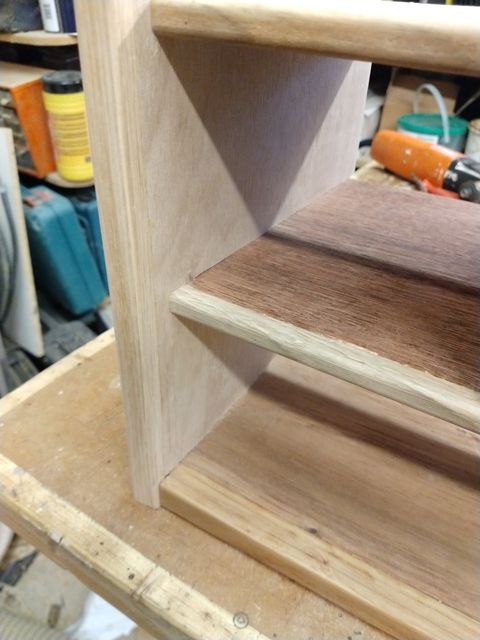
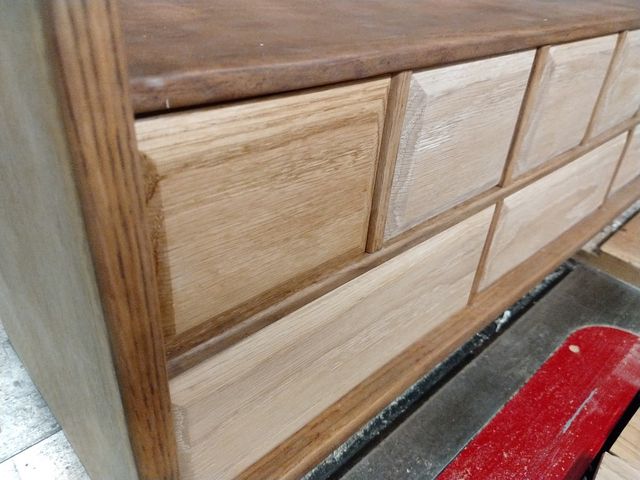
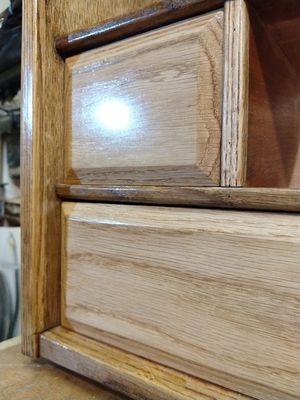
I lipped the edges in oak, and trimmed them flush before rounding over the edges with a 1/8th inch "pencil round" router bit. The leading edges also needed a rebate that would cover the front of the routed channel in the board.
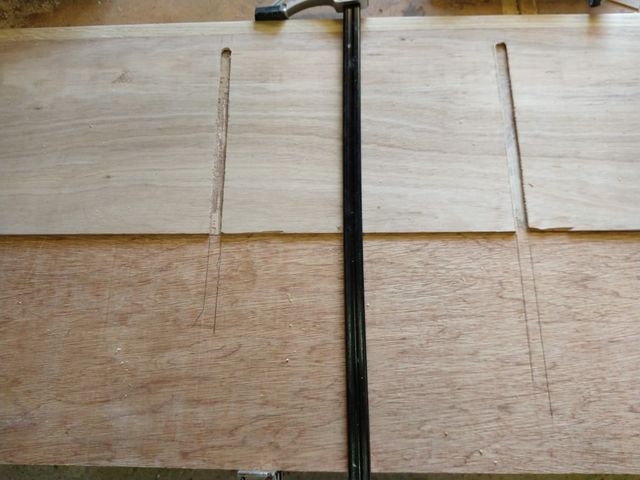
Once that was all done, I could transfer the dado positions to the underside of the lower shelf:
Then I cut the dados on this part. To make construction quicker from here, I decided to route the dado right across the full width of the board, and then apply the oak lippings after.
Since the lower shelf also was a base for the row of smaller drawers, I needed to cut the dados on the other side of this board also.The dado depth was set to 3mm so that I did not use more than half the total board thickness where dados lined up on both sides. To save transferring layout from one board to the next, I also decided to cut the underside of the next shelf at the same time.
Starting to glue it together
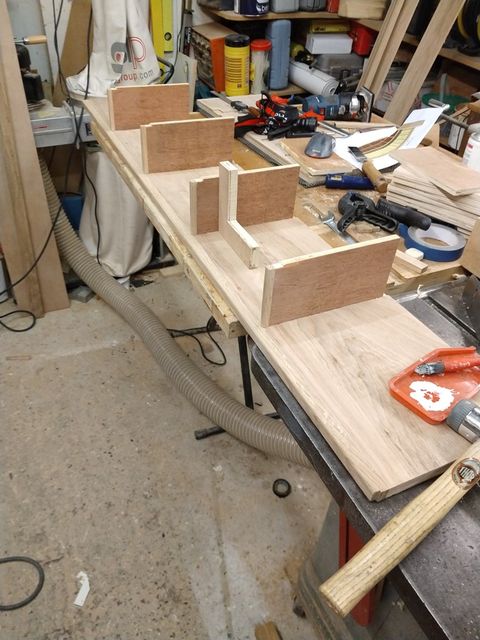
So the first of many glue ups, since this was going to be too complicated to do too many joints at once. I set the lipped drawer dividers into their dados, and got them square, and left those to go off. In a warm workshop Titebond original gets a grip fairly quickly.
Once the dividers were in place, I could fix the next shelf. Since access to the lower shelf was currently "open", it also made sense to give the lower section a coat of dark oak stain to get closer to the final intended colour (and hide the mismatch between the oak edges and the somewhat redder ply).
Second glue up:
That one complete, the dividers for the next row could then be glued on:
I decided that I would fit the lippings after - which just meant I needed to precisely machine the thickness of them and do the round over on the edges prior to fitting rather than after.
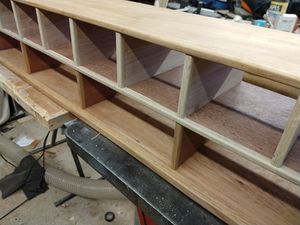
Next glueup:
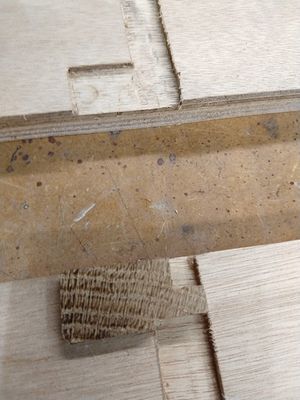
Now the bulk of the drawer cabinet is complete, I could focus on the sides. So I got the lippings on that bit of ply, and marked up and cut the dado positions.
To get a good fit it was easiest to lay the side on the bench and then stand the full height of the drawer carcase on end on top of it. Before committing to the final glueup I carefully assessed that the fit was square to the sides and discovered it was not quite. Also there was a slight "rock" corner to corner with the shelves sat in their dados. To fix this I needed to recut the board ends very slightly, and also cut some of the dados in the sides slightly deeper. (it was about here I realised that one of my set squares no longer was!).
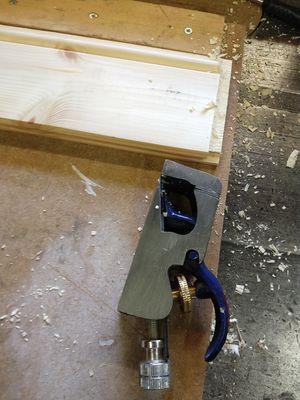
Final adjustments were made with a block plane, until we had a nice fit.
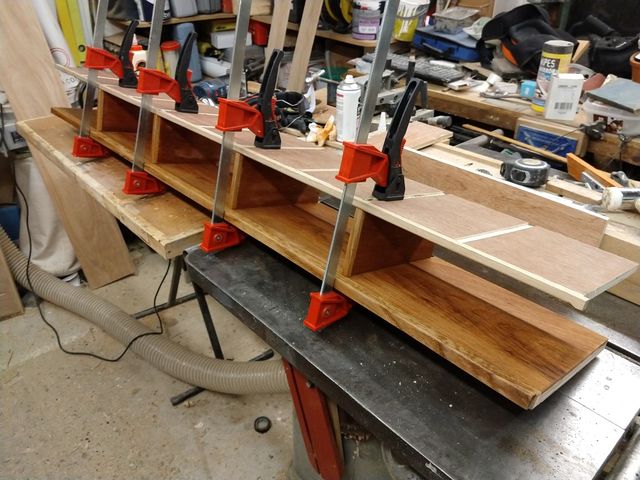
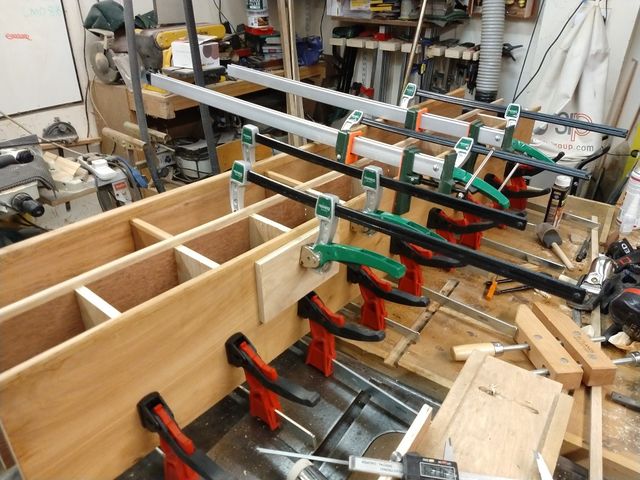
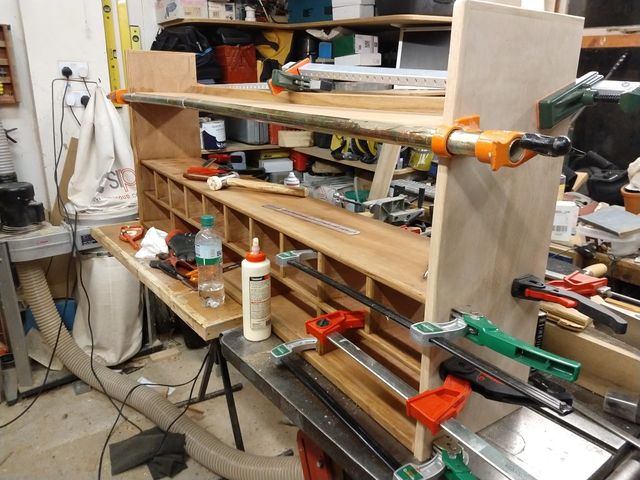
Once that side was glued on, we could do the other one. The fit on that was much better and it dropped into place fairly easily. Once that was clamped, the top shelf could also be slid in and the whole lot clamped up:
Getting the back on
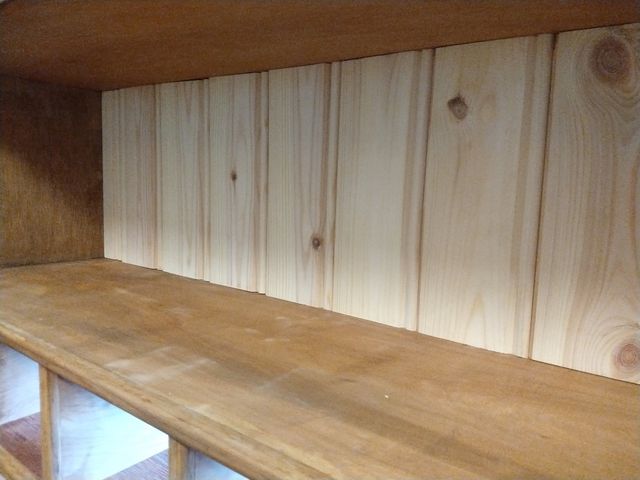
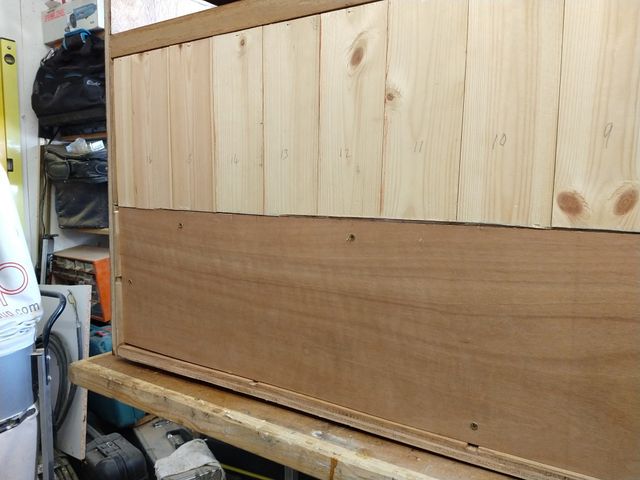
The last building job for the cabinet, was to fit a back. Initially I planned to do the whole back as one section, but after looking about I realised I did not have enough suitable timber to do it all in one piece. However I did find some "bead and butt" tongue and groove boards left over from my bathroom. This would make quite a nice back, however would also bring another challenge since one can't simply nail that on the back without having small gaps left due to the profile of the timber. So I needed to cut a rebate into the profiled face at both ends of the board to allow it to "wrap around" the back edges of each shelf and make a tidy transition from the straight line of the shelf to the profiled edge of the boards.
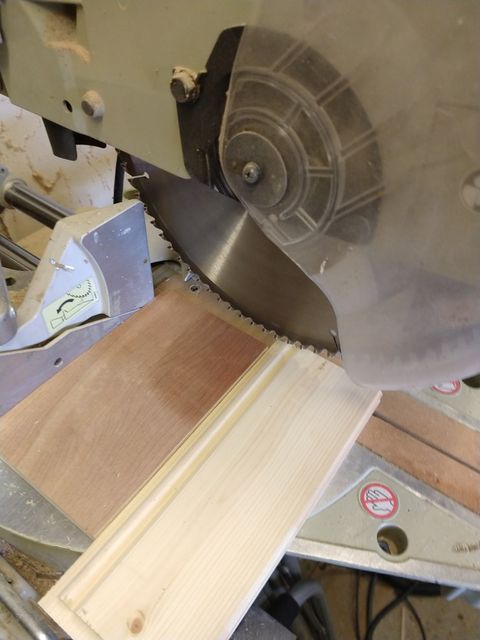
Using a dado stack in the table saw, and the cross cut fence it was easy to prepare one end of all the boards. However preparing the second end was going to be difficult to do nicely that way since any error in length would look ugly. That meant marking up each board in place, and then cutting to the line. Something that is difficult to do with the cut surface facing down on the table saw. So I had to come up with another way to do the second cut.
My sliding mitre saw has a depth stop that can be set to allow non through cuts to be made, so I set that up to do the second cut where I could see my marking knife line on the board easily.
That got all the boards fitting nicely. These were then nailed with 30mm 18G gauge nails in the centre top of each board, and smaller 23g pin nails at the base:
That marked the completion of the building of the cabinet for now.
Drawing to an end
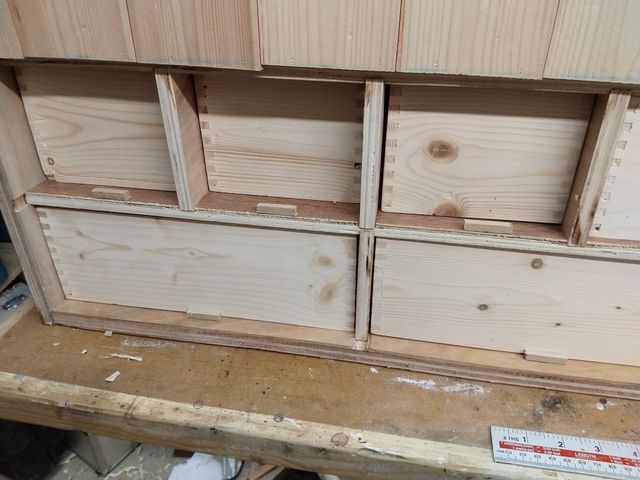
The next stage was to get started on the drawers. Ideally I wanted to do the boxes out of real wood since that would be much nicer to work with when shooting each draw into fit. I found a bunch of 19mm T&G panels, that were left over floor or roofing boards from a garden cabin I built a few years ago. These were wide enough (once the T&G profiles were cut off) to get the full height of the drawer box without needing to join up any boards. Rather annoyingly though they were a good deal thicker than required for one drawer board, but not quite thick enough the allow them to be resawn to get two boards out from each.
Making drawer boxes
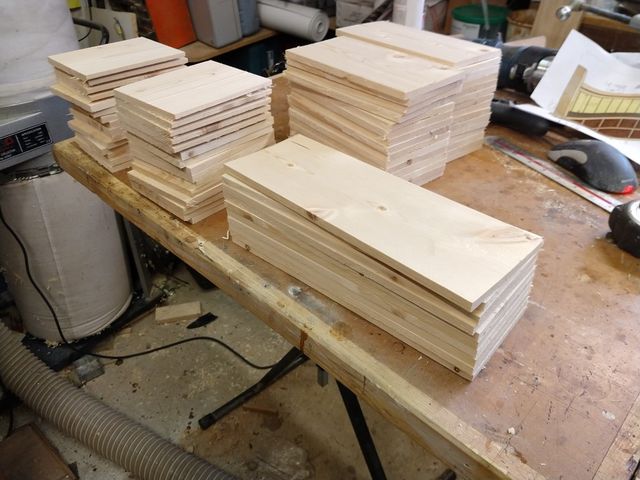
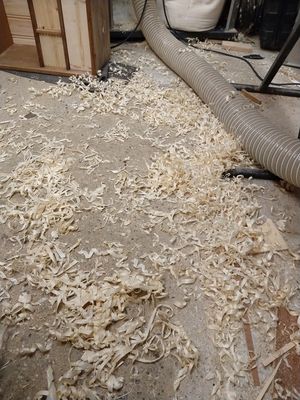
So I had to turn a fairly substantial amount of timber into planer shavings to reduce them down to about 9mm or 3/8th" thick for the drawer boxes. In all I prepared about 12 linear metres of wood for the drawer boxes.
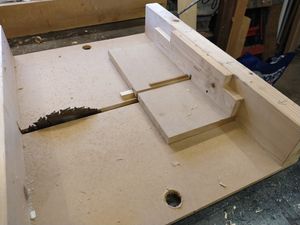
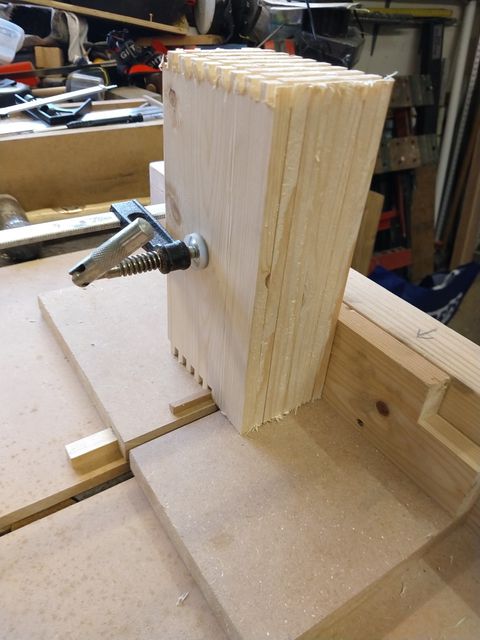
To make strong drawer joints quickly and easily I like to use a box or finger joint jig I made, since this allows multiple parts to be cut at once.
Cutting the fingers on all the parts:
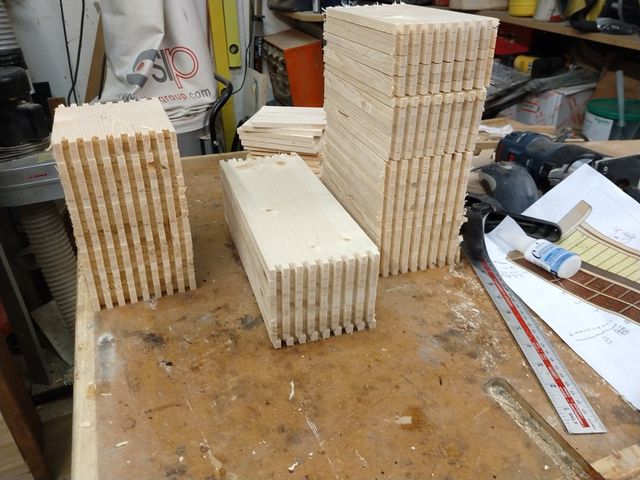
That only took about 15 minutes to do them all:
Prior to glueing the boxes together I also needed to machine a rebate for the drawer bases. To do this I simply setup a cut on the table saw that took a 3mm lump out of the base of each board when run past the blade against the table saw fence.
Then each of the boxes could be glued up and tapped together with a soft faced hammer (the joints are quite a snug fit!) Once they were checked for square, they were left to go off.
Next job was to cut some 6mm ply bases. These were cut to size and test fitted to each drawer. A little fettling with a block plane getting a nice snug fit on each. Those were also glued in place.
Each of the drawers were originally cut very slightly oversized for the gap in the cabinet. This way each one could be planed down to fit the opening snugly.
Making the drawer faces
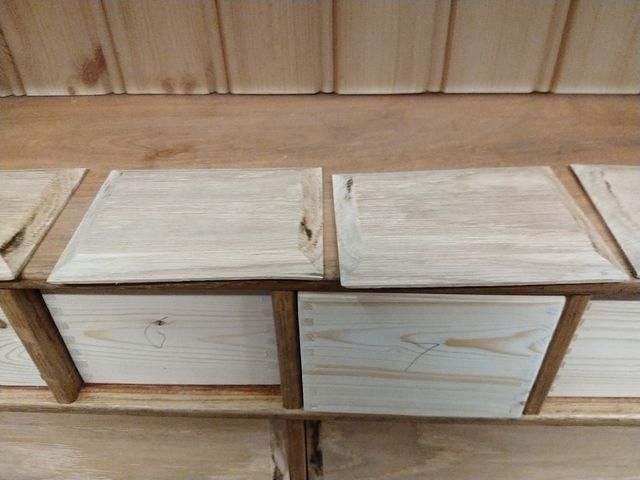
The first step was cutting all the faces to length. I also numbered up all the drawers and faces since I wanted to keep them all in order. This would allow the faces to all be "grain matched" so that the wood grain and figure passes along each drawer in the same way it does in the original board.
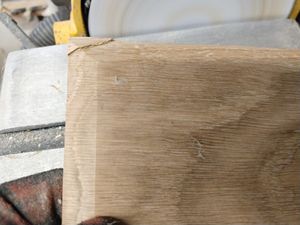
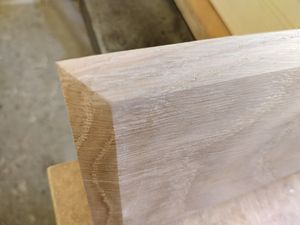
My original design had shown an applied profile or bead around the perimeter of each drawer face, but after a bit of experimentation I decided that a shallow bevel at the edge of each face would look nice, Especially if sanded to give a slight "pillowing" of the face. So the next job was to work out how to bevel each side of each face safely and easily since they were only about 9mm thick, and the bevel will reduce the edge thickness down to only a couple of mm.
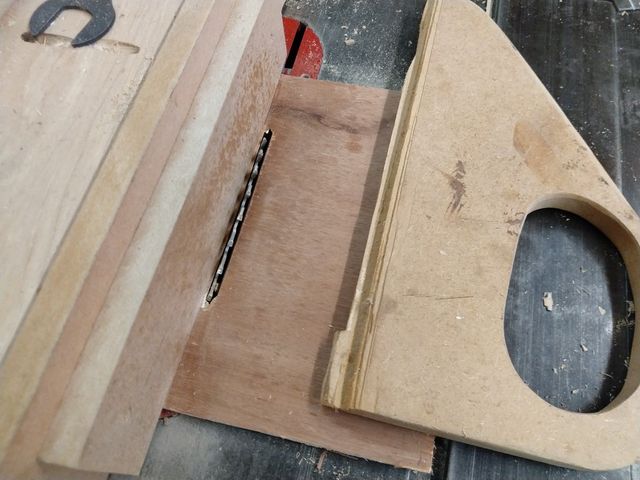
The table saw is the obvious answer, but the gap between the tilted blade and the blade insert it too large to leave anything for the thinned board edge to ride on. This would result in the rather dangerous destruction of the face as it would fall into the blade gap as it was cut!
To get round this I made a small "zero clearance" jig to be screwed to the side of the table saw fence.
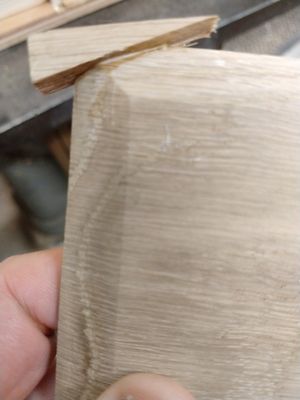
Supporting the top of the wood with a hand resting on the top of the main fence, and driving it through the blade, while also pressing it to the fence with the push stick gives a safe and controlled cut.
The two end grain cuts are made first, since these will tend to tear out some grain at the end of each cut. The "with the grain" cut then cleans that up.
Fitting the drawer fronts
Since the drawers are very snug fitting, and each drawer box has already been made to fit it's opening closely, there is no need to do anything too clever when fitting the fronts. Just take each box in turn, apply 4 small dabs of hot melt glue - one in each corner, and plant the front square on the front of the box with an even overlap all round.
At this point I needed to decide whether to stain the fronts. Experiments with a test piece suggested that the natural colour once oiled would actually look pretty good without a stain
Finishing
Now we can do the fun bit and start getting some finish on. After a good rub down with 240 grit paper (going easy on the ply edges since the top veneer of ply is wafer thin in places and easy to sand through), I built up three coats of Liberon Finishing oil on all the surfaces. (most of which had been stained with a Ronseal "Dark Oak" spirit based stain first). I gave it a rub down with 0000 wire wool before the final coat.
After the oil had cured for a day or so, I then waxed everything with Black Bison wax and buffed that to a diffuse shine.
Handles
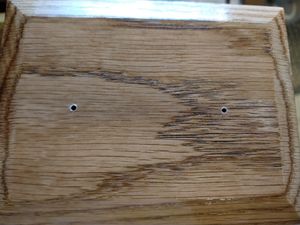
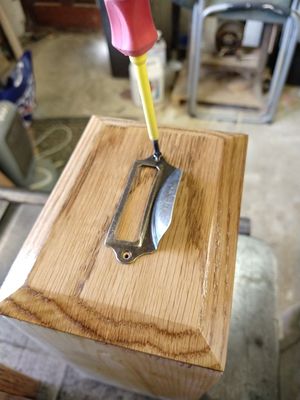
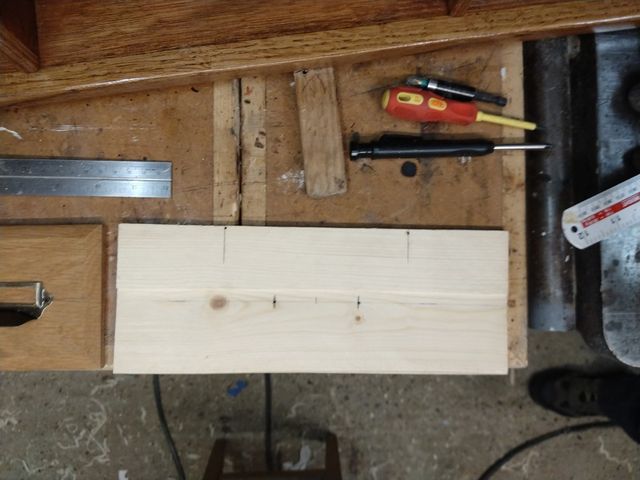
Since waxing and buffing is easier on a flat surface, I left fitting the handles to last. To make positioning easy, I made up a template:
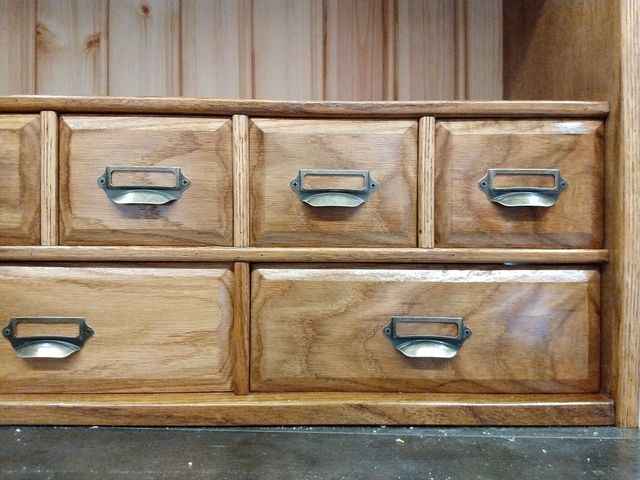
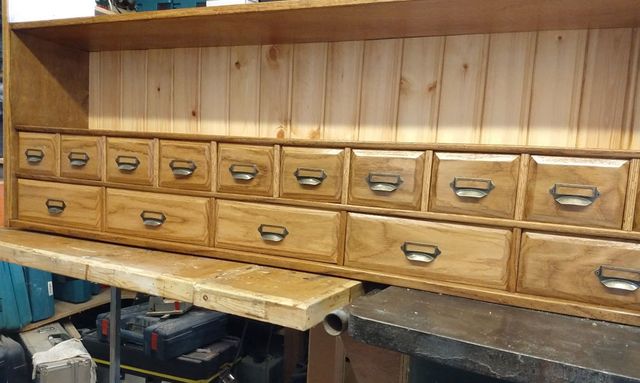
How it looks with the handles in place
Drawer stops and back
The last drawer related job was to fit some small wood drawer stops (these were tacked into place with hot melt glue and then pinned with 23g pins. The aim was to set the most forward face of each drawer level with the front edge of the lower shelves.
Then the back can be fitted from some more 6mm ply:
The Final result
The final result
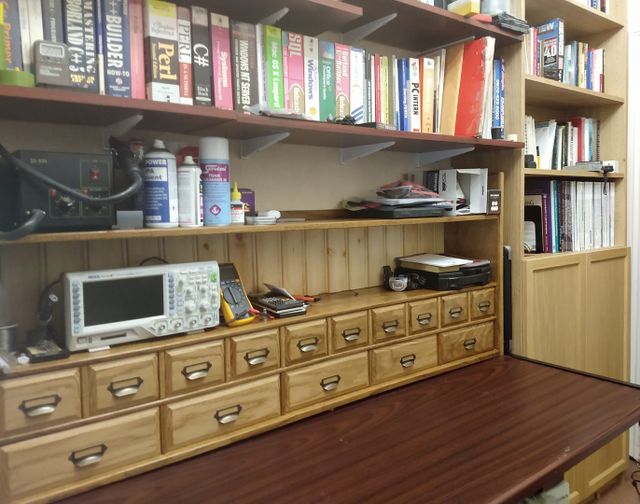
And in place on the desk:
