Face frame cupboard
Introduction
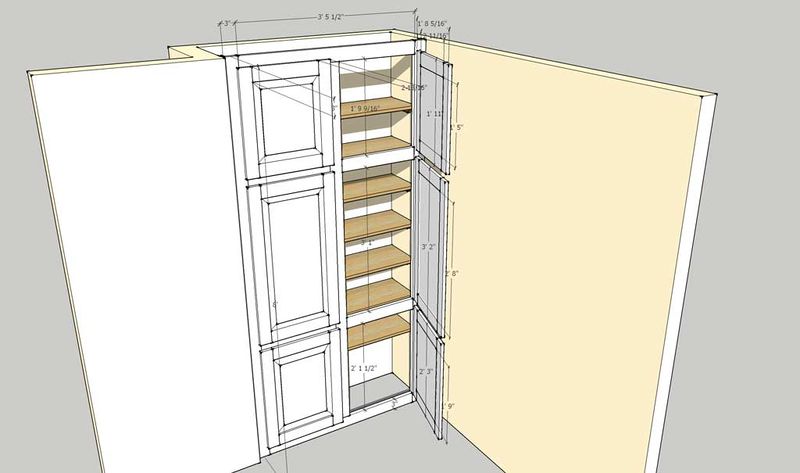
This was a quick project to help a friend build a cupboard in his living room. The idea was to create lots of cupboard space by "filling in" an alcove beside a chimney breast wish shelving, and then hiding it all behind a set of cupboard doors hung on some kind of frame.
Click the pictures for larger versions
Design
I decided that a simple face frame design with planted on doors would do the trick nicely without too much complication. The face frame itself could then be either inset into the alcove, or planted on it (whichever looked better, and best hid any inaccuracy of the walls etc). The doors could be made in a traditional raised panel style, with edge detailed rails and stiles to add a little visual interest to the project.
Face Frame
The first step (after the obligatory sketchup model!), was to make the face frame. Since this is only going to be carrying the relatively light load of the cupboard doors (the shelves will be carried by battens screwed into the walls), I elected to use pocket hole joinery, since this is adequately strong for the application and also very quick to assemble.
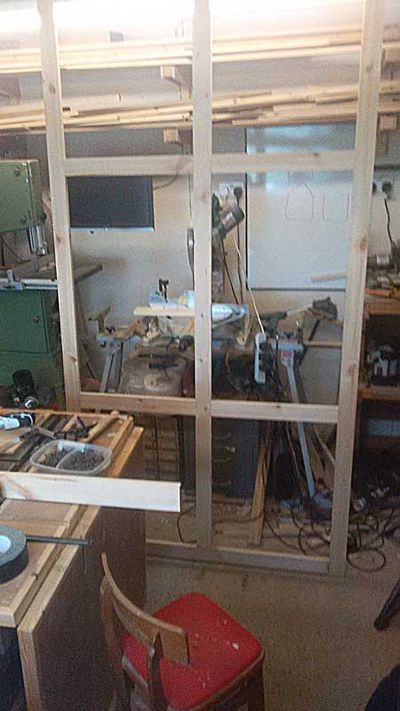
All that was necessary for this was to rip to softwood planks to width (approx 3") and trim nice and square to length.
The completed face frame:
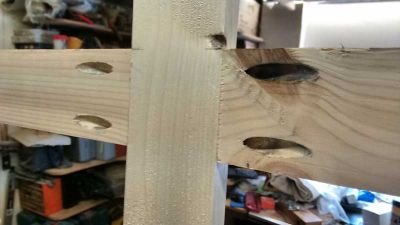
The pocket holes up close:
A pocket hole jig was used to make the joinery.
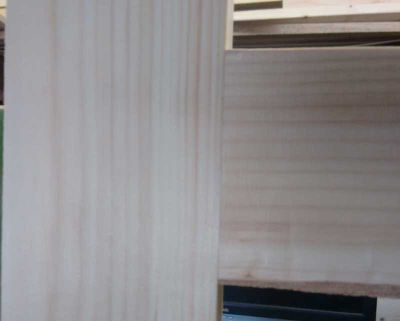
The "show" side of the joints:
Doors
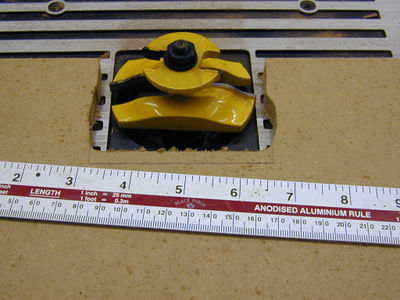
These were made from more softwood for the rails and stiles. These were profiled using a rail and stile coping cutter set on the router table. These cutters create the decorative profile to the edge of the raised panel, the rebate for the panel, and the matching joints for the frame all in one operation. You route all the inner edges of the frame with one cutter, and then route the ends of the rails with the other.
Since the doors will be painted, the panels can be made from something cheap and dimensionally stable. So I used 19mm MDF here. The blanks were cut to size - just a fraction smaller than the frame size measured into the panel rebates. The edge of the panel was then shaped at the router table using a large panel raising cutter:
This large cutter creates both the front facing ogee profile on the panel, as well as reducing the panel edge thickness with its back cutter. Its run at a relatively low speed (8000 - 10000 rpm) due its large diameter. It also needs a fairly powerful router and good dust collection, since it creates a storm of dust very quickly!
Once the panels were routed, the frames could be assembled. These are only glued at the ends of the rails (the panel floats in the frame). After these were dry, each of the doors could be trimmed to final size (its usually handy to leave the stiles a little long so it does not matter if you mush the corners when knocking about in the workshop). Then for decorative effect and also to allow a slightly wider door opening a stepped roundover was routed all round the outside edge, and a slight chamfer on the frame side of the inside of the door - just to make them feel nicer to the hand).
Assembly
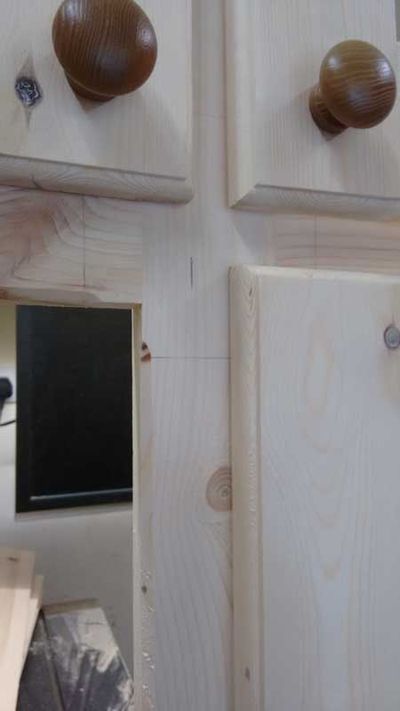
I decided to pre build everything in the workshop first, before partly disassembling for transportation to site. To make the door frame a little more hand friendly (and make it look a little better), I routed a stopped chamfer on the inside edges of all the door openings. These were "stopped" just before reaching the corners of each opening to create a lambs tongue type of profile at the ends:
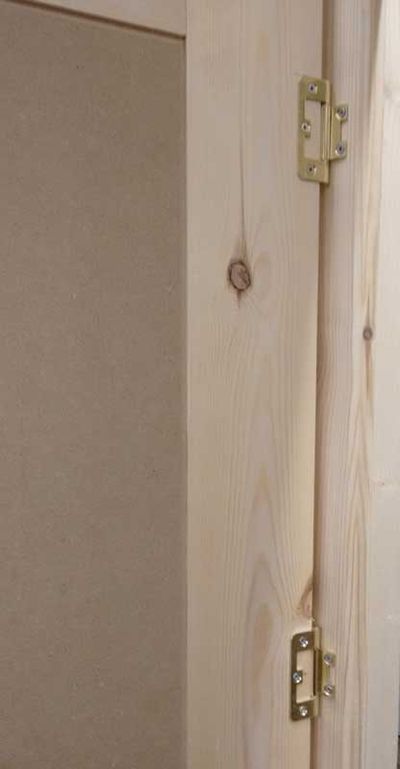
To hang the doors I used 60mm flush hinges. These are easy to fix to the door - simply hook the hinge over the edge with the barrel up against the edge of the door and screw on. However they can be tricky to then fix to the frame since there are no hinge rebates to locate them into.
To make this job easy, I first clamped a batten across the face of the frame, with the frame leaning back slightly in the vertical position. The batten then makes a nice shelf one can sit the door on in its final mounting place. Once the location is decided, simply apply a blob of hot melt glue to each of the hinge tabs, and place the door into position resting on the batten. Leave for a minute for the glue to cool, and you now have door perfectly located in position with the hinges screwed to the door, and the other side of the hinge glued to the frame. Open the door carefully (hot melt onto polished metal does not make a very strong joint), and drive the screws to fix the hinge to the frame:
Flush hinges mounted onto the face of the frame:
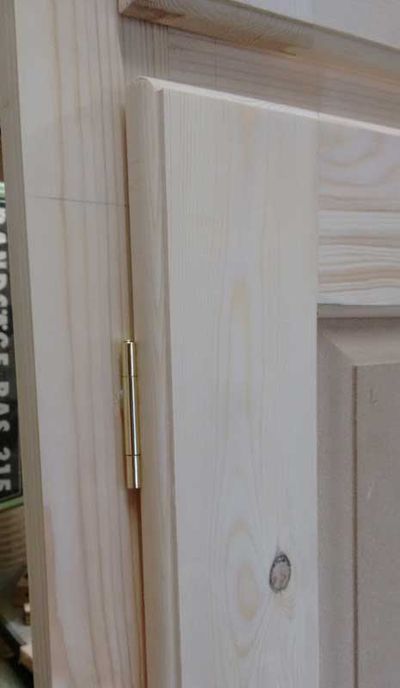
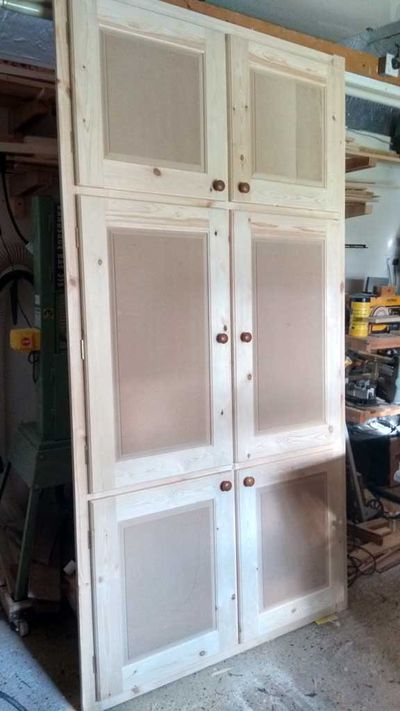
The appearance when the doors are closed:
End result
The whole lot ended up looking like:
Installation
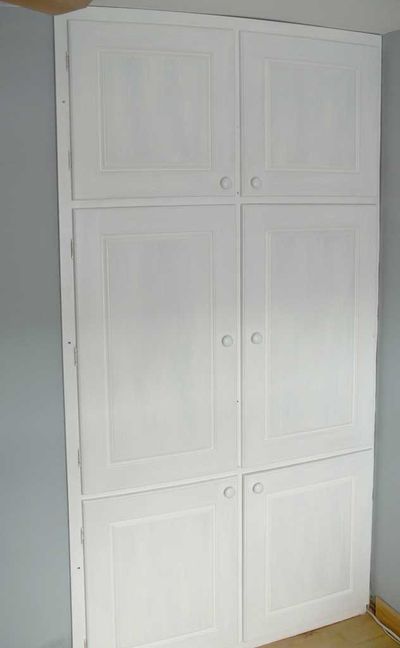
The doors were removed for transport. On site the frame was then scribed to height and width. Since the walls were quite wonky in places, we decided to leave the frame almost full width (I had made it with a couple of inches of extra width so that we had plenty of space to use scribing it to the walls), and plant it on the front face of the chimney breast. This hid the fact that the side wall of the chimney was about an inch off the vertical at the bottom!). The shelve battens were fixed to the wall, and the shelves set in, before the face frame was simply screwed in place through the front and sides of the frame (with the screw heads well counter sunk so they can be filled and painted over). Lastly the doors were re-hung.
One happy customer - who I have left to paint it all!
The end result:
