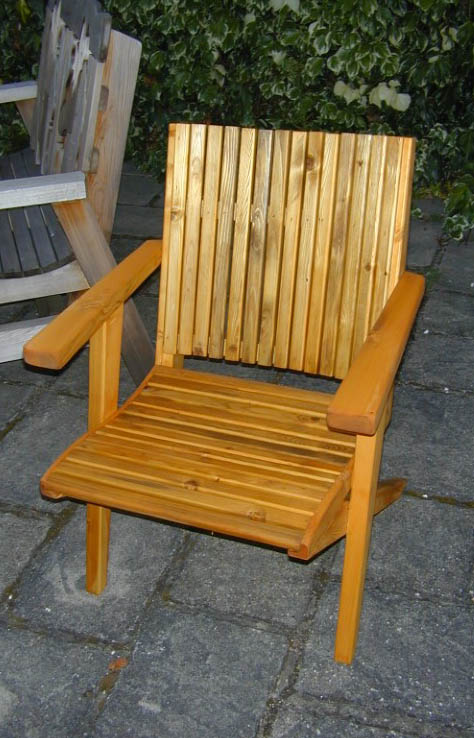
Garden Chairs - Template aided construction
Introduction
If you find yourself needing to make the same part, or parts many times, or needing to assemble those parts over and over, you can make life very much easier using templates and assembly jigs.
This article will try and pass on a few tricks and techniques to help you build multiple copies of something quickly and accurately.
Background
I wanted to make a garden chair, or more precisely a set of garden chairs. The difficulty with sets of anything is that they can be tedious to make, doing the same set up again and again for each part, and also tedious to put together. One way to speed the process is using templates - allowing repeat operations to be carried out easily (and the same mistakes reproduced faithfully as you go!)
Template Types
Shape and Layout Templates
Shape and layout templates are nothing more than a full sized pattern of the part you are going to make. It should accurately show the outline of the part, and include all the right dimensions and angles.
Shape templates can:
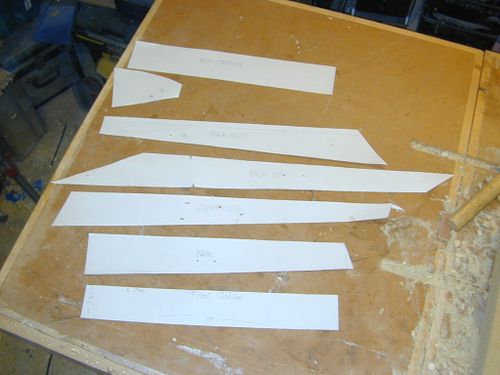
- Be used to draw around (or spray around with aerosol paint) for marking material prior to cutting.
- Find the optimal layout of parts from boards and sheets of material before cutting.
- Drawing layout lines on your assembly table
- Help manufacture of cutting and assembly jigs and templates.
Shape jigs can be sacrificial or reusable.
Sacrificial Templates
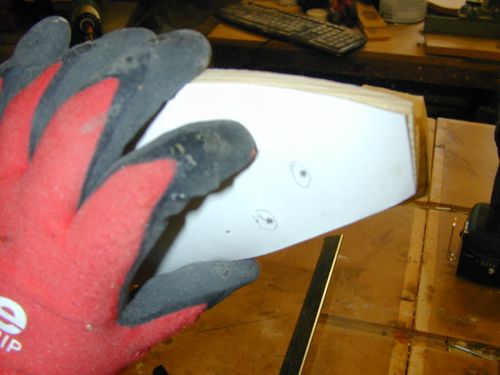
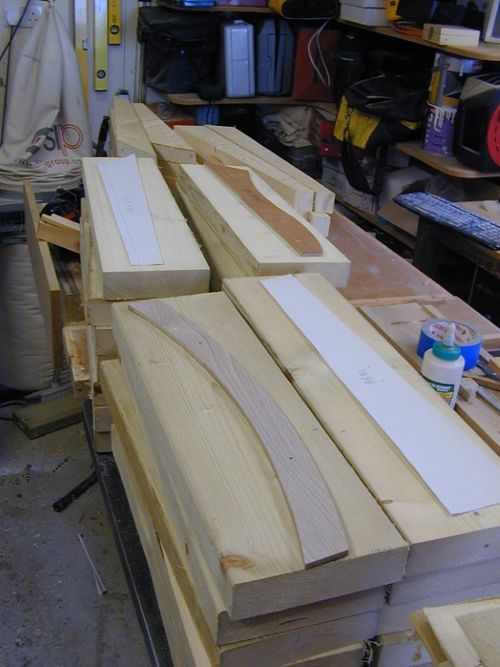
These are typically made from paper, and are stuck directly to the material to be cut or machined. They are then cut through, or sanded down to the perimeter, and often drilled or punched through to get exact hole and fixing positions.
CAD and drawing programs are ideal for the production of this type of template, however hand drawn or sketched templates can also be very useful. Templates sketched onto wide masking tape, and also be used to mark, flip around, and mark again.
Templates can be printed even on small format printers using an application like Matthias Wandel's excellent BigPrint program. The multiple sheets can then be taped together to make full size templates, and then fixed to the work with paper adhesive or one of the many spray mounting adhesives available.
Reusable Templates
Ordinary paper templates can also be re-used, although there is only a limited number of times you can handle 80 gsm paper in a workshop before it becomes too tatty to maintain accuracy. So more resistant materials are often better suited here.
One very cheap and easy option is to buy a roll of heavy weight lining paper. A 2000 gauge paper is quite stiff (its almost getting close to thin card) and will work well.
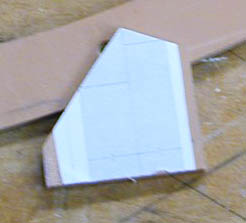
Other thin sheet materials are also good like, thin hardboard (aka Masonite), or 6mm MDF. Also don't forget "CAD" - Cardboard Aided Design!
Cutting and Trimming Templates
Cutting and trimming templates are often made from thin sheet materials like 6mm or 9mm MDF. One cheap and easily accessible source of thin template material, is to pick up a pack of budget laminate flooring from a local DIY shop.
This is typically made from a thin MDF core which is easy to cut and machined or sand to a very fine accurate edge, but also benefits from have a nice non stick laminate coating on both sides which will make tools glide over the surface more easily. The surface is also somewhat non-stick and so can be glued and unstuck several times without delaminating.
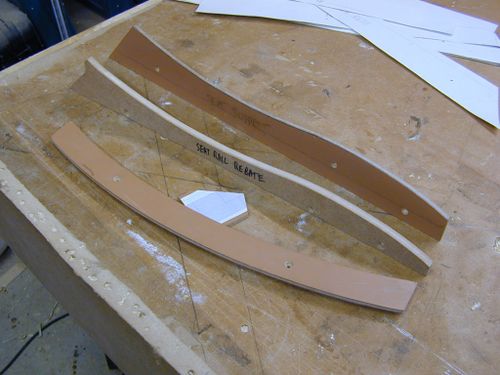
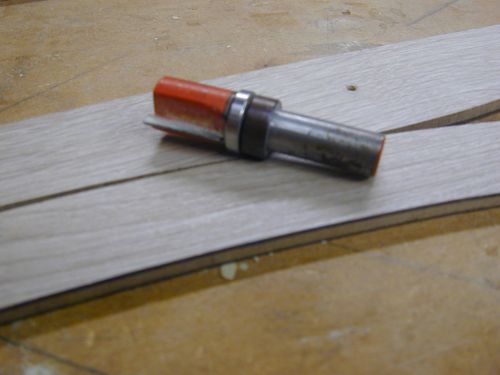
These templates are ideal for use with a router when making more complicated shapes. They can simple be drawn round to get the outline, so you can cut your part to rough dimensions. Then the template can be fixed to the part and used to guide a router, either with a template following cutter, or a guide bush fitted to the router base.
Sometimes multiple templates can be made to carry out a machining process that needs to be done in steps.
You can also make templates to aid with machine setup - such as a setup block to set a bevel angle on a chop saw or mitre gauge, or set the blade tilt on a table saw.
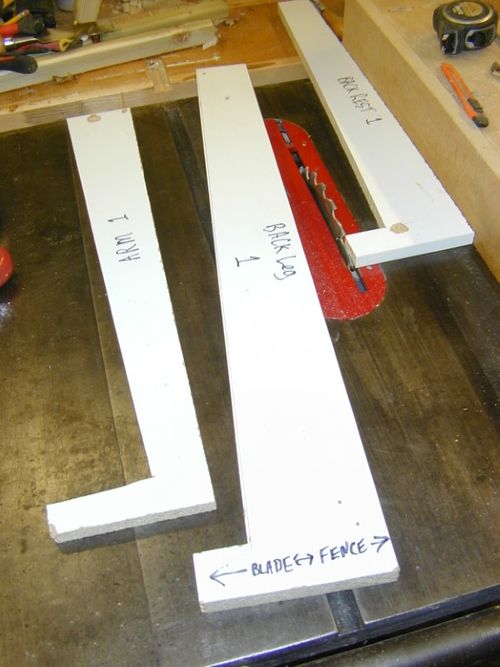
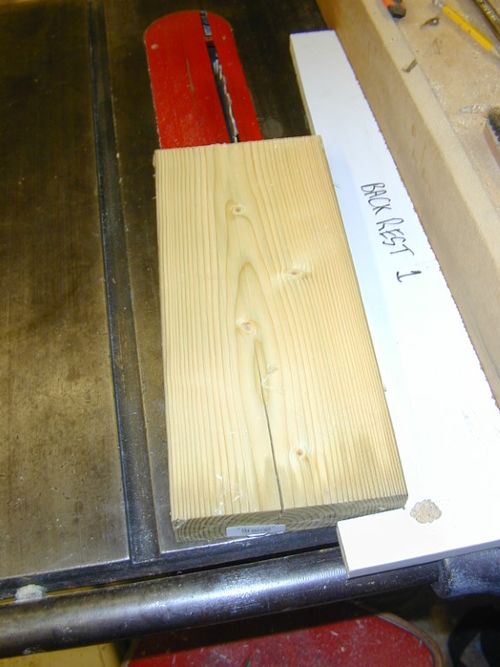
Heavier weight templates can be made to assist in cutting tapers on table and band saws. They help hold the material at the right angle for the cut. They can also be made so that you can use them to setup the correct blade to fence spacing.
Ideally taper jigs should lean the leading edge of the material toward the fence, but for longer parts this may not be practical since the end might not clear the fence.
Multi Step Templates
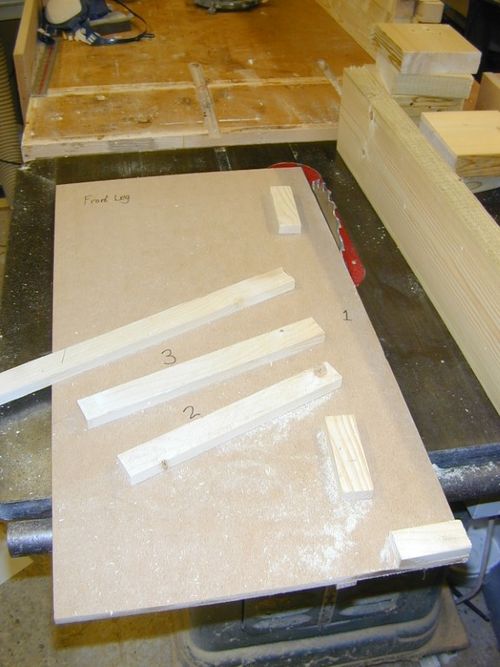
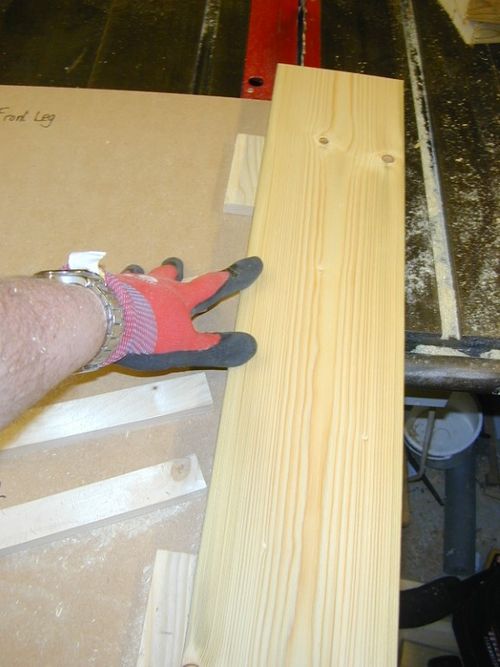
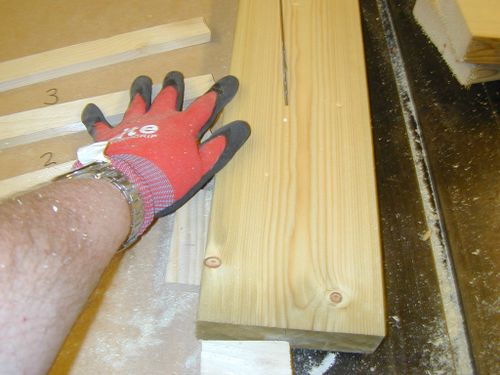
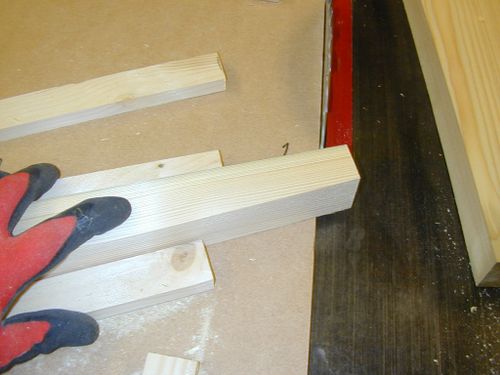
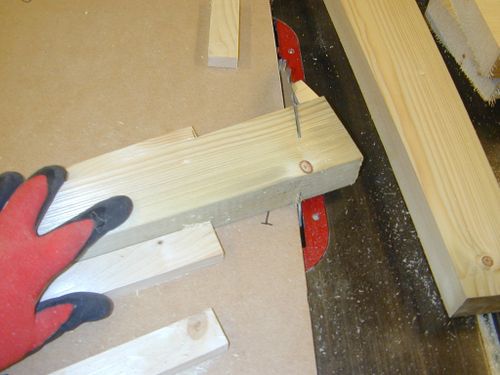
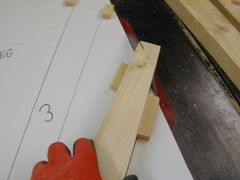
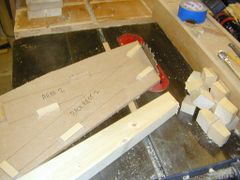
More complicated templates can be made to allow a sequence of cuts to be made. These usually start life as a sheet of flat board like MDF or chipboard. Next a strip of hardwood is mounted on the underside that is a snug fit for the table guide slots of the saw. Then by gluing / nailing guide blocks to the top of the board, you enable a piece of timber to be held in a sequence of positions to make a number of cuts.
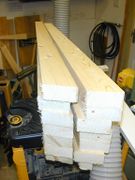
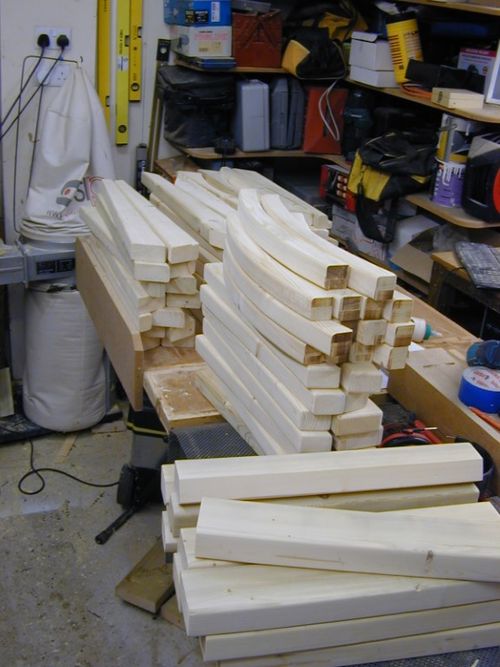
Using this jig, 16 exact copies could be cut in the space of a few minutes with no measuring or setting up.
and using an assortment of multi stage jigs (click for enlargements):
Assembly Templates
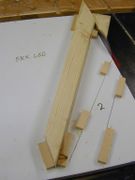
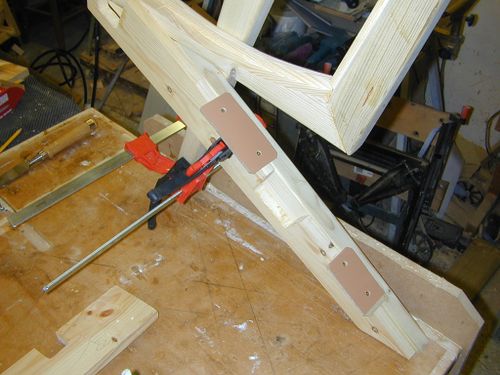
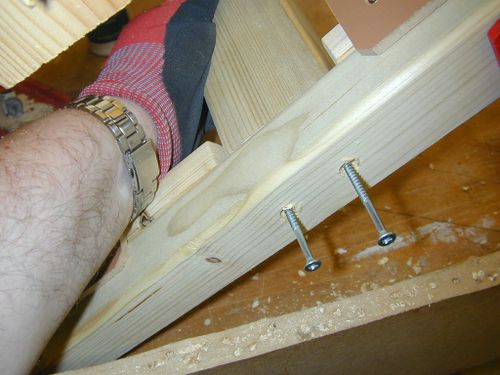
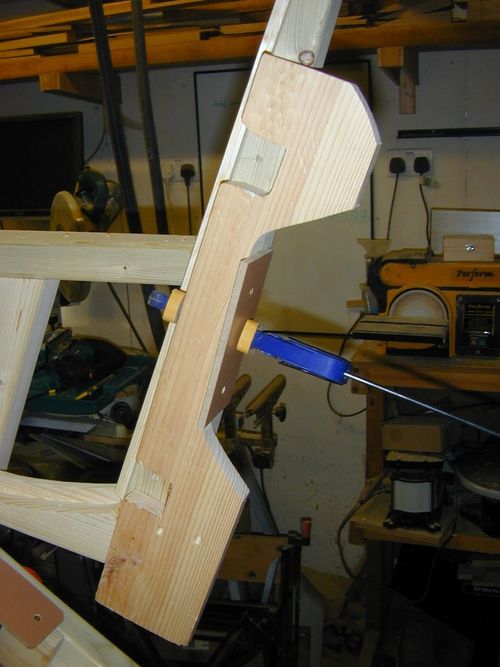
Assembly templates simple templates designed to help you hold and align parts. These might be as simple as a drilling block or jig - to get holes in the right place and perhaps at the right angle. Or more complicated shapes that will lend and extra hand positioning a part to make fixing in position easy and repeatable.
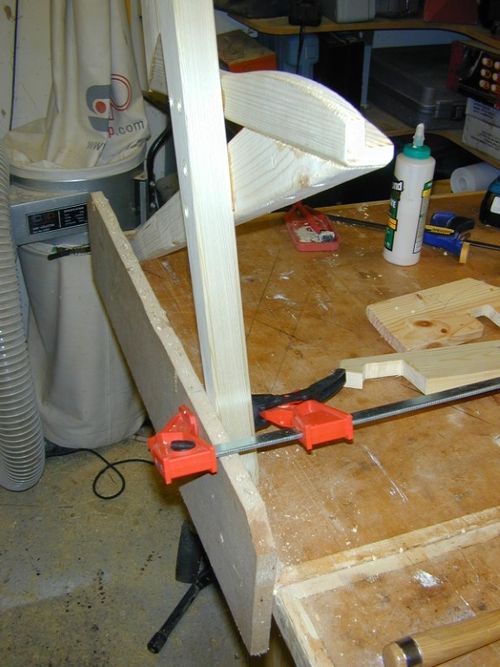
Also remember that you can modify your assembly space to suit the job at hand. So in this case screwing a side to the assembly table made it much simpler to setup chair parts so that they were flat on a table, but also could register against a impromptu "floor" at the same time:
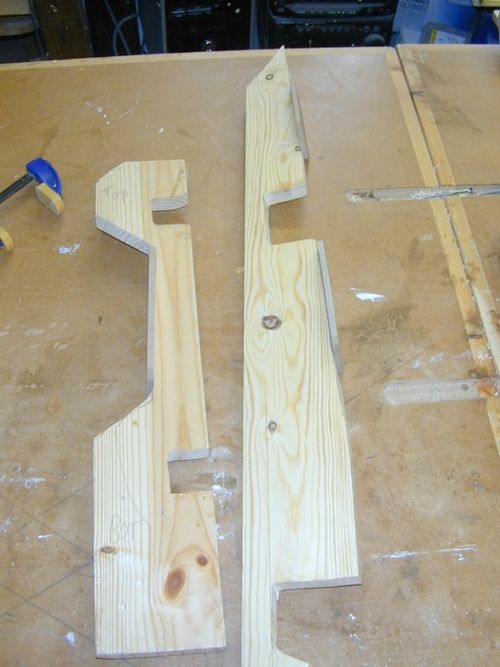
For this project I needed two assembly jigs:
Final Result
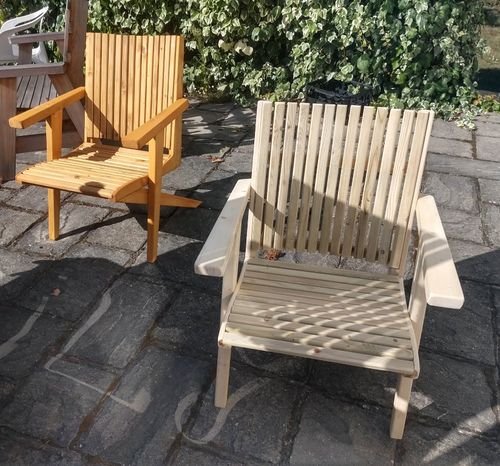
So after much assembly, filling all the screw holes with wood plugs, sanding, and staining we get a set of chairs.
The stain is the penetrating oil/solvent based Barrattine Wood Protective Treatment and Preserver in Golden Brown, applied in a couple of coats with a light sand after the first to tame the raised grain.
When all finished I will have made a total of eight chairs, with two slightly modified ones having the seat depth reduced by two slats, the back angle slightly more upright, and 3/4" trimmed of floor height so that the teenier members of the family could get their feet on the ground while sitting!
The first was assembled by hand, to check the overall fit and feel, and then the templates built to make the next seven.
Acknowledgements
The chair design is based on Izzy Swan's Modern Adirondak Chair.
