Install Bar Shower Valve - stud wall
This article describes a method of installing a bar-type thermostatic shower mixer valve into a stud wall. The example shown uses flexible (polybutylene or PEX) plastic pipework but could be used with copper.
Other methods of installing this type of mixer valve are listed on the page
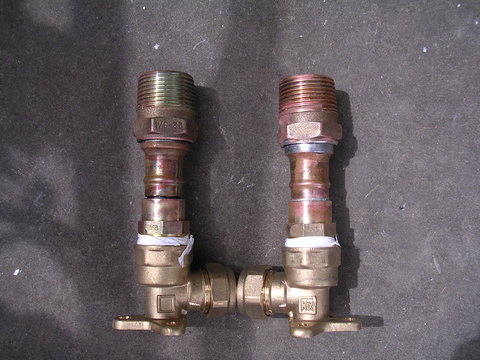
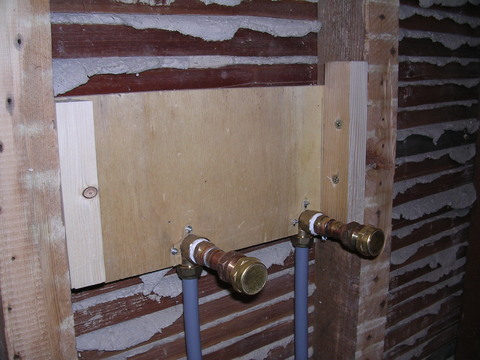
Make fittings as shown with:
- 3/4" BSP male * 22mm solder fittings
- 22mm * 15mm solder reducing fittings
- 15mm solder * 1/2" BSP male fittings
- 1/2"BSP * 15mm compression wall plate elbows (If copper pipe were used solder-type elbows could be used.)
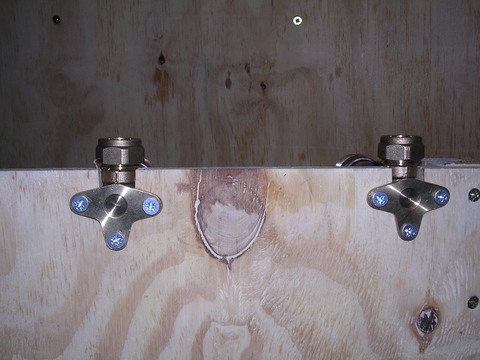
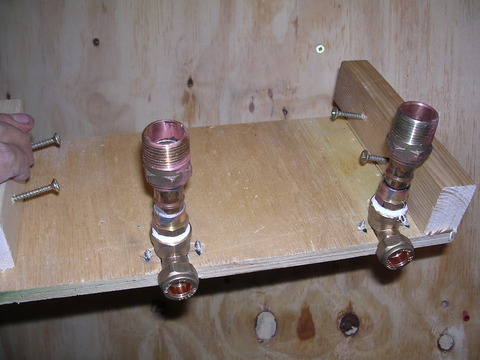
Cut a piece of 18mm WBP ply to fit between studs of the wall. Make cutouts at 150mm spacing in the ply and screw the wall plate elbows to the wood.
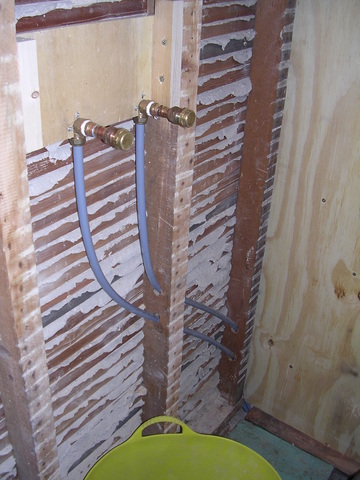
Fix the board to the studs and connect the pipework to the elbows.
Pressure test the pipework.
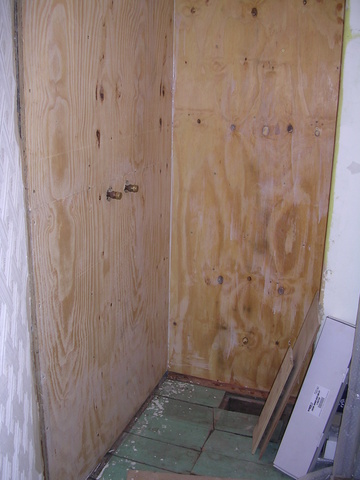
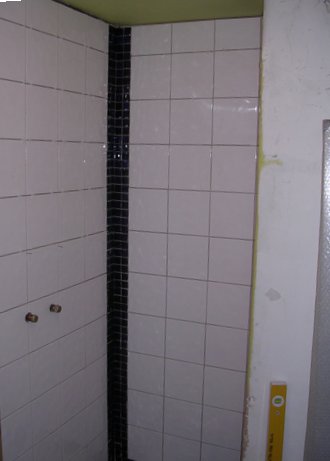
The wall can now be boarded over with the threaded tails protruding through holes in the board to the right depth for fitting to the shower valve after tiling. The gap between the tails and the board can be sealed with a suitable mastic, and/or sealant applied to the conical chromed bezels of the shower valve to prevent water running into the holes.
