Library chair
You might call this project "how to solve a design incompatibility"...
Regular readers may recall the monster bookcase project. Now this met its design requirements admirably, and provided ample storage space for my wife's book and DVD collecting tendencies. However the problem that then arises comes from the size mismatch between a 9'6" tall bookcase, and a 5' (and a bit!) wife.
click the pics for larger versions
Introduction
So the conversation started innocently enough... "I have always fancied one of those library style chairs that can turn into a set of steps". Then a mate pipes up with a comment to the effect that he has also always wanted one of those. Next thing you know, I am being offered loads of free oak to build a pair of them (and give my mate some lessons in how to do it while I am at it)!
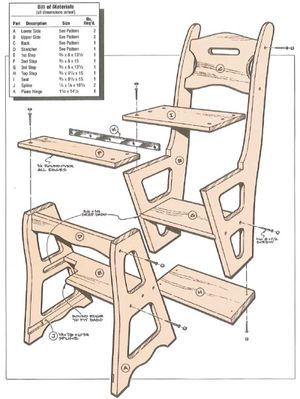
So the search for a design began. Ideally it needed to be a fairly simple design that was not going to be too difficult to use while teaching a novice woodworker. There was one featured in a back issue of Wood Workers Journal magazine from about 2011 that looked promising. Better still, plans were available. So after convincing the US based rockler.com site that I really was in the US honest (because they only "ship" to the US), it let me buy the electronic download for the princely sum of $1.00.
Design
The design is such that you can cut all the bits out of a couple of wide flat boards. (in fact it would also suit being made from a sheet of 3/4" ply). So to get it ready, I opened up the PDF and got a screen grab of the layout patterns (it was protected to stop it loading directly into photoshop). Then cropped and scaled them in photoshop, before printing them out full size using Matthias Wandel's big print program.
Construction
The first task was to make some routing templates from the patterns. This was done on some 9mm MDF, The patterns simply glued to the sheet, then cutout using a combination of bandsaw and jigsaw, before carefully sanding everything down to the lines neatly.
Timber Prep
One of the downsides of the "free" timber was that it came in kit form! Some of it was a table, and the rest some surplus oak flooring!
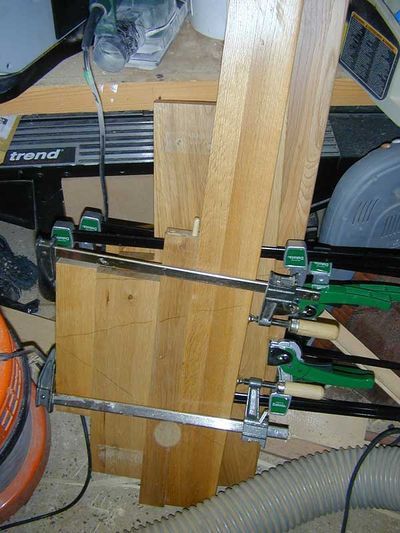
This is what I call the patchwork phase of the project, ripping all the table apart into useable lumps of wood, then thicknessing, gluing, planing, thicknessing over and over until I had enough large enough boards to make two chairs.
Cutting out
After that it gets a bit easier. Draw round the templates and cut out the boards roughly to shape:
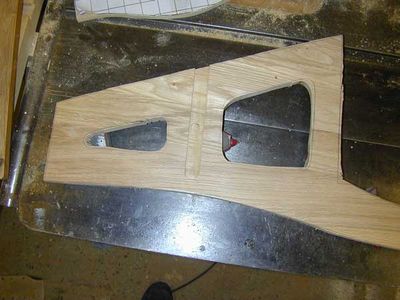
Then stick the template to the oak with a few blobs of hot melt glue, and route round the template with a pattern following bit in the router table.
(handy tip for use with MDF templates - when you pull the template off the glue, you may separate some of the surface of the MDF - leaving a divot out of your template after a few applications and removals. To make the surface more durable, put some thin CA glue onto the MDF at the places where you plan to apply the hot melt - let it soak in and set, and that makes the surface much tougher).
Finally cut all the rebates for the steps using a suitable router jig. There is also a spline to add strength to the bottom of the base section (it strengthens a longish section of cross grain).
Sanding
Everything was then sanded down to 240 grit, since it would be difficult to do much sanding on the assembled chair.
Assembly
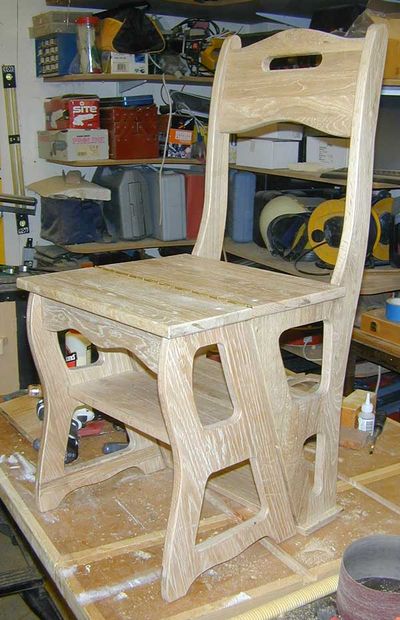
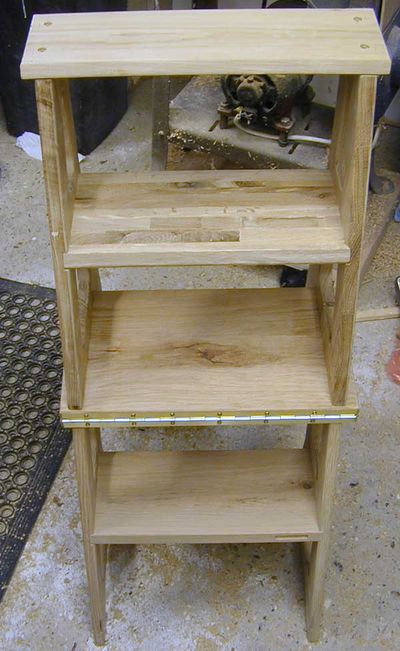
The thing is held together with the edges glued into rebates plus some concealed screws hidden behind wood plugs. The two sections being joined by a length of piano hinge. The wood plugs were all glued in and then planed and sanded flush.
Finishing
First I gave it a coat of Rustins's medium oak stain. Then three coats of Liberon finishing oil were rubbed over and allowed to dry (with a gentle sanding between coats). Lastly I used some 0000 wire wool to rub in some Black Bison Wax, and then buffed that up with a polishing bonnet on a random orbit sander. The result was a soft satin finish and a very nice to the hand smooth touch.
Result
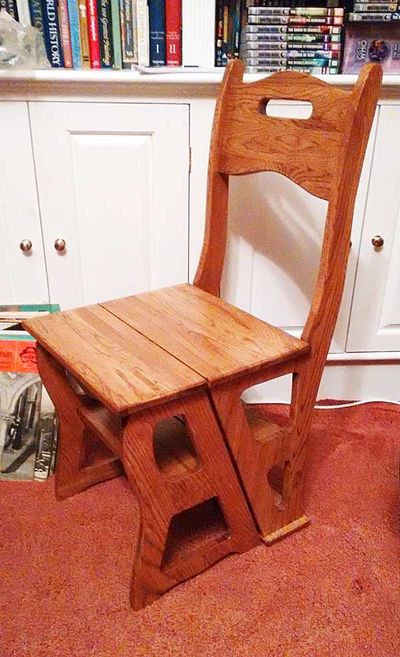
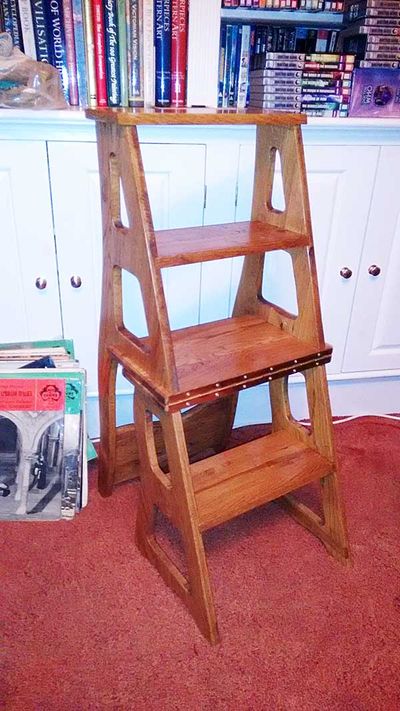
The whole result is surprisingly sturdy, with no hint of wobble even when conducting the "bounced on by a big lump test".
As a chair its a bit "upright" but fine for occasional use. Flipping it to the ladder position allows a touch of "Thunderbirds are go" style drama!
