Oak Drawer Organiser
You know what they say about small projects being just as much effort as larger ones? Here is one that proves the point!
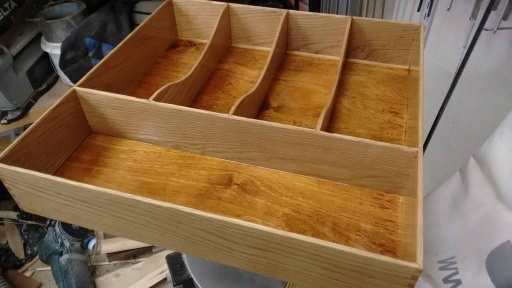
The lady of the house has a bit of a downer on the kitchen drawers... they are an odd size and the box sections are quite shallow. You can find insert trays for them in places like Ikea, but they tend to be so shallow, that by the time you have a useful amount of stuff in them, it just sloshes about pretty much ignoring the indentations in the insert!
So dutiful wood working spouse to the rescue:
These were made out of American White Oak, so as to match the kitchen drawer fronts... Surprisingly it took about 5' of a 6 x 1.25" board just to make two of these.
Preparation, re-sawing
This kind of tray needs fairly thin stock, which is a pain to cut down from larger boards since the wood in question is very hard, and has a tendency to warp, curl and bend as its ripped from the board. The ideal tool to rip down the timber would be a bandsaw, but I found the results I got on mine were at best "variable". This is probably due to the lack of a deep and aggressive ripping blade. The best results I found came from ripping 19" lengths of the unfinished board into strips a little over 3" wide, then splitting these into three on the table saw with multiple passes from each side.
Planing
Once enough strips had been ripped, I surface planed a couple of edges, and then used the thicknesser to take them down to a tad under a quarter of an inch thick (about 5mm). Since thicknessers are often not happy planing thin stock, a laid a plank of veneer faced chipboard through the machine first to act as a backing board and give the machine a bit more thickness to work with.
Sanding
American white oak is hard and a bastard to sand - even a random orbit sander with 80 grit paper does little more than polish it. To do any real sanding requires you getting quite medieval on it! So a belt sander with 40 grit is where I started, then 80 before finishing with 120 grit.
Joinery
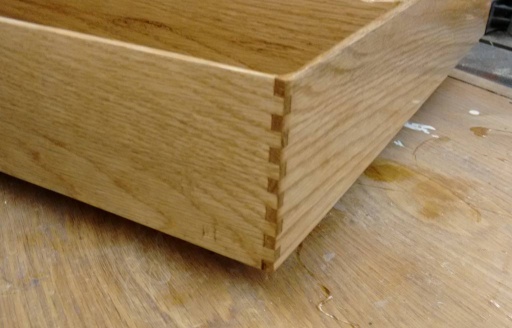
The next task was cutting 1/4" finger joints in the box sides. This was done with a 1/4" dado stack and s sled on the table saw with a spacer to help align the multiple cuts.
Once these were done the table saw was again used to cut a small rebate on the inside edges of the base of all the sides. Thus making a rebate for the base of the tray to fit into.
Next we needed rebates for all the divider sections. The only thing I could find that would cut a 5mm dado in a single pass was using just one of the chippers from my dado stack on its own. Not to be advised since that way you only get two teeth per revolution - which makes for slow and high vibration cutting! However a good hold down paddle, and a very slow feed rate got them cut.
Next the internal dividers were ripped a little narrower by the thickness of the base (some 1/4" reclaimed ply). The base was Cut from the ply.
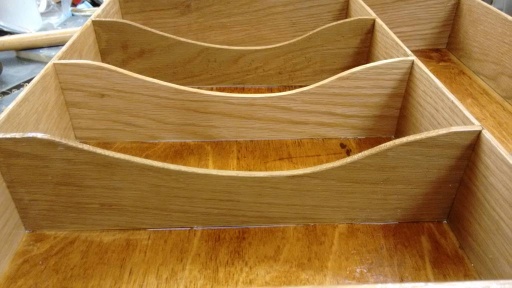
The final stage of cutting was to chop the curve from the cutlery divider sections. This was traced out on one blank using a flexi curve, and then all the boards cut at once on the bandsaw before being cleaned up on a spindle sander.
The final stage was to glue up the box, glue in the base, and then glue in the dividers.
Finishing
The finish in this case is a clear gloss polyurethane varnish. This give good wear resistance and makes them easy to pipe out, but does look a bit "plastic!" - still at least they will be in a drawer.


