Portable Wine Rack
For some reason, when the bottle fridge died completely, I saved the metal shelves that went in it before lobbing the remainder in a skip! This is the story of their eventual use...
Introduction
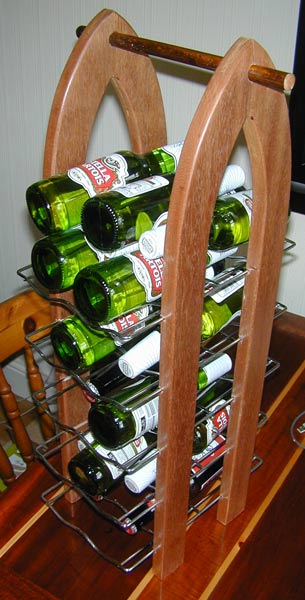
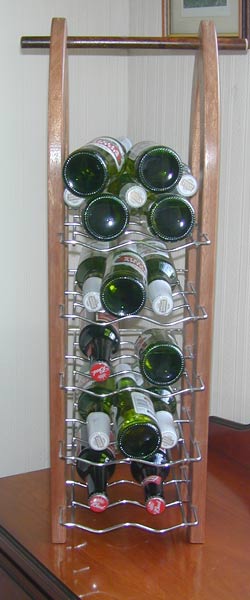
The idea was to make a small ish wine / beer rack that one could pick up and carry about - ideal for toting bottles out to the BBQ etc.
Design
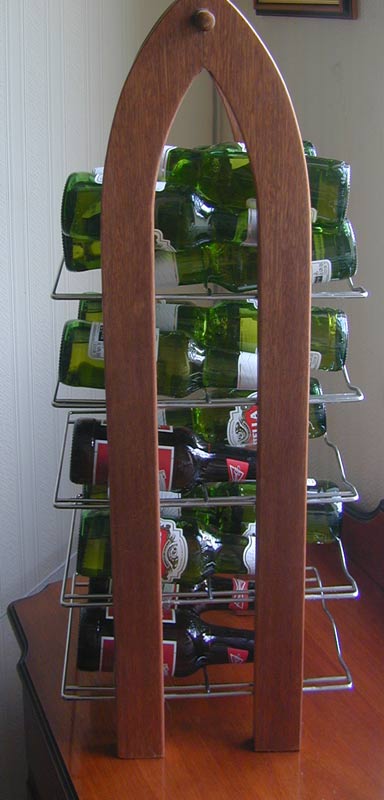
The design cue here was the Gothic arch - a tall slender design with a handy balance point where a single handle could be placed:
Construction
Stage one
Was to make a template for the "hockey stick" shape of one of the uprights. I had a spare 1/2" think piece of pine that I had ripped from the side of a 4 x 2". Once this was drawn out with a ruler for the straight bits, and a flexi curve for the curved bits, we were ready to go. The template was cut roughly to shape on the band saw, and then sanded down to the line.
Stage two
Was to use the template to trace out 4 copies onto a length of 9"x1" PAR hard wood. (a generic "mahogany" style wood - probably sapele). The were then also cut out roughly to shape on the bandsaw. The final stage was to trim them to the template with a flush trim bit in a router.
Stage three
This is the joinery phase such as it is. We need one strong joint at the apex of the arch to join the two "legs" together. In the end the simplest way to do this was to cut a kerf into both the mating faces using the table saw blade (flipping the piece around to center the blade cuts and make them a little wider). A small section of oak was then glued up and driven into the saw kerfs as a kind of floating tenon. Once the glue was dry, the excess slip tenon was cut away on the bandsaw and the edge scraped smooth with a card scraper.
Shelf mounts
The shelf mounting was nothing more that a couple of saw kerfs cut on a sledge on the table saw. Each going about 1/4" into the sides of the timber.
Assembly
This was the tricky bit. The hole for the handle (a 3/4" oak dowel) into both sides and this driven through as an interference fit. Hot glue was deposited into the shelf mounting slots. and the shelved pushed into place. Finally more hot glue was added to the other side, and the process was repeated.
Finishing
Finish in this case was a quick spray with some acrylic lacquer. Once that was dry, I sanded it with a soft 240 grid wet'n'dry pad, before rubbing Liberon black bison wax into the finish using #0000 a steel wood pad. Finally polished off the wax and buffed it with a soft cloth.


