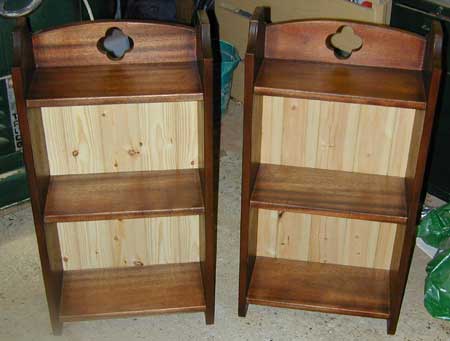
Small bookcase
Introduction
This is article shows the construction of a quick and fairly easy small bookcase. It can be built in a couple of evenings with a minimum of fuss and not much in the way of clever joinery. So, cabinet makers: look away now!
Materials
These were built with a generic "hardwood" as acquired from the local wood shop, plus some half inch thick T&G boards to make up the back. Glue, biscuits, and a suitable varnish or stain to finish is all that you will need.
Tools
Basic tools used were a table saw, router, jigsaw or bandsaw and a biscuit jointer for construction, various sanders and a hand plane for finishing. A couple of hole saws were used to add the decorative touches.
Design
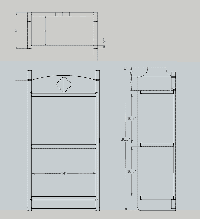
The plan called for a pair of beside bookcases to catch the pile of books that otherwise makes the bedside table unusable! Hence they were to be fairly small with two main shelves 7" deep and 14" wide, plus a top shelf for smaller stuff. The shelf spacing is 10.5" which is enough to take a standard hardback. The sides are 8" deep, allowing for the 1/2" used by the back panel, and the shelf fronts to be set back from the sides by 1/2".
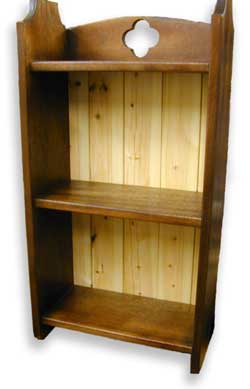
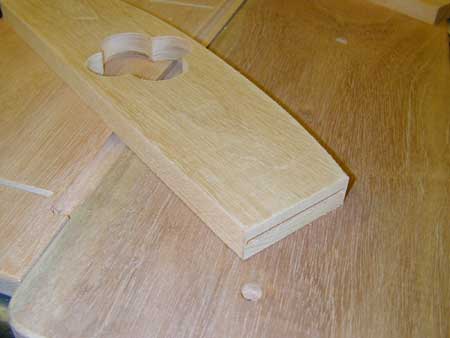
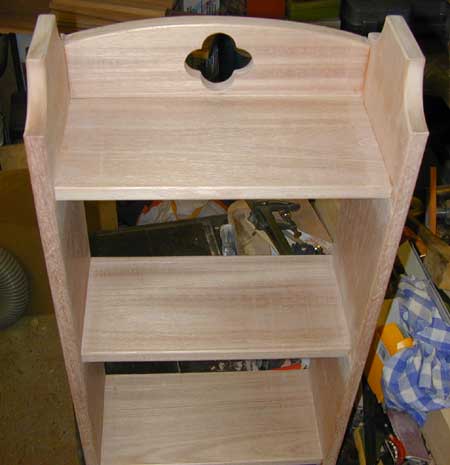
Detailing is simple with a curved top stretcher pierced with a clover type pattern and all edges rounded over with a 1/4" roundover.
Preparing the materials
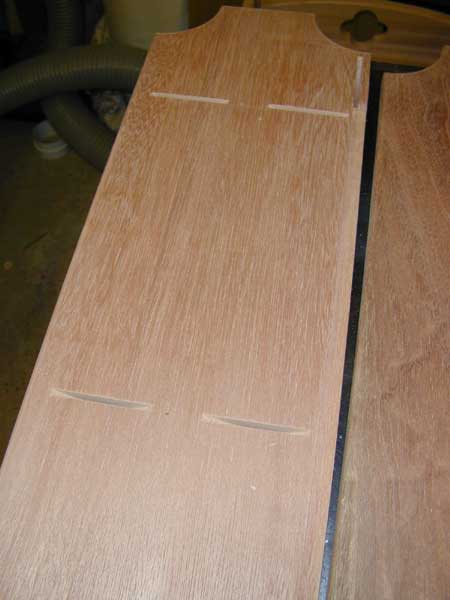
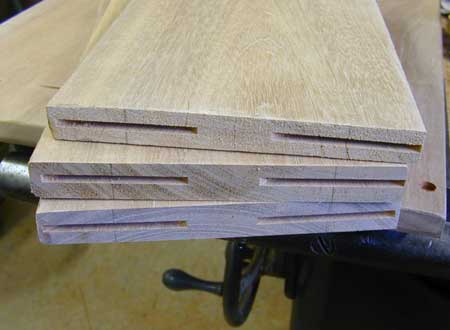
Starting with the side pieces, these were cut to length and the first one marked out. The markings were then transferred to the others. Biscuit slots were sunk using a biscuit jointer freehand against the marks on both sides of the case.
The shelves were pre-cut to length, and ripped down to width. One extra shelf-length piece was cut and ripped down the centre to make the top decorative stretcher. An offcut from the other shelves made the bottom stretcher.
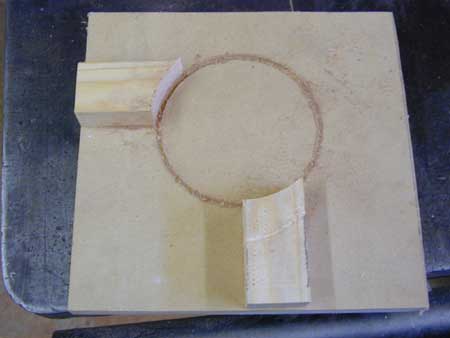
The corner cut-out detail was done using a 4" hole saw mounted in a pillar drill. A quick jig was created from a bit of MDF and some offcuts that could be clamped to the drill table; this enabled the cut-outs to be positioned accurately on each panel. One could achieve much the same using a hole saw with a pilot drill - the MDF backer would hold the saw in place while chopping out the corner.
The last bit of part-making required is the decorative top stretcher. This has a curved top which was drawn using a flexicurve to get a smoothish contour. A thin lath or ruler bent to shape with some string (i.e. rather like an archery bow) would also do nicely. The cut mark was then sawn round, and finally sanded down to the line.
The decorative piercing was done by drilling four overlapping holes with a 40mm hole saw. A cross was drawn in the centre of the face of the wood, and the holes cut with their centres positioned on each axis line and their circumferences just touching the centre point of the cross. If drilling on a pillar drill it helps to pre-drill a centre hole at the origin of the axis - this makes it much easier for the sawdust to clear from the hole saw.
Finally the ends of the stretcher have biscuit slots cut as well.
The next job was to sink biscuit slots into the ends of each of the shelves:
Next rout a 1/2" deep stopped rebate in the back of each side to accommodate the back panel.
The final bit of preparation is to drill the screw holes. There are very few screws used in this design: 8 per case, one for each shelf end and one for the bottom stretcher. The holes were pre-drilled from the outside using a 10mm lip and spur bit to a depth of approx 6mm . This is to leave a clean and accurate hole on the outside that can be filled later with a wood plug. The final hole was then drilled with a 3mm bit through the bottom of the wider hole.
10mm wood plugs were cut from an off-cut of timber with a plug cutter bit in the pillar drill, and these can then be sawn free from the offcut.
Assembly
As this project was going to be stained first it was important to control glue squeeze-out as best as possible and carefully wipe away any excess so as not to mar the final absorption of the stain.
First the biscuits were glued and inserted, and each shelf offered up into position. The biscuits allow a little front to back movement so that the back of the shelf can be aligned with the rebate at the back of the bookcase.
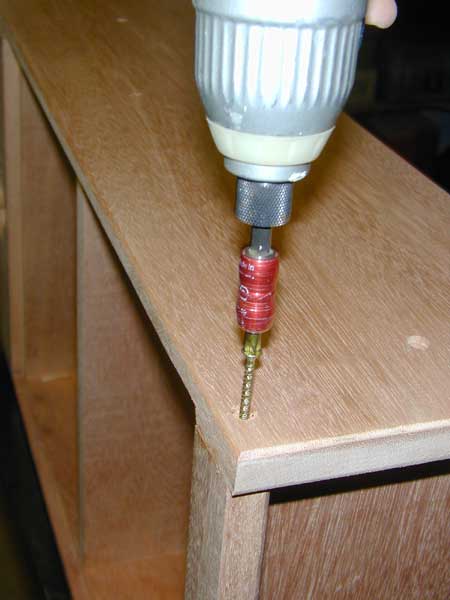
A single screw (50mm Turbogold in this case) was then driven into the shelf end; no pilot hole was drilled in the shelf since these screws are self drilling.
The top stretcher was then put in place and the other side offered up and positioned. Once in place that was also screwed home.
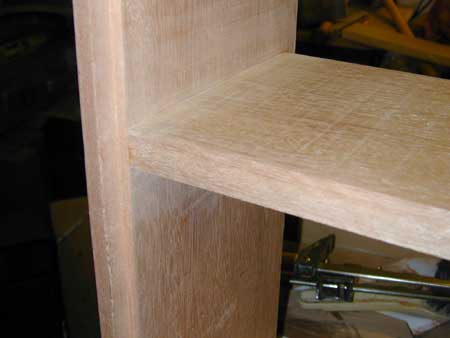
The final adjustment was to the top stretcher. Since we have no rebates or dados to hide the panel ends in this needs to be tapped up snug against the top shelf to avoid leaving an unsightly gap.
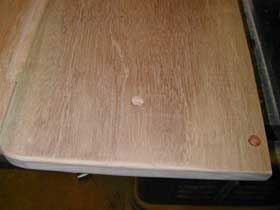
The bottom stretcher was also glued and screwed into place, and the wood plugs glued up and tapped into the screw holes.
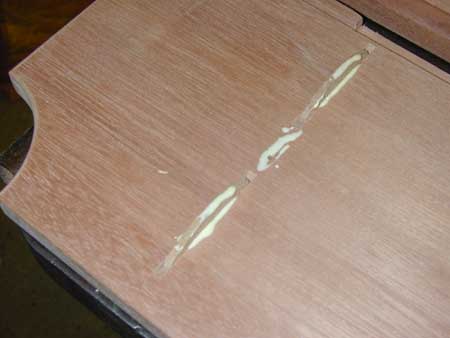
The damp bit in the picture is where some excess glue was wiped away. Not using a waterproof PVA helps here
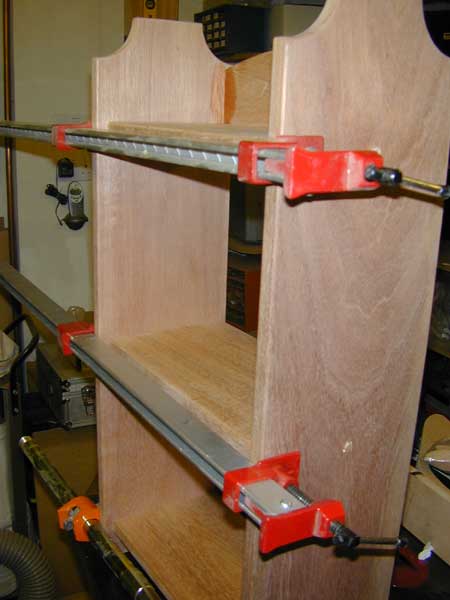
The final job was to clamp up the font of the cabinet to eliminate any gaps, just in case the screws have not pulled the panel ends up tight.
After a few hours of drying time the clamps can come off and the wood plugs can be pared and sanded flush.
Finishing
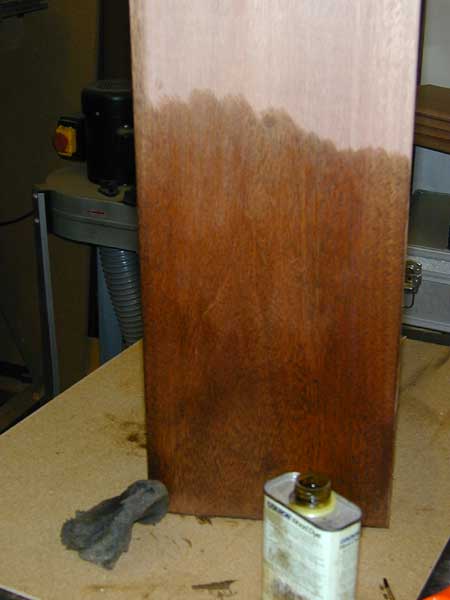
I chose a finish here that needed to match some nicely figured walnut veneered furniture and headboard. Since I wanted to keep some nice grain pattern visible I got most of the required colour using a Colouron Jacobean Oak stain, just rubbed all over using a bit of cloth.
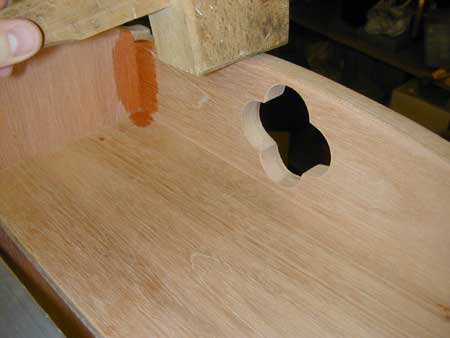
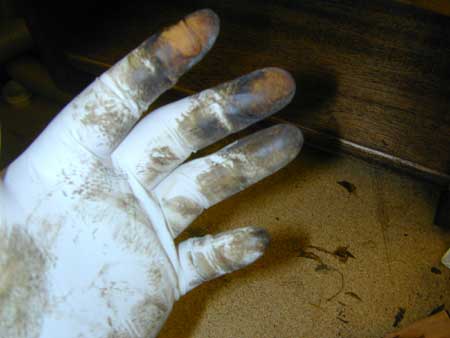
Note that gloves are a must when doing this, and also take care if using latex gloves as shown here. The spirit base of the stain will fairly quickly perish and weaken the gloves. Hence two gloves on the wiping hand are a good move - that way if the top one fails you can change it before you end up with oak colour fingers (a lesson learned the hard way!).
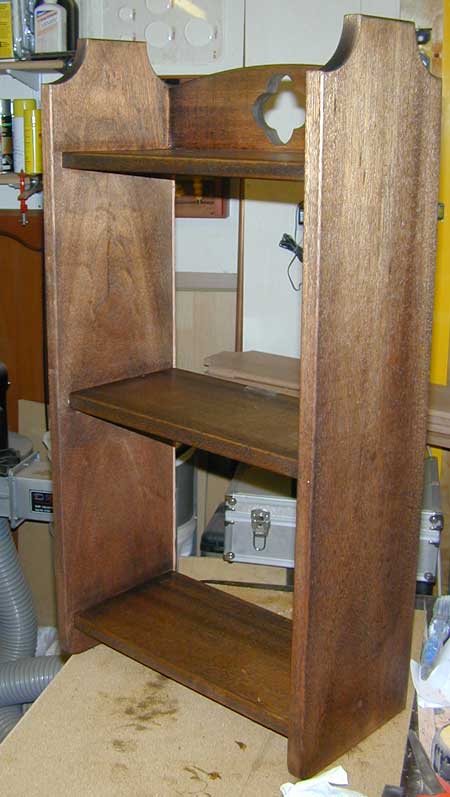
The bookcase with the coat of stain, prior to fitting the back.
The final job was a quick spray with a quick-drying walnut varnish. This was watered down a little and just one coat applied to warm the final colour a little and leave a slight lustre on the surface.
Once that was done the back T&G panels were cut to length and given a coat of clear matt quick-drying varnish, just to preserve the white-ish colour of the T&G which seems to contrast nicely with the dark wood.
Finally this was pinned in place with 30mm brads in the centre of each panel. The joints were not glued to allow for a little movement if required due to humidity changes.
The finished result:
