Swimming Pool Steps
Frame pools are quite handy, easy to erect and dismantle, just about big enough to be usable, and cheap. One of the downsides, are that being sat on the ground rather than "in" it, you have to climb up and over the edge to get in or out. The provided steps don't make for a particularly comfortable way to do this, and there is nowhere to perch yourself at the pool side.
Introduction
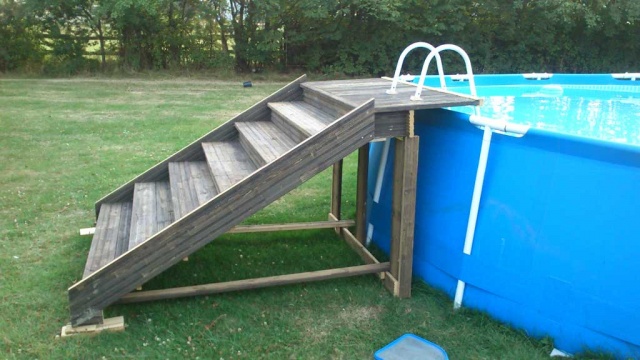
This is just a quick overview of the process I used to turn some cast off decking boards into a handy set of pool steps.
Design
The design aim here was for a small flight of steps that would be wide and shallow (to be ease easy to walk without needing a rail), and end in a small platform area that would project over the side of the pool. To create a space that makes getting in and out easy, as well as a place to sit and paddle should the need take you. Another key requirement, was they must fold up for storage, so they can be wrapped in a tarp and parked behind the shed through the winter.
Materials
For these I was fortunate to be given about fifteen 4.5m lengths of used decking board, which had been ripped up from a local school. So that is what they are built from - almost exclusively unless you include fixings, glue and 5 hinges!
Construction
Starting with the sketchup model, I designed a 5' wide flight of six steps. These were to be made with traditional routed strings, that retain the treads and risers with wedges.
Stage 1
I planned the surface of some of the boards flat (to remove the normal ridges and grooves found on decking boards), and glued them up (Tightbond III) to make a pair of wider and thicker boards to use for the strings. Each was about 6' long.
Stage 2
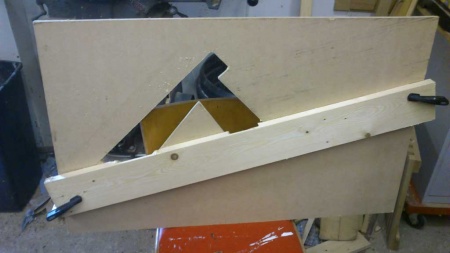
Make a quick router template - draw out carefully, cutout with a jigsaw, then sand smooth. This is sized for the 1" thick boards, plus the 7.5mm offset of the 30mm router guide bush. The material is 1/2" MDF. The edge angle being set to 1 in 7.
The alignment brace used to follow the edge of the string was simply made by clamping a bit of planned softwood to the template (that also made swapping "sides" easy).
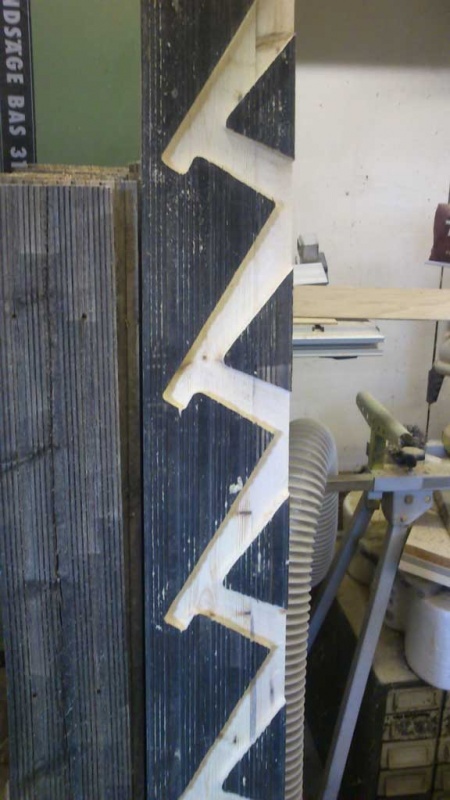
The strings were routed using the template:
Assembly
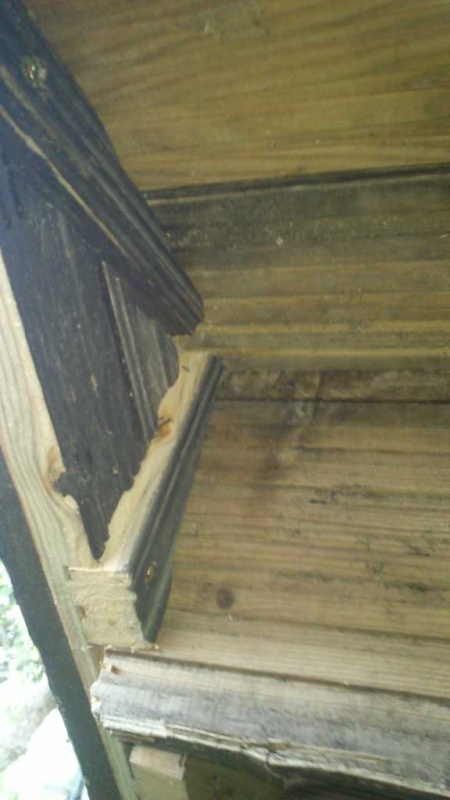
I made a bunch of wedges out of yet more decking, and then each of the treads and risers could be slid into place and wedged. The wedges were pinned with a small screw after hammering home to allow future release and tightening if required. The bottom of each riser was then screwed to the back of the adjacent tread. Since each tread was made from two boards, these were fixed together with a small patch of OSB and some Gripfill and screws.
Then there legs were fixed on to a hinge each, and then all joined at the base with a cross plank. This is then held in final position by an additional set of stays which hinge at the other end of the stairs.
The staircase was then fixed to the top box, which carries the top floor section and overlap. The edges of the projecting boards were treated to a custom edge trim made from a bit of varnished 2x2 with slot rebated into the back - this ties the free ends of all the boards together to make them share the load of someone standing at the end, and makes for a comfortable handhold.
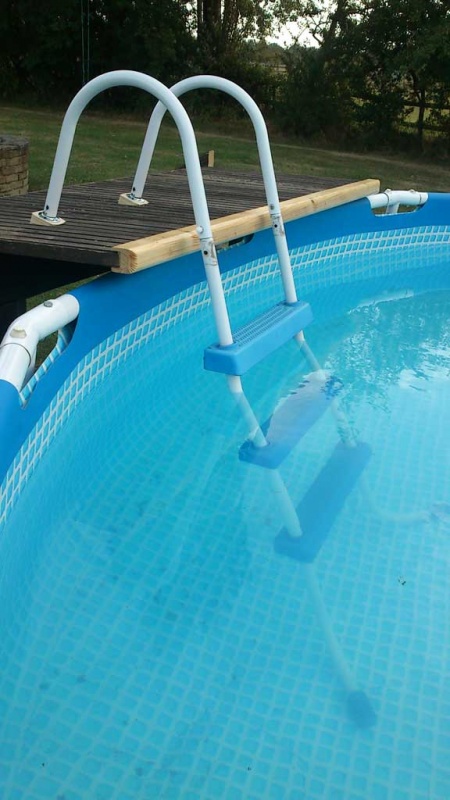
The final stage was to take apart the ladder and affix half of it to the platform. A couple of wedges set the angle, and some wardrobe rail end flanges make a fixing point. The steps are retained on the flanges by couple of screws so that then can be removed when required.
Conclusion
They work quite nicely, but they are blinkin' heavy! (if doing this with bought materials, then starting with something other than 1" thick deck boards might be a better way to start!)
