Wedged joint
Mortice and Tenon joints are one of the mainstays of many of carpentry and cabinet making jobs. This article shows a very simple technique for enhancing the holding power of a joint like this using a simple wedge to splay the end of the tenon, making it almost impossible to pull out. (Tenons wedged in this way are sometimes known as "foxed" tenons)
Terminology
The mortice of a Mortice and Tenon joint is simply a slot cut into a piece of wood. These slots can go all the way through the timber (a "through" mortice), of they can stop at a certain depth (a "blind" mortice). The tenon is a matching finger of wood cut on the other side of the joint that slides snugly into the mortice. Once glued together it makes a strong joint that is very good as resisting lateral and bending loads.
Add a taper
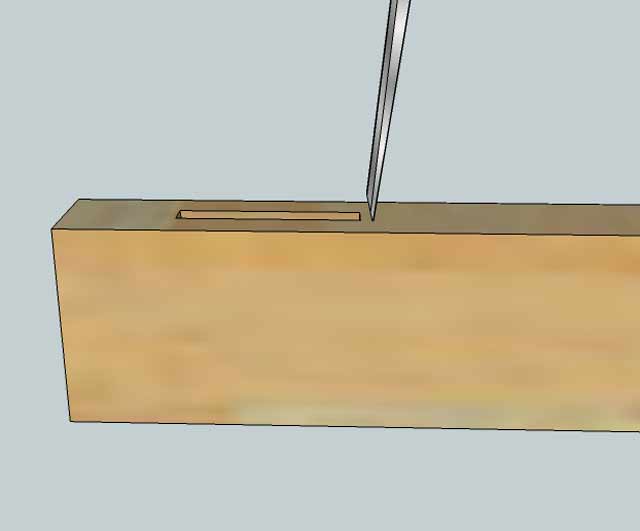
Once the mortice is cut use a chisel to add a slight taper to the outside cheeks of the mortice (i.e. the part of the joint furthest from the shoulder of the tenon):
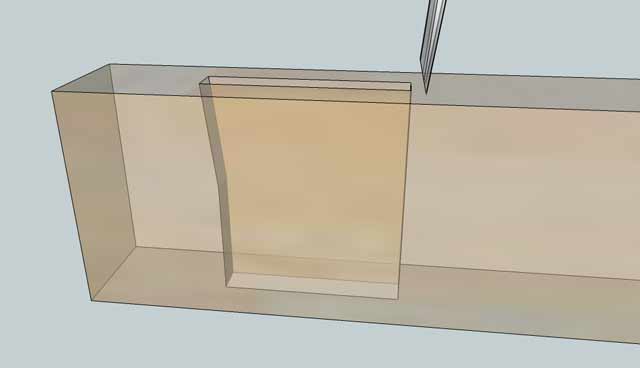
If we look inside the joint you can see that aim is to add a flare to the exit of the tenon:
Cut the tenon
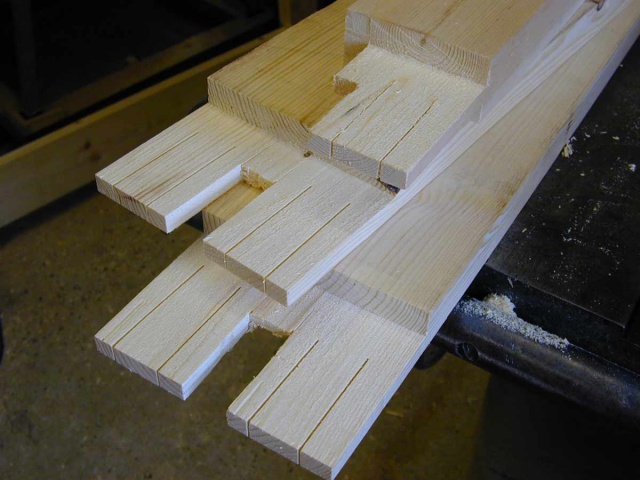
The next stage is very simple, simply run a saw cut down the ends of your tenon, around half an inch in from the edges:
Glue up and assemble
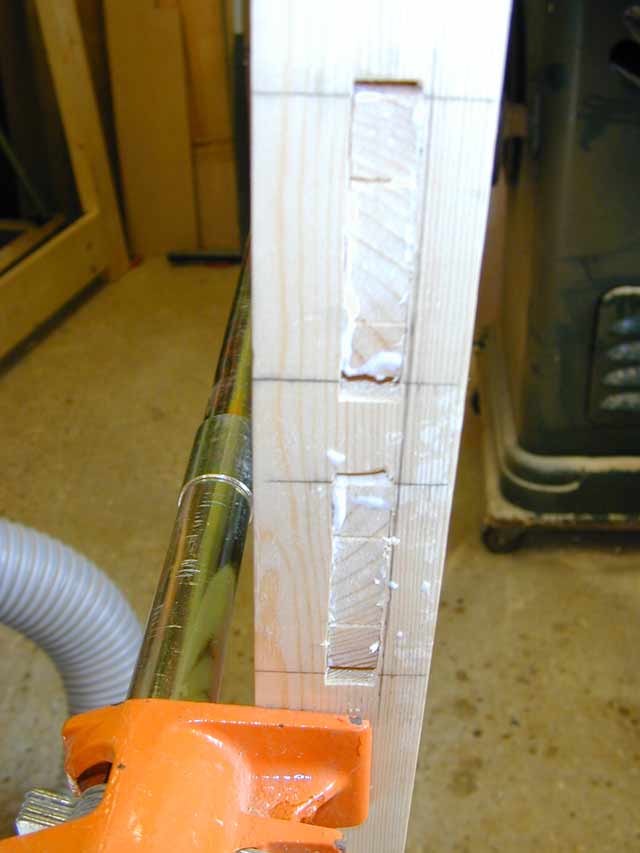
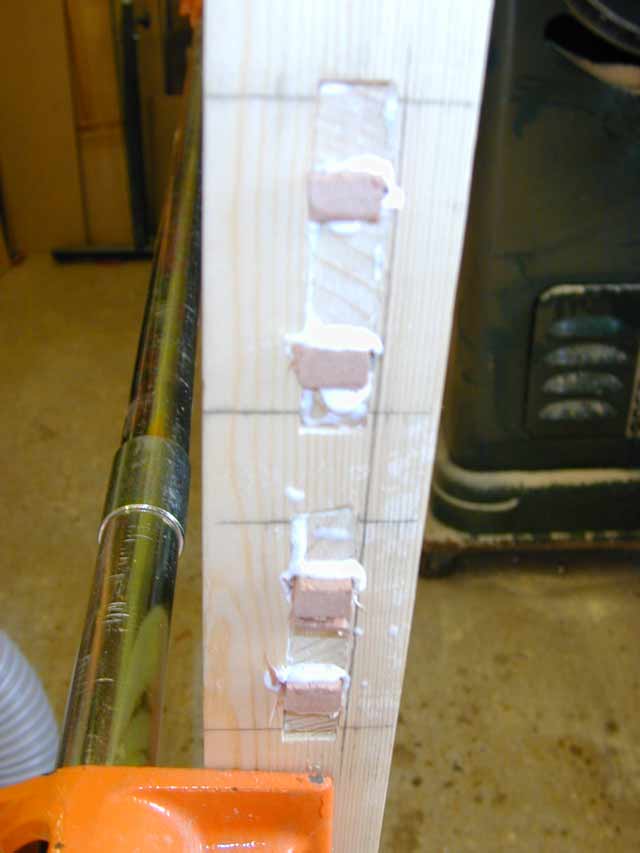
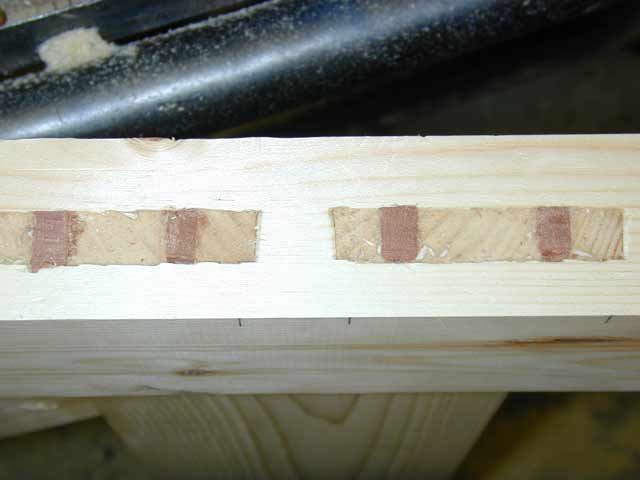
Glue up and assemble the joint in the normal way, clamping tight if required. Looking at the end of the joint, you should see a gap either side of the tenon where you have added the taper with the chisel:
Wedge the joint
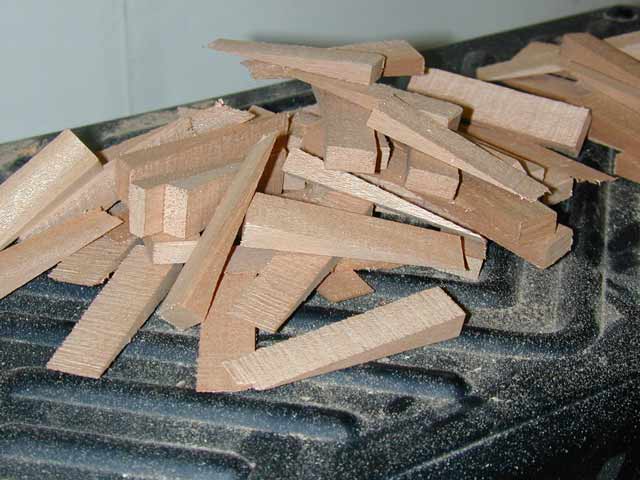
Make sure you have enough small wedges pre-cut to complete the joint. The thick end of the wedge wants to be wide enough to occupy all the space you created earlier when tapering the mortice - and a bit more (the timber will compress a bit as the wedges are driven in). So if you have added 3mm of extra space to both sides of the mortice, you will have 6mm of space to take up with the wedges. So a pair of wedges with a 5mm thick end should be about right - the will both drive mostly home with a little bit left sticking out.
(in many cases its simpler to simply prepare a job lot of 1 in 7 wedges to keep in stock, and cut the taper to fit the wedge!)
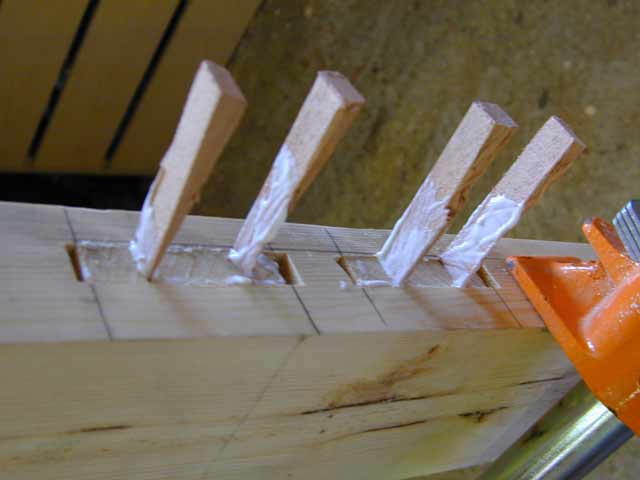
Now apply a generous amount of glue to the points of each wedge and poke into the slot you cut in the tenon:
Drive the wedges home with a hammer. Do all the edges in a tenon at the same time - alternating between them, rather than driving one completely before moving to the next. As you drive them home, you should see the gap at the ends of the mortice vanish as the edges of the tenon are forced out into the flared section of the mortice:
This will mean that the tenon will no longer pull out of the mortice due to the mechanical interlock - its a strong joint even without glue.
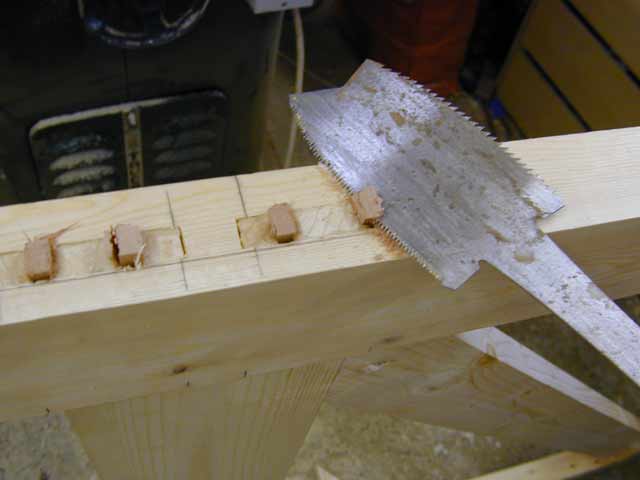
Allow the glue to dry, and cut off any protruding wedges flush with the end of the joint:
Then plane the whole lot level to leave the whole joint clean:
You now have a joint that will not be coming apart any time soon! It is also far stronger than a normal M&T joint when under tension.
Blind Mortices
The same technique can also be used on a blind mortice (i.e. one that does not go right through the timber). However the process of wedging is slightly different, since you can't hammer them in from the end.
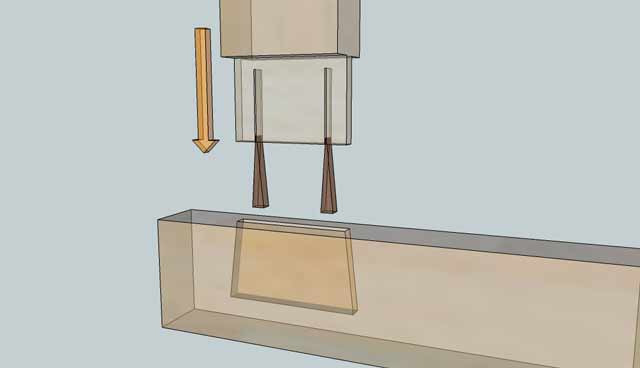
For a blind joint, cut your wedges slightly shorter, so that you know the full length of the wedge will fit the joint. Also cut your taper in the mortice such that it tapers along most of the side of the mortice. Glue up and poke the wedges into the cuts in the tenon, before assembly. Now carefully insert the tenon into the mortice - the backs of the edges going in first. The wedges will "bottom out" in the mortice. At this point drive the whole tenon section into the mortice with a mallet. As the tenon is driven into the joint, the wedges will be driven into their slots, and the tenon will start to spread. Hopefully (if you have judged the taper angles right to match the wedges), the joint will go home, and will be nicely spread to match your taper.
You don't get any second chance at this one, once its in, its staying - even if you forgot the glue.
