Bedroom study unit
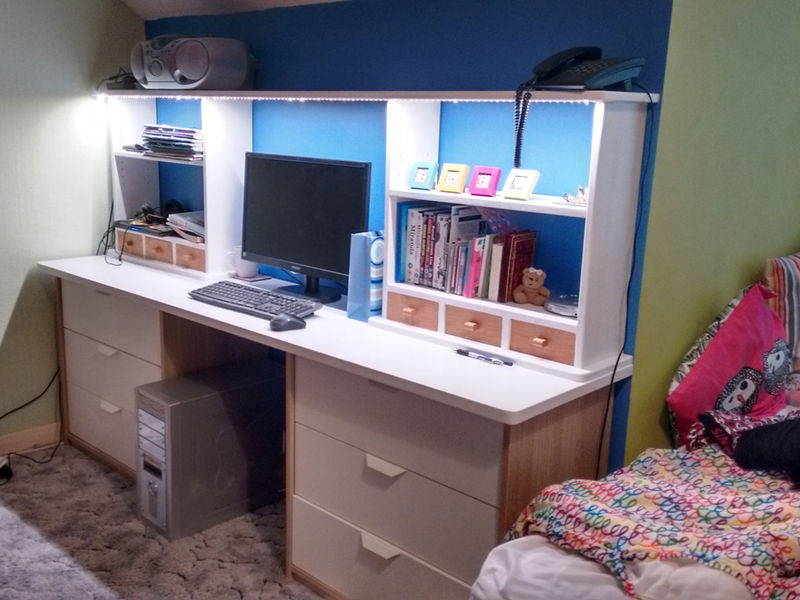
An alternative title might be "How to organise a teenager"... This is a very quick project to create a useful study space in a bedroom, with plenty of storage and shelf space, and a well lit work area that can be used as a desk and computer station.
Introduction
To speed matters along, this was a part buy, and part build project. The base for the unit being provided by a couple of small chests of drawers from Ikea ("ASKVOLL" is they name they give them!), and then a sheet of 3/4" MDF does most of the remainder. A small amount of softwood and cherry is used for the small drawers.
Design
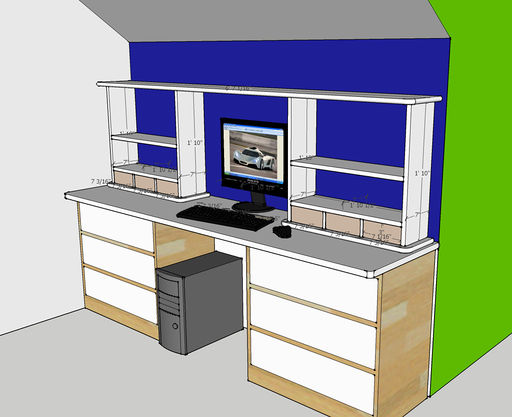
The mandatory sketchup model was the starting point. The brief was for a long worktop to sit on the chests of drawers, and then a pair of free standing shelving units to sit on it, with a longer shelf bridging the pair of them. The top shelf being made a little deeper than the unit below, so as to provide and overhang under which some LED strip lighting could be deployed to light the desk below. Overall height was slightly constrained since the location was under a section of the room with sloping eves intruding into the space from 5' up.
Construction
Worktop
First up was the painted worktop 80" wide and 19" deep. The MDF was cut a little undersize, and then softwood lipping ripped from a board to form the edging. The lipping was made about 30mm deep, so as to add more visual weight to the worktop making it look a bit thicker than it really is. The thickness of around 20mm allowing enough depth to not only round over the edges, but to also put a 50mm radius on the corners to soften the appearance, and make it a little more "collision" friendly. The edging was simply glued and brad nailed into place.
Shelving unit
A similar MDF base with lipping on three sides, allowed for rounded edges and corners again. A shallow rebate was routed into the base using a small router fitted with an edge guide and straight fluted cutter. This made location of the shelf uprights more positive. These were glued in place and screwed through from the underside.
The 3" high draw box dividers were fitted in a similar way (although without the rebates cut into the base). The lower shelf was then set on top of these, and fixed simply by screwing through the sides into the edge of the shelf. The screw heads were countersunk so that they could be filled over prior to painting.
The top shelfs needed to be height adjustable. So a small template was made up to drill 5mm holes for shelf pins.
All the shelves, uprights and drawer dividers were also lipped with softwood and rounded over with a 1/4" radius.
Top shelf
MDF lipped on three sides. This was fixed in place with screws countersunk into holes drilled through from the top. Unlike the others these were left unfilled so that they screws could be removed to breakdown the section for transport between workshop and final location. Again softwood lippings allowed for rounded edges and corners.
Drawers
These were the nearest thing to any real woodwork in this project. There were some ~8mm thick strips of softwood which had been ripped off the long face of a 4x2", which have been laying about in workshop for ages. So I ran these through the thicknesser to make them a more uniform 1/4" thickness, and ripped them down to 3" wide.
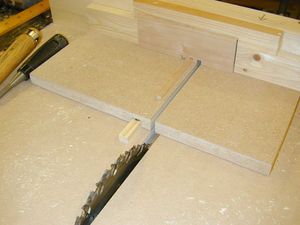
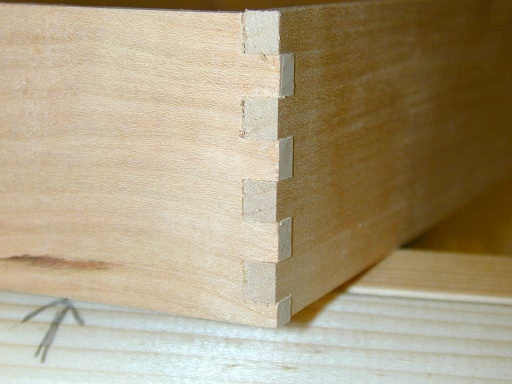
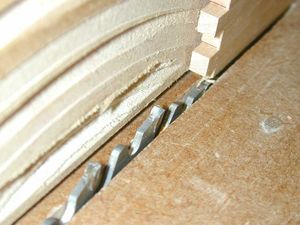
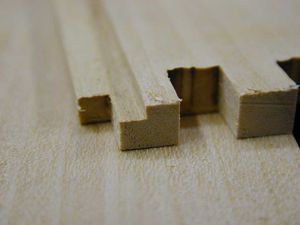
These were then finger jointed with a home made table saw sled, setup to allow equally spaced cuts to be made in the board ends using a dado blade.
This creates joins similar to:
(doing it this way makes for very strong box construction, and also has the advantage that all the drawer sides and then all the fronts can be cut at the same time in one operation).
The drawer fronts were made from a piece of solid cherry. A 2' long section 3.25" wide was cut from a larger 8x2" sawn board. This was then ripped into three ~1/2" thick planks (one plank doing three drawer fronts). These were then planed and thicknessed down. Ripping all the fronts from a single piece of timber allows the drawer fronts to be grain matched (i.e. the grain pattern flows through from one drawer to the next), and the drawer set for each unit to be "book matched" (mirror image of the same grain pattern).
Once the sides of the box were prepared, and quick pass over a low table saw blade close up to the fence, created a small rebate that would hold a 4mm hardboard base once assembled.
The knobs were made from the same timber, with a round over routed on each edge. Each pull being glued and fixed through the back of the drawer front with a small screw.
The fronts were fixed to the drawer boxes using glue and a couple of headless pins from the inside of the drawer.
Finishing
All the painted surfaces were primed with a Johnstones MDF primer, and then painted with a acrylic satin top coat. Both dry fast and are low odour. The real wood drawer fronts were finished with a couple of coats of Liberon finishing oil.
Lighting
A roll of self adhesive LED lighting strip from LED Hut was fixed to the underside of the front edge of the top shelf (simply trim to size at one of the marked cutting points). This actually works surprisingly well, creating a nice even down light on the shelves and the desk.
