Crack repair
Crack Repair Discusses techniques for fixing internal cracks in plastered walls.
Types of crack
There are several types of crack you will find in plastered walls, and several causes of them. The repair methods are different depending on the type.
Hairline / shrinkage cracks
These very fine cracks often appear after walls are re-plastered, or filled. They are usually caused by the material shrinking slightly as it dries. Typically once the plaster is fully dry they will not move or develop any further. These can usually be filled with a fine surface filler.
Building movement cracks
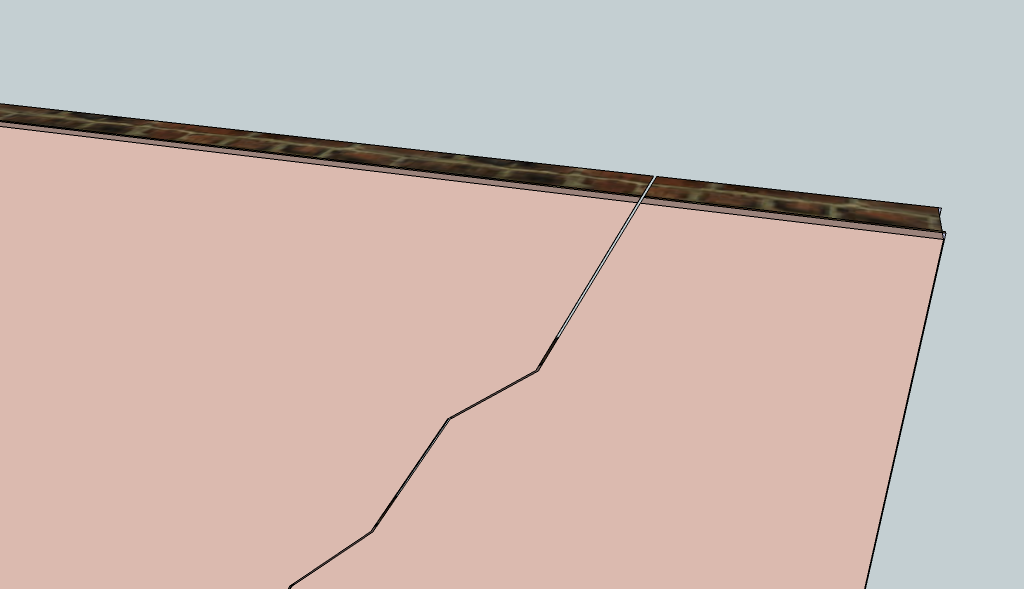
These are usually larger cracks caused by slight movement of the building. In new builds this can be just down to shrinkage and settlement as the building dries out. Often these will run in corners, and along horizontal and vertical joins / corners. In older properties these can be caused by subsidence, war damage, tree roots or anything that causes the building to move in some way. Often these will run diagonally through walls. Before fixing these cracks, it is important to work out if they are still moving, and if so how.
Monitoring crack movement
Cracks which are stable and are not changing in any way, can usually be raked and filled to effect a permanent repair. Cracks which are subject to movement however are more problematical. The difficulty is identifying the difference.
Simple detection
Simple detection of crack movement can be achieved by gluing a microscope slide or other thin small piece of glass across a crack with a blob of epoxy either end. Any movement of the crack will cause the glass to break.
Measurement
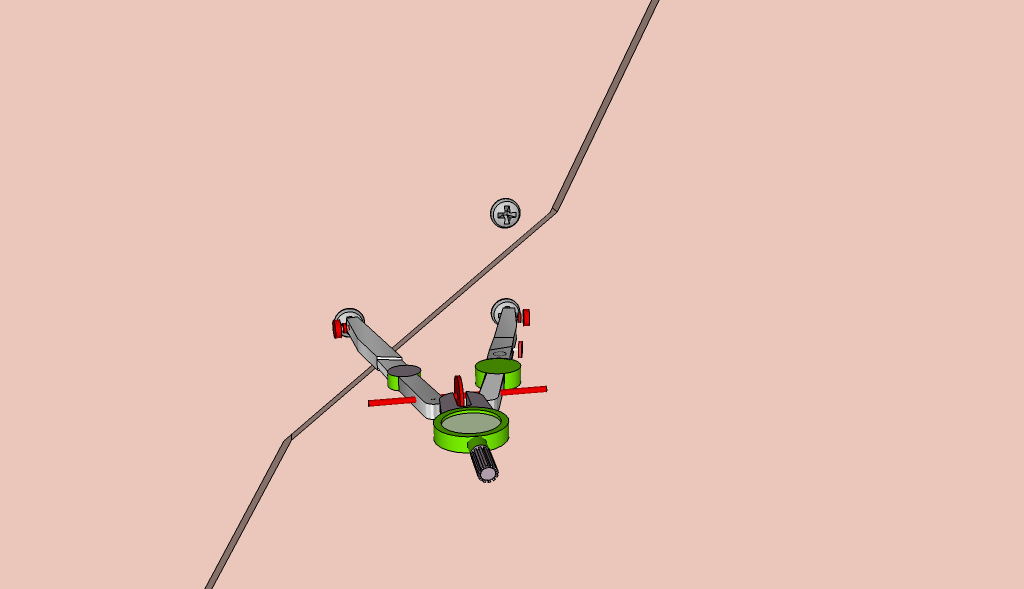
A better approach to monitoring a crack is to make measurements over a period of time. If any movement is detected, then ideally this monitoring needs to be done for at least year to fully track the effect of changing seasons, humidity, changes in the local water table etc. To do this with any hope of accuracy, you need a way of accurately measuring movement, and re-measuring the same crack at subsequent dates. The best way to do this is to fix measurement datum points into the wall. Professional surveyors will use purpose made metal screws with spikes or dents in the head that can be used to accurately measure distances from. However any suitable screw will do if you can take an accurate point reading from it with a calliper or divider etc. Start by drilling at least three holes either side of the crack, and inserting your measurement points or screws. These can be driven into tight wall plugs, or better still, bonded in place with two part epoxy.
Position the points so that you can measure any movement in both axis. Once these are set in place, use a digital caliper, vernier gauge, or dividers and an engineers ruler to measure the distance between the points:
Record the readings and then repeat them monthly. This technique can be used to not only assess if movement is occurring, but also if remedial action has cured the cause of problem cracks.
Interpretation of the measurements
Some sets of readings are quite simple to interpret - a crack which shows no movement at all can usually be treated as a "historical" crack, and simply raking out and filling will give a successful long term repair.
Cracks which are moving, and keep getting wider, usually indicate a more serious underlying problem of building movement or subsidence. If you have this type of problem, the cause needs to be identified and rectified before any attempt to repair the crack is made.
Sometimes you may detect seasonal movement, i.e. cracks that typically open up during the summer, and then close again during the winter, but don't actually get any wider with time. Often these will be caused by movement related to tree roots close to or under the building foundations. Its a problem very common in parts of the country with heavy clay soils, which tend to experience "heave" (the tendency for the clay sub soil to shrink and expand with changing ground water levels). Cracks of this nature can often be safely repaired, however they are difficult to repair due to the continuous movement. Often the expanded metal lath repair is needed to prevent the crack from reappearing through the plaster.
Repair techniques
Select one of the following repair techniques based on the nature of the crack.
Fine surface filling
The easiest cracks to deal with are the very fine shrinkage cracks. In some cases simply repainting alone will be adequate. However there are a range of light weight decorating fillers available that can be wiped into very fin cracks with a flexible filling knife. They usually dry very quickly and can be over painted within 20 minutes.
Raking and filling
Slightly larger cracks that are otherwise stable, often require raking and filling with a more traditional decorating filler. These plaster like powdered fillers are typically mixed with water and then pressed into the crack before smoothing. Since these fillers tend to shrink a little as they dry (as do most plasters), you may find them not very effective when filling very fine cracks - they will often flake and fall out when used in very fine runs. The solution is to use a utility knife or other tool like an old screwdriver to make the crack wider and deeper. This creates a proper key for the filler, and also means you are using enough of the filler that it will better withstand the slight shrinkage as it sets.
Scrim and filling / plastering
Fine cracks that appear along the plasterboard joins in ceilings and dry lined walls are usually the result of shrinkage, and vibration. Typically these joins should be covered with "scrim tape" prior to skim plastering (scrim tape is typically a fine gauze of fiberglass strands a couple of inches wide with a self adhesive back). If for some reason the tape was not used, then cracks can result. It can be applied to a crack and the wall/ceiling re-skimmed. Of if you just want an easy repair, rake out enough of the existing plaster skim to take the width of the tape, apply and then fill and sand. (the proper board fill fillers made by the makers of plasterboard are ideal for this, since they are easy to apply and very easy to sand perfectly smooth).
Expanded metal lath repairs
Cracks that are subject to seasonal movement are the hardest ones to repair, since the movement will soon open up the crack again, and cause the filler to fail. Part of the problem here is that while plasters and fillers are actually very slightly elastic, they can't cope with a large amount of movement in a very narrow amount of filler; e.g. a nominally 4mm crack that grows and shrinks 1mm each season is subject to 25% movement - even a flexible filler will have difficulty coping with that.
The trick to solving this problem is to force the movement to be accommodated by a much larger expanse of plaster or filler. So that in percentage terms, you are only asking the plaster to stretch by a very small amount.
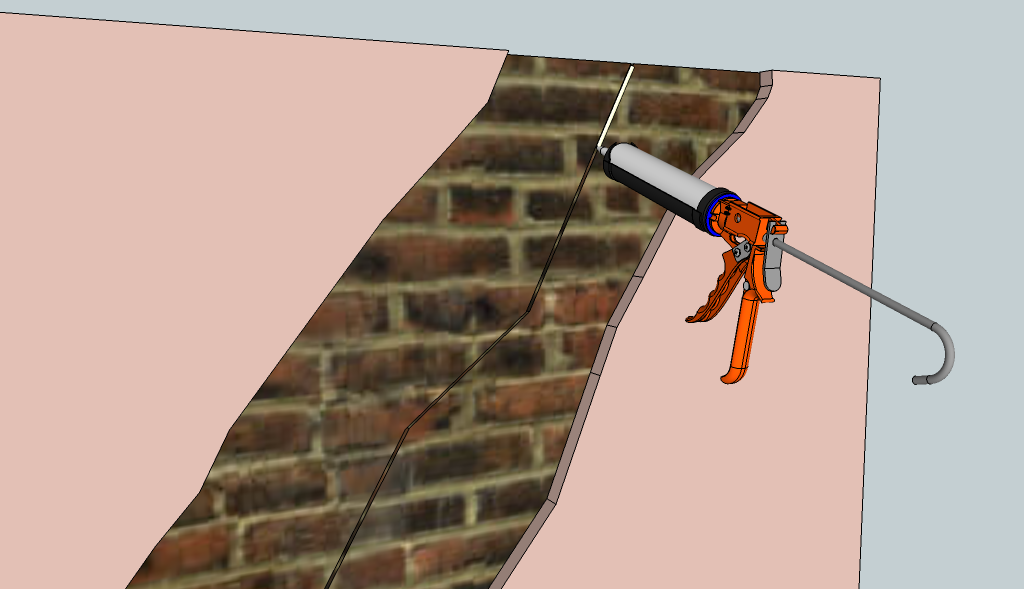
The first step is to hack off plaster for a few inches either side of the crack:
This will usually expose a crack in the underlying brick or block work. While this is exposed, it can be bonded with a resin filler that remains very slightly flexible.
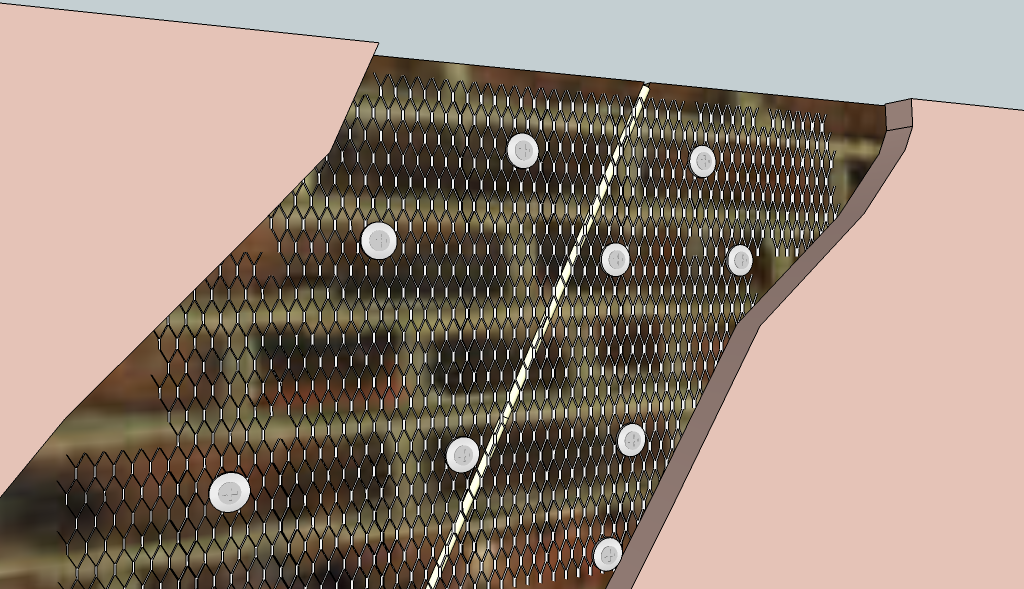
Next a sheet of expanded metal lath, is cut to the shape of the exposed section of brickwork. This is then fixed to the brickwork using a random pattern of galvanized screws in wall plugs, with large penny washers. The fixings furthest from the crack can be tightened down tight. The ones nearer the crack are tweaked up, but not quite as tightly. The intention here is that when the crack moves, the movement is spread over the width of the lath, and not concentrated into just the immediate area of the crack.
Once this is done, the bulk of the area can be re-plastered with bonding plaster. Start by spraying a little water onto brickwork to prevent it sucking all the water out of the new plaster too quickly. Apply it and rule off to approximately the finished surface, then trowel a little so that it ends up drying a little shy of the finished surface:
When that is touch dry (couple of hours), apply finish or top coat plaster and smooth off. Leave it to dry for 20 mins or so. Then sprinkle a few drops of water on it, and give it another polish with a trowel to get a smooth final finish.


