Difference between revisions of "Dining chair - cushion replacement"
(Draft) |
(tweak) |
||
| Line 15: | Line 15: | ||
==Starting fresh - bases== | ==Starting fresh - bases== | ||
| − | The first job was to take an existing cushion apart and have a look at the construction. This appeared to be a 1/2" thick chipboard base, with a PU foam pad and then the cushion fabric stretched directly over this. Since the bases were not useable, the first job was to make some new ones. Using one of the less broken bases I traced round it onto a sheet of 9mm MDF. I cut out the MDF with a jigsaw, and then used a belt sander to get a nice shape and finish all round it. | + | The first job was to take an existing cushion apart and have a look at the construction. This appeared to be a 1/2" thick chipboard base (now broken to one degree or another), with a PU foam pad and then the cushion fabric stretched directly over this. Since the bases were not useable, the first job was to make some new ones. Using one of the less broken bases I traced round it onto a sheet of 9mm MDF. I cut out the MDF with a jigsaw, and then used a belt sander to get a nice shape and finish all round it. |
| − | The next step was to use this template to make new bases. I drew round the template onto some 1/2" WBP ply wood, and roughly cut to shape 6 new bases using a jigsaw. Finally I joined a pair of new bases and the template into a stack with a few blobs of hot glue, and used a router with a template following cutter to trim the new bases to exactly match the template. | + | The next step was to use this template to make new bases. I drew round the template onto some 1/2" WBP ply wood, and roughly cut to shape 6 new bases using a jigsaw. Finally I joined a pair of new bases and the template into a stack with a few blobs of hot glue, and used a router with a template following cutter to trim the new bases to exactly match the template. Repeated this twice more to make a total of six new bases. |
[[image:ChairCushionTemplateRouting.jpg|400px]] | [[image:ChairCushionTemplateRouting.jpg|400px]] | ||
| Line 34: | Line 34: | ||
[[image:ChairCushionFixOuterPadding.jpg|400px]] | [[image:ChairCushionFixOuterPadding.jpg|400px]] | ||
| − | |||
| − | |||
Creating a basic cushion outline: | Creating a basic cushion outline: | ||
| Line 78: | Line 76: | ||
[[image:ChairCushionTrimCorner.jpg|400px]] | [[image:ChairCushionTrimCorner.jpg|400px]] | ||
| − | + | [[image:ChairCushionOuterFixed.jpg|400px]] | |
| − | |||
| − | |||
| − | |||
| − | |||
| − | |||
| − | |||
| − | |||
| − | |||
| − | |||
| − | |||
Now the base fabric could be cut: | Now the base fabric could be cut: | ||
| Line 96: | Line 84: | ||
And that folded neatly at the edges and stapled to hide all the edges and most of the staples under the cushion. | And that folded neatly at the edges and stapled to hide all the edges and most of the staples under the cushion. | ||
| − | [[image: | + | [[image:ChairCushionBottomCoverDone.jpg|400px]] |
The first one came out ok (although the cloth was perhaps a little too tight. | The first one came out ok (although the cloth was perhaps a little too tight. | ||
| Line 111: | Line 99: | ||
Its so nice sitting on a chair again and not sinking into a hole! | Its so nice sitting on a chair again and not sinking into a hole! | ||
| + | |||
| + | |||
| + | ==See also== | ||
| + | * [[:Category: Projects]] | ||
| + | * [[:Category: Furniture]] | ||
| + | * [[:Category: Wood]] | ||
| + | * [[Special:Allpages|Wiki Contents]] | ||
| + | * [[Special:Categories|Wiki Subject Categories]] | ||
| + | |||
| + | |||
| + | [[Category: Projects]] | ||
| + | [[Category: Furniture]] | ||
| + | [[Category: Wood]] | ||
Revision as of 01:22, 5 July 2017
Introduction
A few photos and step by step overview of making some new cushions for a set of dining chairs. Not so much a "how to" article (there are plenty better out there, and some good examples on youtube!) More an effort to record a first attempt...
Why?
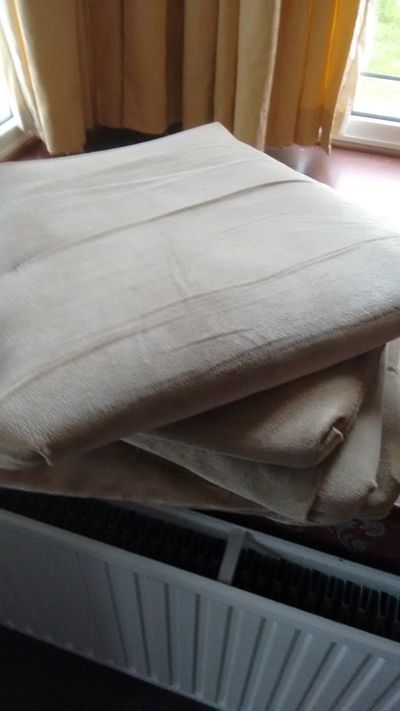
Our old dining suite has not done badly, as it approaches 25 years of constant use, however the chairs were beginning to suffer. Not only was were the cushion covers getting rather tired, but the padding had mostly vanished:
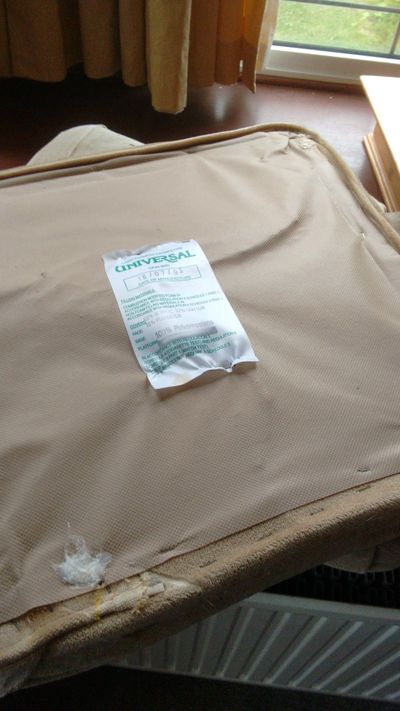
To make matters a bit worse, the wooden bases onto which the cushions are built, had also started to collapse and were now far from flat any more:
Starting fresh - bases
The first job was to take an existing cushion apart and have a look at the construction. This appeared to be a 1/2" thick chipboard base (now broken to one degree or another), with a PU foam pad and then the cushion fabric stretched directly over this. Since the bases were not useable, the first job was to make some new ones. Using one of the less broken bases I traced round it onto a sheet of 9mm MDF. I cut out the MDF with a jigsaw, and then used a belt sander to get a nice shape and finish all round it.
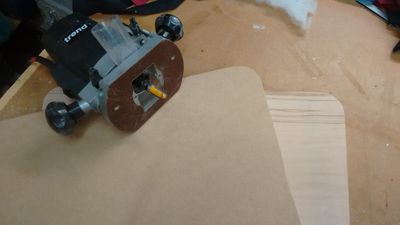
The next step was to use this template to make new bases. I drew round the template onto some 1/2" WBP ply wood, and roughly cut to shape 6 new bases using a jigsaw. Finally I joined a pair of new bases and the template into a stack with a few blobs of hot glue, and used a router with a template following cutter to trim the new bases to exactly match the template. Repeated this twice more to make a total of six new bases.
Materials
For padding I had rescued some PU foam from an old mattresses that had got too saggy for its primary purpose, but some bits of it were still pretty good. To supplement the padding and form an isolation layer between the foam and the final fabric I bought some dacron style padding. To finish the base of each cushion, some calico style black cloth, and finally a velour / draylon style fabric for the outer covers (ebay for the first two, and the latter, found languishing in a drawer, had been bought years ago for a purpose no one could remember!)
Putting it all together
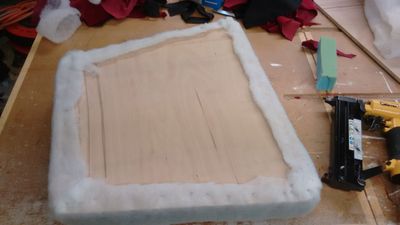
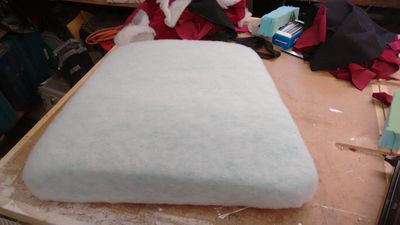
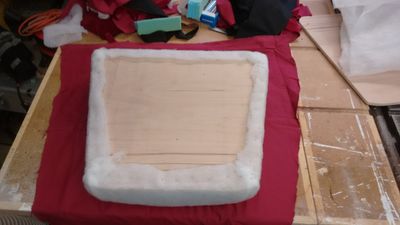
The first job was to lay the base on top of the foam and cut round it (a "snap off blade" knife with a new blade fully extended worked well for this). This gave a ply bases and matching shaped bit of foam. This was then laid onto a couple of layers of the dacron material and this was cut so as to allow enough material wrap round the sides of the cusshion and over the edges of the base by a couple of inches.
Everything was stapled down with some 10mm narrow crown staples fired from a pneumatic nail/staple gun.
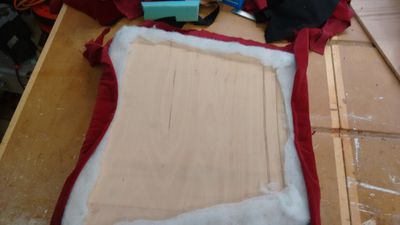
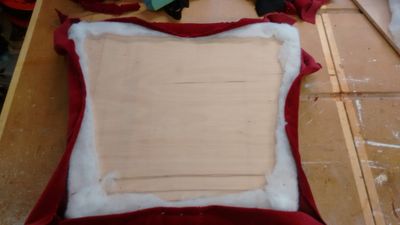
The dacron was fitted sing the same process as described below - and made tight enough to hold the foam snugly to the board, and create a basic cushion shape. Fixing from the underside:
Creating a basic cushion outline:
Covering
Cutting the outer fabric:
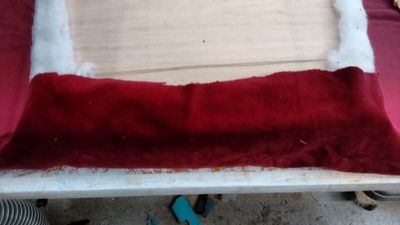
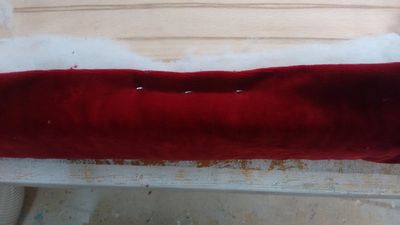
This was then stapled on the first side with three staples in the middle of an edge. To make a neater and stronger fixing the cut edge of the fabric was folder under so that the stale was going through two layers of the fabric.
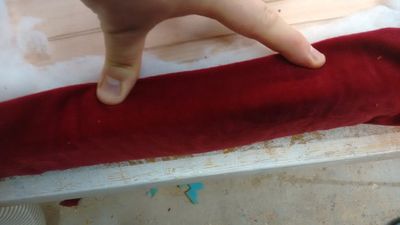
The the cloth was pulled tight on the opposing edge, and that side fixed:
Then the same was done with the other two opposing sides.
Once the four sides were fixed in the middle one could work out to the sides of each edge - attempting to get a consistent tension on the cloth so the edges of the cushion looked even and not pinched in or bulging out. This continued until all sides were fixed up to with a couple of inches of each corner.
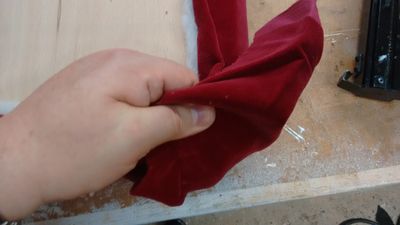
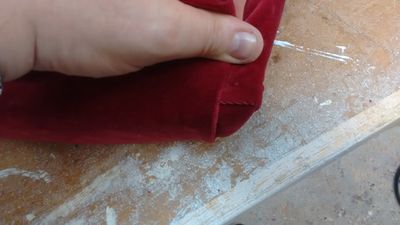
The last job was to fix each corner. This was done in three stages. First pulling the fabric straight up and over the corner and fixing it.
Then folding in the spare cloth to one side of the corner into a pleat and fixing that before moving onto the second side of the corner and a final pleat.
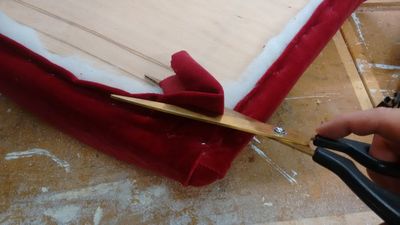
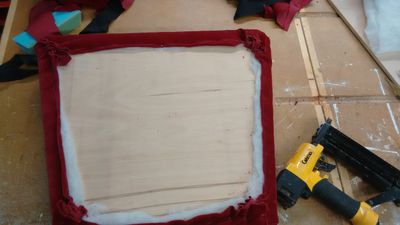
Lastly the spare cloth could be trimmed from the corners.
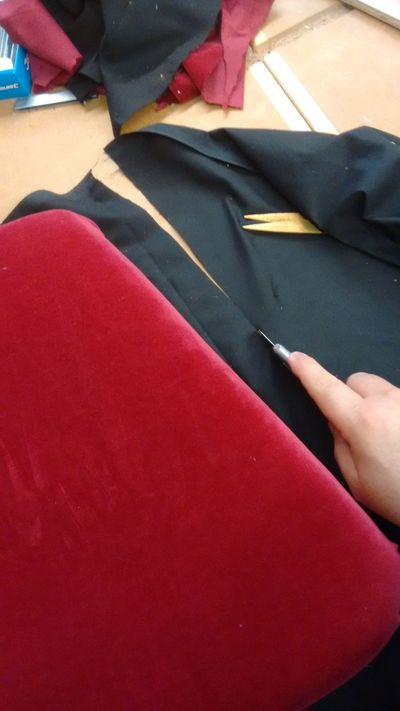
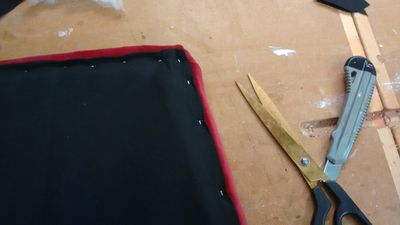
Now the base fabric could be cut:
And that folded neatly at the edges and stapled to hide all the edges and most of the staples under the cushion.
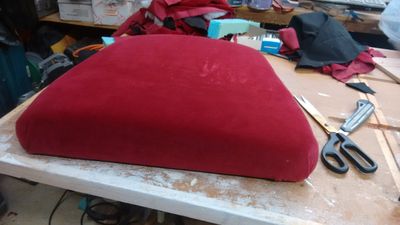
The first one came out ok (although the cloth was perhaps a little too tight.
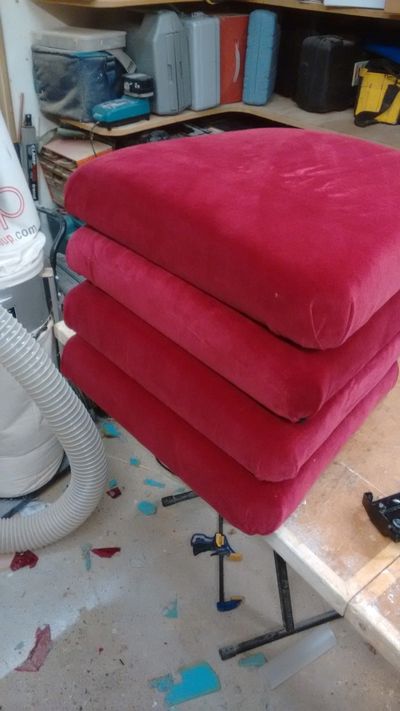
By the time 4 were done, it was getting easier to be more consistent:
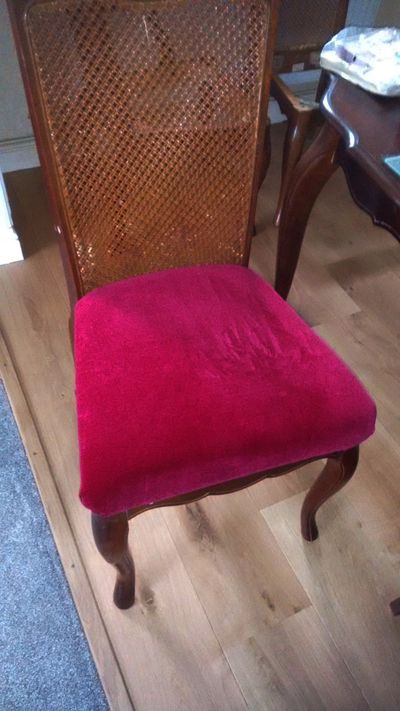
When all six were complete and any other bits of repair work done to the wooden frames of the chairs complete. The new cushions could be fixed back to the chairs.
Its so nice sitting on a chair again and not sinking into a hole!
