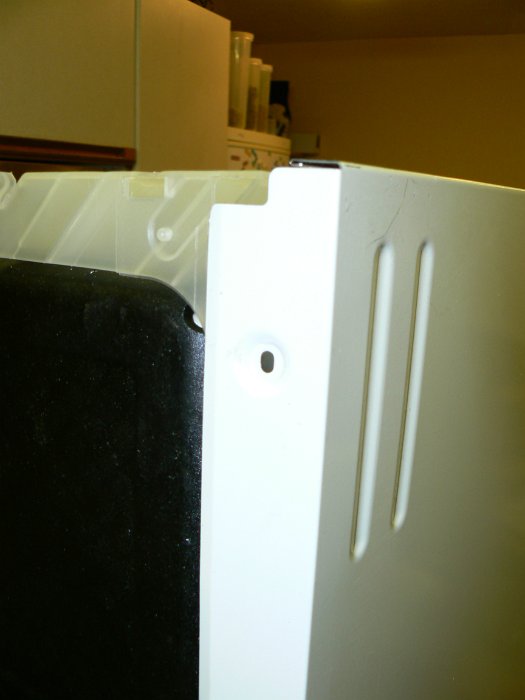
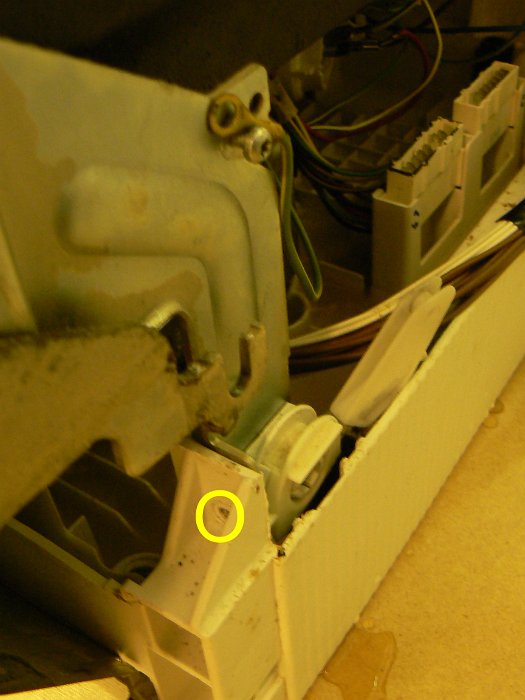
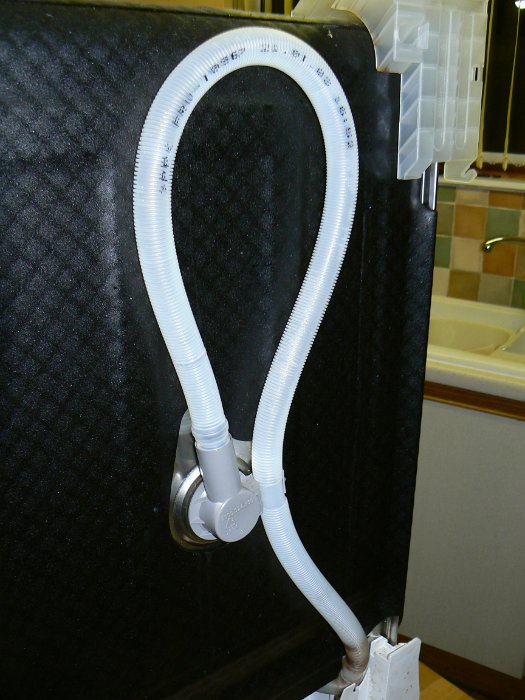
Leaking exhaust hose (Bosch SMS 5342)
after 10 years of rubbing against the wall when water is pumped out the exhaust hose developed a hole ( appros 2 mm x 1 mm)
the initial repair was by filling the hole with silicone sealant bound down with Duck tape. This lasted approx 8 months. I think it failed because the duck tape was worn away in a similar manner. if doing it again I'd add something to relieve the rubbing ( ?polystyrene block ?)
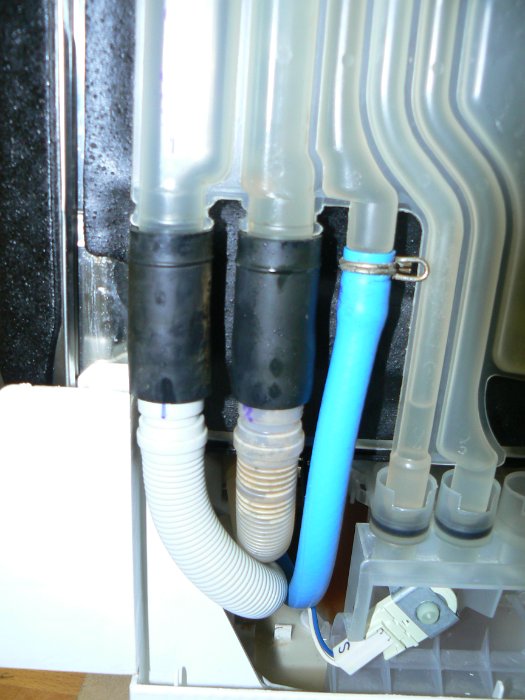
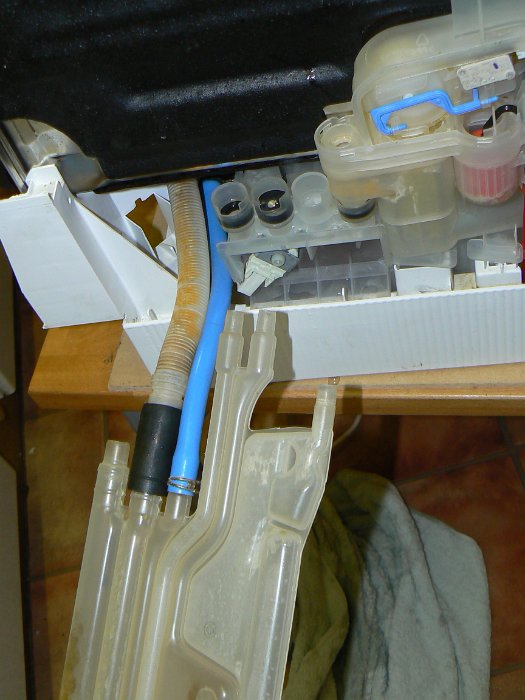
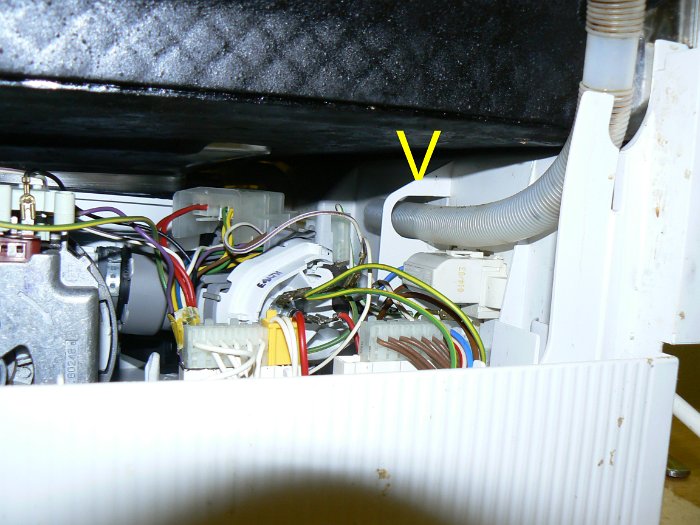
The generic exhaust hoses from the sheds do not provide a water-tight seal with this model of Bosch dishwasher ( I suspect they don't with any model), even though the inside of the hose looks the same. I needed to order a Bosch-specific replacement.
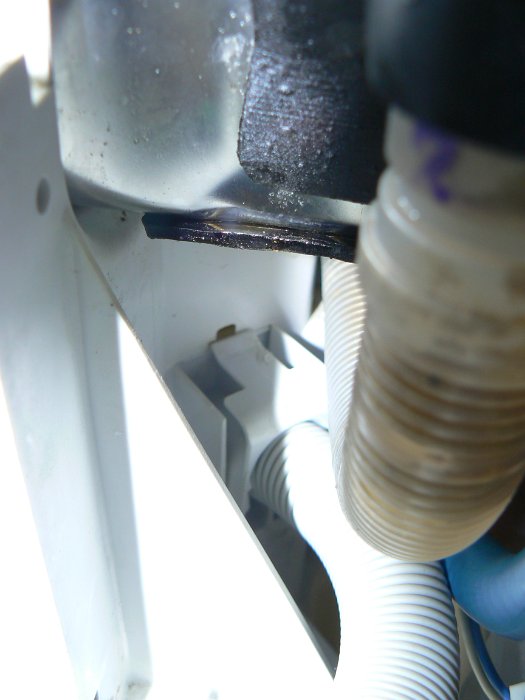
the hose is held in place by a gripper where it runs through the frame of the machine. I prised it out with a screwdriver adn then removed the old hose. Feed the hose in and mark the position at the outside of the case. Then remove hose, fit gripper and replace.
When starting it up it was clear (having gone through 1 cycle and getting stuck with 1 minute to go) that there was no water flowing into the machine.
My attempts with shed-bought exhaust hoses must have led to water getting into the bottom of the machine. Water in the bottom of the dishwasher activates an anti-flood water cutoff so the bottom of the machine has to be drained
I turned mine onto its side through 90 degrees, anti-clockwise looking from the front ( if you turn it the 'wrong' way something drains or fills and it wont work immediately - I've not idea what !) with a couple of towels underneath it.
When returned to the normal position, it worked !
SWMBO has taken the old hose to the allotment - something to do with it being the right size for bumble bees to live in.
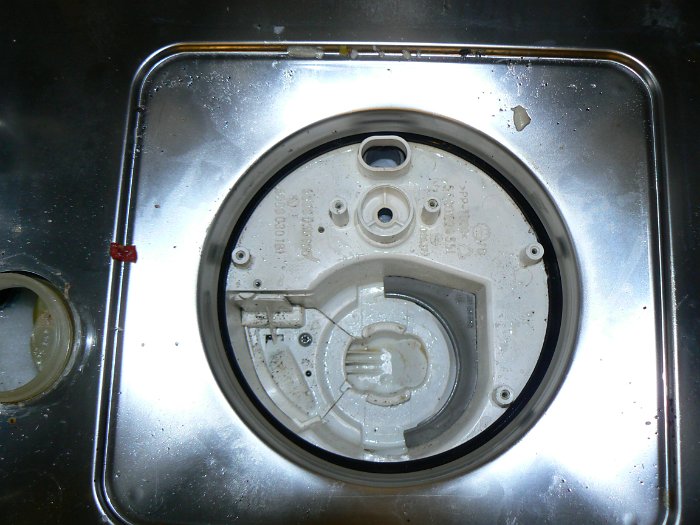
Leaking from the rear of the main circulating pump. (Bosch Exxcel SGS43A12GB/42)
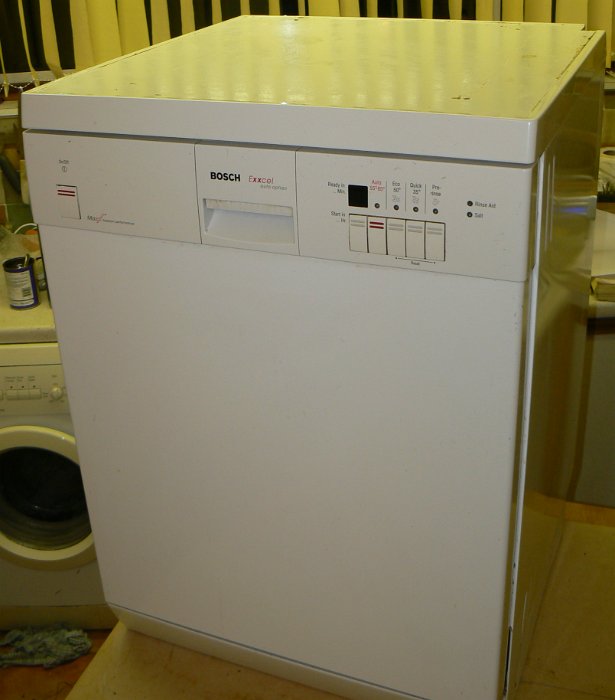
Bosch Exxcel dishwasher, model SGS43A12GB/42. Leaking from the rear of the main circulating pump.
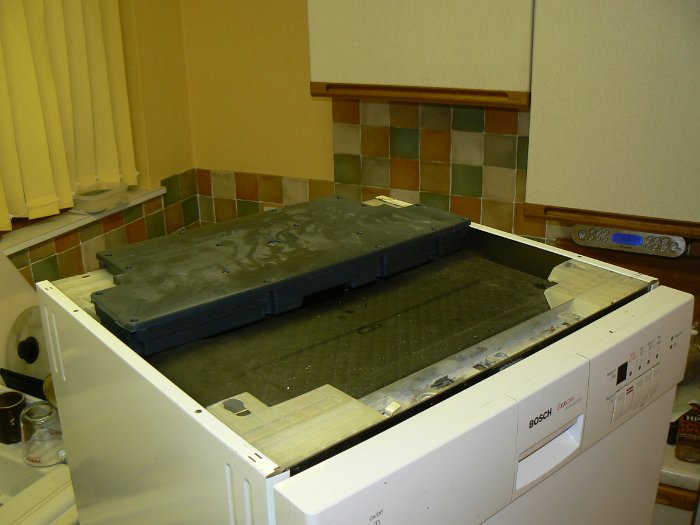
Remove the lid. A sharp blow with the heels of your hands on front corners will slide it backwards and disengage the keyhole slots. The damper weight lifts off, it's not held down by anything.
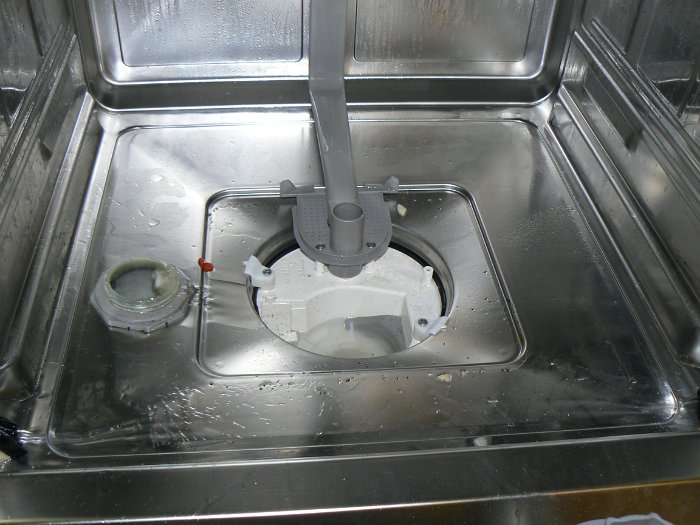
Remove the filters and salt cap.

Remove the locking ring from the salt neck. Mine just came loose with a gentle tap on a big screwdriver in the notches on the side. Looks like an immersion heater spanner might fit.

Remove the two screws that hold the white clips down, and the two screws that hold down the grey riser foot.
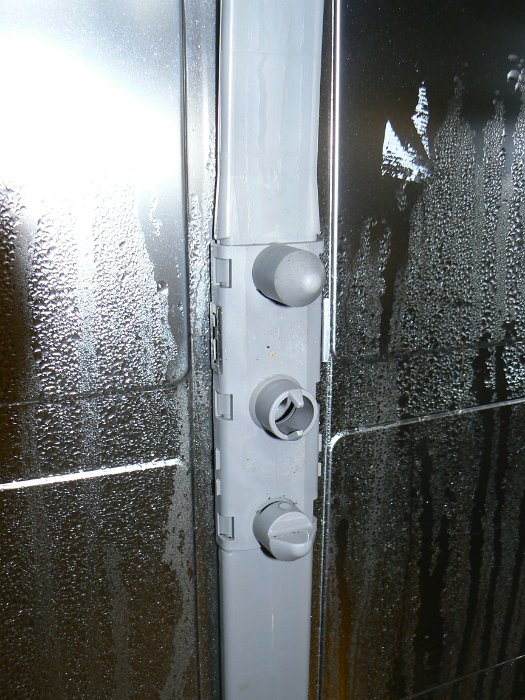
Gently release the clips either side of the riser and lift it clear.
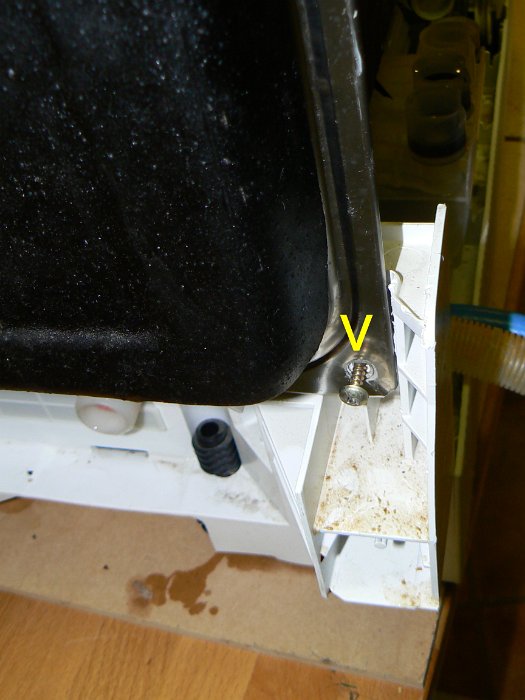
Remove the two screws from the front edges of both side panels. At the rear they are held by plastic bumps - prise them clear, lift up, and then hinge out and down, then unhook from the turnup at the bottom edge.

The anti-syphon riser is just tucked behind the rear top corner moulding.
Un-tuck it and pull upwards to disengage the two pipes on the right from their O-rings.
You can release the waste pipe by depressing this tongue and sliding the retainer out backwards taking the pipe with it. The pipes just pull off the clear anti-syphon thing.
Have a bucket ready to catch all the water and lay the anti-syphon bit over out of the way. Leave the fat O-rings in place, they're safer there and won't fall out.

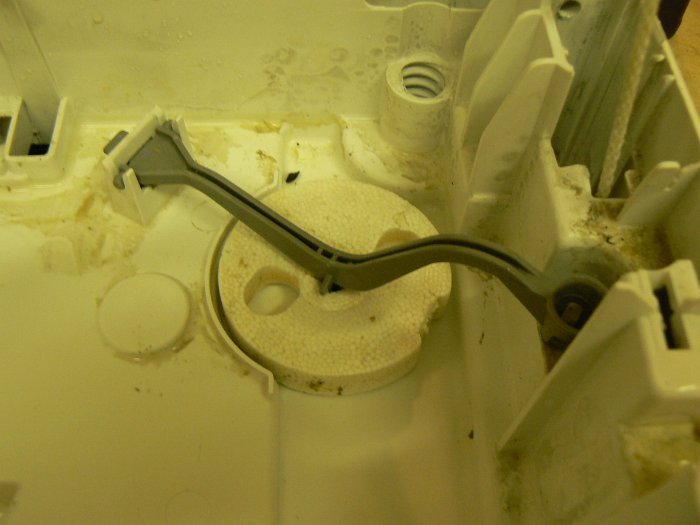
The hat on the float assembly lifts off. Note the location of the sockets on the microswitches and note the location of the red stick from the disaster float.
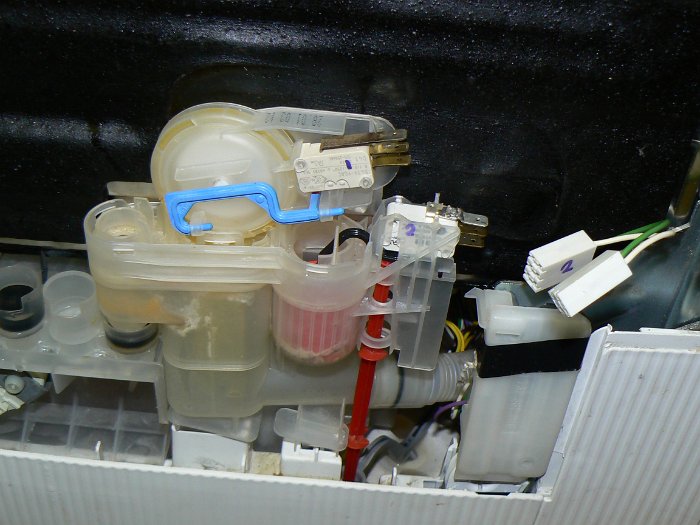
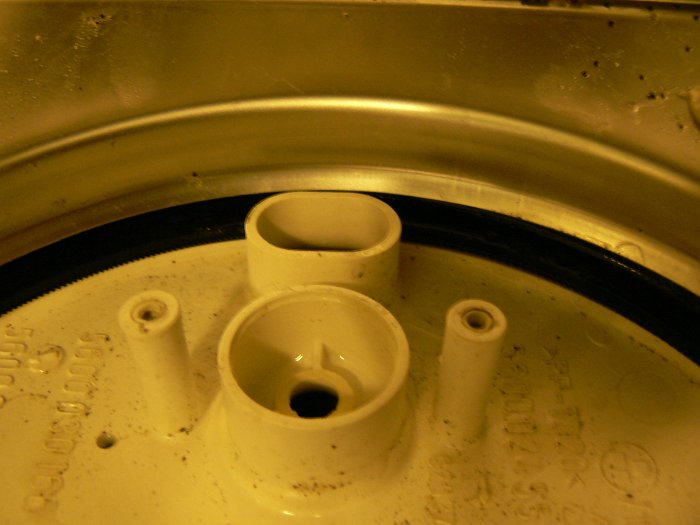
Disconnect and lift free. Again, leave the O-ring there. Note that the third hole along has no O-ring and is unused.
As you lift it free, detach the corrugated pipe and retrieve the red stick.

From both sides, remove the lower screw.
And both rear case screws.
On the right side, note the route of the breather pipe and unthread it, clipping it out of the way.
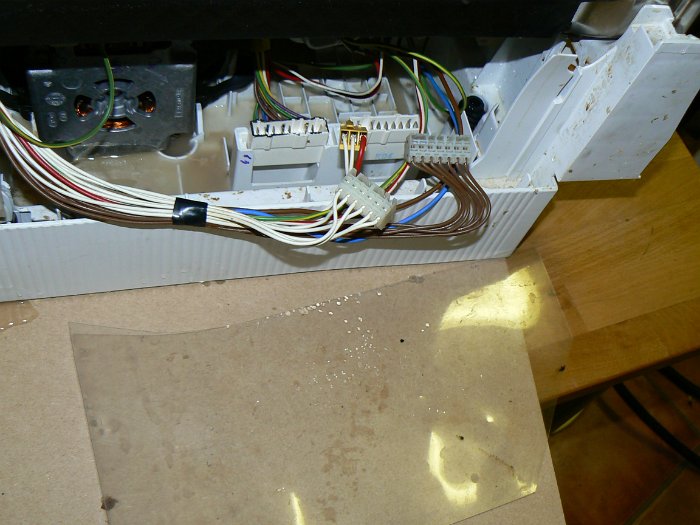
Remove the clear splash-shield and, releasing their retaining latches, disconnect the plugs.
The kick-trim unclips with a sharp tug.

Then the filler panel pulls clear. You have to do this with the door open, and spread the wings slightly to fit round the door.
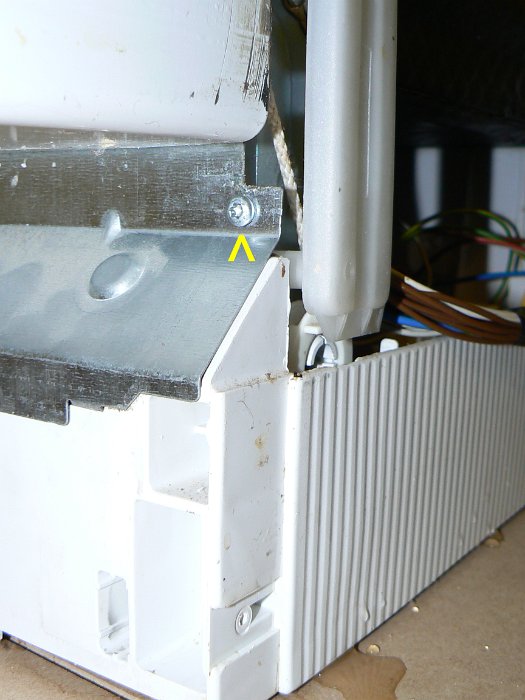
Each side, remove the screws retaining the metal shield.
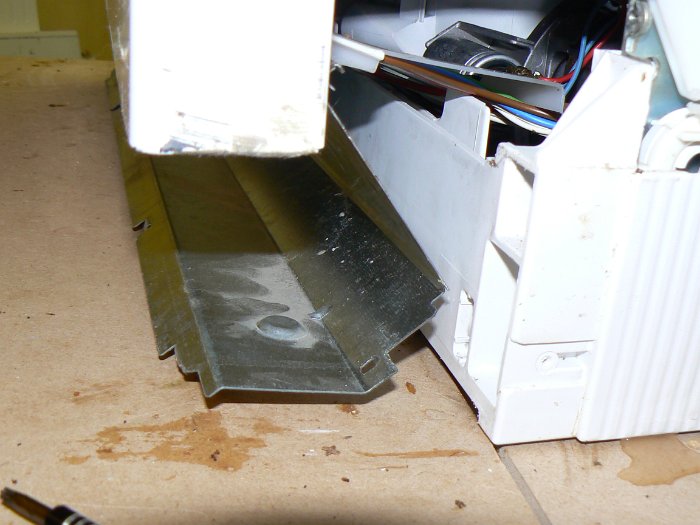
Drop the metal shield out of the way. No need to remove it.

Undo screw at a and release earth wire. Store the screw back in the hole.
From both sides, remove the front-facing screw from under the hinge.
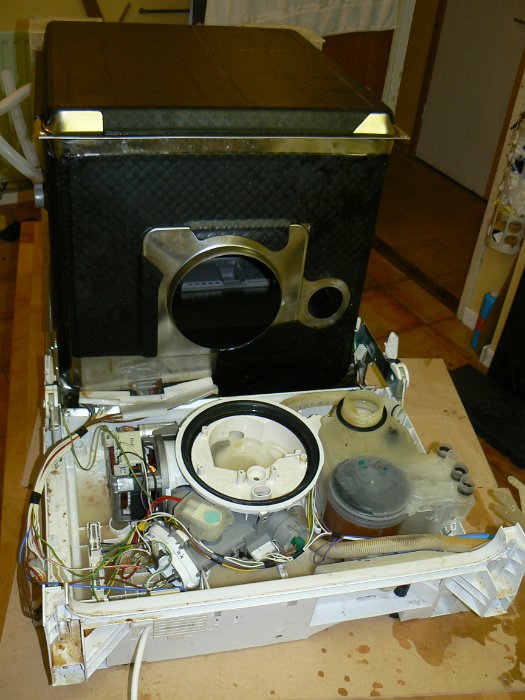
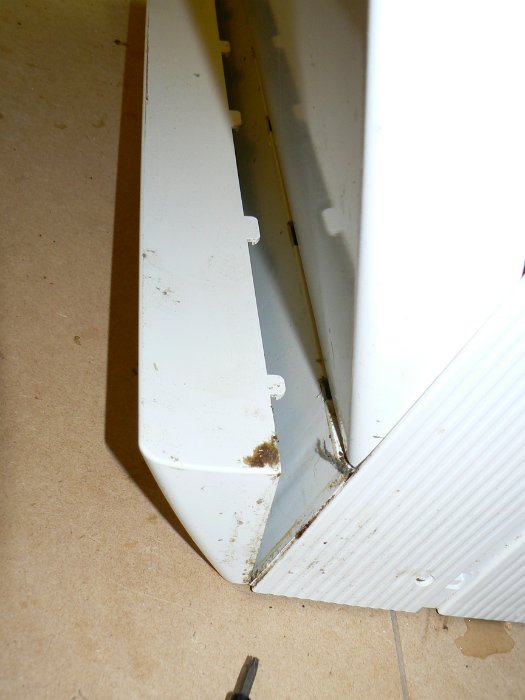
Lift the body to disengage the front "legs" from their sockets, then tip forwards and rest on the door. You may need help with this bit to hold the base down so it doesn't try to follow.

Spring the ears on the connectors and pull them from the base.
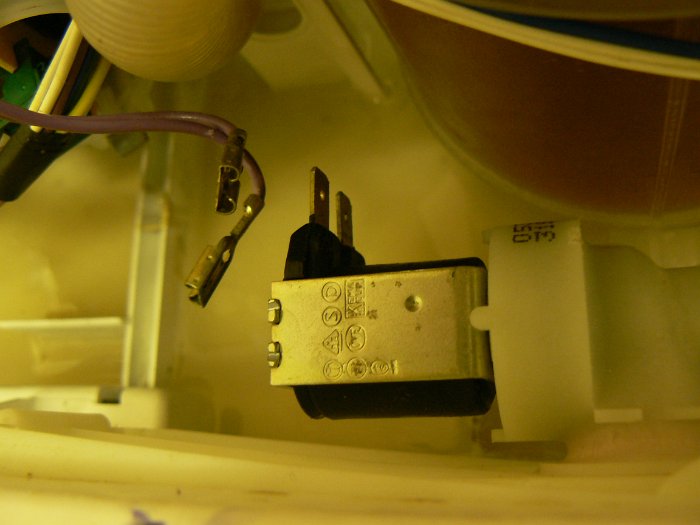
Push the waste hose aside and undo the wires to the water inlet valve on the rear wall of the base tray.
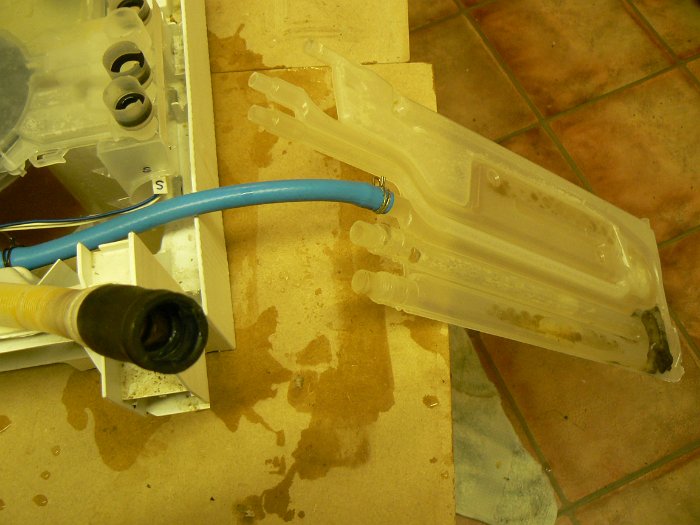
Detach the remaining waste hose from the anti-syphon wotnot, leaving only the inlet pipe.
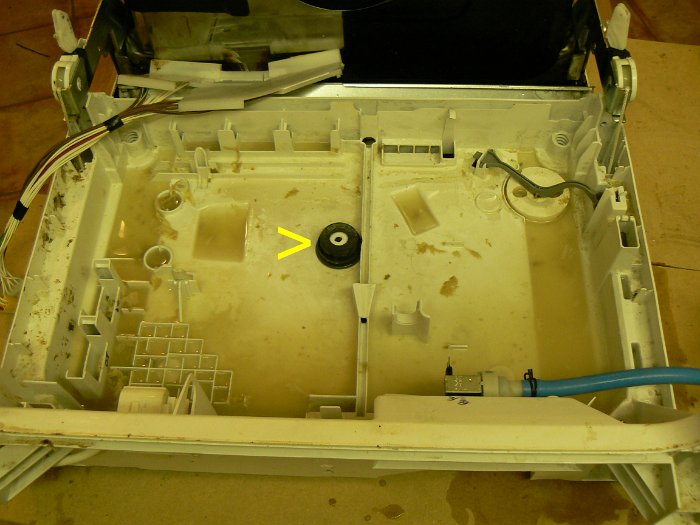
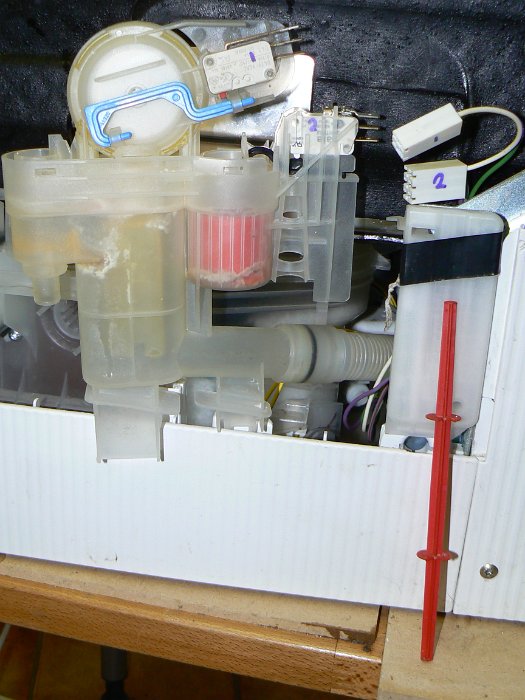
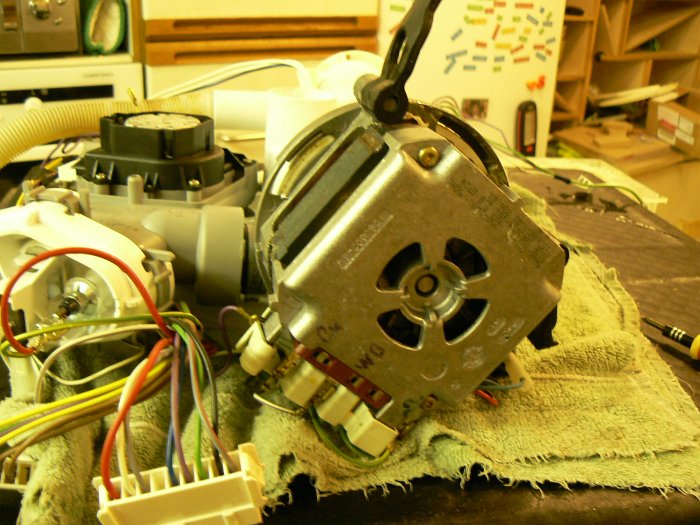
Undo the wires from the water-softener and lift it clear. Tip most of the water in it down the drain so it doesn't slosh. Lift the engine assembly from the base tray. Take care not to lose the rubber doughnut from the middle of the tray.
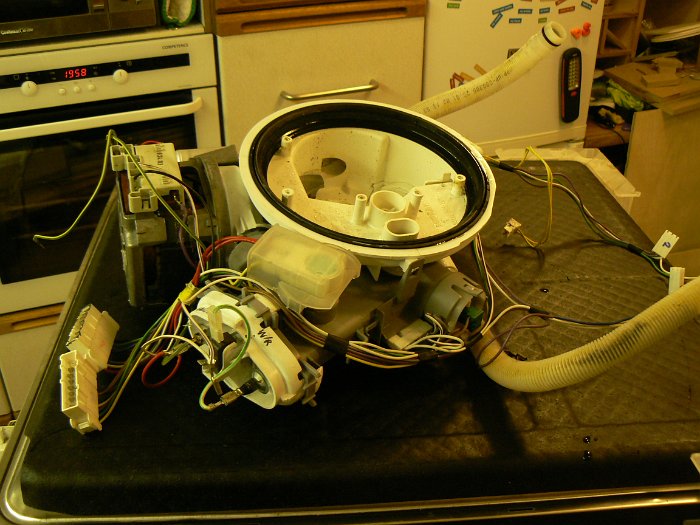
The engine will be full of slops, so tip it all down your front as is traditional.
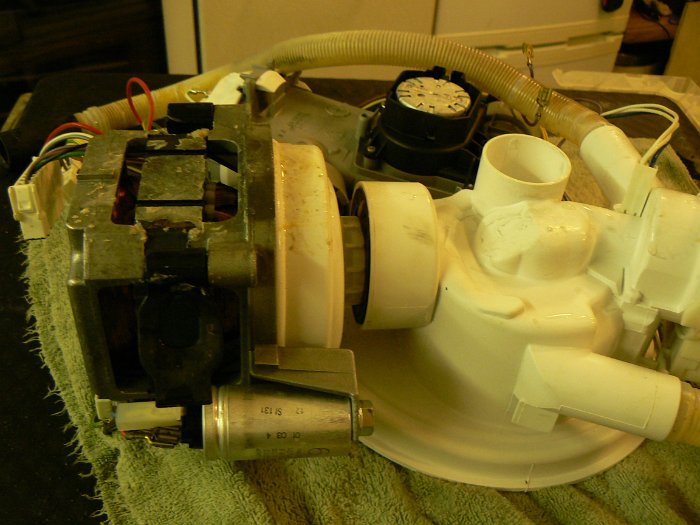
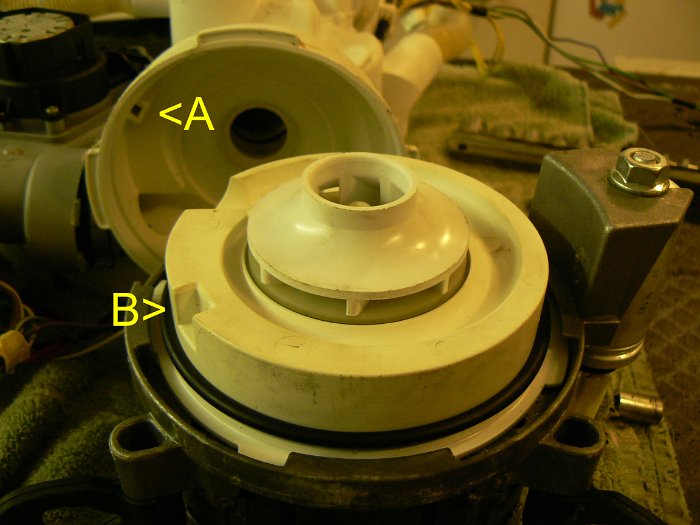
There's the motor on the left, with the pump on the end of it. There's no need to remove the pump outer casing from the rest of the assembly.
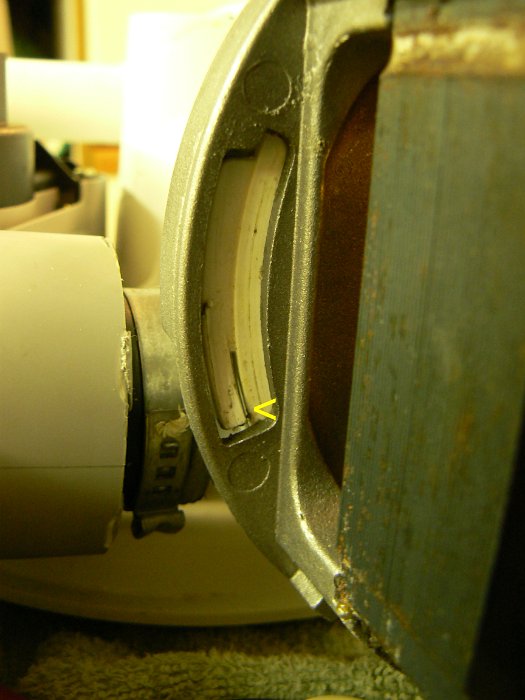
Depress this tongue...
...and turn the motor clockwise.

Once fully unlatched you can pull it free from the housing.
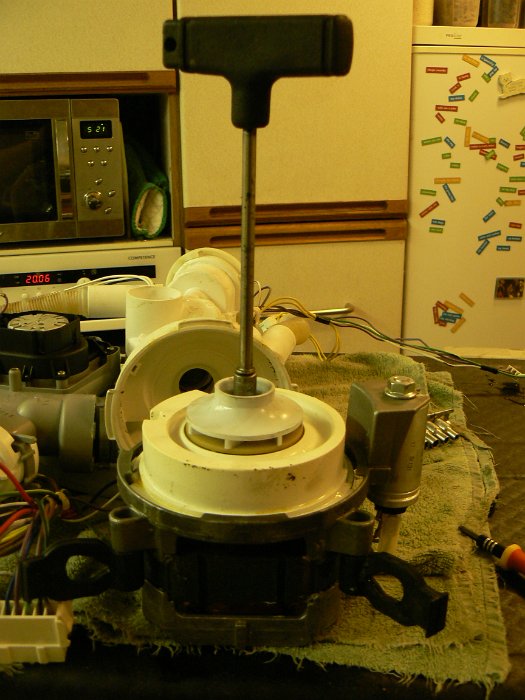
The impeller has an 8mm hex moulded on the front. Lock the motor at the rear with a big screwdriver into the cooling fan fins - GENTLY! It's an ordinary thread, so turn the impeller anti-clockwise to undo it.

It's quite a long thread, but eventually the impeller comes free.
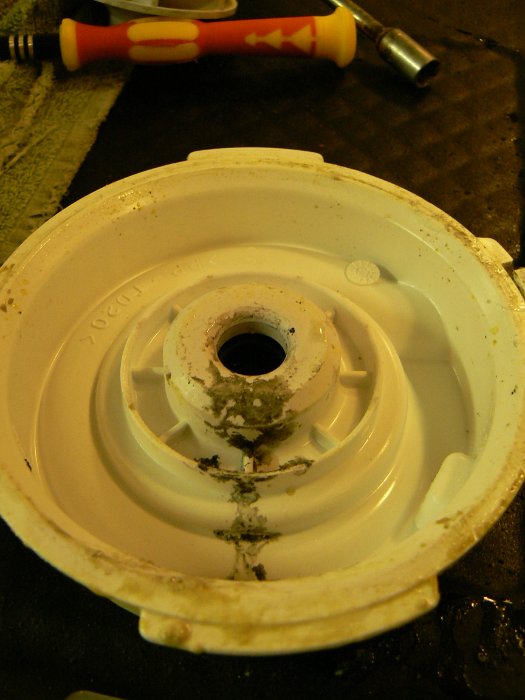
Turn over the rear pump housing and find a socket which just fits in the hole so you can drive the old seal forwards from its recess. Mine took quite a sharp tap.

And out it came. Give everything a really good clean.
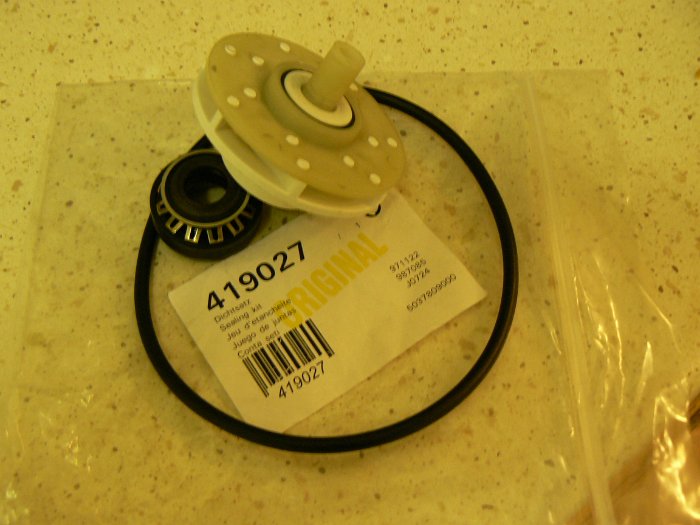
Here's the outrageously expensive repair kit.
Drive the seal into place with a suitable socket or other tool, screw on the impeller. It should self-tighten, so I wouldn't go mad and graunch it - just finger-tight and then a bit more. Fit the new O-ring. I had a spot of bother reassembling the pump so I used a smear of washing up liquid on the O-ring and it got a lot easier. Lug A fits into notch B.
Once engaged, twist until it locks. Check this tongue has sprung free so it can't come undone.
OK - time to put it all back together.
Make sure this rubber doughnut is in place - it fits into a recess in the middle of the engine.
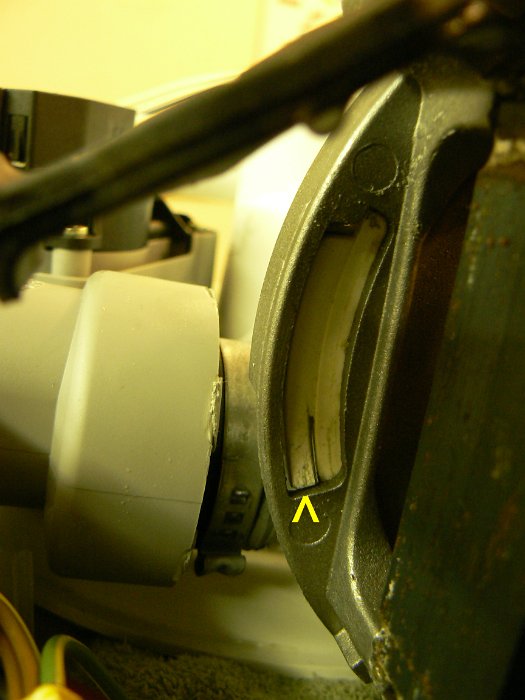
As you lower the engine into place, make sure the two rubber suspension loops on the motor hook over their pegs.
Make sure this pipe is retained by this hook. Replace the water softener unit and reconnect its two connectors.

Just check that the three fat O-rings are in place on the water softener.

If you're having trouble reconnecting the mains inlet wires you can release the inlet unit with these two tongues, and slide it sidways to withdraw it and make things easier.
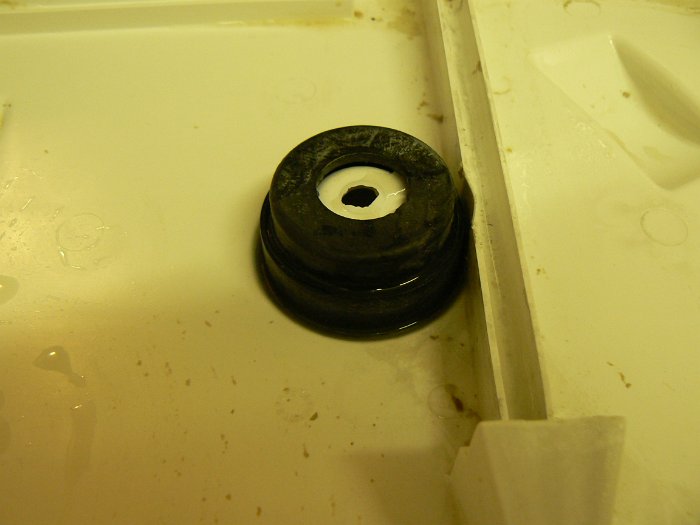
Make sure this rubber sealing ring is present and clean.
Lift the body back onto the base, making sure from inside that the neck of the water softener comes through cleanly.
And that the seal around the big hole in the bottom isn't trapped.
The metal goes inside the seals.
Thread the breather hose through its loop in the base.
Clip the breather up properly.
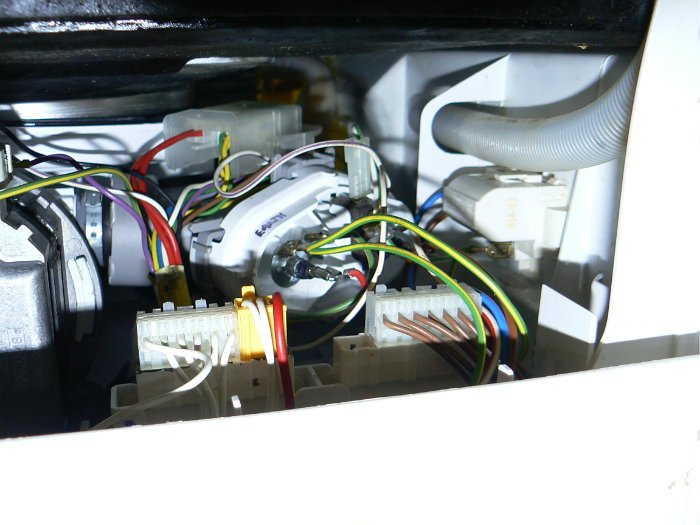
Refit the wiring - you did note which wires went where, didn't you?
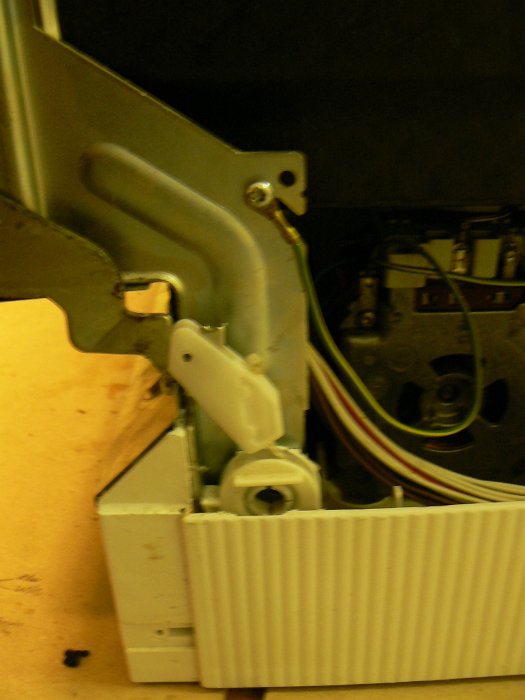
Refit the earth wire and the balance hook.
Refit the float assembly, rememering to install the red stick correctly between the polystyrene float arm and the microswitch. Reconnect the wiring.
Push its hat back on. Apart from that, as Haynes say, "Reassembly is the reverse of disassembly". I have to say, I found this Bosch machine a pleasure to work on compared to many others. It's well thought out, things fit properly and are (mostly) readily accessible.


