Electrics, Socket Chasing (Flush with wall)
How to sink an electrical socket in to a solid wall.
Tools
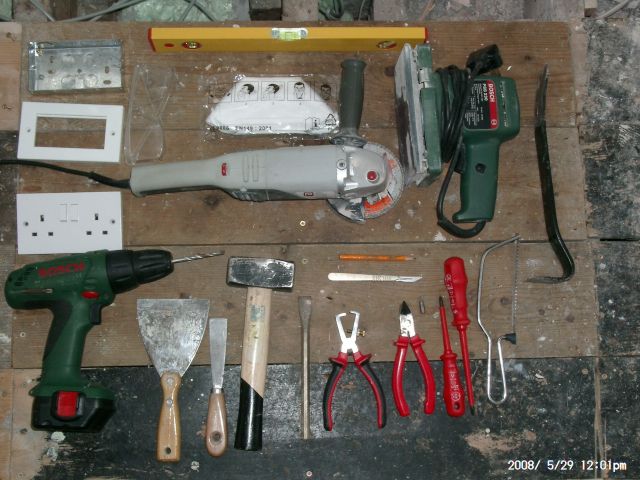
Here's a picture of some of the the tools you'll need and what you might be mounting:-
Where to place the socket
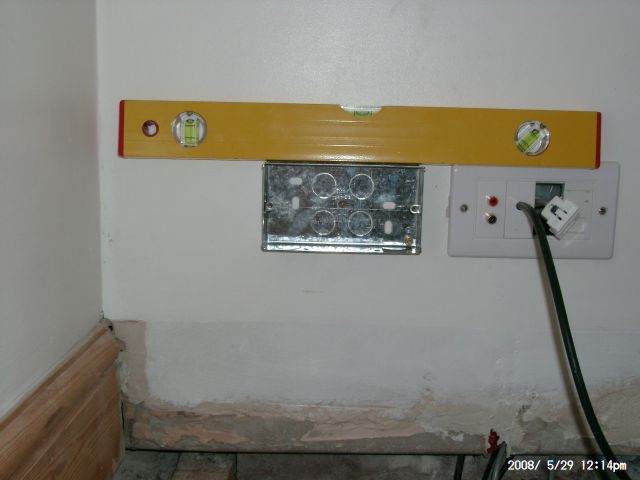
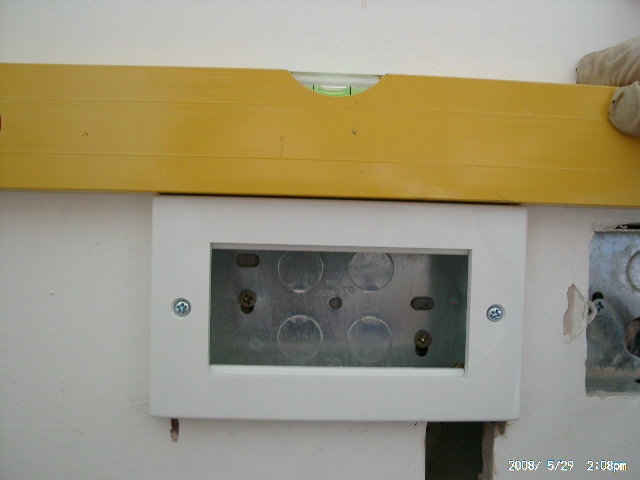
Decide where you need your socket, bearing in mind that they should not be placed on skirting boards or in bathrooms. Then check the box is level.
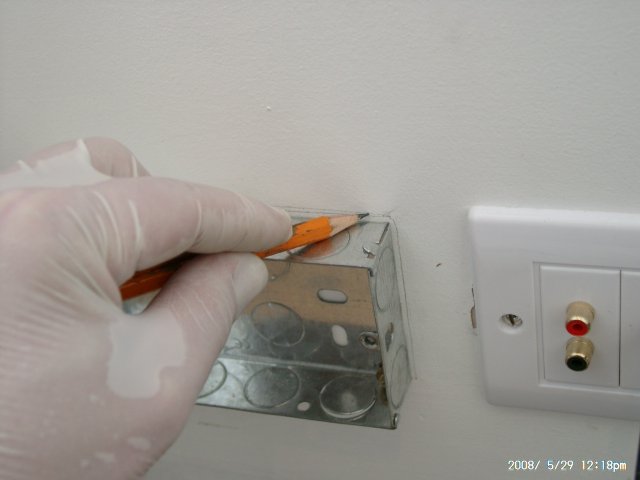
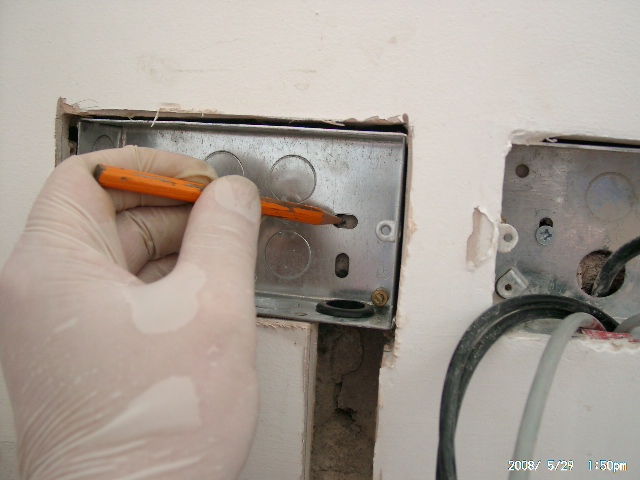
Mark around your "Pattress" box with a pencil allowing a few millimeters more than the actual size of the box - A pattress box is the metal box that will be sunk into the wall behind the socket, switch etc. They come in standard sizes which reefer to the depth of the box ie, 16mm, 25mm, 32mm, 45mm. They also come as 1 gang, 2 gang or dual, a dual allows two single gang switches or sockets to be mounted together as apposed to a 2 gang which will allow a single double socket to be mounted to it. You can't fit a double socket to a dual pattress box!
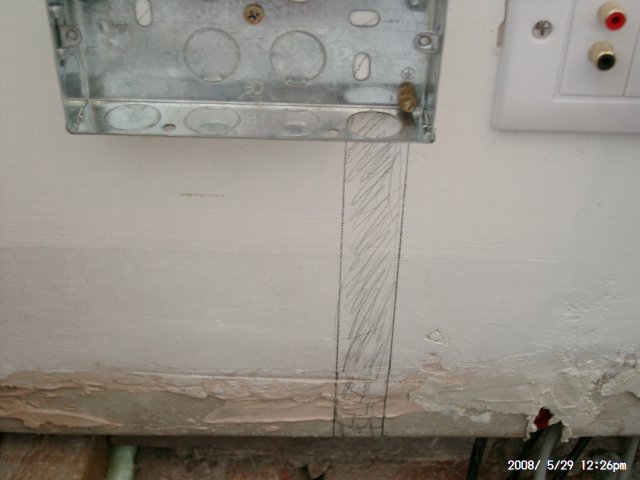
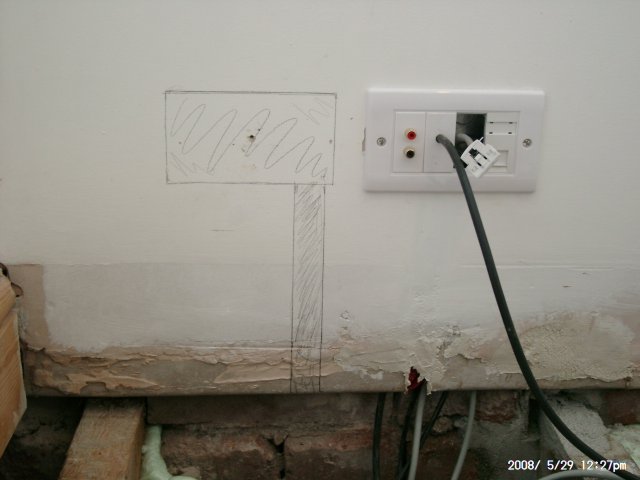
Don't forget that the socket or switch is actually wider and longer that the pattress box. Now mark the area where the cable will enter from, bearing in mind that current regulations state that the cable should come directly vertically or horizontally into the socket, in line with the socket. It should not be diagonal or on some random path - that way the next person to do something has an idea where the cables should be!
Make sure the cable entry is in line with "knock out" as best as possible.
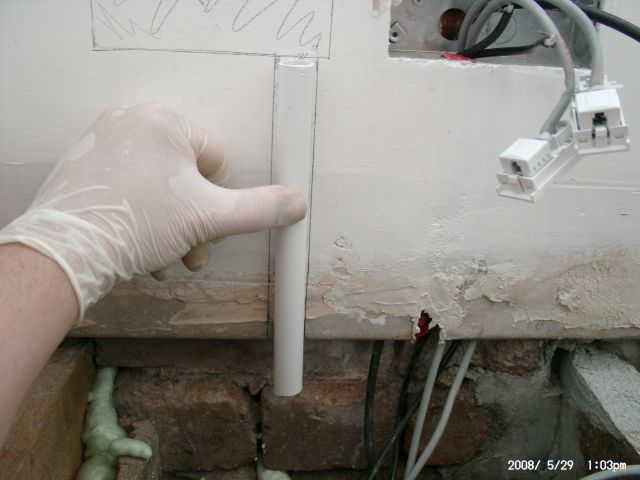
Check the width of the cable entry when using tubing, as in this case.
Final cut out area marked up.
Grinding Preparation
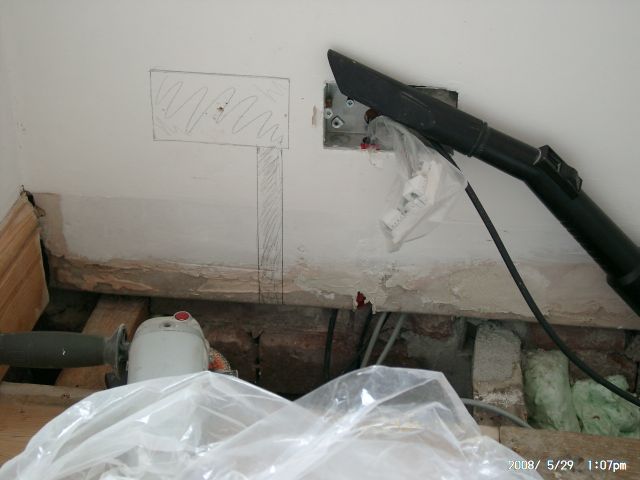
Now remove the pattress box and any other items that are close by before preparing to use the angle grinder, as the grinder rotates at around 10,000 RPM it can easily walk, skate or jump across the area you are working on, especially if it hits a screw or nail hidden in the plaster. Also a good reason to be wearing goggles...
Place a vacuum cleaner hose as close as you can to each cut and at the end in the direction the grinder disc will be rotating in - ie the direction the plaster dust will go. Try to use a vacuum tool on the end of the hose as replacing a cut tool is cheaper that a full hose...
Note that covering the working area in a plastic sheet really helps to stop the whole room getting covered in very fine plaster dust. If you are working with a plastic dust sheet over you in a small space it is essential to ware a dust mask.
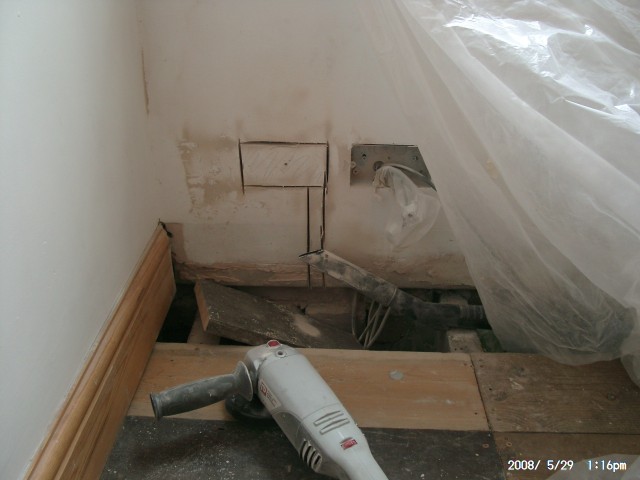
After
It may not look so bad but if you try this without the dust sheet and vacuum it will easily cover a big room in dust in seconds.
You can also do this by cutting around the marked areas with a stanley knife and then chiseling or by drilling many holes and chiseling. Although these other methods are more likely to lead to cracks or lumps coming off in places outside the waste area.
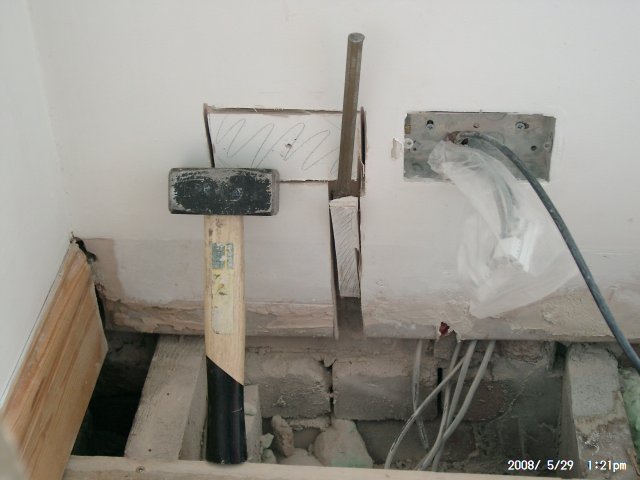
Chiseling out
Now chisel out the remaining sections within the cut area. Use a knife on the outer edges to make them square or to widen one edge to get the box to fit in only do a thin slice at a time to avoid cracks or lumps forming or coming off.
Fixing the Pattress box
Place the pattress box in situ and mark one hole on either side of the center where screw fixings will be placed. Normally one vertical and one horizontal rectangle can be used thus allowing the pattress box to be adjusted in both planes.
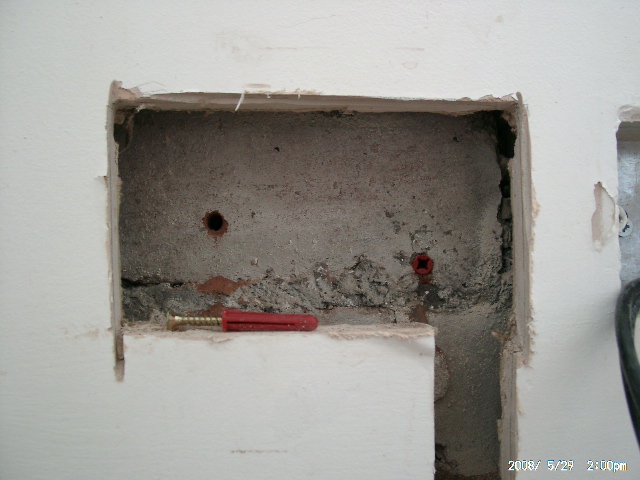
Drill the marked holes and insert raw plugs suitable for counter sunk Pozi 4.0 X 25 (1" No. 8's in old money). Drill size is about 5mm to 6mm.
Once the pattress box is mounted attach the socket, switch etc and check that it is level, if not adjust the pattress box by slackening off the wall mounting screws a little, moving the box and re-tighten making sure not to move the box while tightening the screw. If you use bigger screws they can cause the box to move as you tighten them.
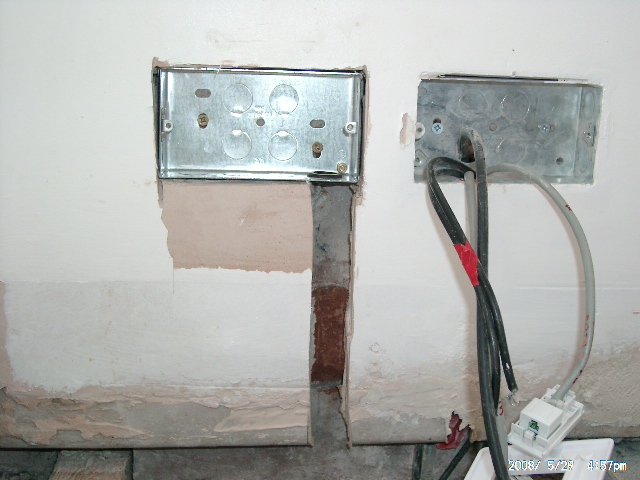
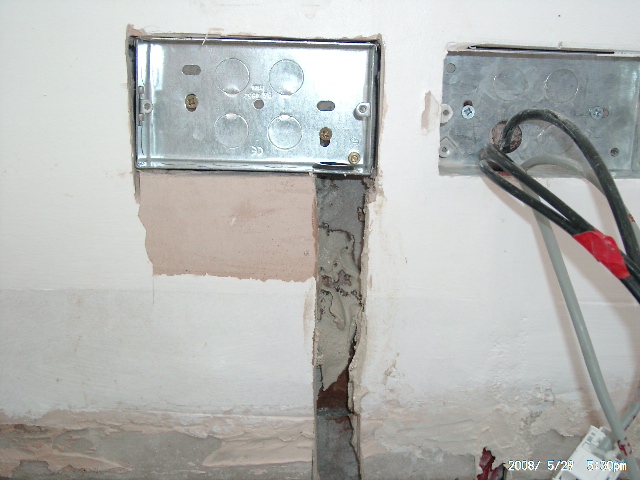
In order to make the pipe flush, a small section in the cable entry has been chiseled back (red area).
Plastering
Fill some plaster on the wall where the pipe or cable will be as this will help it adhere. I strongly recommend using plaster and not polyfiller or such like for three reasons:-
1) It's very expensive by comparison,
2) It's not good for big gaps as it tends to crack,
3) It sands down quicker than plaster.
The only draw back with plaster is that it will take circa 24 hours before it will be dry and ready to be sanded. On the other hand a 25Kg bag only costs around 5 pounds (About a tube and a half of polyfiller)!
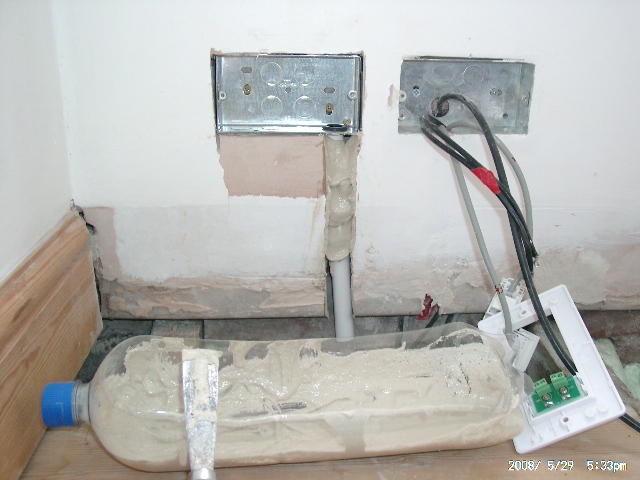
Next put the pipe or cable in place and fill over and fill in the gaps around the box, making sure not to get plaster on to the lugs, as this makes it very hard to get the socket fixing screws in later on.
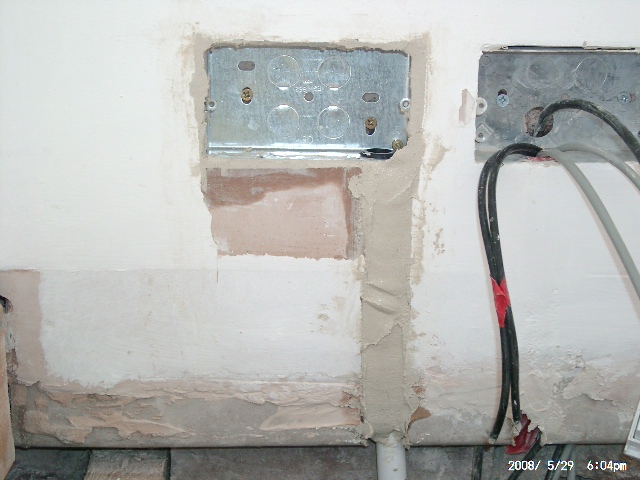
Finally make sure the plaster is proud of the wall so the next stage is possible.
Sanding Down
Once the plaster has dried (circa 24 hrs) remove any excess plaster inside the pattress box with a knife or the back of a knife. Then use an orbital (or other) sander (belt not recommended) to level the surfaces with the existing plaster.
Finishing the Job
Don't forget to size the new areas of plaster before you paint over them, this can be done with a wall paper paste or PVA glue and water mix. Once painted allow 24 hours before fully screwing the socket, switch etc to the wall so that the socket does not sick to the paint and pull it off next time you take it off the wall to check the wiring!
