Difference between revisions of "Fitting TRVs to Microbore"
m |
|||
| (59 intermediate revisions by 31 users not shown) | |||
| Line 1: | Line 1: | ||
| − | This article is about fitting [[Thermostatic Radiator Valves]] to [[microbore]] pipe used in [[ | + | This article is about fitting [[Thermostatic Radiator Valves]] to [[microbore]] pipe used in [[central heating]] systems. It is equally applicable to fitting manual valves and lockshield valves when reworking or extending an existing microbore system. |
The approach described here uses a standard 15mm valve and a soldered 15mm*8mm or 15mm*10mm fitting reducer (e.g. [http://www.bes.ltd.uk BES] 6786 or 6787) to connect to the microbore. This avoids the difficulties that are likely to occur trying to fit a new 8mm or 10mm valve to existing pipework: because microbore copper is very soft the pipe is often found to be distorted when the old valve's olive is removed making it very difficult to get a good seal to the new valve. Even if the pipe is not distorted it is very easy to over-tighten microbore compression joints resulting in leaks. Because this method uses soldered joints the heating system must be drained down to below the level of the valves being replaced. | The approach described here uses a standard 15mm valve and a soldered 15mm*8mm or 15mm*10mm fitting reducer (e.g. [http://www.bes.ltd.uk BES] 6786 or 6787) to connect to the microbore. This avoids the difficulties that are likely to occur trying to fit a new 8mm or 10mm valve to existing pipework: because microbore copper is very soft the pipe is often found to be distorted when the old valve's olive is removed making it very difficult to get a good seal to the new valve. Even if the pipe is not distorted it is very easy to over-tighten microbore compression joints resulting in leaks. Because this method uses soldered joints the heating system must be drained down to below the level of the valves being replaced. | ||
| Line 60: | Line 60: | ||
[[Category:Plumbing]] | [[Category:Plumbing]] | ||
[[Category:Heating]] | [[Category:Heating]] | ||
| + | [[Category:Energy Efficiency]] | ||
Latest revision as of 00:51, 9 December 2010
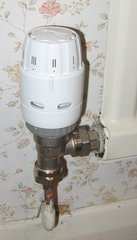
This article is about fitting Thermostatic Radiator Valves to microbore pipe used in central heating systems. It is equally applicable to fitting manual valves and lockshield valves when reworking or extending an existing microbore system.
The approach described here uses a standard 15mm valve and a soldered 15mm*8mm or 15mm*10mm fitting reducer (e.g. BES 6786 or 6787) to connect to the microbore. This avoids the difficulties that are likely to occur trying to fit a new 8mm or 10mm valve to existing pipework: because microbore copper is very soft the pipe is often found to be distorted when the old valve's olive is removed making it very difficult to get a good seal to the new valve. Even if the pipe is not distorted it is very easy to over-tighten microbore compression joints resulting in leaks. Because this method uses soldered joints the heating system must be drained down to below the level of the valves being replaced.
TIP: If planning to replace several valves on an existing system check the diameter of pipe on all valves to be changed: often systems have a mixture of 8mm and 10mm pipework.
|
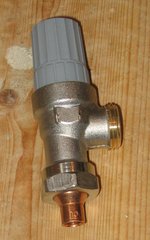
Insert a fitting reducer into the valve so that the olive sits in the middle of the reducer (see pictures of the soldered-up connector, below) and tighten so that the olive grips the reducer. |
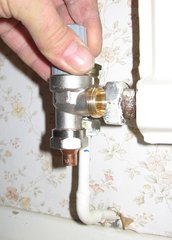
Line up the TRV body with the existing valve body and mark the microbore for cutting to fit into the reducer. |
Cut the microbore where marked: in this instance a junior hacksaw is used as there isn't space to use a wheel-type cutter |
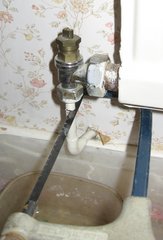
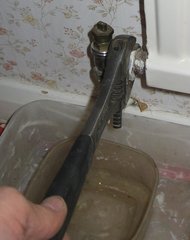
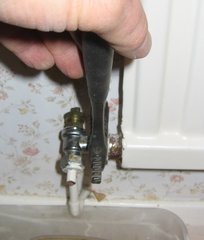
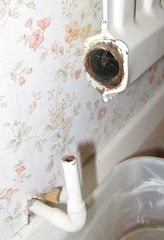
| Unscrew the old valve body and tail from the radiator (this saves undoing the valve from the tail and then using an L-shaped hex key to unscrew the tail). | |
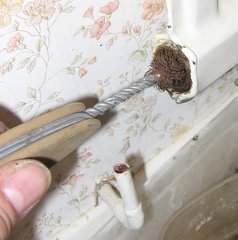
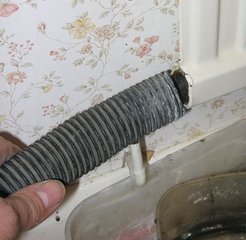
| Clean out the tapping in the radiator. A wet & dry vac can be used to suck out debris or the radiator can be taken off and flushed out. | ||
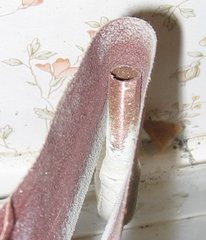
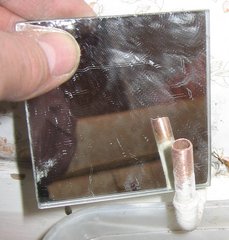
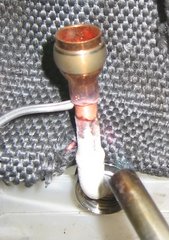
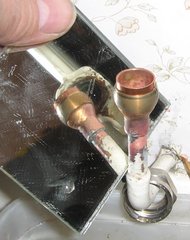
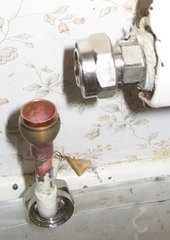
| Prepare the microbore pipe tail for soldering checking that it is clean all the way round. | Solder to the fitting reducer (making sure the valve nut is over the pipe first!). DON'T solder the joint with the valve attached as this is likely to damage rubber and plastic parts inside the valve. | Check that solder can be seen all around the joint. | |
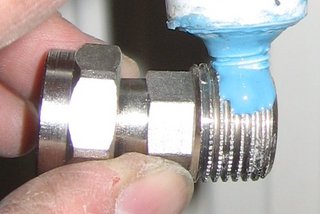
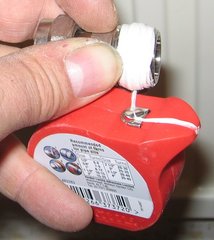
| Use preferred thread-sealing method and fit valve tail to radiator. | ||
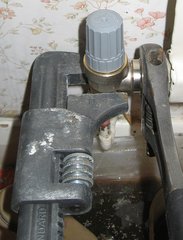
| Fit valve body and tighten nuts (supporting valve against twisting). | Fit thermostatic head. |
