Hard Wood floor - retrofit
Introduction
When installing a wood or laminate floor, you normally get much better looking results if the skirting boards are installed after floor. This way you can hide the expansion gap required with the skirting and there is no need to us any additional add on beads or profiles, which are notoriously difficult to install around door frames neatly.
Hence the normal advice is to remove existing skirtings and then refit after the floor is down. The main difficulty with this is that in many cases its difficult to get the old skirtings off without a certain amount of destruction and hence lots of making good and decorating later.
This article describes a project to retrofit a small area of hard wood floor into a dining area, in place of an existing carpet - with minimal disruption to the existing decorative finish.
Preparation & Undercutting
Once the existing floor covering was removed, it was then time to pull out any remaining staples, and deal with any nails etc that protruded. So as to keep the tops of the skirtings matching those in adjacent rooms (which would be visible when complete), I needed to trim the bottom off the skirting. Since I did not want to remove them first, this needed to be done in place.
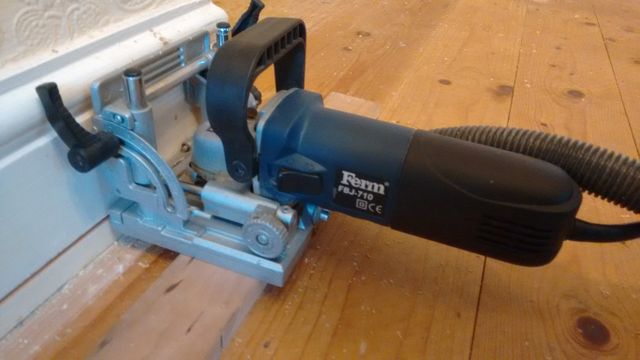
Ideally you will need a tool that can cut close to a floor and can be setup to make a neat consistent height cut. So for this I though I would try a biscuit jointer, since on full depth of cut it cuts just short of the full thickness of the skirting, and can be safely plunged into the surface. The first job was to make up a spacer of the right thickness to ensure that the top of the kerf of the blade came out at the finished floor level - allowing for the thickess of the floor boards and underlay:
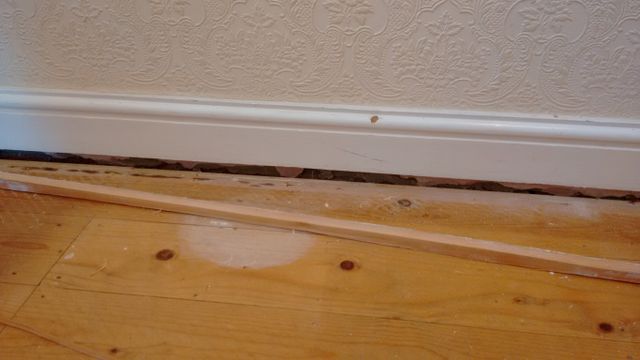
Using a long spacer allowed the jointer to be plunged in, and then slid along the spacer to make an elongated cut. This could be repeated along all the straight runs of skirting. The filet of wood once cut mostly free could be prised out with a little encouragement with a small pry bar. A Fien multimaster was also used to cut through any bits that the jointer could not reach:
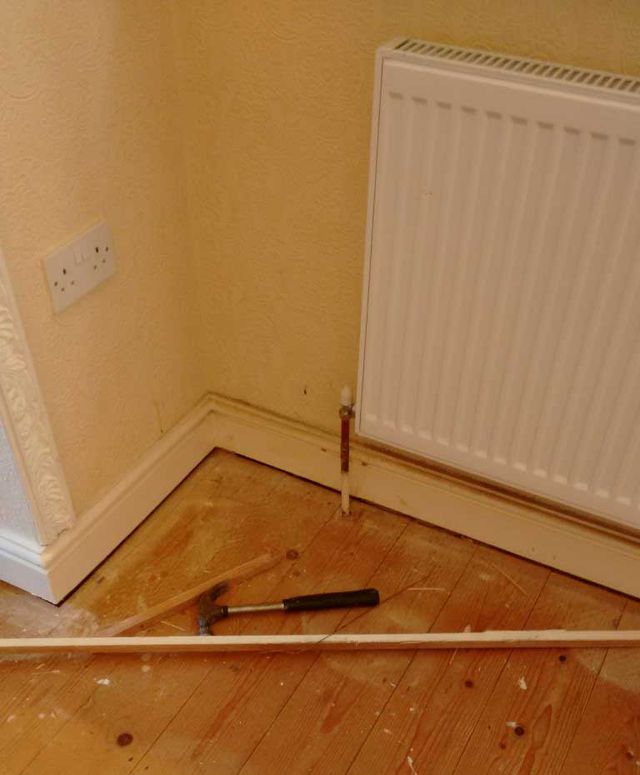
Fitting a wide blade into the multimaster also made it easy enough to "join up" other gaps in the cut such as those behind radiator pipes:
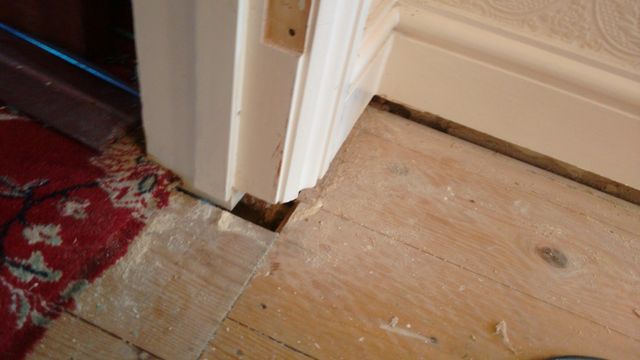
Again using the multimaster I cut round the bottom of the door lining:
Fitting the floor
To ensure best results with any solid floor, allow it to sit in the room for several days prior to fitting. This allows it to acclimatise to the temperature and humidity of the room. This will ensure more consistent results and there be less chance of gaps opening up later.
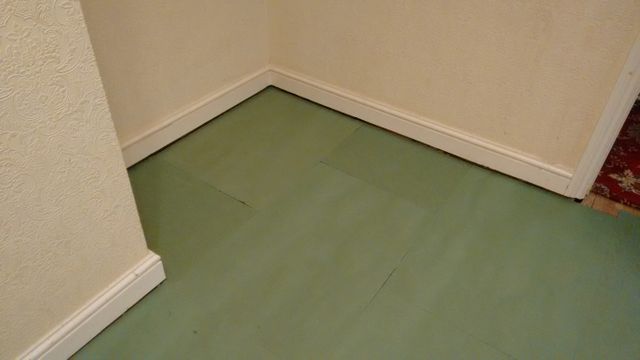
Once all the undercutting was done, the underlay could be fitted. There are several types of underlay available depending on the type of floor and the installation conditions. Adhesive membrane underlays are good for use on solid sub floors since they include a vapour barrier, and they are also quick to install leave each board glued to the underlay, so there is little chance of gaps opening. In this circumstance they floor was a susspended timber one, and there was no requirement for a vapour barrier, but added thermal insulation would be welcome. So a 5mm fibre board insulation was selected.
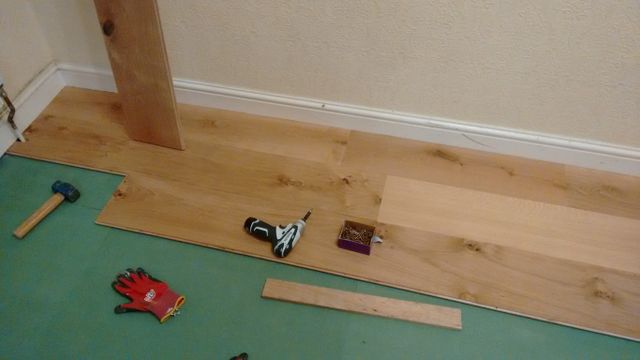
To fix the floor, screwtite screws were used. These are very slim screws that can be driven at an angle through the tongue of the floor (without the need for pre-drilling). Thus creating a "secretly fixed" floor (the screw is hidden by the next board installed):
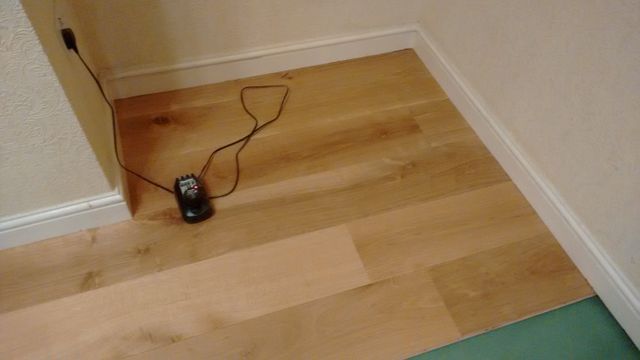
The first board is laid grove side to the wall with the tongue facing you. Working out of an alcove first:
Then into the remainder of the room:
Boards can be tapped into place with a lump hammer, and a block of wood or scrap of flooring to avoid risking damage to the board edges.
Note: That normally you work away from a wall with the grove of the first board against the wall. That way each tongue is available to fix through. If for any reason you need to work into an alcove after (say after bringing boards through a door way), then you can reverse the direction of the boards to get the tongue on the working side again by fitting a board with its groove adjacent to the groove of the previous board, and putting a lath into the groves to form a slip tenon.
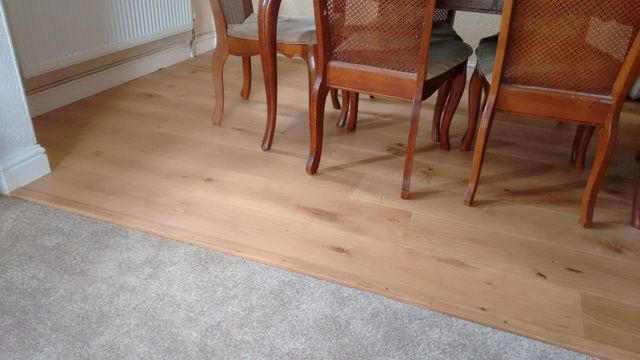
The last job was to do a neat transition to the existing carpets. Note that in this case the fourth wall was missing for most of the run due to the arch into the adjacent room. This made it possible to fit the floor under the undercut skirting on all 4 sides by fitting the end boards first and sliding them along the existing boards into the corners. This required very careful positioning to leave exactly one boards length of gap into which the final board could be tapped into place through the archway.
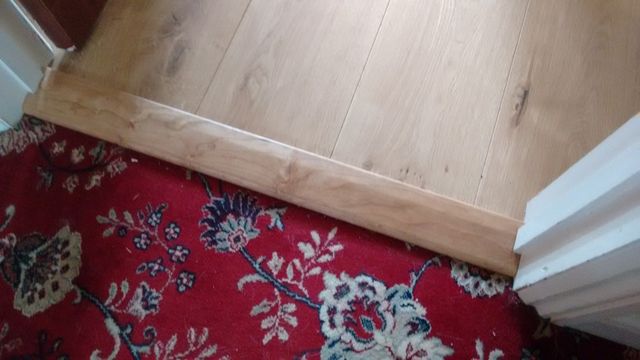
The long join was made up from a couple of strips of flooring ripped off the edge of a spare floor board on the table saw. Since this was an engineered wood floor with 6mm of real oak on a 15mm ply backing, two strips were glued together to form a profile that showed oak on the visible sides, and also included a rebate to cover and protect the edge of the boards, with a smaller rebate to tuck the carpet into.
The threshold through the door was made from a bit of solid wood (alas I had no aok, so used a cherry board offcut, and gave it a coat of medium oak wood stain prior to oiling with Liberon Danish oil:
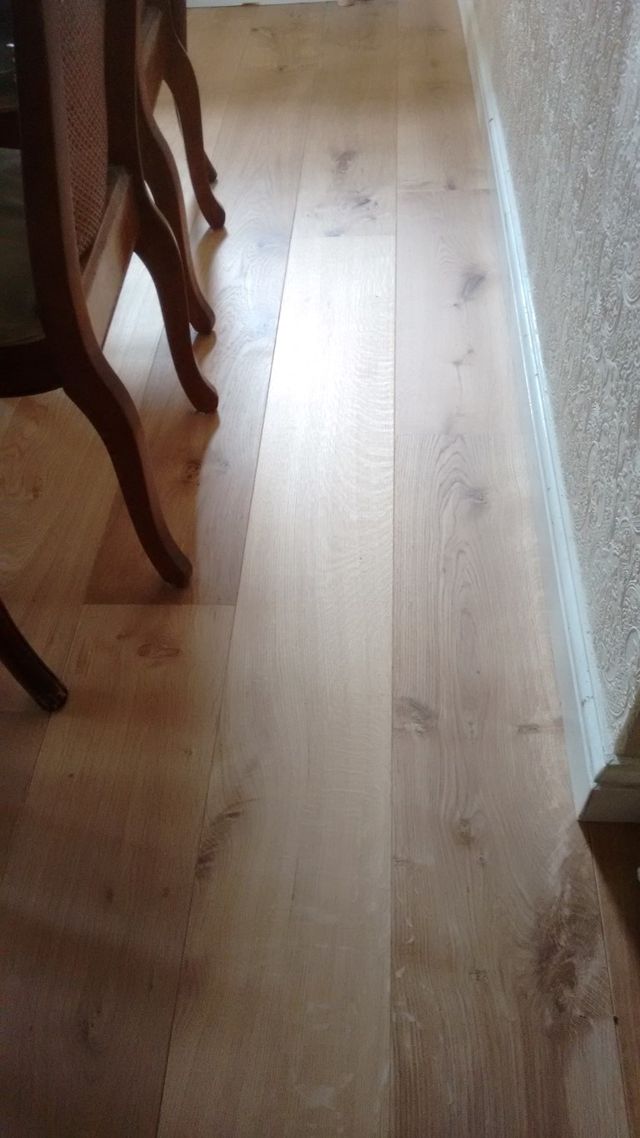
The end result came out quite nicely (with one small lump hacked out of a skirting where I need to fill as a result of slipping with the jointer when undercutting!)
