Difference between revisions of "Install Bar Shower Valve - in solid wall, copper pipe"
m (Installing a Bar-type Shower Mixer Valve moved to Install Bar Shower Valve - in solid wall, copper pipe: splitting article) |
(create article from original at Installing a Bar-type Shower Mixer Valve) |
||
| Line 1: | Line 1: | ||
| − | + | This article describes a method of installing a bar-type thermostatic shower mixer valve into a solid walls, using rigid copper pipework. | |
| + | |||
| + | Other methods of installing this type of mixer valve are listed on the page | ||
| + | * [[Installing a Bar-type Shower Mixer Valve]] | ||
== Solid Wall == | == Solid Wall == | ||
| Line 51: | Line 54: | ||
[[Image:Bar_shower_valve_solid_10.jpg]] | [[Image:Bar_shower_valve_solid_10.jpg]] | ||
| − | |||
| − | |||
| − | |||
| − | |||
| − | |||
| − | |||
| − | |||
| − | |||
| − | |||
| − | |||
| − | |||
| − | |||
| − | |||
| − | |||
| − | |||
| − | |||
| − | |||
| − | |||
| − | |||
| − | |||
| − | |||
| − | |||
| − | |||
| − | |||
| − | |||
| − | |||
| − | |||
| − | |||
| − | |||
| − | |||
| − | |||
[[Category:Plumbing]] | [[Category:Plumbing]] | ||
[[Category:Bathrooms]] | [[Category:Bathrooms]] | ||
[[Category: Domestic Hot Water]] | [[Category: Domestic Hot Water]] | ||
Revision as of 01:31, 1 March 2008
This article describes a method of installing a bar-type thermostatic shower mixer valve into a solid walls, using rigid copper pipework.
Other methods of installing this type of mixer valve are listed on the page
Solid Wall
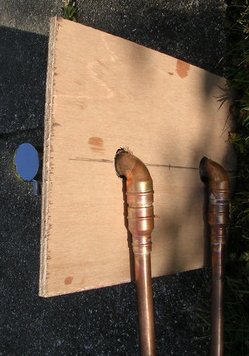
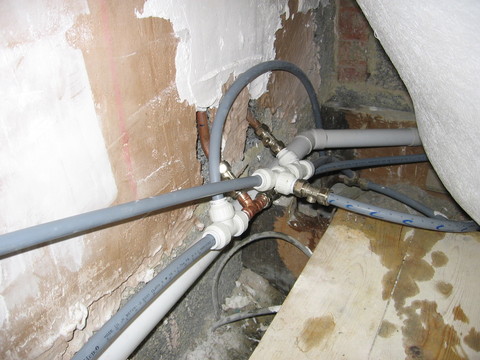
Make outlet elbows as shown with:
- 3/4" BSP male X 22mm solder fittings
- 22mm street (spigot) elbows
- 22mm X 15mm reducing couplers (fitting reducers could be used directly into the elbows instead)
The pipework should be pressure-tested before installing.
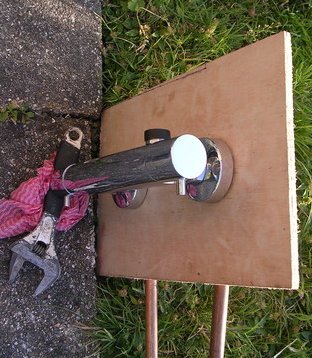
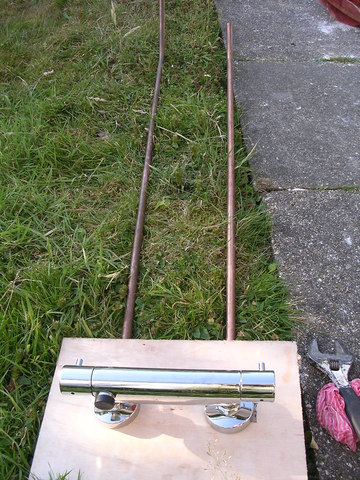
Make a former out of board of approx same thickness as tiles+adhesive will be, with holes at 150mm centres. Fit pipework to shower valve through the former.
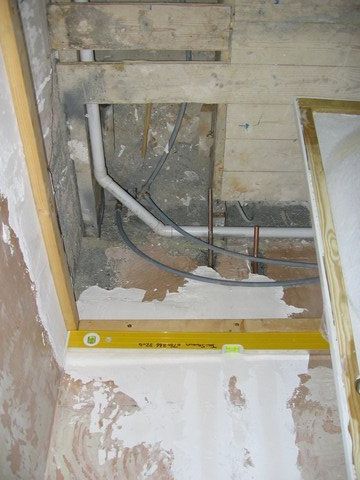
Bend the pipework as necessary: in this case they will emerge under the bath
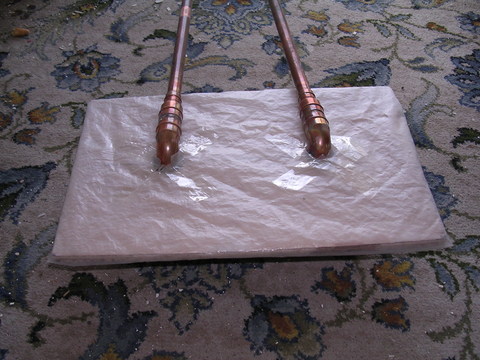
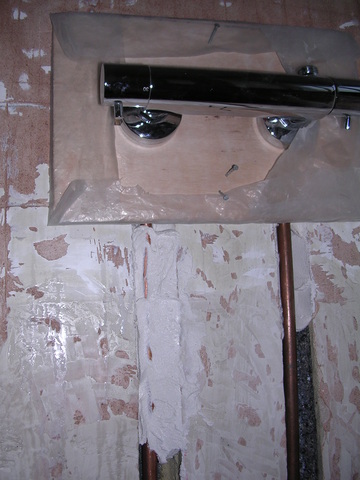
Wrap the board in plastic so that it doesn't get stuck to the plaster: it will be removed after the plaster has set.
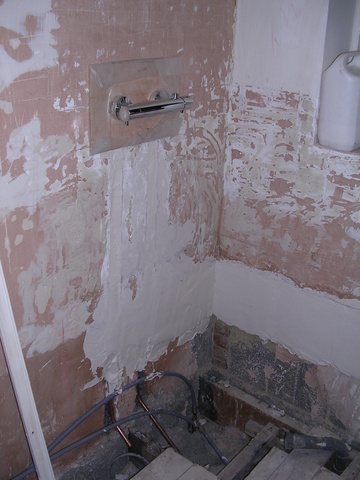
Having chased the wall, plaster in the pipework. One-coat plaster is suitable, although browning or bonding should be OK as long as it isn't too stiff to push out as the pipework is pushed into it.
If mortar is used the pipework must be protected from corrosion by wrapping it in e.g. PVC tape, but note that the wrapping material must not be too resilient as the pipework is being used to hold the mixer valve in place.
The ideal is to fill the chases behind the former so that the plaster squeezes out when the pipework assembly is pushed into it and holds the pipework firmly when set. If the plaster doesn't squeeze around the pipework it will be necessary to apply more plaster when the former comes off.
Masonry nails (approx 50mm) driven partway through the former at angles hold it in place while the plaster sets. Ensure that the valve is pushed back tight onto the former. (A couple of hook eyes fixed into the former and some string looped through to hold the valve would do this.)
Set the chromed bezels about midway in their travel along the threaded fittings to allow ajustment to the actual depth of the tiling.
Ensure the valve is set truly horizontally!
When the plaster is set disconnect the valve and remove the former board. Apply more plaster if necessary to hold the pipework firmly in the wall, and to achieve a surface flat enough to tile onto.
Connect up the pipework:
Tile, and fit the shower valve:

