Masonry cutting sawbench
Introduction
This is a quick'n'dirty project to turn an angle grinder into a masonry cutting workbench
Why?
The first project is to clean the mortar off a pile of reclaimed bricks that have now been taken out of the wall they were in when it fell over.
Now there are several ways of doing this; chipping hammers, scutch chisels etc, or even using a grinder and diamond disc free hand. However most of these require taking the tool to the brick, and holding the brick in some way while you process it, and hopefully not breaking too many into the process. This gets tiring and old quickly. So I thought what better than some kind of table saw setup for masonry cutting?
Now there already exist a whole class of masonry cutting bench tools - usually sold as tile cutters. These typically include some kind of motor to spin a diamond edge cutting disk, and a platform to make it easy to cut tiles etc. Most also feature water cooling / lubrication to control the dust and give a fine cut finish. Alas the one of these I won has for too little depth of cut to clean the face of a 4" wide brick, even if passing from both sides. Also this being in the midst of the COVID19 lockdown, tool shopping is not as easy as normal. So we need a quick hack solution that is effecctive and safe enough to leave all my fingers attached!
Design
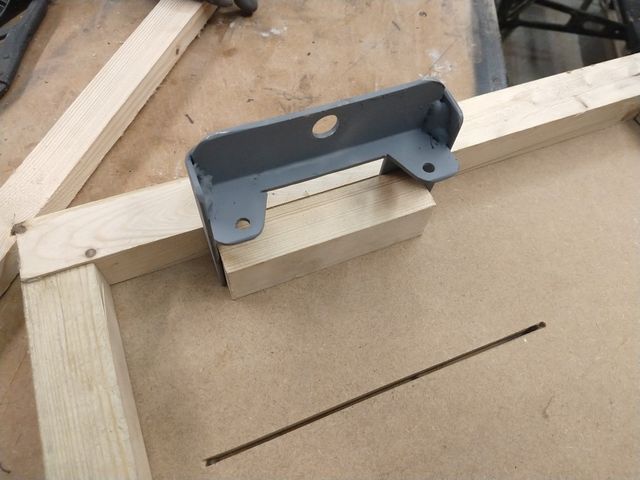
To get the depth of cut required (over 2"), it meant using a 9" grinder, an a suitable smooth rim masonry disc. That then needed mounting securely in a table of some sort. So the fist problem was how to get a good grip on the grinder. At first I looked at making a set of timber "sadles" that could clamp round the body and tighen onto it. The main problem here is that there not mot much clearance between the disc and the boby of the machine, near where you would want to grip it. So after a bit of hunting around I found a short length (about 5") of 3mm thick 40x40mm angle iron, and a 8" length of smaller 25mmx25mm angle. After hacking those about for a bit and welding them together we get:
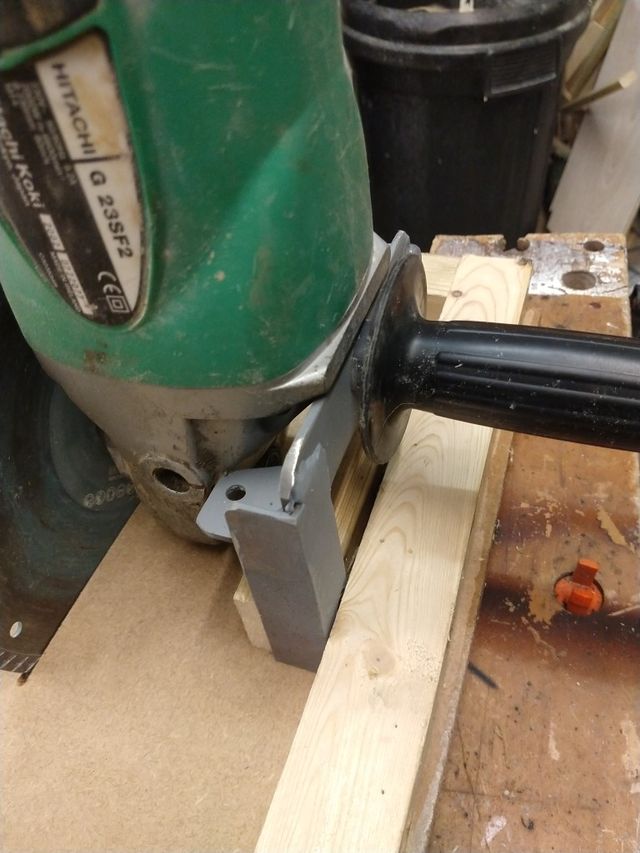
That is designed to allow the existing grinder side handle to passs through the bracket and screw into the rear mounting point. The smaller bits of angle can then be drilled and mounted to a timber block. This in turn fitted to the table (a scrap of 12mm MDF). Extra bracing could then the fitted to stiffen the table and form a second fixing to the block holding the grinder.
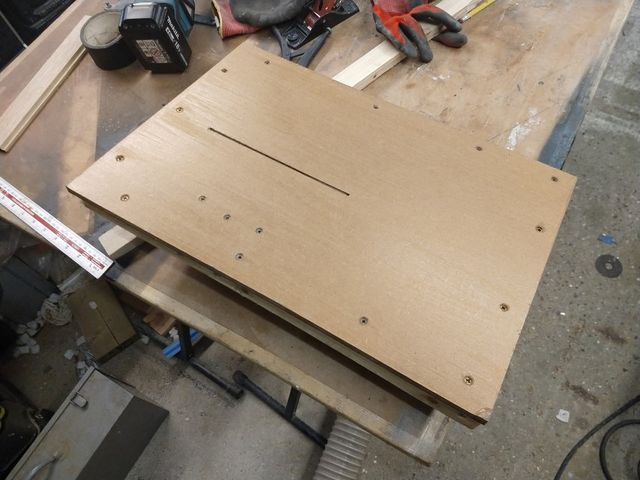
The table surface was slotted by raising the blade on a (proper woodworking) table saw though it! Thus the grinder can be bolted in:
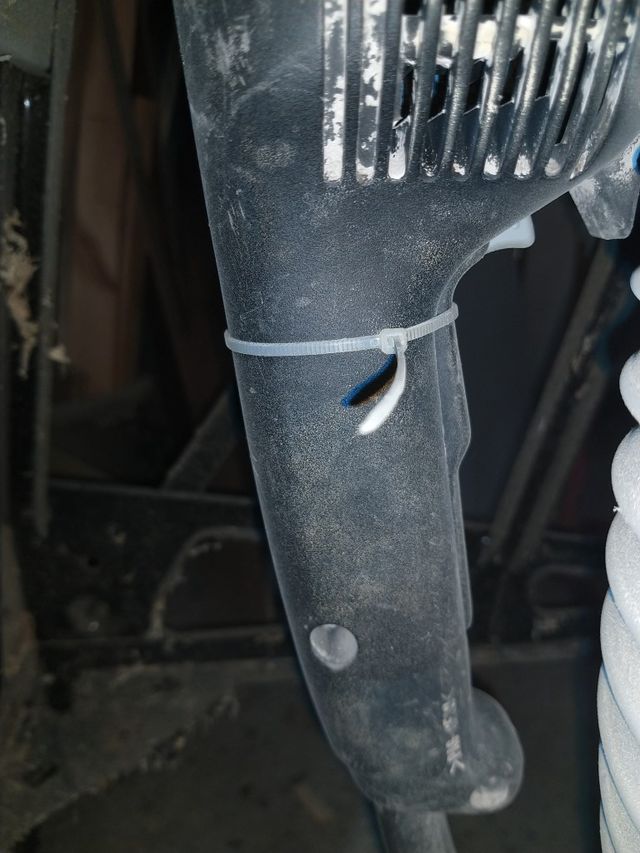
Next we need a way of locking the motor on (it can be switched at the plug instead). A cable tie sorts that.
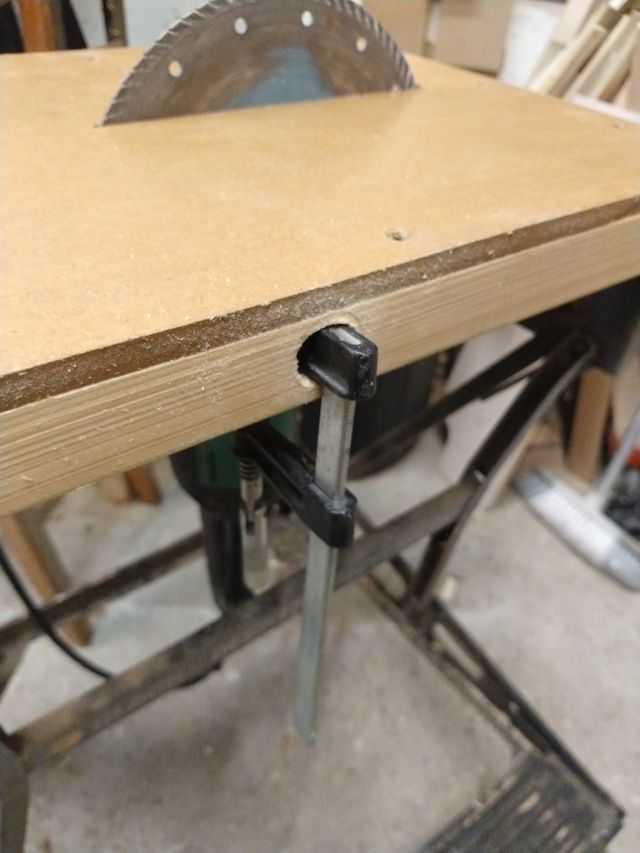
I also added a hole in the table side to allow it to be clamped in a workmate:
Finishing
To make the surfaces a bit more water and wear repellant, I painted some SBR sealer all over the table.
Testing
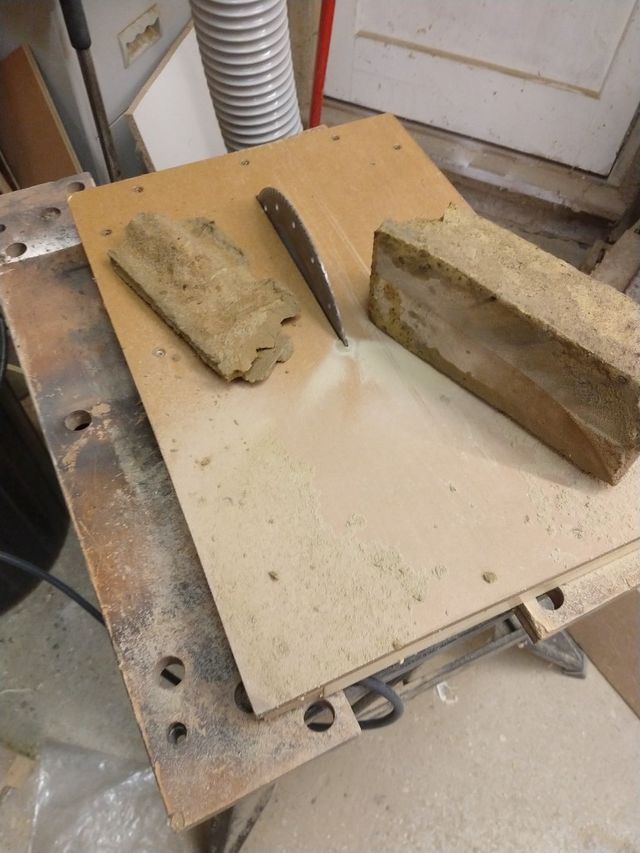
Now for the first test. Sinc it was raining, I tried this inside the workshop with dust hoses positioned to capture as much dust as possilbe - however you would not want to do much cutting inside!
However in use it works surprisinly well, cutting fast and clean.
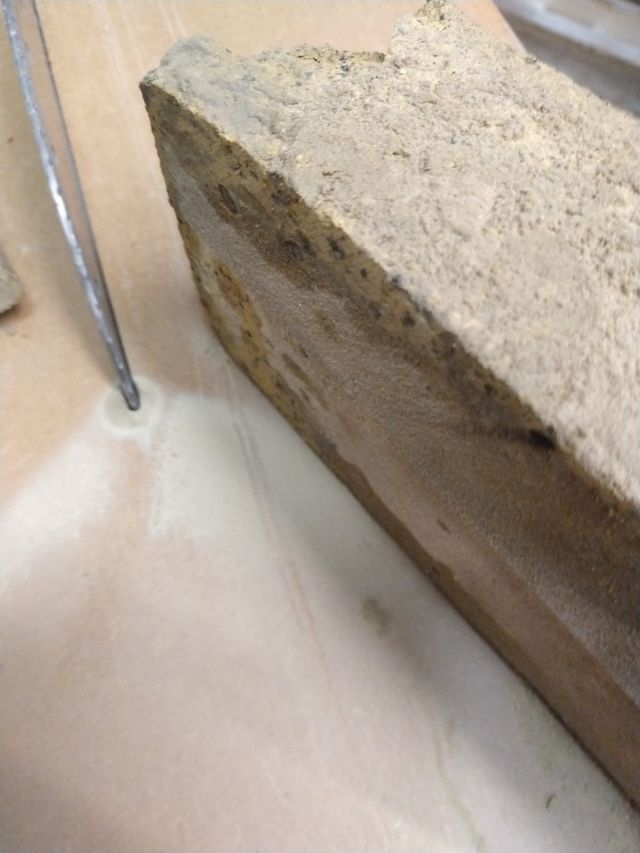
Doing one side, flipping the brick and then the other gave a nice finish:
I added a slight mod to drill a 1/2" hole through the table at the very leading edge of the disc, to allow more dust to be ejected down through the table.
