Phone stand and desk tidy
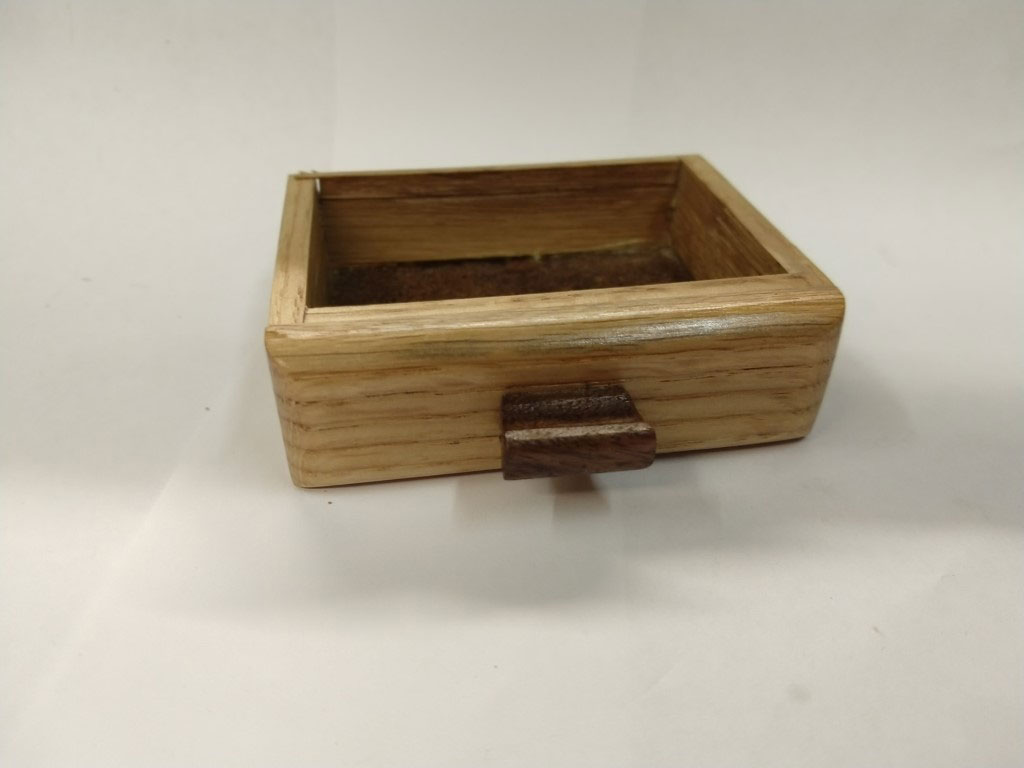
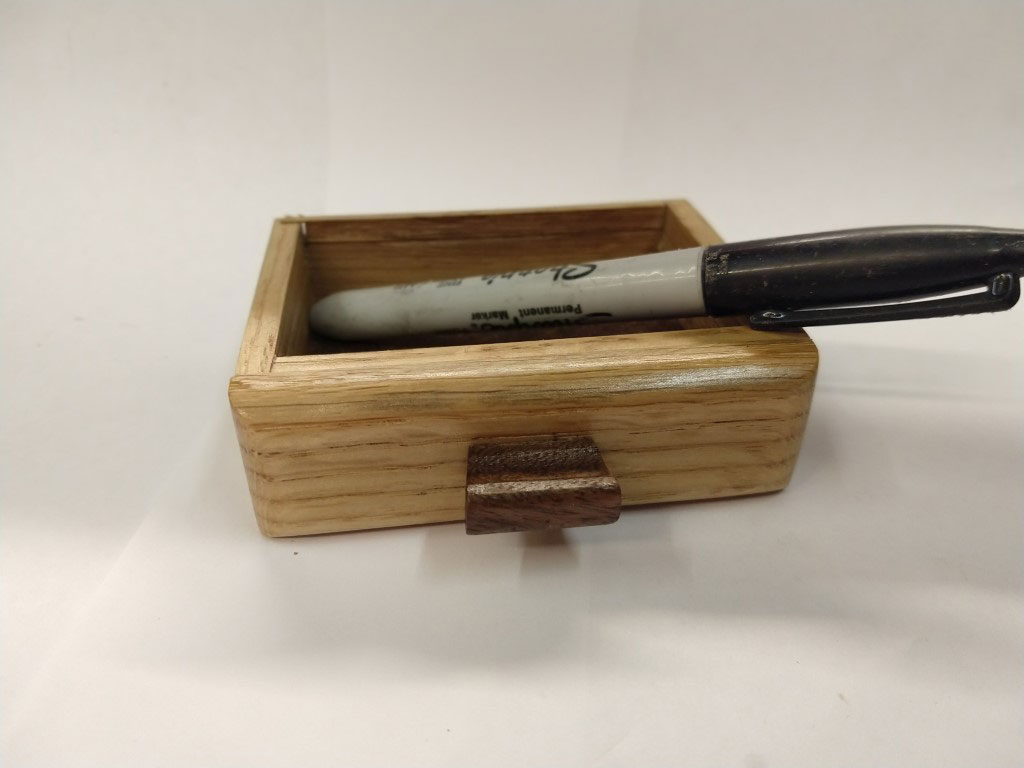
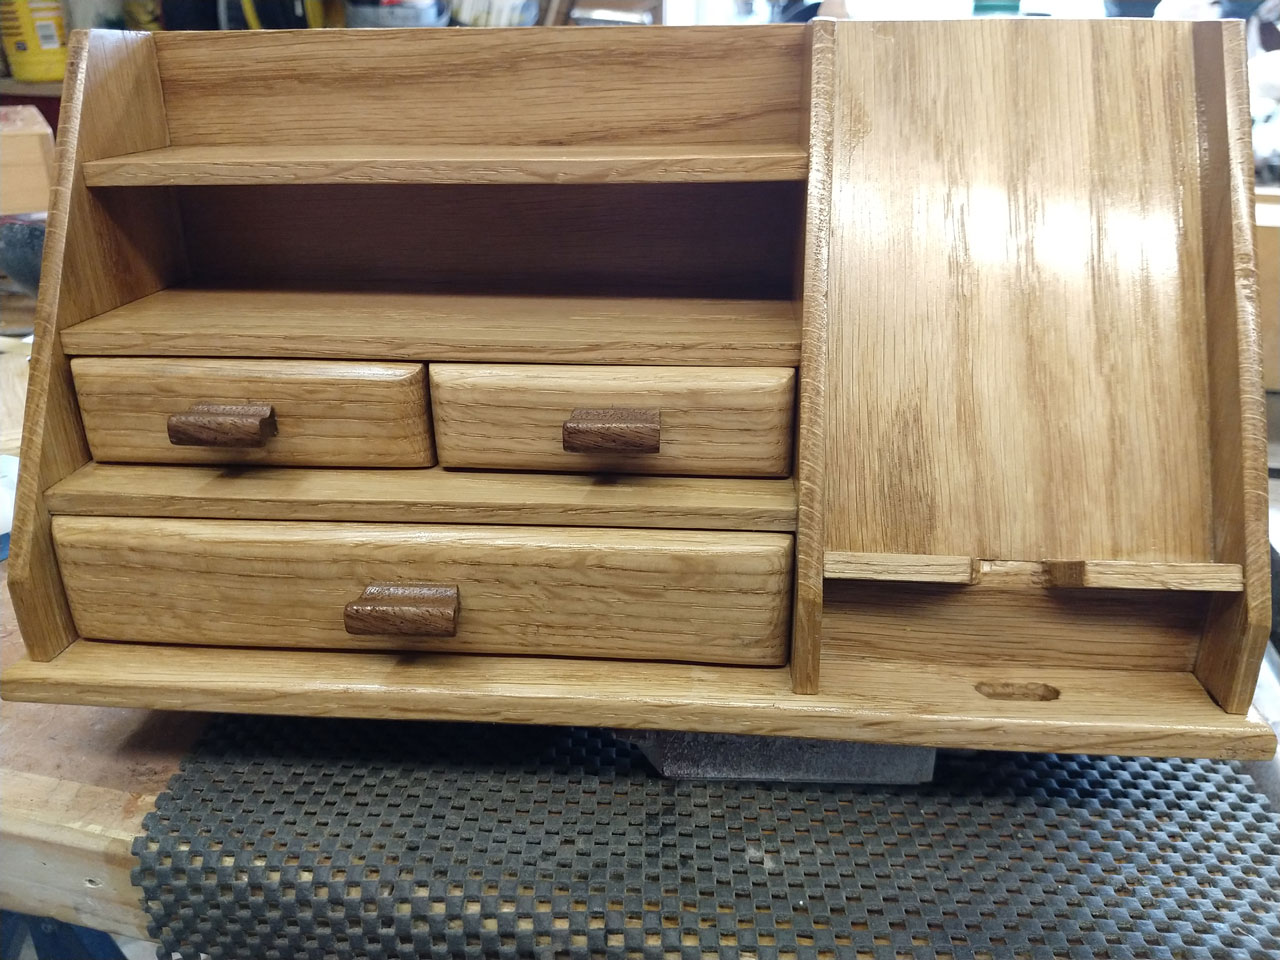
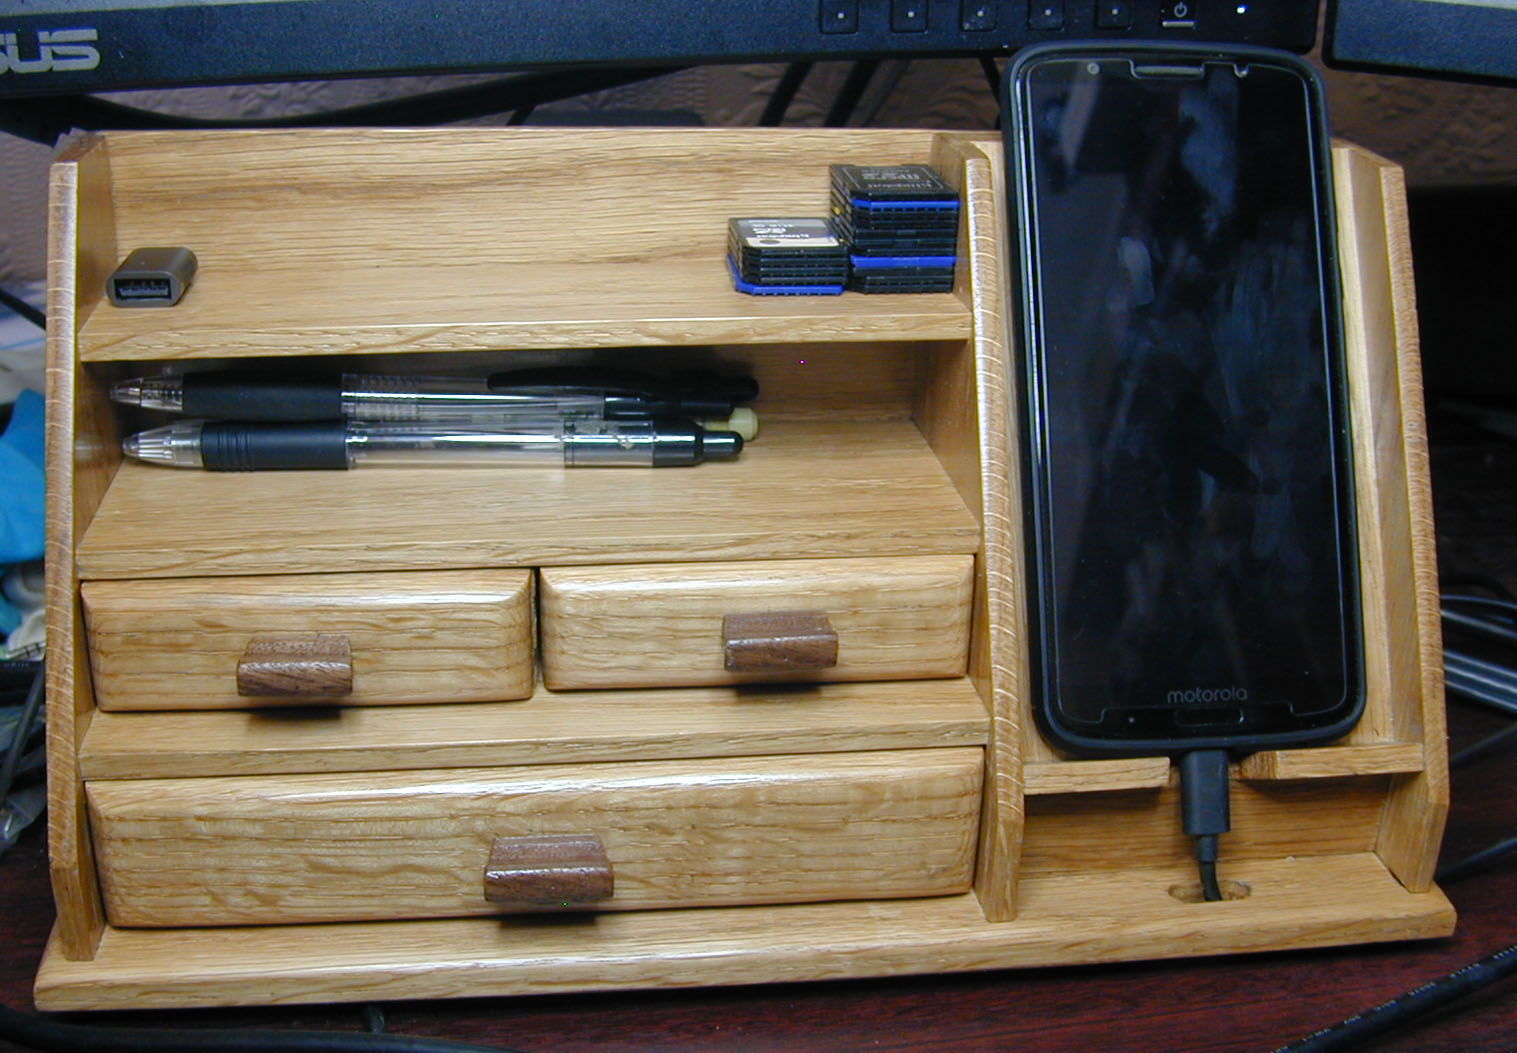
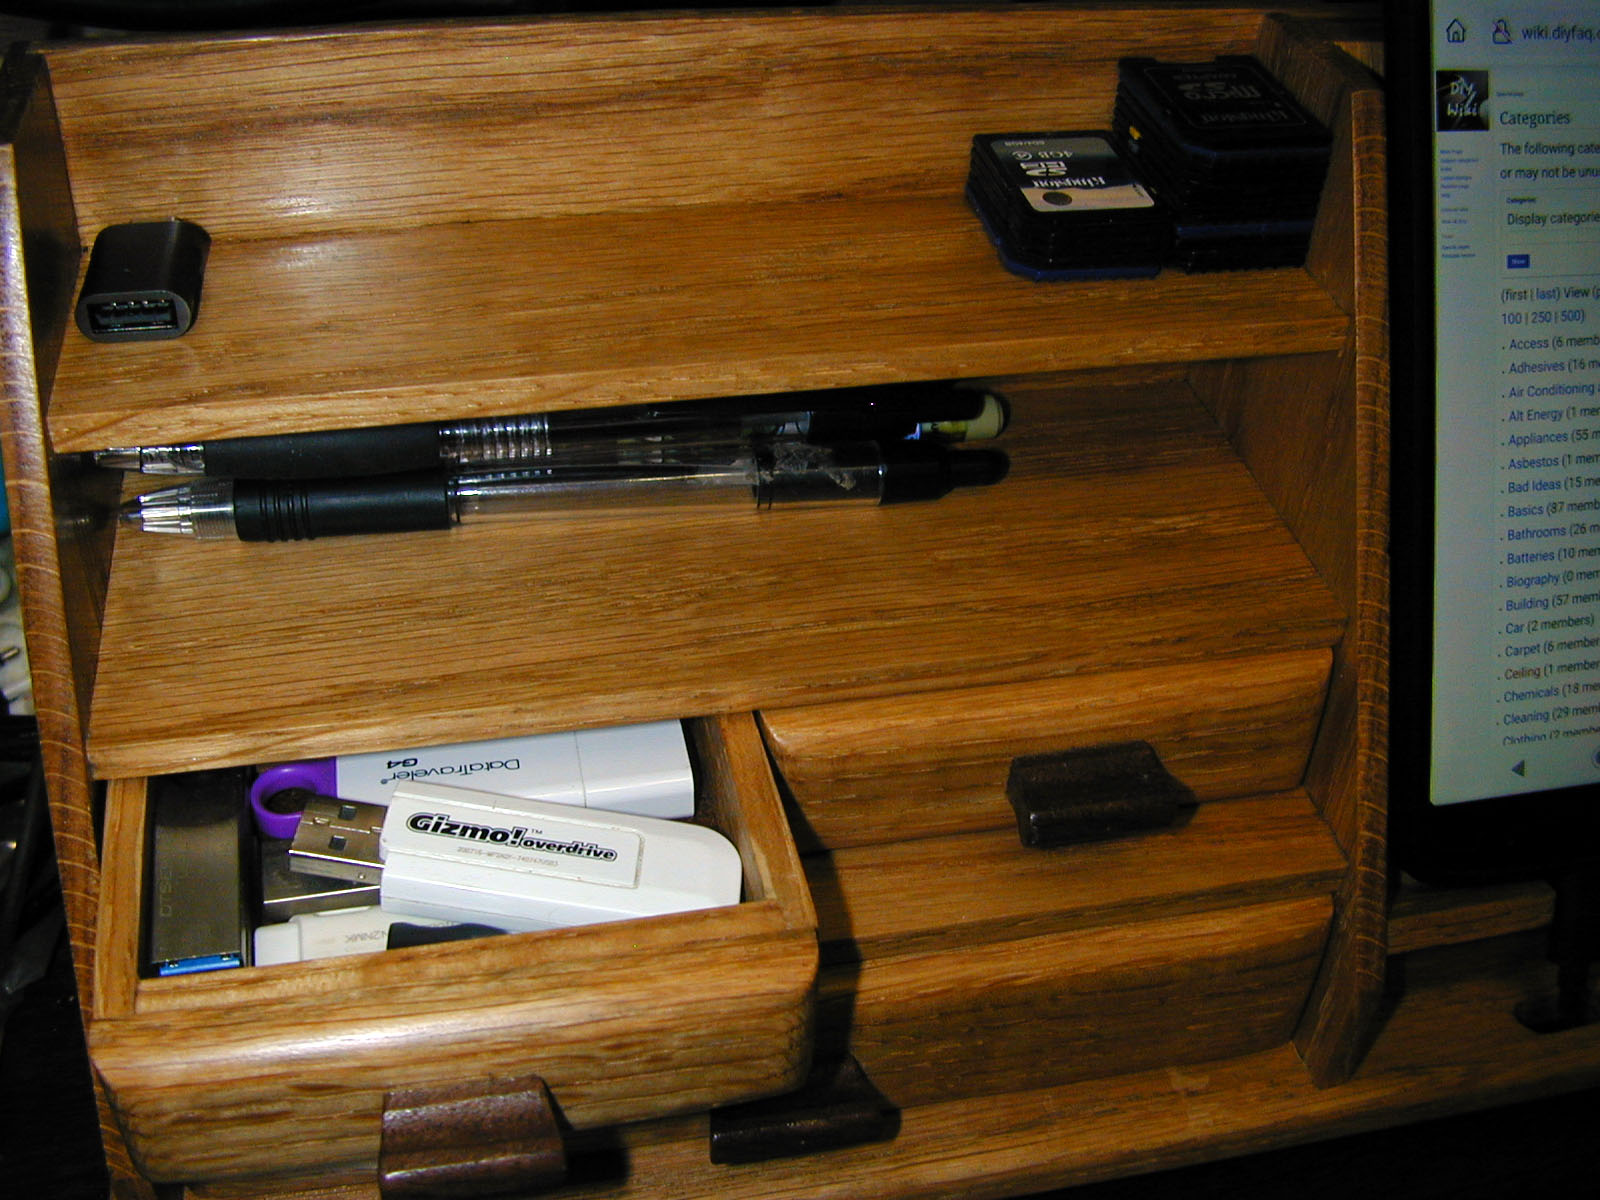
 Having managed to tidy my office a bit with the help of lots of drawers, I though the next project would be to try and organise my desk a bit. The primary requirement was to provide a handy charging stand for my mobile that also makes it easy to see and interact with while at my desk. The second goal was to make some space to organise "small stuff" that otherwise litters the desk and has a habit of getting lost.
So the plan was to do a small chest of drawers crossed with a sloping phone stand.
Design
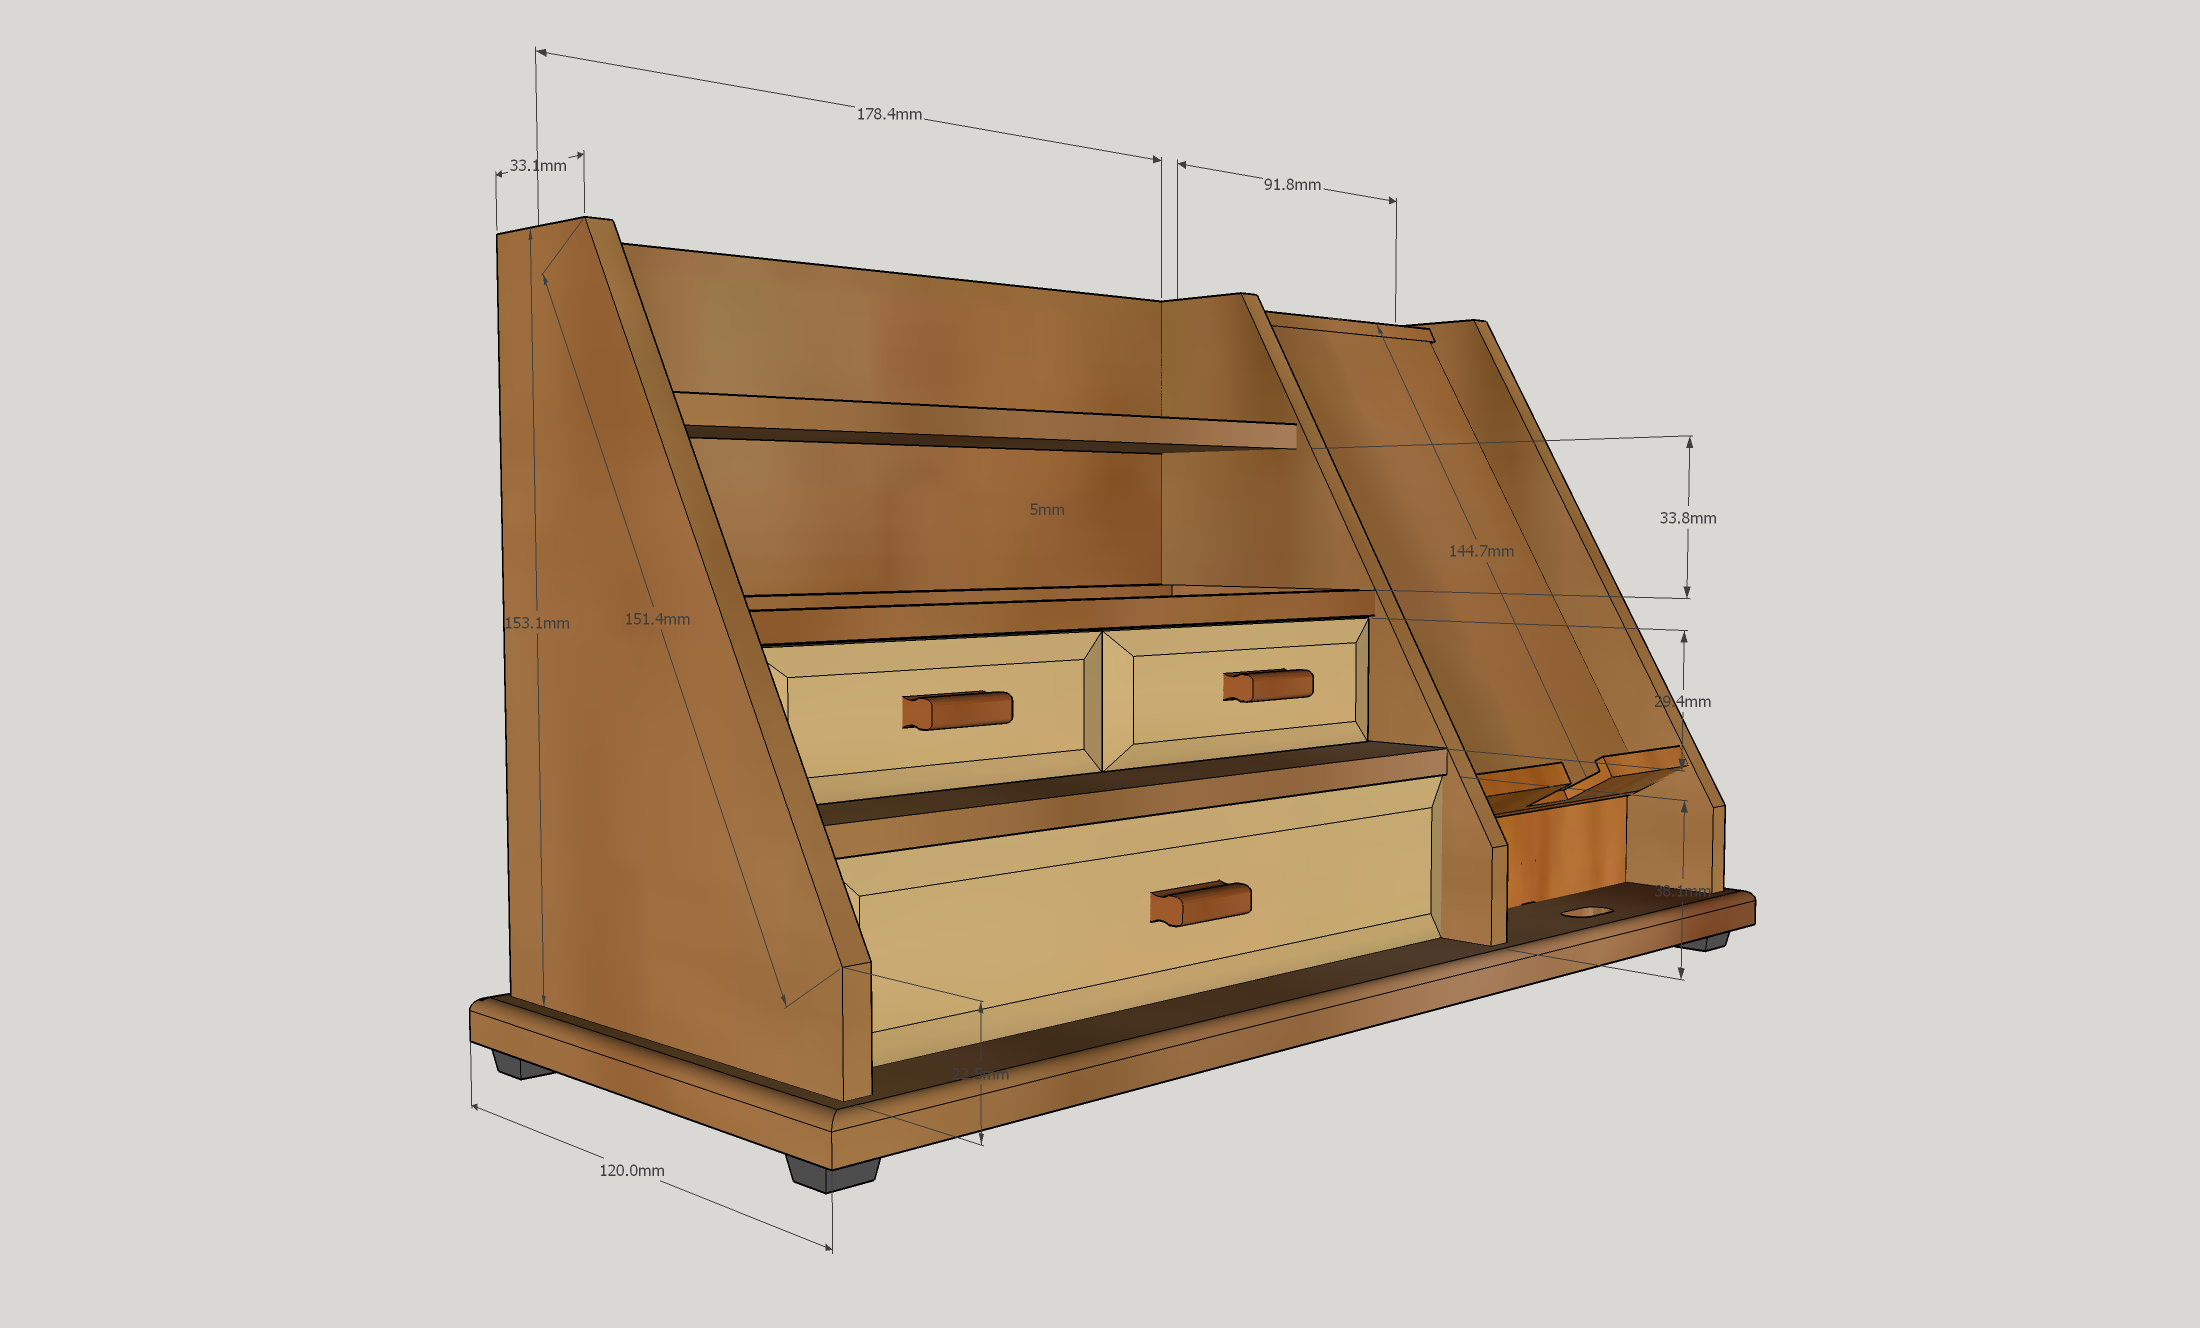
The phone stand needs to keep it at a good "facing" angle, while also allowing it to be connected to its charging lead while in the stand. Some small drawers would mop up some small desk clutter, and then a couple of small shelves to allow some often required desk slobber to rise above the pile of eclectic stuff that inhabits the space. A sketchup model was the next step. (needless to say, doing very small stuff in sketchup is easier than in real life)
Materials
To match the other furniture in the room I decided to go with Oak - in this case probably English. Plus a tiny bit of Walnut to make the drawer pulls.
Preparation
I used 24" of a 5"x2" board of walnut. Since I needed lots of thin stock, I ripped most of this down on the bandsaw with a shop made tall fence to allow thin wide rips to be taken from a board. I started flattening one face and one edge on the planer, then ripped a plank. Then I planed another flat face on the stock, and took another cut. Carrying on like this until I had a pile of 12" long planks about 7mm thick and planed on one side. Next I ran these through a thickness planer to bring these down to 6mm.
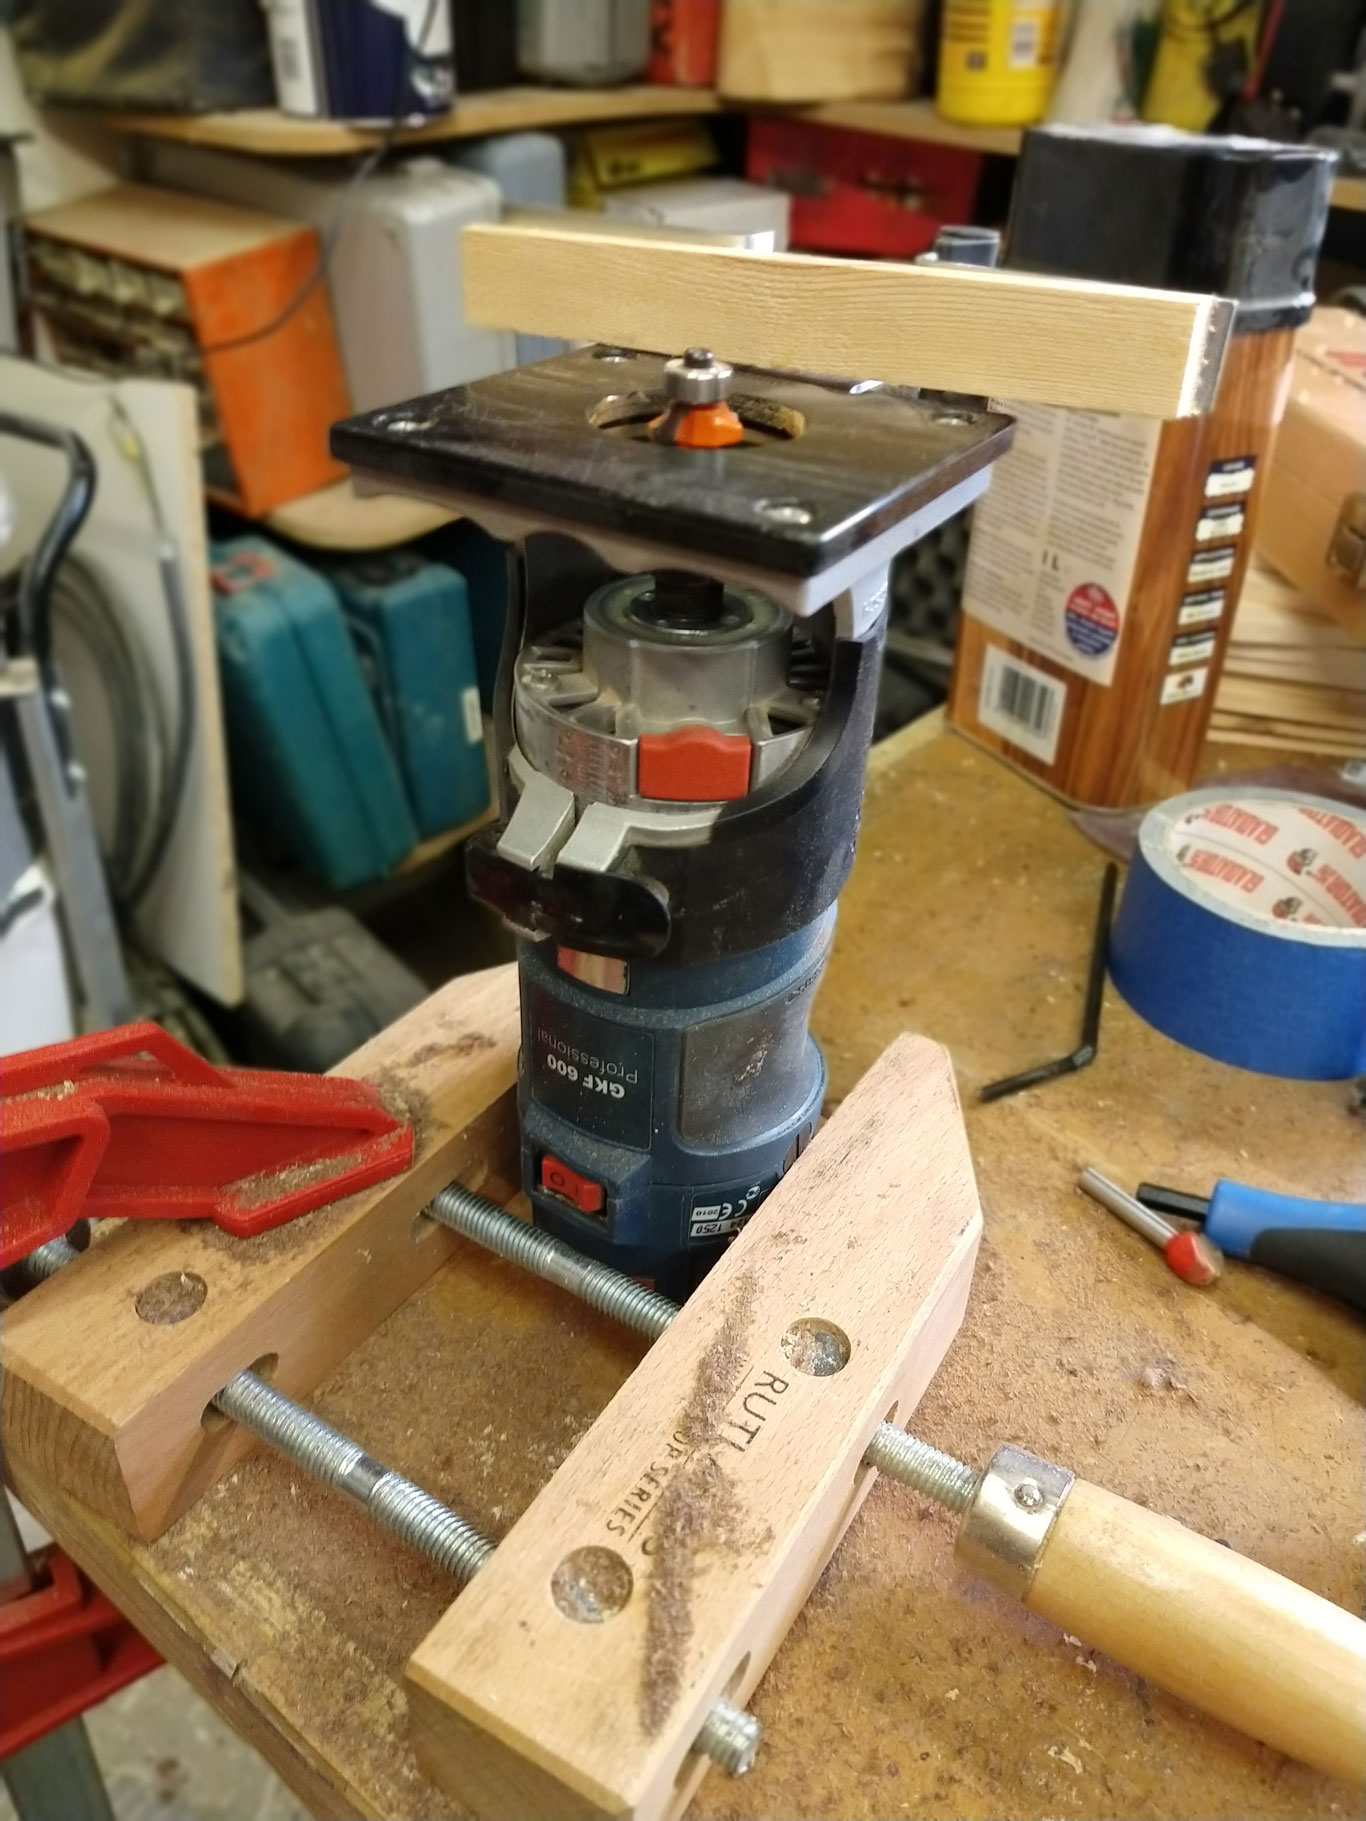
I chose 6mm since I have a matching router bit, and it was going to be much easier to have a way of cutting dados that would match the timber thickness.
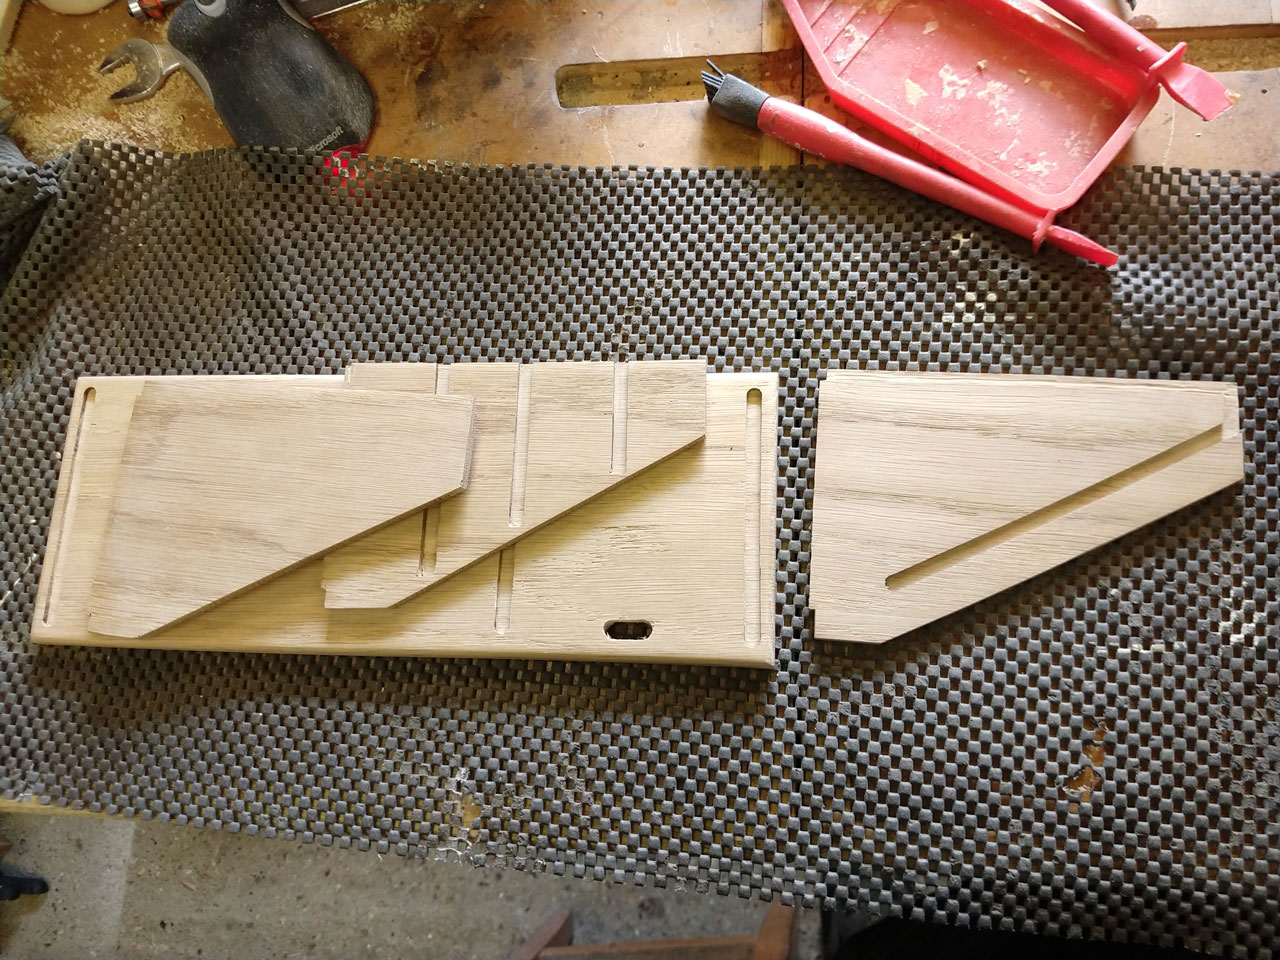
The first stage was marking out the base and the three main uprights. The routing the dados in the uprights . (to clamp these safely I covered one side with low tack masking tape, and did the same with a large board. I could then glue the back of the tape on the boards to the large board which I could clamp to the table. This made it easier to hold the small boards steady for routing, but still be easy to remove later as the masking tape will pull away fro the wood.