Phone stand and desk tidy
Having managed to tidy my office a bit with the help of lots of drawers, I though the next project would be to try and organise my desk a bit. The primary requirement was to provide a handy charging stand for my mobile that also makes it easy to see and interact with while at my desk. The second goal was to make some space to organise "small stuff" that otherwise litters the desk and has a habit of getting lost.
So the plan was to do a small chest of drawers crossed with a sloping phone stand.
Design
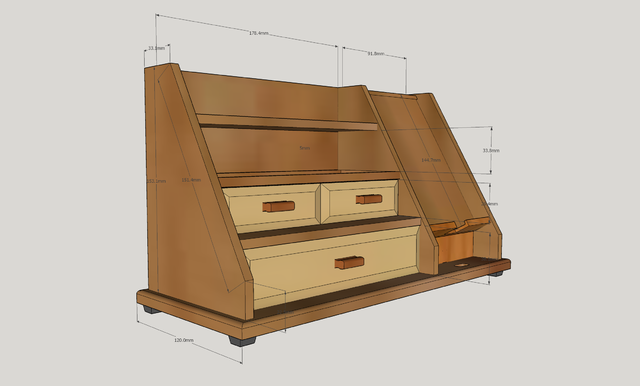
The phone stand needs to keep it at a good "facing" angle, while also allowing it to be connected to its charging lead while in the stand. Some small drawers would mop up some small items of desk clutter, and then a couple of small shelves to allow some often required desk clobber to rise above the pile of eclectic stuff that inhabits the space.
A sketchup model was the next step. (needless to say, doing very small stuff in sketchup is easier than in real life)
Materials
To match the other furniture in the room I decided to go with Oak - in this case probably English. Plus a tiny bit of Walnut to make the drawer pulls.
Preparation
I used 24" of a 5"x2" board of walnut. Since I needed lots of thin stock, I ripped most of this down on the bandsaw with a shop made tall fence to allow thin wide rips to be taken from a board. I started flattening one face and one edge on the planer, then ripped a plank. Then I planed another flat face on the stock, and took another cut. Carrying on like this until I had a pile of 12" long planks about 7mm thick and planed on one side. Next I ran these through a thickness planer to bring these down to 6mm.
I chose 6mm since I have a matching router bit, and it was going to be much easier to have a way of cutting dados that would match the timber thickness.
Construction
Body
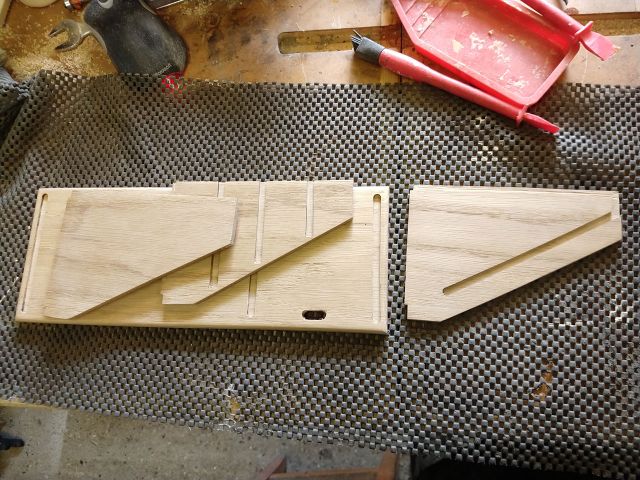
The first stage was marking out the base and the three main uprights. The routing the dados in the uprights . (to clamp these safely I covered one side with low tack masking tape, and did the same with a large board. I could then use hotmelt glue to stick my small furniture boards to a much larger heavier one that could be clamped to the workbench. This made it easier to hold the small boards steady for routing, but still be easy to unstick them later as the masking tape will pull away from the wood without leaving a mark.
I squared off the ends of the shelf dados with a small chisel to allow the shelf to be inset directly into the dado.
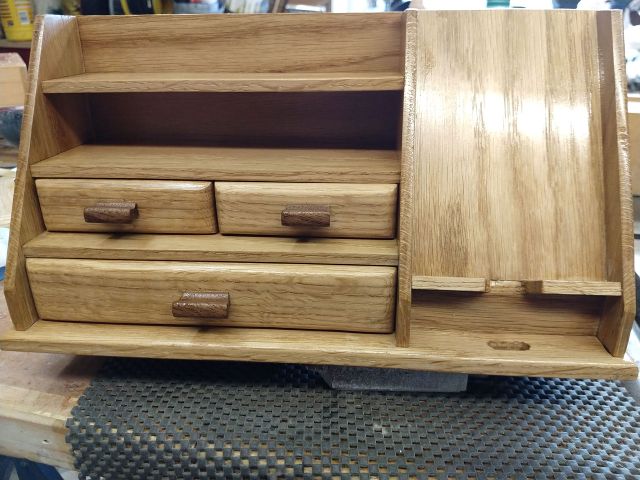
The uprights were glued into the base first, and allowed to set before fussing with the shelves. These could then be glued up and slid in from the back. Since the top set of drawers are so small, there is no central divider, they simply space each other apart. The roundover on the drawer fronts creates the illusion of of space around each drawer.
Drawers
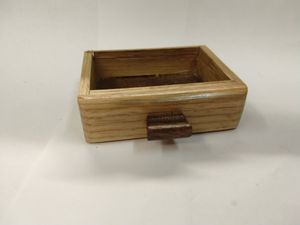
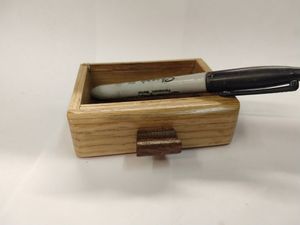
For the drawers, I used my favourite quick joinery method, of cutting 1/4" finger joints using a dado blade and a home made finger joint jig. This lets multiple drawer parts to be cut at once (which to be fair was not much of a time saver when there are only three drawers!), but it also allows for quick an easy assembly - just apply glue and hammer together, no need for clamps etc.
The boxes I made form solid oak since there was some spare (I normally prefer softwood boxes as they are easy to plane to final size and fit). The drawer fronts were added after. The bases were made from some 4mm hardboard set into a rebate in the bottom of the drawer that was cut on the drawer sides before assembly with a quick pass on the table saw.
Final assembly
The last bit of construction was to profile the drawer front edges, and make some profile for the handles from a scrap of walnut. I found a 1/4" radius round over worked nicely for the drawers. Having tilted the unit back at an angle, and inserted its drawer boxes, the drawer fronts were then glued to the drawer boxes with 5 minute epoxy. The epoxy is slippery, and so allows the drawer fronts to be slid into exactly the right position with ease. It can also fill small gaps that may be left from planing the drawer boxes to the right size). Shims and gravity to the rest of the work, no need for clamping.
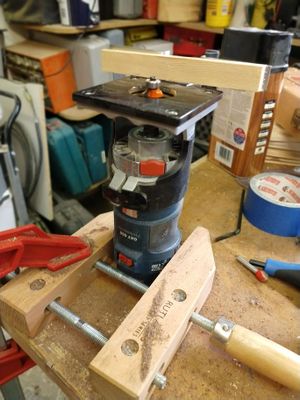
The last bit to make were some drawer pulls. These needed to be fairly small so as not to look silly on the front of the drawers, but also easy to grab and use. So I cut a 4" piece of walnut, and ripped it down to a cross section of approx 1/2" by 3/8". The using a 1/4" radius domed "box" cutter in the router, made a shallow pass on both sides to create small finger recesses. Finally running both leading edges over a 1/8" round over bit.
The handle was then cut into small sections, and the edges cut at a slight angle so that it tapers nearer the drawer. This makes it easy to gram either form above and below, or on the sides of the handle.
To fit the handles, I simply marked the centre of each drawer face, put a small blob of wood glue on the back, and then shot a 23 gauge pin through the front of the knob to pin it in place on the drawer. (getting one slightly offset into the process because the glue was a bit slippery!)
Applying a finish
I sanded everything to 240 grit prior to assembly. Then applied three coats of Liberon finishing oil. Giving tit a very light sand with 240 after the second coat.
Finally I applied some clear black bison was using some 0000 fine wire wool. This knocked back the shine to a nice satin finish. A final buff with a lint free cloth give it a final polish. The wire wool does a nice job of de-nibbing any final imperfections in the finish, and leaving a surface that is silky smooth to the touch.
In use
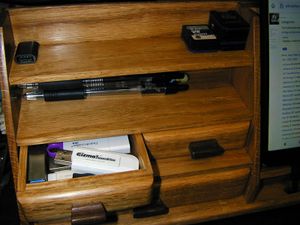
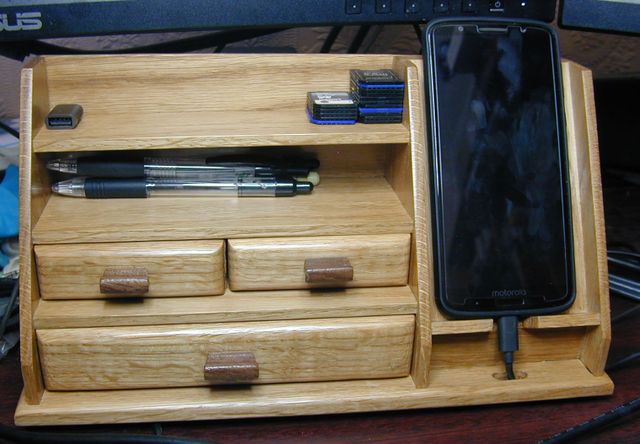
It was designed to sit right beneath my main monitors, and behind my keyboard. So the phone is within reach, and the wood edges of the stand can be used to steady ones hand when prodding at the screen:
Now I just need to build a very small storage index for SD cards!
