Pipe bending
This excellent pipe bending tutorial came from the old diy FAQ
BillP’s Pipe Bending Notes
I was shown this method of pipe bending by a retired plumber who now lectures at college. He had been a hands-on plumber all his working life. “I don’t care what you’ve been shown before.” He said. “This is all you need to know. Memorise this table and it’s a doddle” He was right!
| 90 Degrees | 60 Degrees | 45 Degrees | 30 Degrees | |
|---|---|---|---|---|
| 15mm Pipe | 70mm | 46mm | 35mm | 23mm |
| 22mm Pipe | 100mm | 66mm | 50mm | 33mm |
You only have to remember the first column; the rest can be worked out because they are direct relationships. It is more complicated to explain how to use these dimensions than it is to actually use them. Once you get the idea it’s so easy. You can get bends and sets in the right place without wasting off cuts.
Example 1.
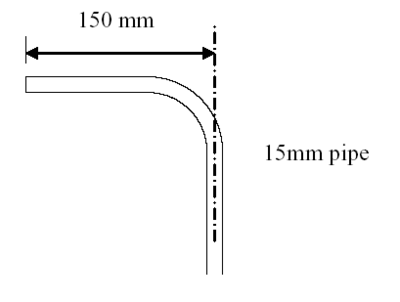
Suppose you want to pull 90-degree bend in 15mm pipe so that centre line of the pipe is 150mm from the end.
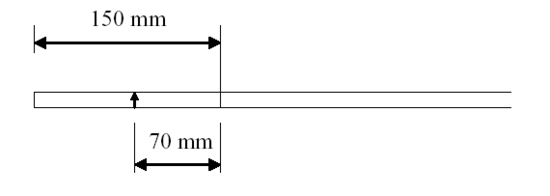
Measure from the end of the pipe 150mm and make a mark. Look at the table for a 90-degree bend in 15mm pipe and you will see 70mm. Measure 70mm back your first mark, and mark this point with an arrow.
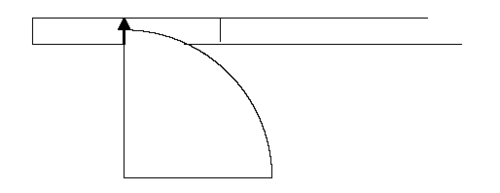
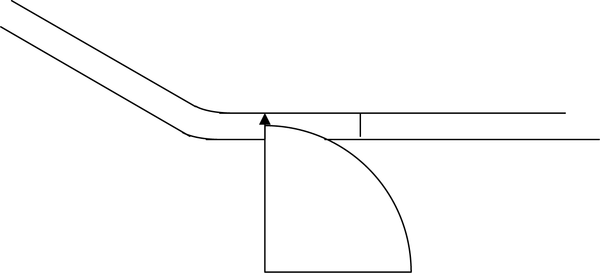
Put the pipe into the bender so that the arrow lines up with the edge of the curved former. In other words, this is where you start forming the bend.
Pull the bend to 90 degrees. Job done.
Example 2.
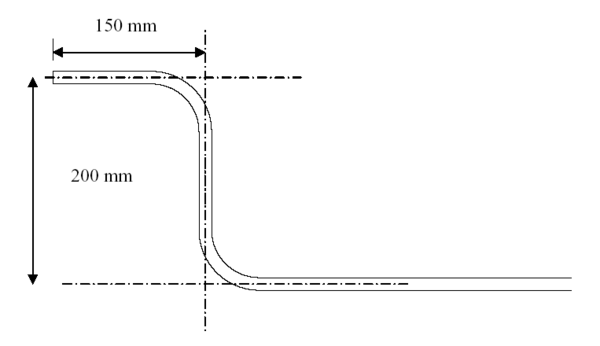
If we want to pull this set using 22mm pipe. Measure 150mm from the end of the pipe and make a mark. Looking at the table for a 90 degree bend in 22mm pipe you will get the dimension of 100mm. Measure 100mm back your first mark, and mark this point with an arrow.
Put the pipe into the bender so that the arrow lines up with the edge of the curved former, this is where you start forming the first bend.
After you have pulled the first bend, mark the pipe where the centreline of the required second bend would cross the pipe. Referring to the table measure back 100mm and mark the arrow:
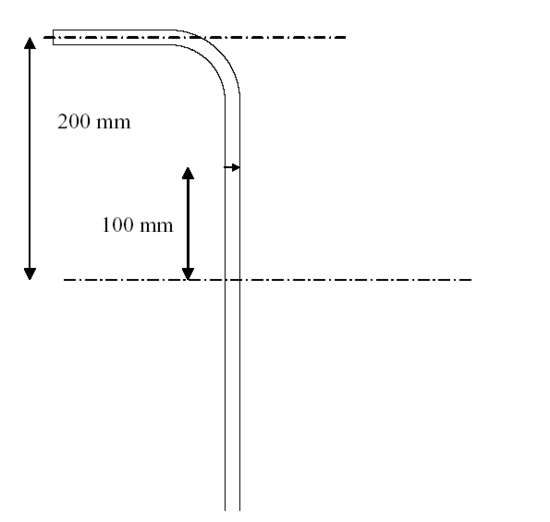 Put the pipe into the bender so that the arrow lines up with the edge of the curved former, this is where you start forming the second bend. Pull the second bend to 90 degrees:
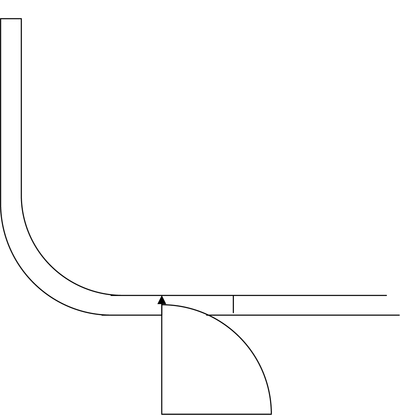
Example 3.
Pulling a 50mm set at 30 degrees in 15mm pipe.
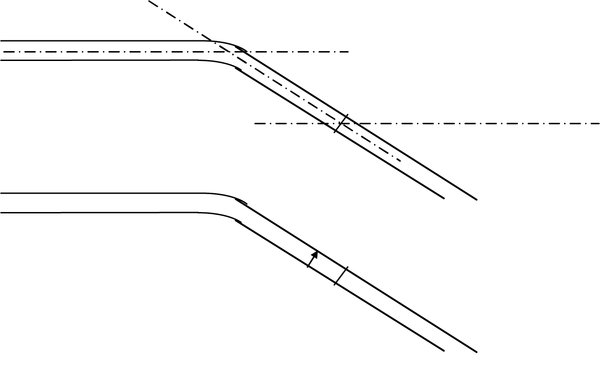
The easiest way to do this is to mark the centre lines of the required bend on a work surface (on the floor or on a piece of scrap card)
Place the pipe over the first centre line and mark the pipe where the lines intersect.
Look at the table you will see that the dimension for a 30 degree bend on 15mm pipe is 23mm.
Measure back 23mm from your first mark and mark with an arrow.
Put the pipe into the bender so that the arrow lines up with the edge of the curved former, this is where you start forming the first bend.
Pull to 30 degrees.
Lay the pipe on the marked out centre lines and mark the intersection of next bend.
Measure back 23mm from your first mark and mark with an arrow:
Now pull to 30 degrees
You should be able to lay the completed bend exactly over your drawn centre line.
You can use this method to pull composite bends accurately from one piece of pipe, even if the bends are in different planes.
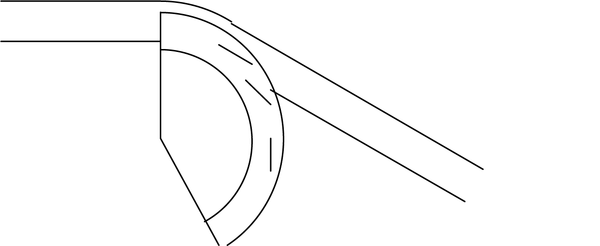
Ever wondered what the marks on the edge of the curved former are for?
Pull to the first mark = 30 degrees. Next mark = 45 degrees. Next mark = 90 degrees.
Downloadable version
You can download a PDF version of this document
