Planer knife sharpening jig
Knives for surface planers (jointers), and thicknessers pose a number of challenges to sharpen adequately. This article describes an easy to make jig that simplifies the whole process.
Introduction
The knives for these machines are typically at least 6" (150mm) long, and quite often over 12" (300mm) long. They not only need to be sharp, but also the edge needs to be perfectly straight to get the best planing results. Even with sophisticated powered wet stone sharpening systems you can only sharpen a section of the blade at a time, which makes getting a perfectly straight finish difficult. The jig descried here makes it simple to sharpen the full length of the blade in one go.
Construction
You will need a block of dense hardwood (maple or oak would be ideal) around 1.5" x 2" in cross section, and long enough to take the full length of your blades. (if you have a three blade machine, you may need some stock a little wider).
Find your bevel angle
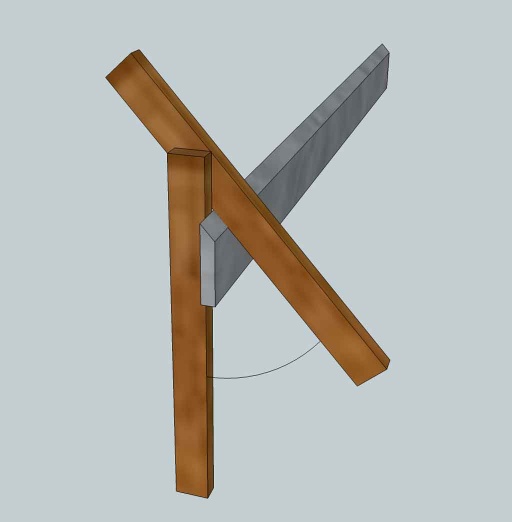
Each jig is likely to be specific to one particular set of blades since it will be permanently set to the bevel angle of the blades in question. Before we can go much further, you need to measure the bevel angle of your blades.
Unless you have a snazzy angle measuring gadget, or gauge, you can use a couple of offcuts of wood to copy the angle onto some paper and then measure the angle with a protractor.
Cut angle into jig
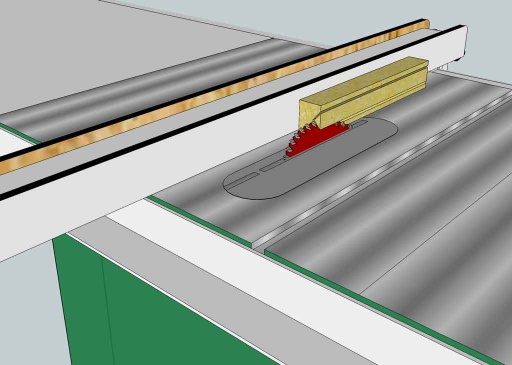
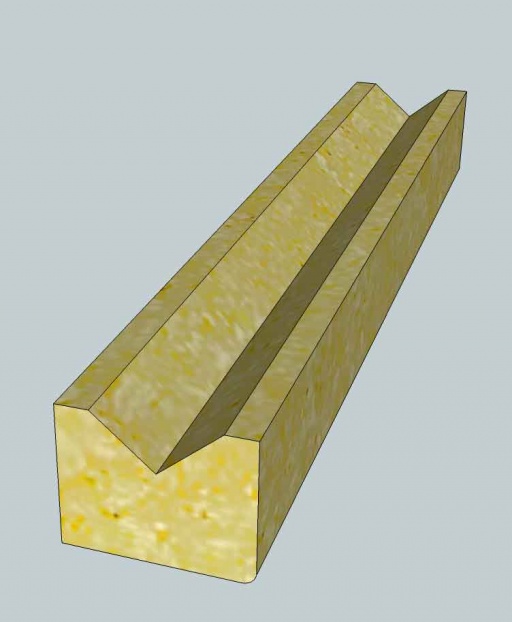
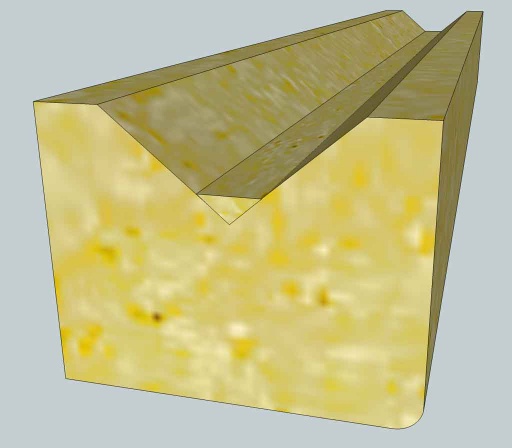
Once you know the angle, you can set this on a table saw and cut a vee grove into your jog. Since many blades will use a bevel angle of around 40 degrees, and most table saws can't tip the blade to an angle of less than 45 degrees, you may need to rotate the jig 90 degrees, and set the blade angle to 180 minus the bevel angle.
Cut both sides of the jig so that you get a result that looks a bit like:
Make the blade clamp
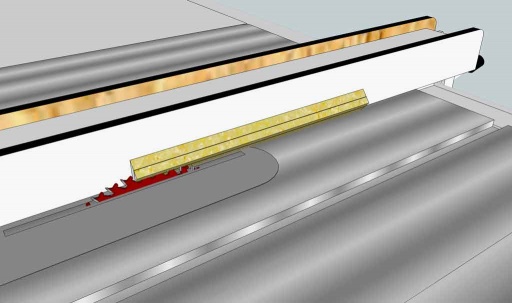
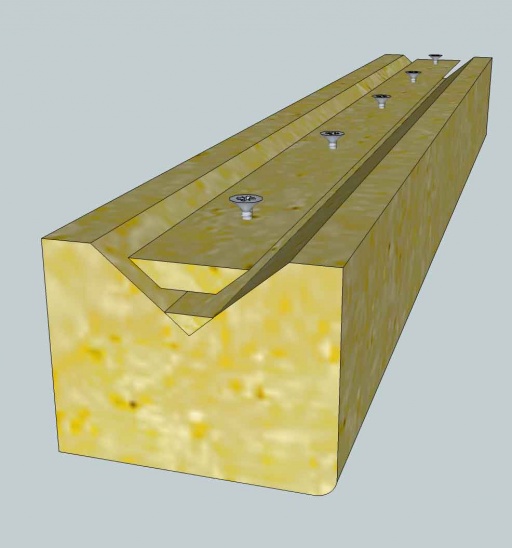
Take the triangular section of wood that was removed and rip the top of triangle off it on the table saw. For safety, its easier to use two passes, flipping the wood end to end after the first. That way you can use a push stick passing right over the blade:
Now take the small triangular offcut, and glue that back into the base of the jig:
Finally, take the remaining offset and drill and countersink holes to accept screws:
Using the jig
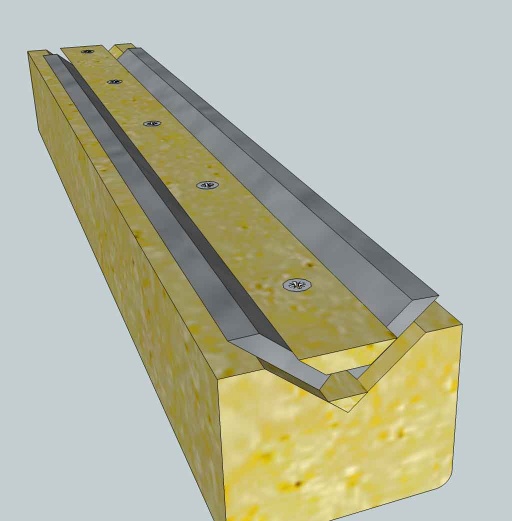
The blades can be mounted into the jig so that both bevels are aligned and paralleled to the bottom of the jig.
Tighten the screws to retain the blades in place.
Sharpening
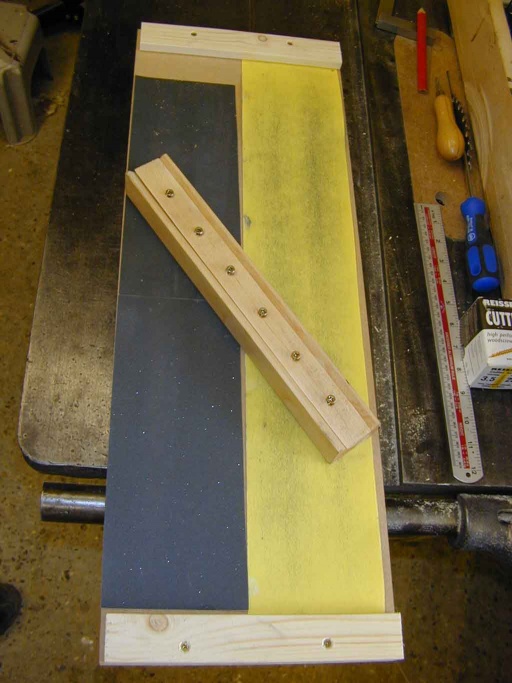
The sharpening can now be done manually on a flat surface covered with abrasive papers, of could also be done on a long belt sander or linisher if available.
The sanding surface wants to be as flat as possible (a bit of float glass of granite worktop offcut is ideal). But any flat surface will do, such as the table of a table saw or other machine tool.
Invert the jig so that blades are in contact with the abrasive, and then slide the jig up and down to remove metal from the blades. Normally 120 grit is more than course enough (unless you need to polish out large knicks from the blades). If using a power sander, take care not to overheat the blades as this will soften the steel. After the blade has been sharpened on 120 grit, move to 240, and then 400. That should be adequate for most planers. You can proceed to ever finer grits if you desire for a highly polished edge on the blades.
Before returning the blades to the planer, place them both on a flat surface with each blade edge facing one another. Make sure that the cutting edges are parallel and straight.
