Raised flower beds
Raised flower and vegetable beds can make for attractive and easy to use planting containers in a garden, keeping contents separated from lawns and other borders.
Design
There are a multitude of bed designs and construction techniques. Typically they will be at least 6" (150mm) high, but possibly as much as waist height. Timber, and masonry walls are commonly used for retaining the edges. Taller beds can be good for people with bending or access difficulties (e.g. wheelchair users).
Simple planked design
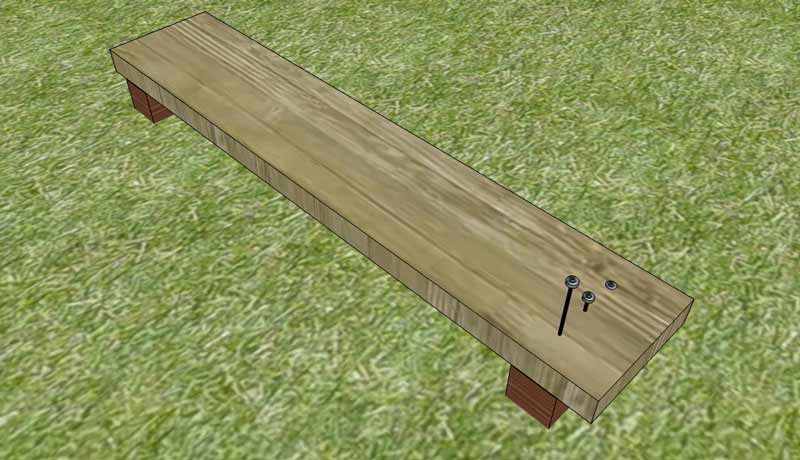
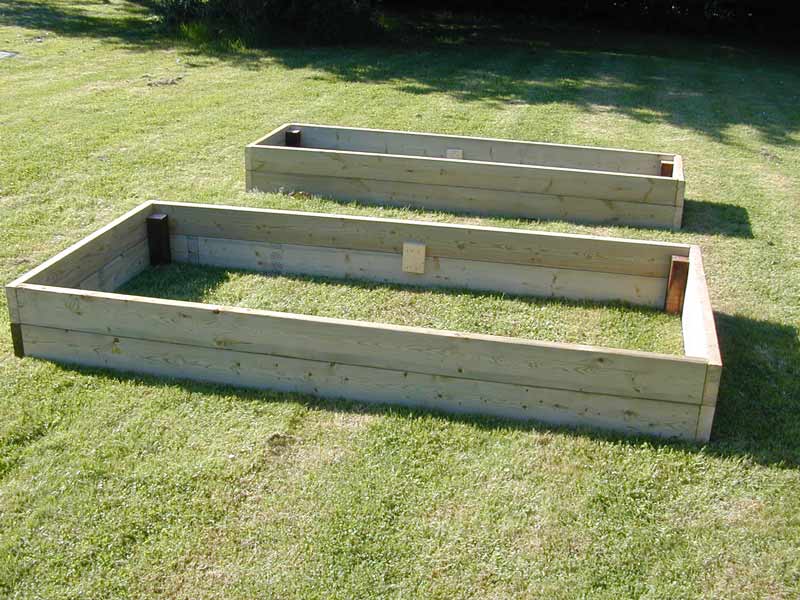
The following beds are one of the simplest planked designs. These were made from 6x2" tanalised / treated timber, with short 10" sections of 3x3" fence post cut to act as corner supports.
Assembly
Having considered a number of construction techniques, it was decided that a simple nailed fixing would be adequate (and fast since a pneumatic framing nailer was handy!). Each of the planks were cut to length first. The end panels were then nailed through the face into the post section, using an offcut of timber a spacer to set the distance from the end of each panel correctly. The nails in this case were 3.5mm thickness 95mm clipped head ring shank nails.
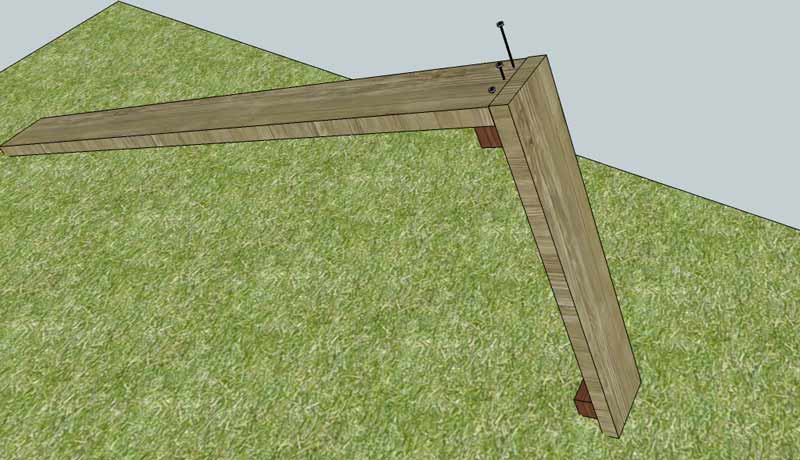
Once the ends were made up, the long panels could be laid in position on the end sections. Working on grass allowed enough grip on the ground to assemble the first joint with the boards "stood up" on the ground in an inverted triangle:
After that, the other end and then final side can be fixed in the same way.
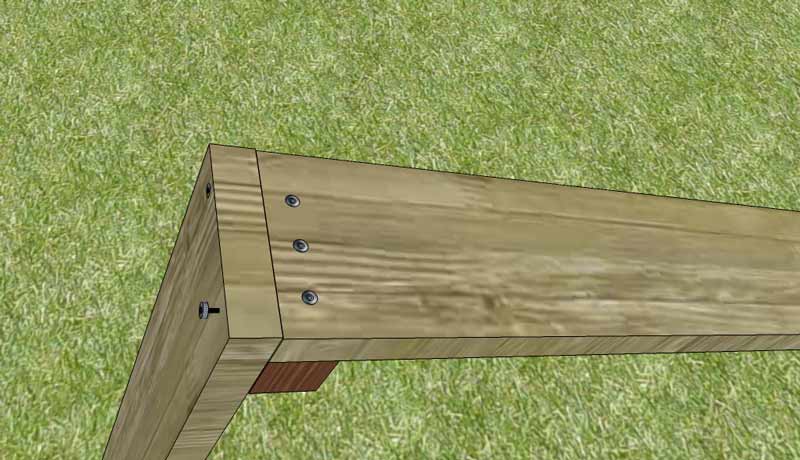
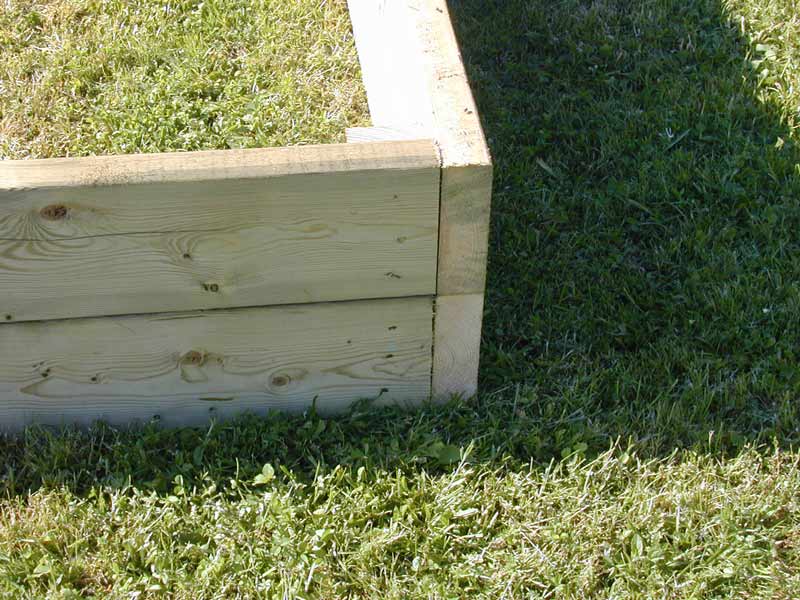
Finally, sticking some nails in through the short side of the bed, into the end grain of the long side creates a joint that is now very much more difficult to pull apart since it is no longer relying on the pull out resistance of the nails to support the joint.
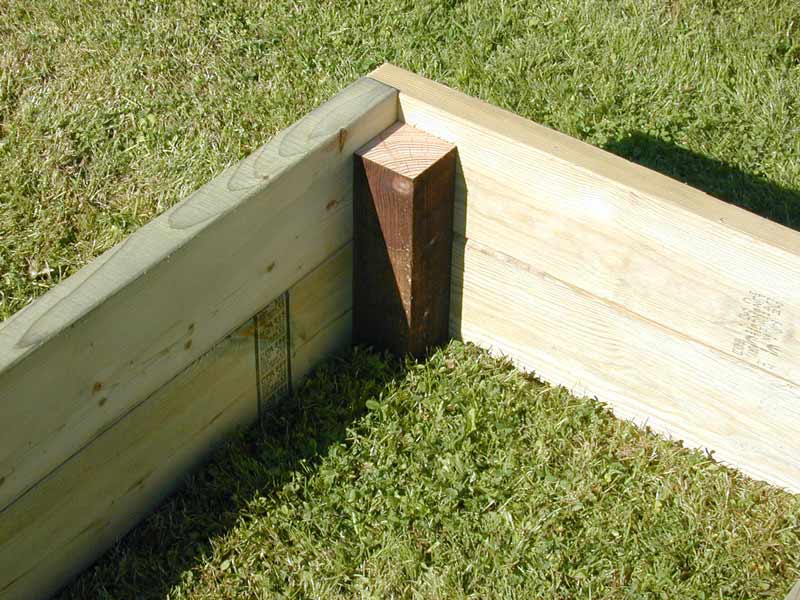
Inside corner detail:
Outside corner detail:
Final result:
The narrow bed here being ideal for runner beans etc since it permits easy access to both sides once a row of canes / strings are run down the middle.
Installing
Timber beds can simply be placed into final position and filled. However when positioned over soil they can also be fixed into position if desired by driving some "pins" into the ground (offcuts of rebar being ideal).
Masonry beds
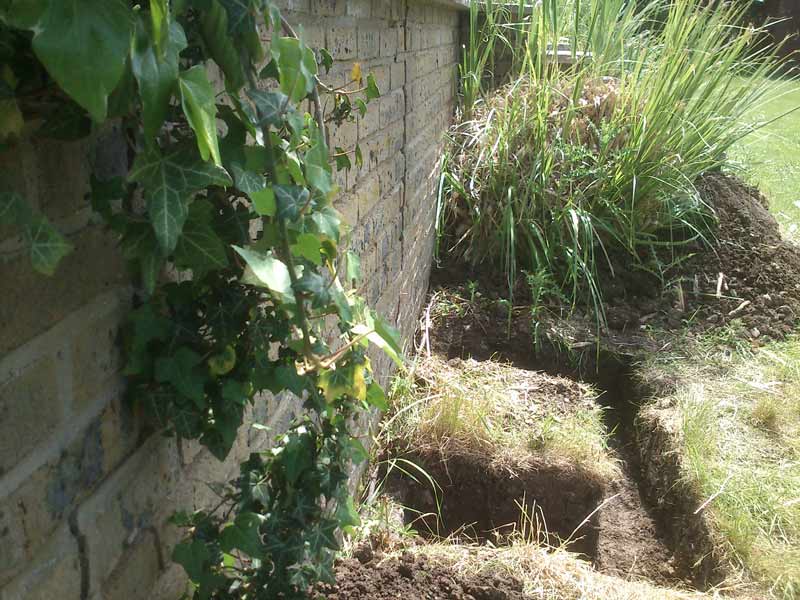
A raised bed can also prove to be a useful disguise for masonry required for other reasons. For example in the following photo, a retaining wall around a raised patio was beginning to fail due to the weight of soil it was holding back:
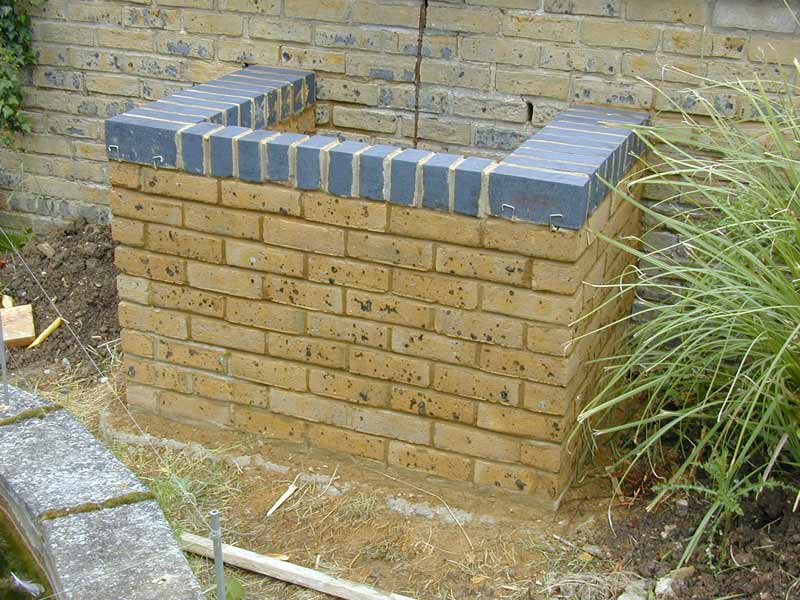
Cracks were developing in the brickwork, and the lower courses were beginning to visibly belly out. It was noted however that where there was perpendicular brickwork against this wall there was no sign of movement. Hence the plan here was to build a pair of raised beds to act as buttresses for the wall. Each side being comprised of a 9" single brick construction for strength, and the front just being of half brick construction - adequate to retain the soil in the bed.
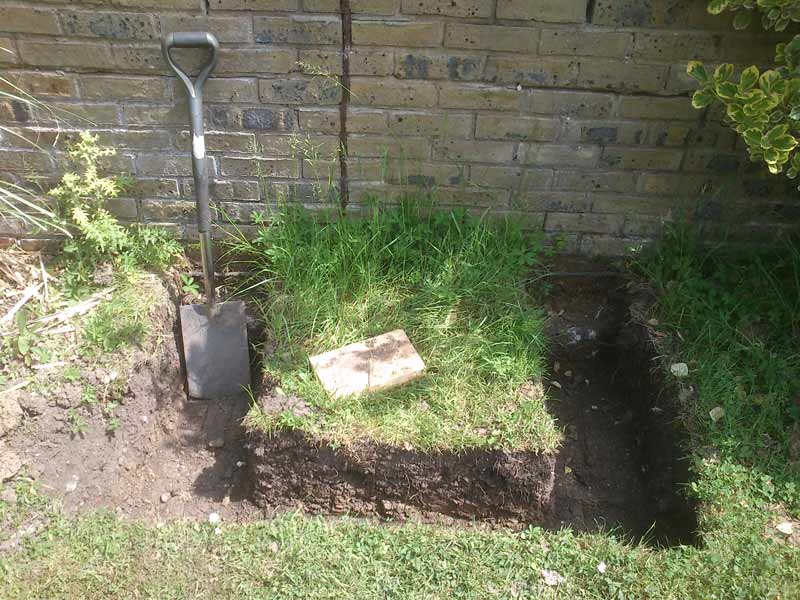
Foundations
For a simple raised bed of 2 to 2.5' depth, only minimal foundations would normally be required (6 to 8" being adequate). However in this case a more substantial foundation was dug since it was going to be acting as a support for the buttress. The foundation being 12 - 14" generally into the heavy clay soil. These were filled with a concrete (1:5 cement/all in one ballast mix), requiring around 15 barrows full for the pair (the majority of a bulk bag of ballast).
Construction
The bricks (320 Tecra Smeed Dean London stocks, finished with around 56 blue solid engineering brick) were selected to be similar to the existing brickwork in this case (although contrasting colours would also have worked), and stretcher bond used to also match the existing. Plenty of stainless wall ties were also included in the sides - running diagonally across the joins to provide restraint not only between the leaves, but also along the wall and to further pin the front wall to the sides. One of the completed beds:
Tips
A lap of copper foil tape round the outside of the bed will help prevent slugs and snails from scaling the sides and nibbling the produce.
