Difference between revisions of "Scribed Joints"
m (added an aka alternative term) |
(→Final step: added pics showing installed result) |
||
| Line 38: | Line 38: | ||
[[Image:Finished-scribed-cut.jpg]] | [[Image:Finished-scribed-cut.jpg]] | ||
| + | ==Installation== | ||
| + | |||
| + | When installing the corner, the non coped skirting is fixed into place first. Then the coped one is offered up to it. The result should like similar to a mitred corner: | ||
| + | |||
| + | [[image:InternalCornerFrontView.png|800px]] | ||
| + | |||
| + | However, if you could see through the wall to look at the back of the skirting it would be obvious how the joint comes together: | ||
| + | |||
| + | [[image:InternalCornerBackView.png|800px]] | ||
==Non right angles== | ==Non right angles== | ||
Latest revision as of 13:06, 15 November 2016
One of the last second fix joinery jobs is fitting skirting boards. Traditionally, external corners are mitred to give a neat join, but internal joints are better made from a scribed butt joint (also known as a coped joint). This has the advantage of looking like a nice neat mitred joint, however unlike a true mitre, it will not open up leaving an unsightly gap as the wood naturally shrinks with changing humidity in the room, and it is also far more tolerant of rooms that are a little out of square.
The Scribed Joint
This article describes a very quick and easy way to make perfect scribed joints for internal corners on skirtings, picture rails, and other similar wood mouldings using basic hand tools. With a little practice a complete joint ought to take no more than a couple of minutes!
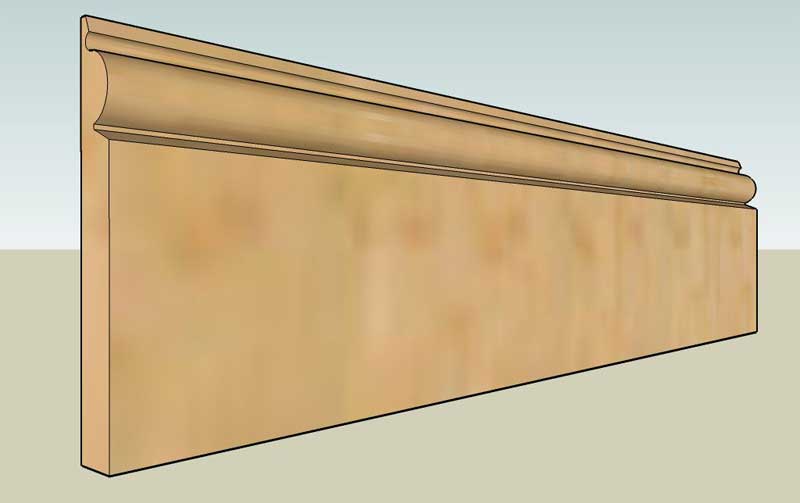
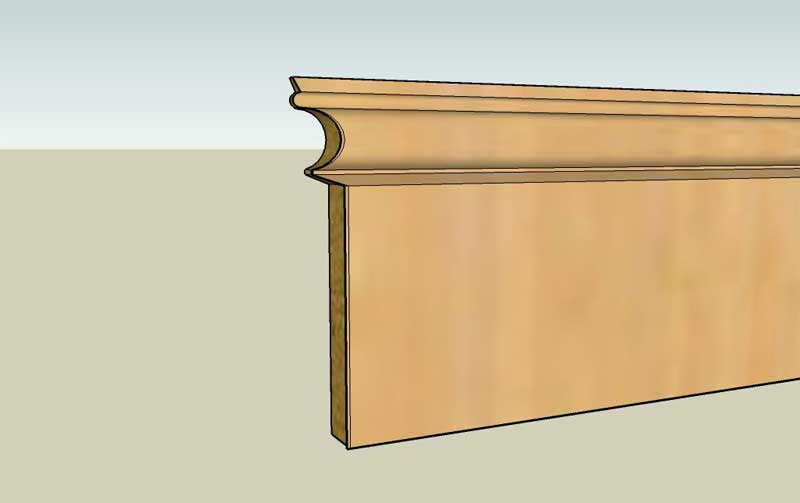
We will use a basic Torus pattern skirting for this example:
Step one
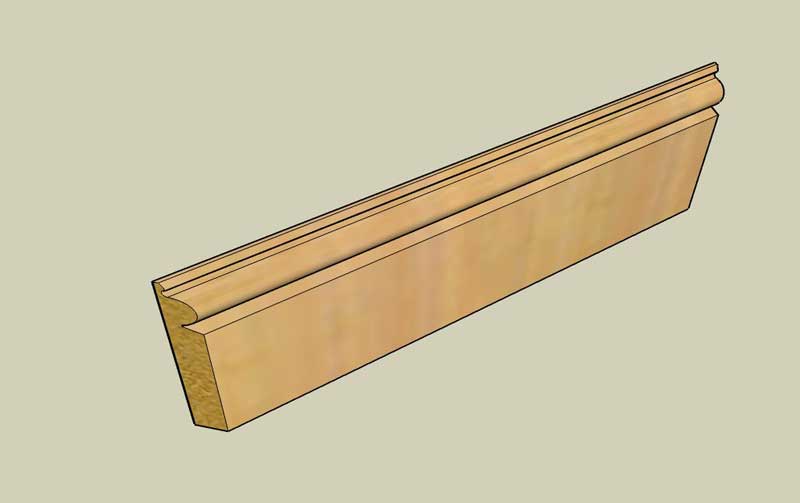
The first step is to cut an internal mitre on to the end of the skirting. There is no need to be that accurate with the angle here, but it is important to make sure the cut is perpendicular to the skirting. If machine cutting this mitre then just cut the whole end as shown in the picture. If hand cutting it, there is no need to cut any further than to the bottom of the shaped part.
Step two
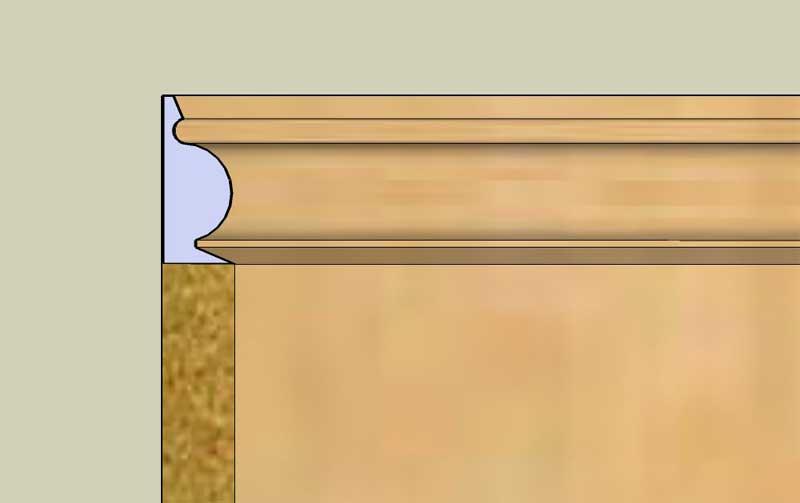
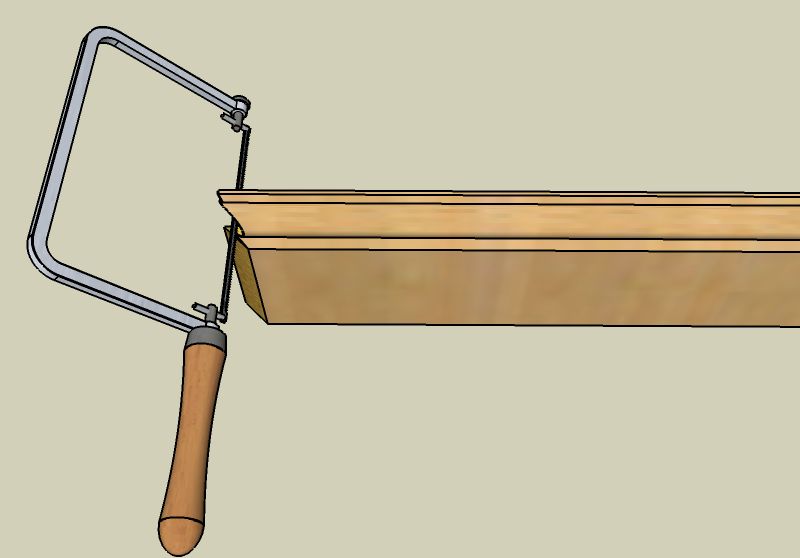
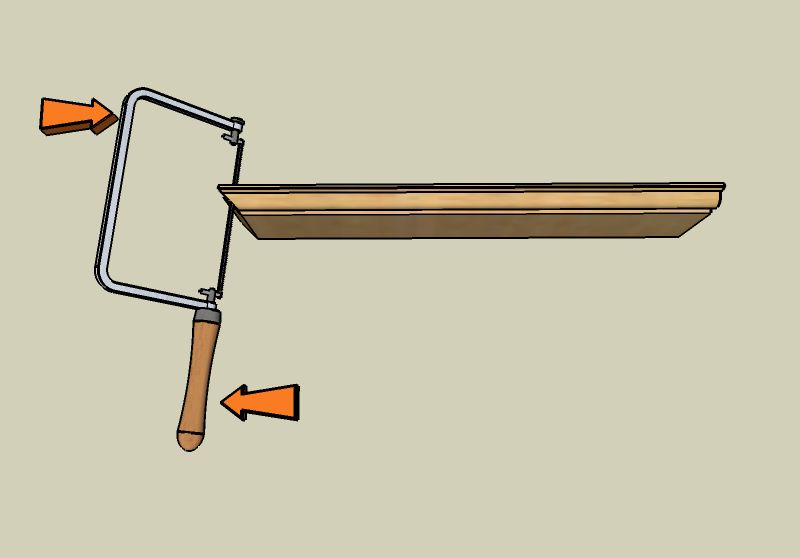
Now, using a coping saw you need to cut along the line formed by the front edge of the mitre on the profiled section of the wood:
Cut from the top, following the front edge of the moulding (the right hand edge of the section shown in blue on the picture). Stop when you reach the flat unprofiled part of the wood.
To make fitting simpler, you can also rotate the coping saw a little to create a slight undercut at the back of the skirting. This will allow for a nice snug fit at the visible front part of the joint even if the room is a little out of square:
Final step
Using a square, draw a line down from the end of your first cut, and using a panel or tenon saw, cut from the base of the skirting up to the bottom of your first cut. (if the already fixed skirting is not exactly vertical, then use a bevel gauge to repeat the angle between it and the floor rather than use a square)
The waste bit should now fall away leaving a neatly profiled end to the skirting:
Installation
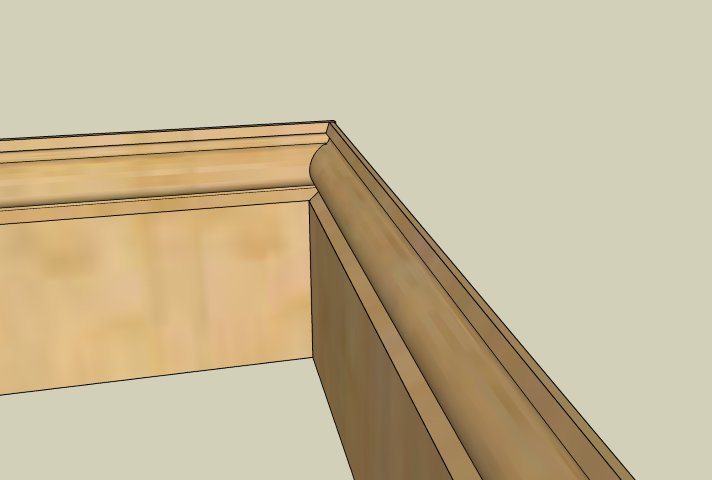
When installing the corner, the non coped skirting is fixed into place first. Then the coped one is offered up to it. The result should like similar to a mitred corner:
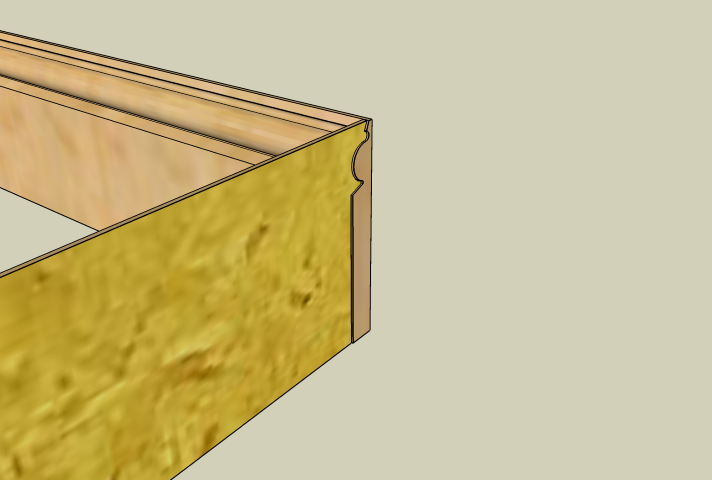
However, if you could see through the wall to look at the back of the skirting it would be obvious how the joint comes together:
Non right angles
The same technique can be used for other internal angles, not just 90 degree corners - say for example in a bay window. A slight modification in technique is required. Firstly the first mitre cut needs to be adjusted to be half the desired angle rather than 45 degrees. That way the intersection of the mitre with the profile of the wood will still match that of the meeting board when cut. Secondly, more undercut needs to be introduced by rotating the coping saw further, such that the back of the board does not catch on the adjacent part.
