Scribed Joints
One of the last second fix joinery jobs is fitting skirting boards. Traditionally, external corners are mitred to give a neat join, but internal joints are better made from a scribed butt joint. This has the advantage of looking like a nice neat mitred joint, however unlike a true mitre, it will not open up leaving an unsightly gap as the wood naturally shrinks with changing humidity in the room, and it is also far more tolerate of rooms that are a little out of square.
The Scribed Joint
This article describes a very quick and easy way to make perfect scribed joints for internal corners on skirtings, picture rails, and other similar wood mouldings using basic hand tools. With a little practice a complete joint ought to take no more than a couple of minutes!
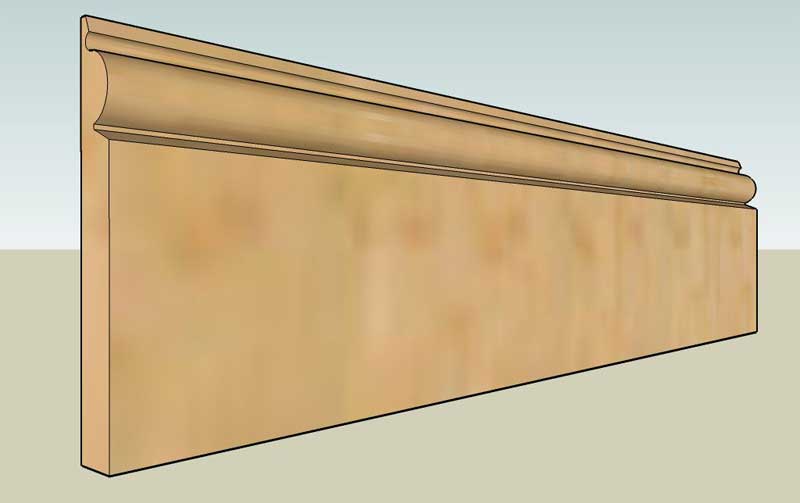
We will use a basic Torus pattern skirting for this example:
Step one
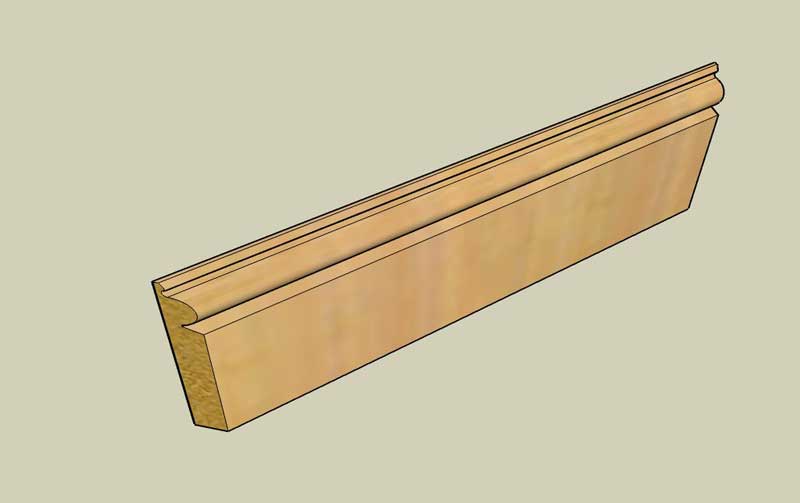
The first step is to cut an internal mitre on to the end of the skirting. There is no need to be that accurate with the angle here, but it is important to make sure the cut is perpendicular to the skirting:
Step two
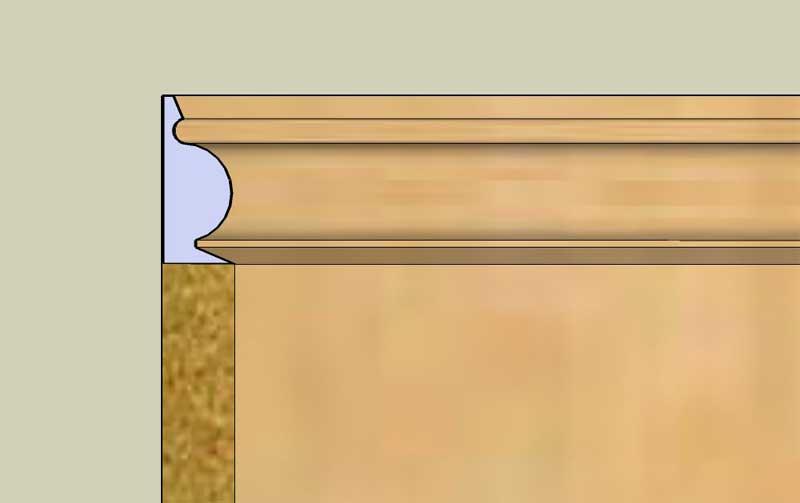
Now, using a coping saw you need to cut along the line formed by the front edge of the mitre on the profiled section of the wood:
Cut from the top, following the edge of the moulding (the right hand edge of the section shown in blue on the picture). Stop when you reach the flat unprofiled part of the wood.
Final step
Using a square, draw a line down from the end of your first cut, and using a panel or tenon saw, cut from the base of the skirting up to the bottom of your first cut.
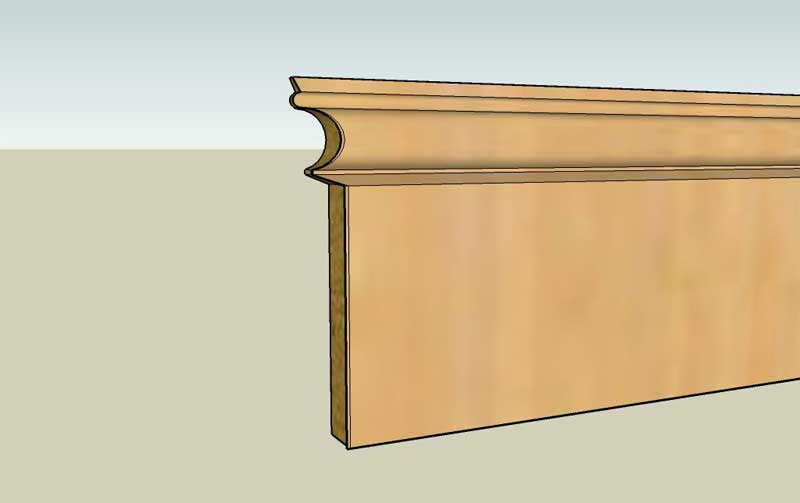
The waste bit should now fall away leaving a neatly profiled end to the skirting:


