Difference between revisions of "Spice rack"
m (→Decoration) |
|||
| Line 22: | Line 22: | ||
===Decoration=== | ===Decoration=== | ||
| + | The first part of the decoration was to cut the sides to profile. To do this the curves were drawn out on one side using a flexi-curve, and both sides stuck together with some double sided tape prior to cutting the curves on the bandsaw. Once cut the edges were sanded smooth. | ||
| + | |||
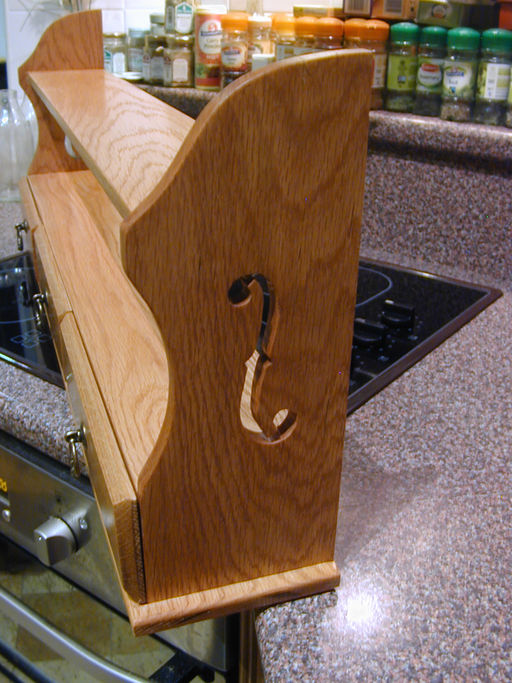
The design called for a decorative piercing on the side pieces. This was modelled on the "F Hole" one typically finds in an acoustic musical instrument. Once a suitable image was found, this was then converted into a vector image in photoshop, and printed out at the required scale. Once stuck to the side pieces, and pre drilled, they shape could be cut with a scroll saw: | The design called for a decorative piercing on the side pieces. This was modelled on the "F Hole" one typically finds in an acoustic musical instrument. Once a suitable image was found, this was then converted into a vector image in photoshop, and printed out at the required scale. Once stuck to the side pieces, and pre drilled, they shape could be cut with a scroll saw: | ||
Revision as of 01:44, 13 January 2016
For those with some spare oak boards, and a lust for kitchen organisation, look no further than this spice rack project!
Introduction
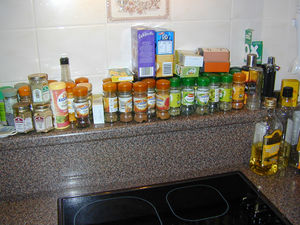
Not being able to think of a good Christmas present, I offered to make something for my wife... this is a quick summary of what she asked for any how I got to the result. The brief was for a spice rack to try and organise the over crowded shelf sited behind our hob which is strewn with jars of nearly every herb and spice known to man. It needs to be in oak to match the kitchen doors, and preferably should have some drawers.
Click images for larger photos
Design
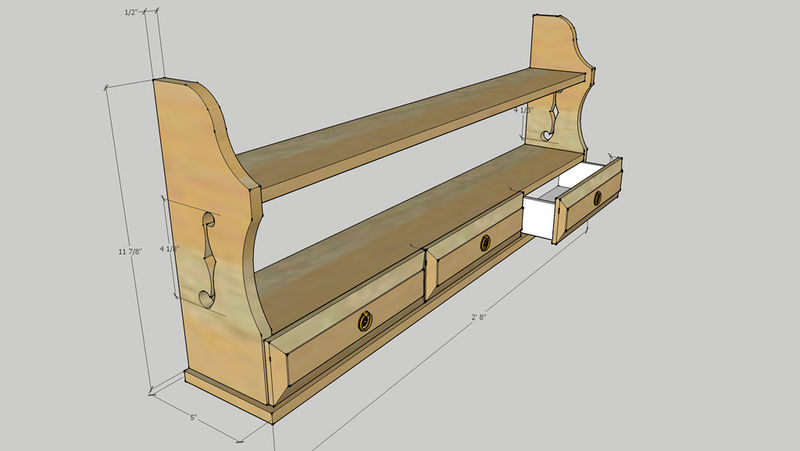
This project started as a sketchup model so that dimensions and design details could be worked out before wasting any wood.
Materials and preparation
The material is American white oak. In total it uses about 10 linear feet of sawn 7" x 1.5" timber. Since the thickest stock required is actually only 1/2", the relatively thick board could be re-sawn into two separate boards to stretch the materials a bit further. For the drawer boxes, some 1/4" thick stock was required, and six of these could be re-sawn from one section of board.
Assembly
The first part cut to size was the base board. Rebates were hand cut into this to accept the sides. The edge and sides rounded over and the dividers that fall between the drawers fixed in place (first tacked with some CA glue and activator, then fixed with screws from the underside)
Next the sides were cut and the dados for both shelves cut in those (the top dado was for 1/2" stock, so that was easy to cut with a router. The shelf above the drawers was only around 3/8" thick, so these dados were cut by hand).
Decoration
The first part of the decoration was to cut the sides to profile. To do this the curves were drawn out on one side using a flexi-curve, and both sides stuck together with some double sided tape prior to cutting the curves on the bandsaw. Once cut the edges were sanded smooth.
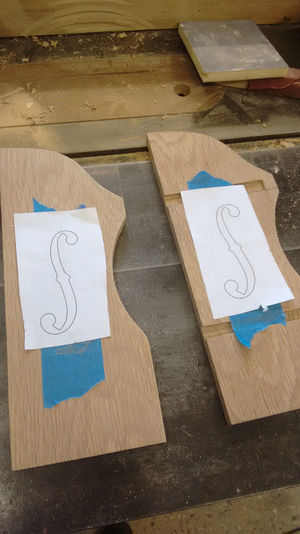
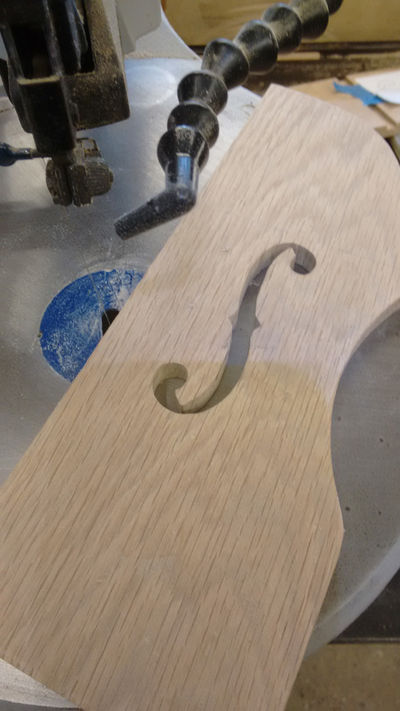
The design called for a decorative piercing on the side pieces. This was modelled on the "F Hole" one typically finds in an acoustic musical instrument. Once a suitable image was found, this was then converted into a vector image in photoshop, and printed out at the required scale. Once stuck to the side pieces, and pre drilled, they shape could be cut with a scroll saw:
Dry Fit
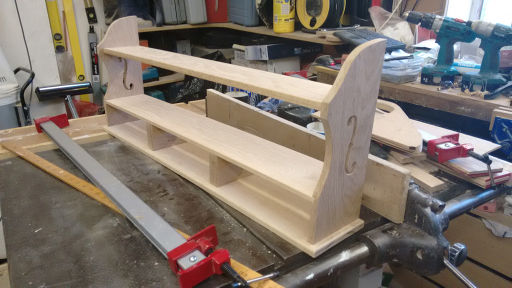
Once the sides were complete the whole project was ready for a dry fit:
Glue Up
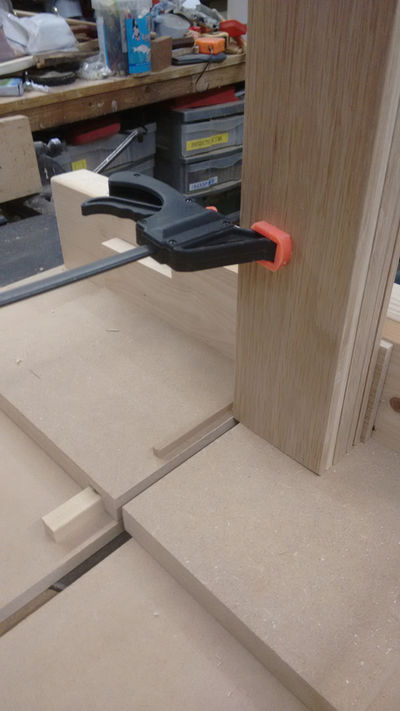
The glue up was done in two stages. First the sides were glued to the shelves, and then later the assembled shelves and sides glued to the base. This allowed enough time and wiggle room to get everything square without having to juggle too many variables at one time.
Drawers
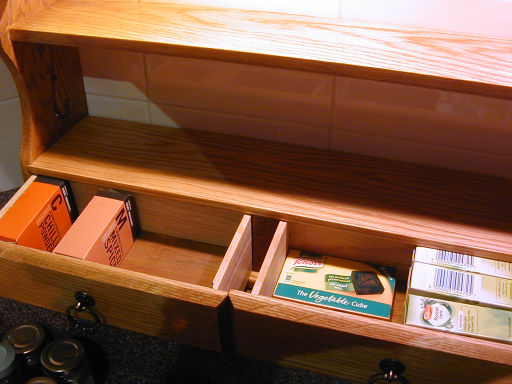
Small drawers made from thin stock are easy to make as boxes finger jointed together, then a based dropped into a rebate at the bottom, and a decorative face planted on the box when done.
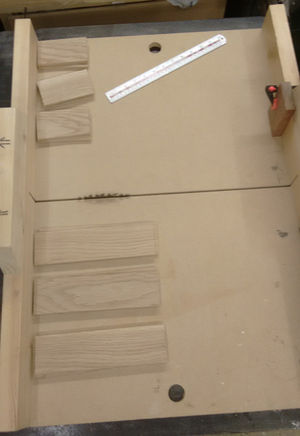
Once all the drawer sides were complete, they could be box jointed with a 1/4" box joint:
Finally the drawer fronts were cut from a single oak plank so they all share a grain pattern. The individual fronts had a chamber applied with a router, and the handles were the three spare ones left from the five pack I bought for the Chess Board.
Finishing
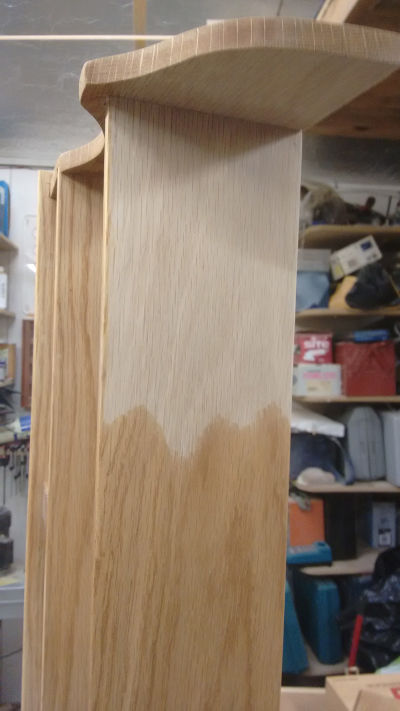
Everything was sanded prior to glue up with 80, then 120, and finally 240 grit. The finish was built up from an initial wipe over with some rustin's Medium Oak wood stair to add some colour to what was a very pale oak.
The finish was then built up with three coats of Liberon finishing oil. The final polish being done by applying some Black Bison wax with 0000 wire wool, and then buffing out with a soft cloth.
Completed
More Detail of the decorative cut out.
A closeup of the drawers which were designed to take small spice packets, stock cubes and other similar stuff.
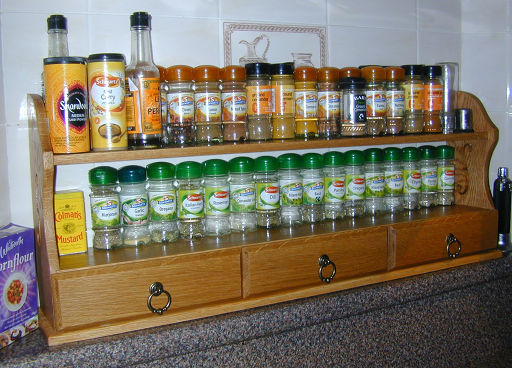
The completed rack made for a much neater arrangement:
