Wedge
Introduction
Wedges have been used in construction and carpentry for centuries. They are very simple, but at the same time hugely versatile. Cut from a piece of timber they can be used to adjust levels, space items, apply leverage, fill holes, and all sorts of tasks.
This article explains some applications, and in particular the parallel or folding wedge.
What is a wedge?
A tapered bit of wood; as simple as that.
What is a folding wedge?
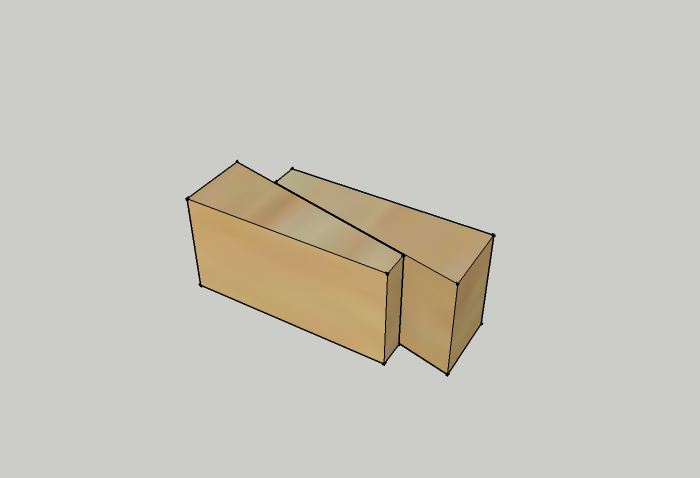
Its simply a pair of wedges used "back to back" to create a pair of parallel faces that can be adjusted in separation simply by sliding one wedge against another:
Applications
Any time you need to apply lift or separation force to something, they are ideal. e.g. lifting a door lining that has slipped down a little on one side. A pair of wedges can be driven under the lining such that they push it away from the floor. Another good example is when repairing a joist that has been notched, and you want a really tight fitting plug of wood to patch the missing section so as to restore the compressive strength of the top of the joist.
Repairing a notched joist
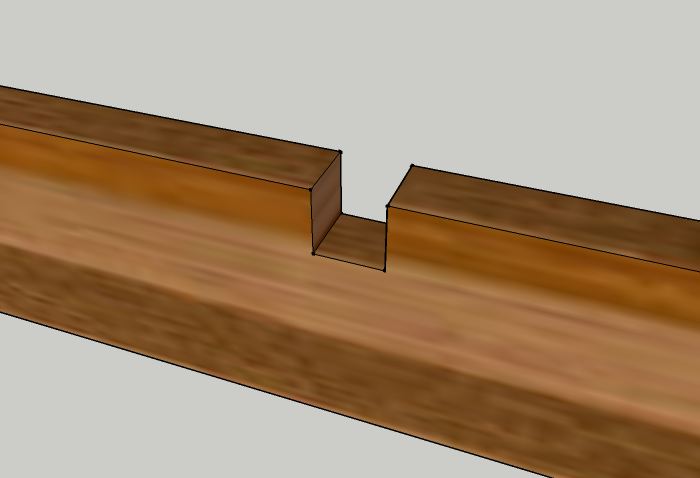
A notched joist:
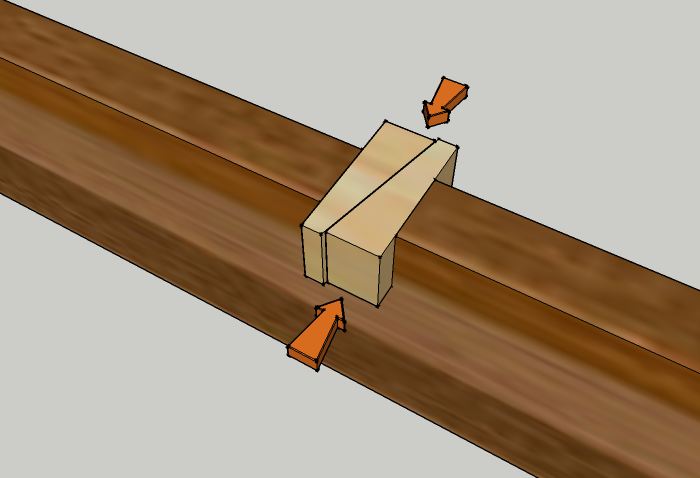
Inserting the wedges
The wedges are glued up and hammered home into the notch. A pair of hammers, or a hammer and a weight are handy for either hitting both at once, or at least holding one steady as you hit the other:
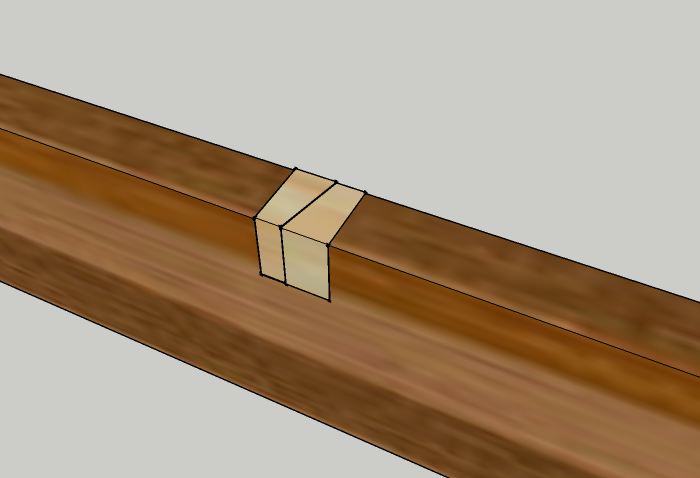
Trimming off
Once inserted tightly, the excess can be sawn flush:
Making wedges
Wedges can be cut from all sorts of wood. It is often better to choose something that is reasonably strong if you plan on doing any serious moving with them. They can be cut across the grain or with it. Which is best will depend on application. For the joist fixing example above, across the grain is good. For longer wedges - say as used for fixing the treads and risers in place on the strings of a stair case, with the grain would be better. The angle of the wedge is not critical, but 1 in 7 has been found to work well, giving a good compromise of sliding easily when hammered, but not being so steep as to slip after.
By hand
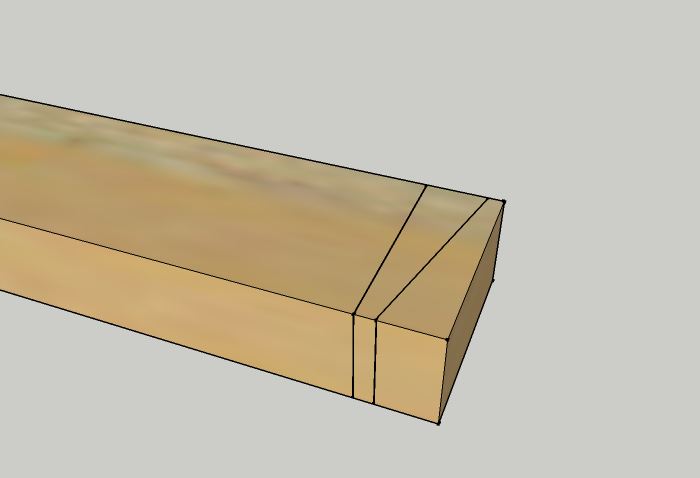
Wedges can be made in a number of ways. Small ones can be cut cross grain from the end of a bit of timber. Using a set square and a carpenters bevel gauge to mark them out when accuracy is required:
Powered mitre saw
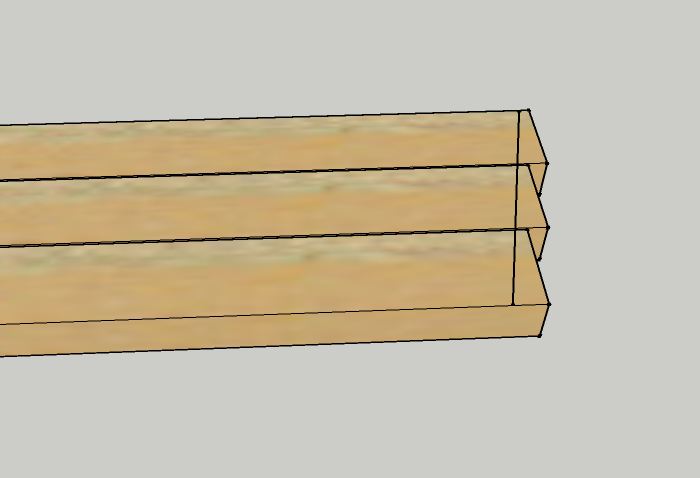
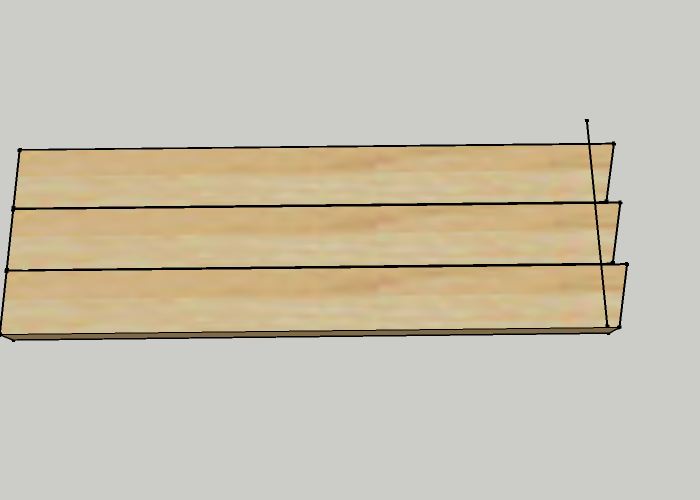
If you have a mitre saw, this is a very easy way to make shorter cross cut wedges. A sliding mitre saw can be used to make a number at a time, simply by stacking up several timbers for cutting:
First Cut, mitre the end of a group of bits of stock:
Finally cut off a group of wedges by realigning the stock in the saw:
Table saw
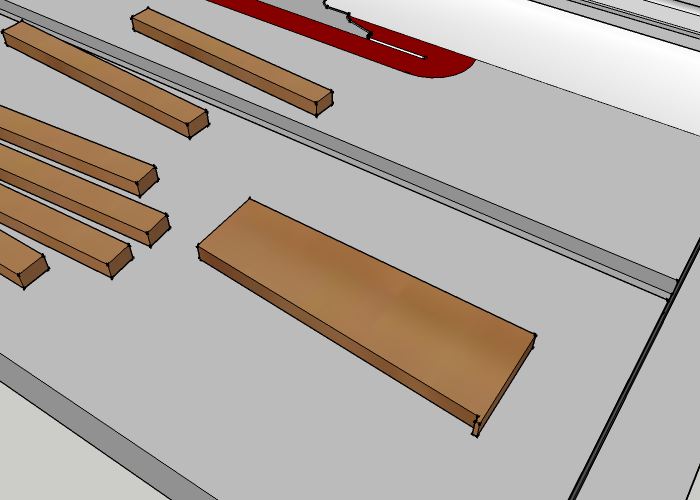
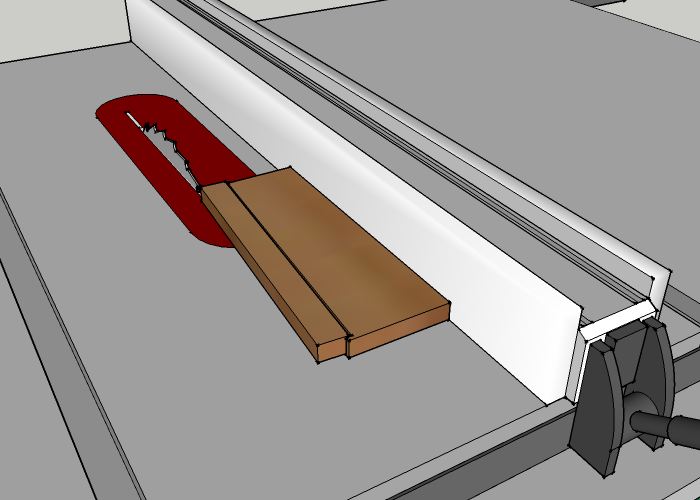
Longer wedges (e.g. for stair tread wedging) are easy to cut on a table saw. This is easy to do if you make a simple wedge jig. Once have the jig, you can precut some blanks from suitable stock (PSE if you want smooth wedges for more precise joinery, or any sawn stock will do for rough construction wedges).
Note these pictures show the guard and riving knife removed from the saw - this is just to make the illustrations clearer, and there is no requirement to actually do this when making your wedges
Wedge jig
Note the small "finger" on the base of the jig. This can either be left in the jig cutting process, or made by fixing another bit of wood to the jig later:
Cutting the wedges
Use the jig to feed your precut battens through the blade. If you cut the jig wide enough this will allow you to keep well away from the blade. If you have a narrower jig, then use a push stick.
If you have chosen you blank size carefully and set the fence position, you should now be able to cut two usable wedges from each blank. Note the one with the grain running full length will be a bit stronger than the "offcut" one.
Small wedges
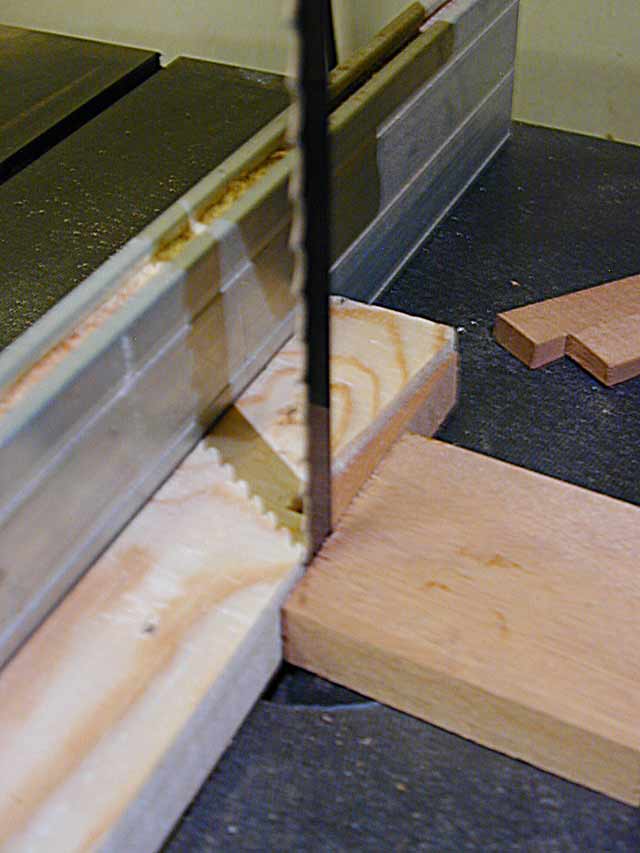
Probably the quickest way to make small wedges is with a bandsaw, however the same technique works with a table saw using a fine blade.
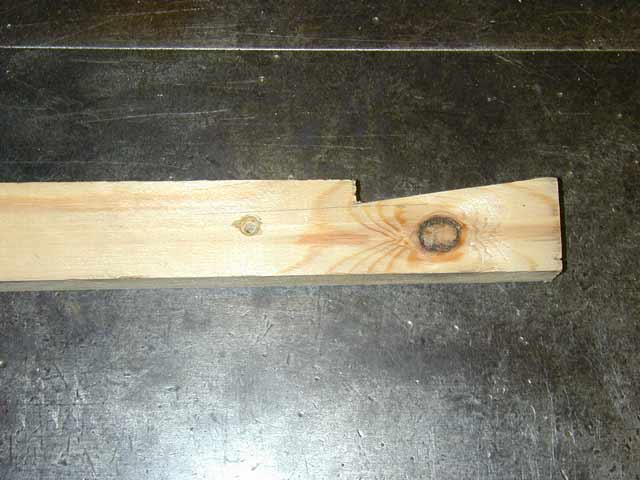
Make a notched push stick, (this one is approx 12" long, and was made form a left over bit of 1" by 3/4" PAR softwood):
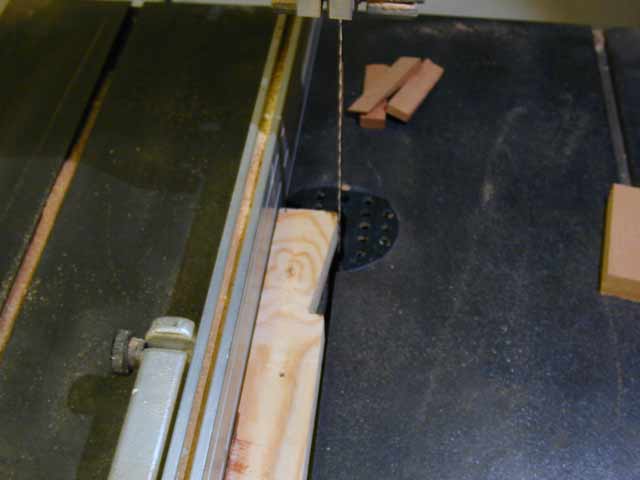
Set the fence on the saw so that the stick just clears the blade on the inside:
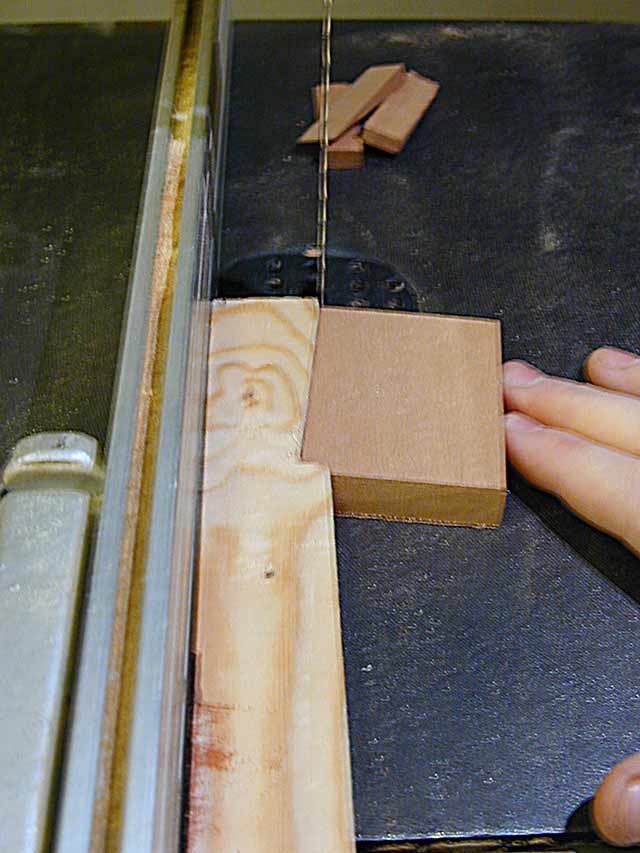
Cut a piece of scrap wood of the appropriate thickness for your wedges - with the long grain running front back. Sit this in the notch in your push stick:
Push the scrap against the stick with your free had or with a push stick/block, then push the notched stick along the fence past the blade. After the cut, withdraw the notched stick, flip the scrap timber blank over end to end (if you don't do this you will be progressively rotating the grain direction!), and repeat until you have enough wedges.
