Difference between revisions of "Chess Board"
(First draft) |
m (typos) |
||
| Line 2: | Line 2: | ||
==Introduction== | ==Introduction== | ||
| − | Some time ago I bought a nice | + | Some time ago I bought a nice Walnut board with the intention of using its dark coloured wood for some contrasting highlights in projects. So it struck me that I had always fancied a nice chess board which included storage for the pieces. This is a guide to the build. |
==Materials== | ==Materials== | ||
| − | Three real woods, Cherry for the cabinet and frames, | + | Three real woods, Cherry for the cabinet and frames, Maple and Walnut for the board and inlay sections. A couple of bits of 6mm ply and 9mm MDF were also used for the base boards which are hidden from view. |
==Design== | ==Design== | ||
| Line 14: | Line 14: | ||
==Construction== | ==Construction== | ||
===Preparation=== | ===Preparation=== | ||
| − | The main preparation was the cutting, planing and thickening of the mains boards. All the | + | The main preparation was the cutting, planing and thickening of the mains boards. All the Cherry sections used about 40" from a 8x2" board of sawn lumber, and the Maple and Walnut sections just a small section of about 20" 3x2" taken from the end of a larger board of each. The frame stock was milled down to around 3/4", the case sides 1/2", and the remaining board surface and drawer components about 1/4". |
===The Board=== | ===The Board=== | ||
| − | Number one task, making the board. Many chess boards are | + | Number one task, making the board. Many chess boards are made using veneer work onto a man-made base board. This design used a variation on the process more similar to that used for making cutting boards from segmented wood. Four 20" strips of Maple and Walnut were ripped down to a little over 2" wide. These were then thicknessed to 1/4". To get them exactly the same width as each other, one edge of each board was planed, and then they were clamped together: |
[[image:ChessMakeStripsEqualWidth1.jpg|512px]] | [[image:ChessMakeStripsEqualWidth1.jpg|512px]] | ||
| Line 45: | Line 45: | ||
[[image:PreparingForChipReducingBackCut.jpg|512px]] | [[image:PreparingForChipReducingBackCut.jpg|512px]] | ||
| − | A stop block on the fence of the sled being used to set the width to just over 2" again. The result being another set of strips. | + | A stop-block on the fence of the sled being used to set the width to just over 2" again. The result being another set of strips. |
[[image:ChessCrossCutsMade.jpg|512px]] | [[image:ChessCrossCutsMade.jpg|512px]] | ||
| − | To get these spot on thickness the same planing trick was used again. However this time a spelch block was fixed to the end to prevent the end grain of the strips splitting away as they exit the thicknesser: | + | To get these spot-on for thickness the same planing trick was used again. However this time a spelch block was fixed to the end to prevent the end grain of the strips splitting away as they exit the thicknesser: |
[[image:ChessStripSpelchBlock.jpg|512px]] | [[image:ChessStripSpelchBlock.jpg|512px]] | ||
| Line 61: | Line 61: | ||
[[image:ChessStripsFinalGlueup.jpg|512px]] | [[image:ChessStripsFinalGlueup.jpg|512px]] | ||
| − | Once dry, one side was sanded with a very coarse belt in the belt sander (40 grit) to bring the surface flush and remove all glue | + | Once dry, one side was sanded with a very coarse belt in the belt sander (40 grit) to bring the surface flush and remove all glue squeezed out: |
[[image:ChessBoardSanding.jpg|512px]] | [[image:ChessBoardSanding.jpg|512px]] | ||
| Line 67: | Line 67: | ||
The final part of the board preparation was to glue it firmly to a matching square of 6mm ply. This is to prevent the board dimensions changing due to seasonal humidity changes. | The final part of the board preparation was to glue it firmly to a matching square of 6mm ply. This is to prevent the board dimensions changing due to seasonal humidity changes. | ||
| − | The top surface was then sanded, again with the coarse belt and then down through the grades to 240 grit. The edge was trimmed | + | The top surface was then sanded, again with the coarse belt and then down through the grades to 240 grit. The edge was trimmed with some Maple strips: |
[[image:ChessBoardBandedanSanded.jpg|512px]] | [[image:ChessBoardBandedanSanded.jpg|512px]] | ||
| − | The board was finally mounted into a rebate set into the edges of the top | + | The board was finally mounted into a rebate set into the edges of the top Cherry board surround. The surround was initially simply mitred at the corners, however once the final assembly was done, cuts were made into each mitre on the table saw to allow decorative splines to be inserted into the joint to add detail (and also to hide the fact that one mitre that did not fit well enough!) |
[[image:ChessAddingBoardMitreSplines.jpg|512px]] | [[image:ChessAddingBoardMitreSplines.jpg|512px]] | ||
| − | The edges of the board surround were also routed in a matching (but inverted) copy of the pattern used on the base. | + | The edges of the board-surround were also routed in a matching (but inverted) copy of the pattern used on the base. |
===The case sides=== | ===The case sides=== | ||
| − | The case side were fairly simple, | + | The case side were fairly simple, four lengths of 1/2" Cherry. The front and back were cut into three strips of approx 1/2", 2", and 1/2" to liberate what would become the drawer fronts. These were then cross-cut from the centre strip and the strips then glued back together. This created two panels with drawer cut-outs, and blanks for drawer fronts that exactly match the grain pattern of the case fronts. |
| − | The | + | The sides were then mitred at the corners and glued up. |
To add strength and some detail to the case sides, some hand cut mitre splines were inserted the corners simply by making a kerf with a tenon saw, and then gluing a thin strip of walnut into the kerf and trimming it flush: | To add strength and some detail to the case sides, some hand cut mitre splines were inserted the corners simply by making a kerf with a tenon saw, and then gluing a thin strip of walnut into the kerf and trimming it flush: | ||
| Line 87: | Line 87: | ||
===The base=== | ===The base=== | ||
| − | The base was made with four more | + | The base was made with four more Cherry strips, mitred at the corners, and with a rebate cut on the inside edge where a bit of 9mm MDF was inset and glued in. This formed the base. |
The base was then screwed to the sides by countersunk screws from the underside into the case edges: | The base was then screwed to the sides by countersunk screws from the underside into the case edges: | ||
| Line 95: | Line 95: | ||
(the edge of the base was edge detailed with a ogee router cutter on the top and small round over on the bottom) | (the edge of the base was edge detailed with a ogee router cutter on the top and small round over on the bottom) | ||
| − | Although the | + | Although the screws will be concealed by the felt applied to the base of the case, they will make it possible to open again in future if required. |
===The Drawers=== | ===The Drawers=== | ||
| Line 102: | Line 102: | ||
[[image:QuarterInchFingerjointJig.jpg|512px]] | [[image:QuarterInchFingerjointJig.jpg|512px]] | ||
| − | With a 1/4" dado stack in the saw, | + | With a 1/4" dado stack in the saw, it's then quick and easy to make accurate small joints: |
[[image:ChessDrawerFingerJoint.jpg|512px]] | [[image:ChessDrawerFingerJoint.jpg|512px]] | ||
| Line 110: | Line 110: | ||
[[image:ChessDrawerSides.jpg|512px]] | [[image:ChessDrawerSides.jpg|512px]] | ||
| − | Prior to assembly, | + | Prior to assembly, a small rebate was cut in the inner sides of the bottom of each drawer component. This was done simply by running each side past the table-saw blade with the fence gap set just below the board thickness: |
[[image:ChessDrawRebateBladeSet.jpg|512px]] | [[image:ChessDrawRebateBladeSet.jpg|512px]] | ||
| Line 133: | Line 133: | ||
[[image:ChessLowerDrawerRunnersIn.jpg|512px]] | [[image:ChessLowerDrawerRunnersIn.jpg|512px]] | ||
| − | Some registration pegs | + | Some registration pegs were then glued to the underside of the board. These are later trimmed in length, and also chamfered on the edges to guide the top of the board into the right location when the final glue-up is done: |
[[image:ChessRegistrationPegsGlueUp.jpg|512px]] | [[image:ChessRegistrationPegsGlueUp.jpg|512px]] | ||
| Line 146: | Line 146: | ||
==Finishing== | ==Finishing== | ||
| − | The main finish used was Liberon | + | The main finish used was Liberon Finishing Oil, typically applied as three coats. The final finish with Liberon Black Bison Wax, where the wax was applied with 0000 wire wool, before being buffed with a link free cloth. |
==The finished board== | ==The finished board== | ||
Revision as of 04:03, 2 January 2015
Introduction
Some time ago I bought a nice Walnut board with the intention of using its dark coloured wood for some contrasting highlights in projects. So it struck me that I had always fancied a nice chess board which included storage for the pieces. This is a guide to the build.
Materials
Three real woods, Cherry for the cabinet and frames, Maple and Walnut for the board and inlay sections. A couple of bits of 6mm ply and 9mm MDF were also used for the base boards which are hidden from view.
Design
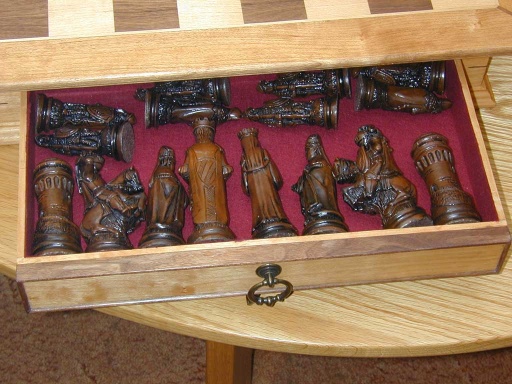
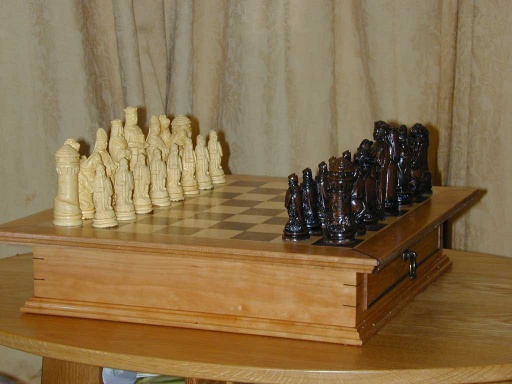
This one was a figment of my imagination. The main constraint was to make a board with 2" squares to suit a relatively large set of pieces that I already had. The drawers also needed to be large enough to hold the pieces.
The casework was to be mostly Cherry wood, but with some dark and light highlights as called for.
Construction
Preparation
The main preparation was the cutting, planing and thickening of the mains boards. All the Cherry sections used about 40" from a 8x2" board of sawn lumber, and the Maple and Walnut sections just a small section of about 20" 3x2" taken from the end of a larger board of each. The frame stock was milled down to around 3/4", the case sides 1/2", and the remaining board surface and drawer components about 1/4".
The Board
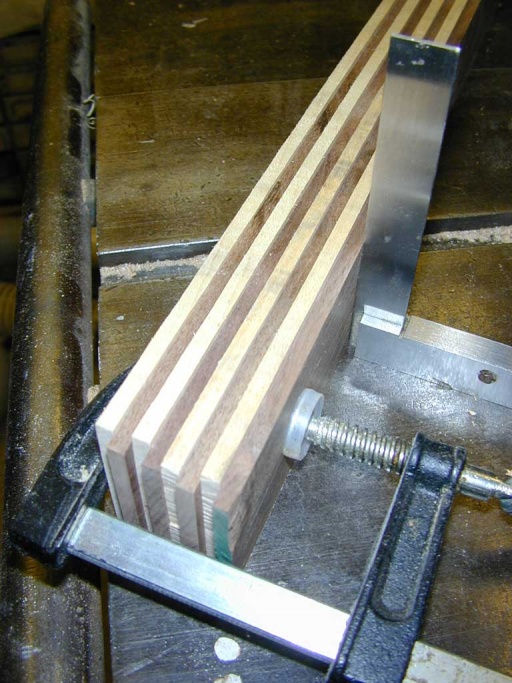
Number one task, making the board. Many chess boards are made using veneer work onto a man-made base board. This design used a variation on the process more similar to that used for making cutting boards from segmented wood. Four 20" strips of Maple and Walnut were ripped down to a little over 2" wide. These were then thicknessed to 1/4". To get them exactly the same width as each other, one edge of each board was planed, and then they were clamped together:
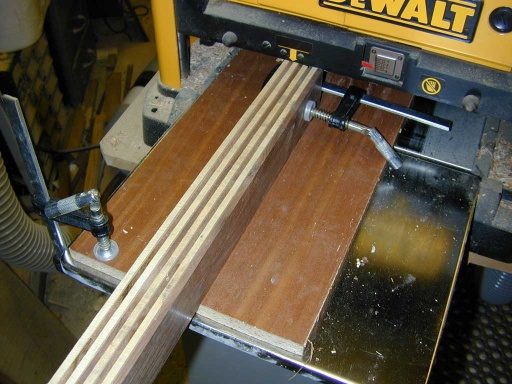
The whole assembly was then fed through the thicknesser (taking care to keep the clamps out of the way):
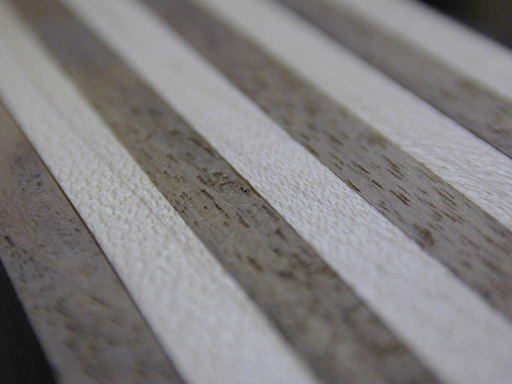
The result being a set of exactly matching strips:
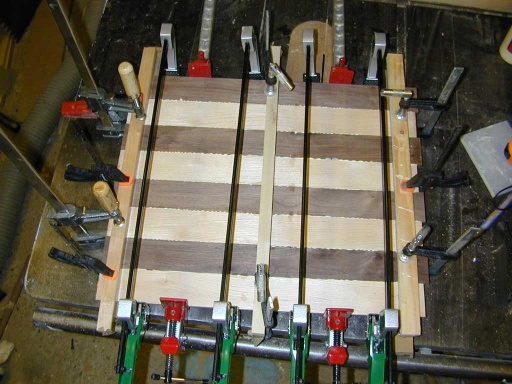
These were then glued up into a stripy board, with clamping cauls to keep all the bits in line :
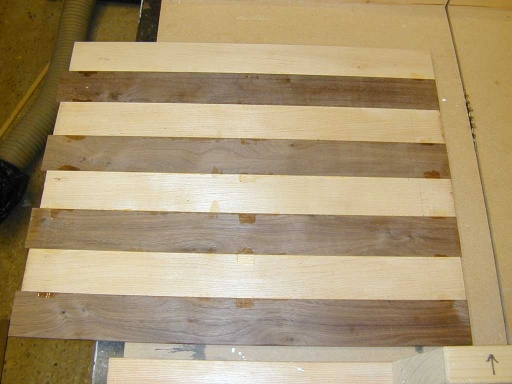
Yielding the first version of the board:
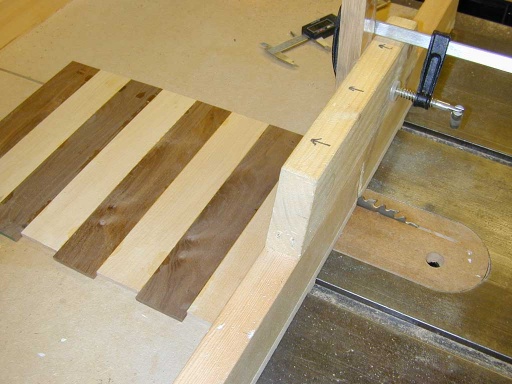
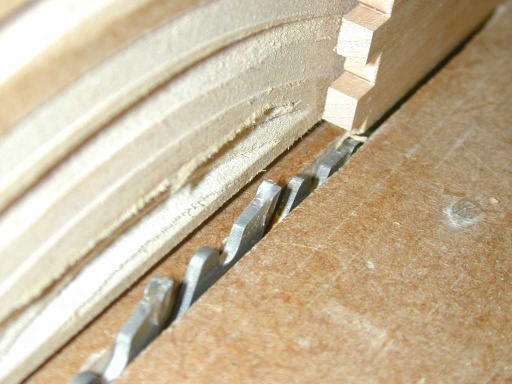
The strips could then be sectioned on the table saw. However since these were rip cuts more care was taken to minimise splintering by sing a cross cut sled, and making the first cut in the "wrong" direction:
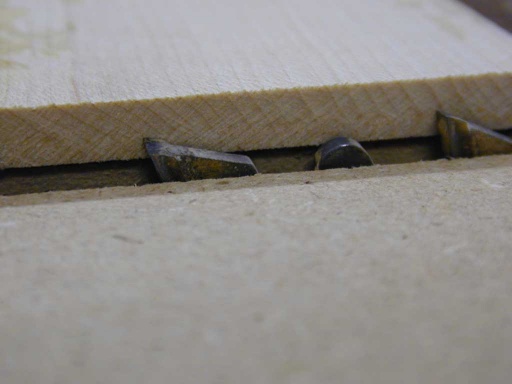
The blade height for the back cut being set to just a couple of mm into the board:
A stop-block on the fence of the sled being used to set the width to just over 2" again. The result being another set of strips.
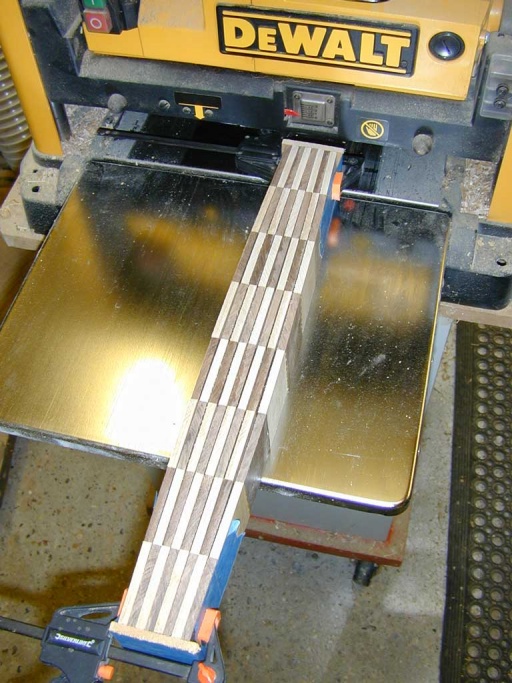
To get these spot-on for thickness the same planing trick was used again. However this time a spelch block was fixed to the end to prevent the end grain of the strips splitting away as they exit the thicknesser:
Then thicknessed down to identical widths:
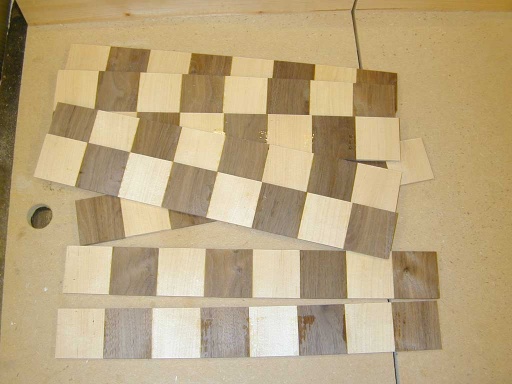
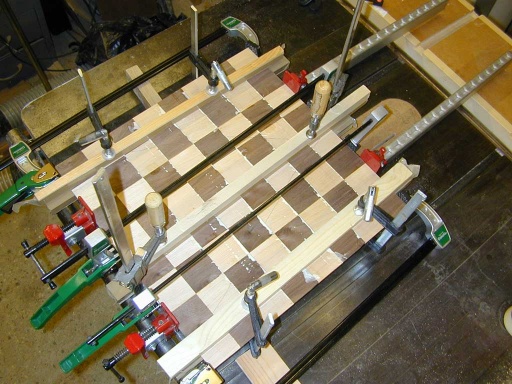
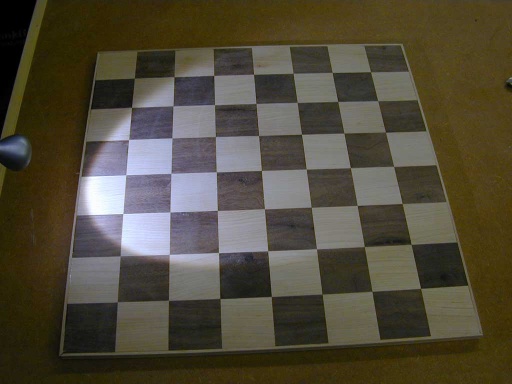
These were then glued into the final chequerboard pattern:
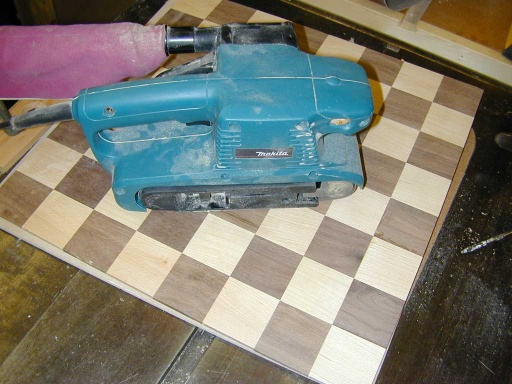
Once dry, one side was sanded with a very coarse belt in the belt sander (40 grit) to bring the surface flush and remove all glue squeezed out:
The final part of the board preparation was to glue it firmly to a matching square of 6mm ply. This is to prevent the board dimensions changing due to seasonal humidity changes.
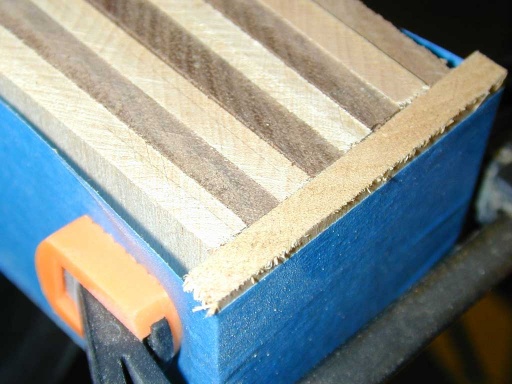
The top surface was then sanded, again with the coarse belt and then down through the grades to 240 grit. The edge was trimmed with some Maple strips:
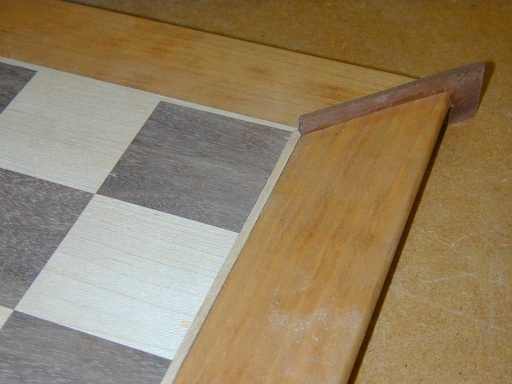
The board was finally mounted into a rebate set into the edges of the top Cherry board surround. The surround was initially simply mitred at the corners, however once the final assembly was done, cuts were made into each mitre on the table saw to allow decorative splines to be inserted into the joint to add detail (and also to hide the fact that one mitre that did not fit well enough!)
The edges of the board-surround were also routed in a matching (but inverted) copy of the pattern used on the base.
The case sides
The case side were fairly simple, four lengths of 1/2" Cherry. The front and back were cut into three strips of approx 1/2", 2", and 1/2" to liberate what would become the drawer fronts. These were then cross-cut from the centre strip and the strips then glued back together. This created two panels with drawer cut-outs, and blanks for drawer fronts that exactly match the grain pattern of the case fronts.
The sides were then mitred at the corners and glued up.
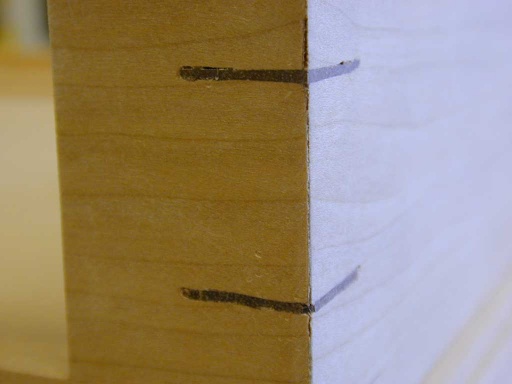
To add strength and some detail to the case sides, some hand cut mitre splines were inserted the corners simply by making a kerf with a tenon saw, and then gluing a thin strip of walnut into the kerf and trimming it flush:
The base
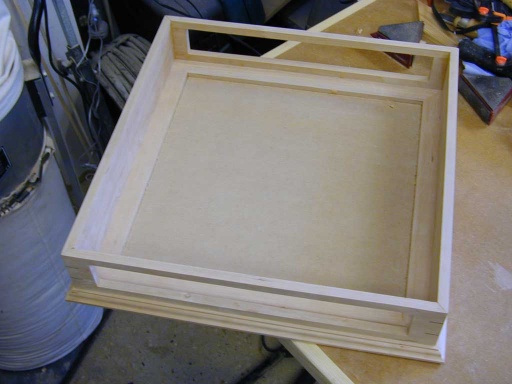
The base was made with four more Cherry strips, mitred at the corners, and with a rebate cut on the inside edge where a bit of 9mm MDF was inset and glued in. This formed the base.
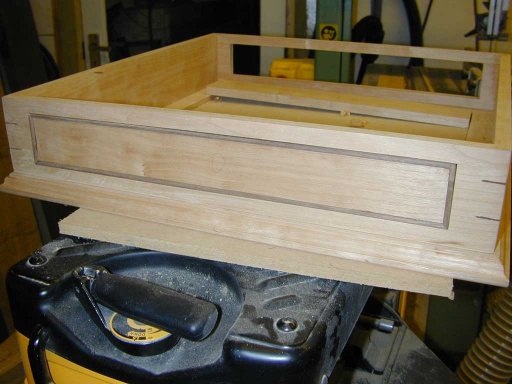
The base was then screwed to the sides by countersunk screws from the underside into the case edges:
(the edge of the base was edge detailed with a ogee router cutter on the top and small round over on the bottom)
Although the screws will be concealed by the felt applied to the base of the case, they will make it possible to open again in future if required.
The Drawers
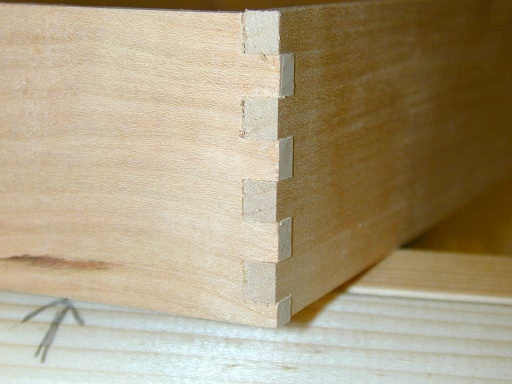
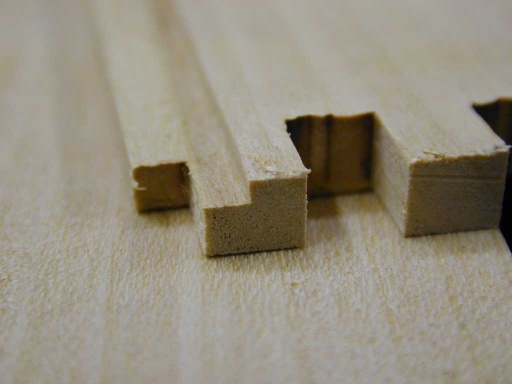
The drawers are made from fairly thin stock, but need to also be strong. So they were made with 1/4" finger joints at each corner. To cut these I made a small adaptor plate to fit a 1/2" finger joint sled I had made in the past:
With a 1/4" dado stack in the saw, it's then quick and easy to make accurate small joints:
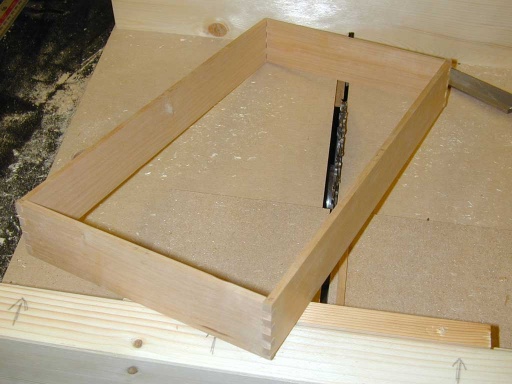
Once all four sides were complete:
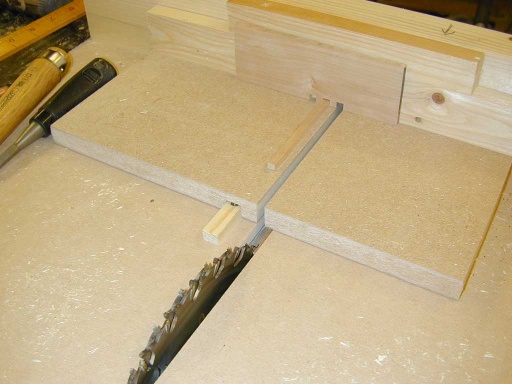
Prior to assembly, a small rebate was cut in the inner sides of the bottom of each drawer component. This was done simply by running each side past the table-saw blade with the fence gap set just below the board thickness:
This left a small rebate ready to take the ply base of the drawer:
A section of 1/4" ply was then cut and glued into the base of the drawer in this rebate. The ply bottom being flush with the bottom of the drawer to minimise loss of drawer depth.
The drawer front blanks were then trimmed equally on each side to leave enough room for the lippings. The lippings were made from thin strips of walnut with a roundover planed and sanded onto the leading edge. The depth of each lipping being set to be a little deeper than the drawer front, such that they will ultimately sit forward of the front. Once these were mitred and glued on (CA glue and accelerator), the finished front could be planed to fit the opening:
Before being glued to the drawer body. The drawer inside was also lined with self adhesive felt to protect the pieces a little (and hide the ply base of the drawer):
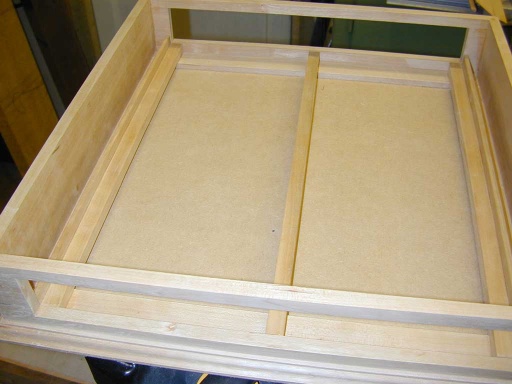
Final Assembly
Runners where then fixed in place to the base board (they are not attached to the sides):
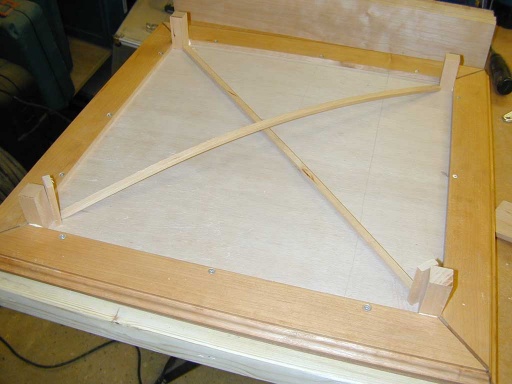
Some registration pegs were then glued to the underside of the board. These are later trimmed in length, and also chamfered on the edges to guide the top of the board into the right location when the final glue-up is done:
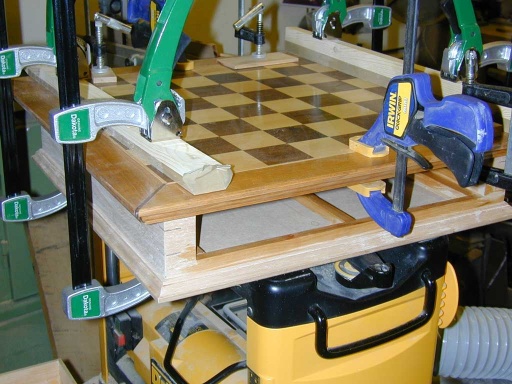
The board was then glued to the base and sides, taking care that the drawer top edged are well stuck to the base of the board:
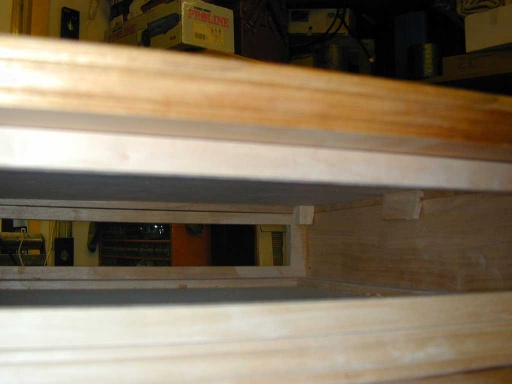
Looking into the drawer opening shows how the registration blocks help guide and fix the top:
Finishing
The main finish used was Liberon Finishing Oil, typically applied as three coats. The final finish with Liberon Black Bison Wax, where the wax was applied with 0000 wire wool, before being buffed with a link free cloth.
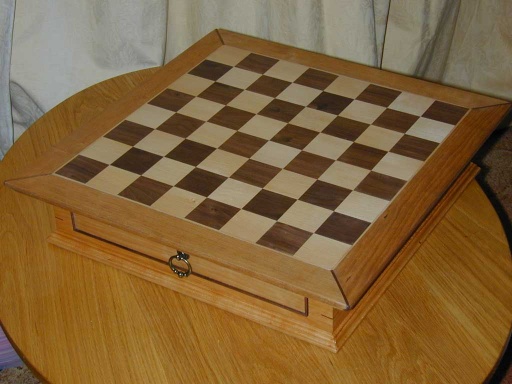
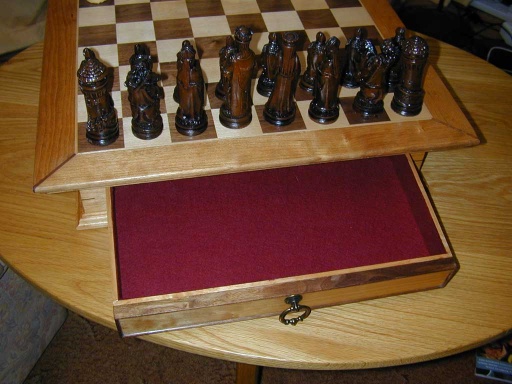
The finished board
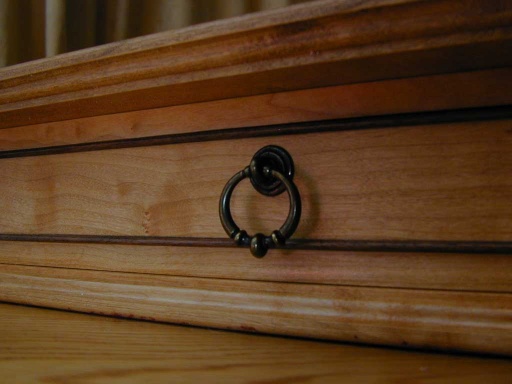
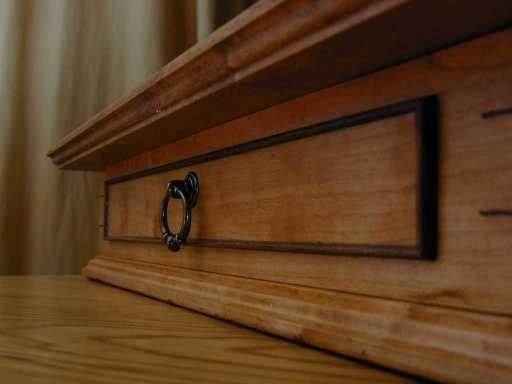
The final job was fitting the handles.
Pictures:
