Coffee table - Limbert style
Introduction
The year end was near, and it was decreed that a coffee table shall be brought forth... What kind of table enquired the humble carpenter? It should be easy enough to nail one of those together, if we could agree on a design!
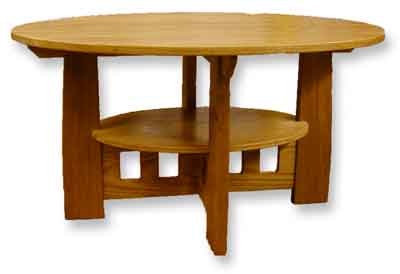
Eventually after looking at lots, it was decided that one featured in the Dec 2010 cover of Fine Woodworking magazine should fit the bill nicely... This is the story of its creation.
Design
Nice thing about this one is that its already been done for you. They will even sell you a complete set of plans either printed, or as a digital download. If you can find a copy of the magazine article about, then there is also just about enough information in that to do the build.
Materials
This project really cried out for some real Oak. Some enquiries of local merchants eventually found a decent source from EO Burton in Brentwood. There was even a choice of American White Oak and European Oak. Since the American version was significantly cheaper (£95 vs £160), and we don't really need the extra durability of English Oak, this is what I went for.
Partly to keep costs down, and partly to see how successfully I could build from sawn kiln dried timber without buying it already machined, I thought it would be fin to buy rough lumber and machine it myself prior to use.
Preparation - Legs
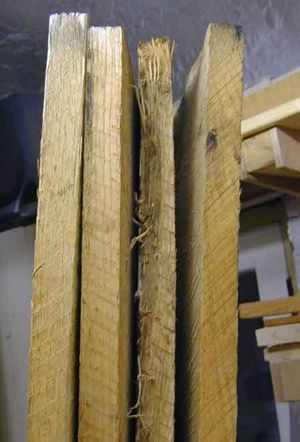
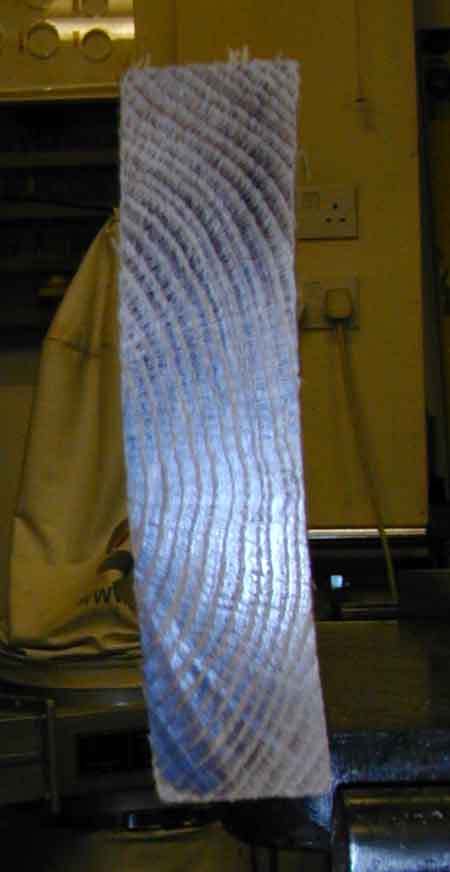
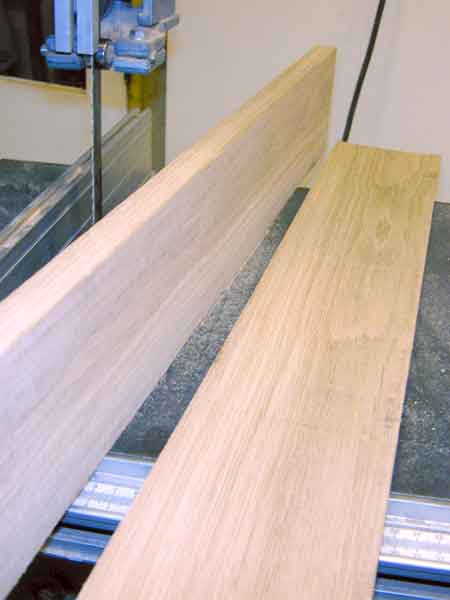
The legs were made from a single 2.1m board of around 6x2" cross section. This was a nice straight board, but it did exhibit some cupping as you can see from the photo below:
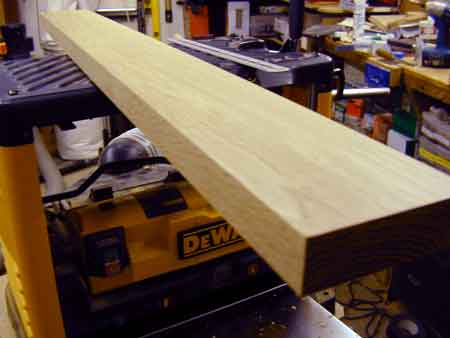
To prep these, I ran the cupped side over the surface planer / jointer first, to get a flat reference face, and then used this against the fence of the planer to get a perpendicular edge. With this edge against the table saw fence it was then sawn to slightly over its final 4" width. Then using the planer to finish the other edge and bring it to final width. The second bowed face was then removed by the planer thicknesser when the bard was brought down to its final thickness of around 1 and 1/8th inch.
Preparation - Main table top
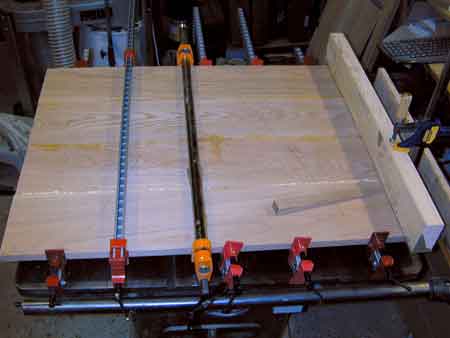
The table top was specced at 3/4" thickness, The boards I had for this were at least 8" wide, and typically around 1" thickness. Alas my jointer planer is only 6" wide, which meant either ripping each board in half to allow them to be accurately machined on the surface planer first, (and then going with a more complicated glue up), or taking a chance on "skip" planing using just the thicknesser. In the end I opted for the latter having selected a couple of nice reasonably untwisted boards to make the table top from. These were surfaced on both sides using the thicknesser. (This only really works on boards that are not twisted, since the thicknesser does not have the capability to remove twist easily - basically it just makes sure one face is flat relative to another!) These were then edge planed on the surface planer, and glued up into a wide table top:
Some solid softwood cauls were used to make sure the top surface was kept as near as possible flat. The contact surface of the cauls was covered with PVC packing tape to make sure they did not get glued to the table! Since there was a slight variation in panel twist, the glue up was don in three three goes - width middle two boards first, and then the outer two added on after.
Preparation - thinner boards
The majority of the rest of the timber required was only 5/8th of an inch thick. To plane this all down from 1" stock seemed rather wasteful given that the primary stages of machining had already generated 2 dustbin loads worth or planer shavings! So with these boards I ripped them down to narrow widths, and then used the band saw to resaw them closer to final thickness, before starting planing.
Construction
Once all the timber was prepared, it was time to start building...
Legs
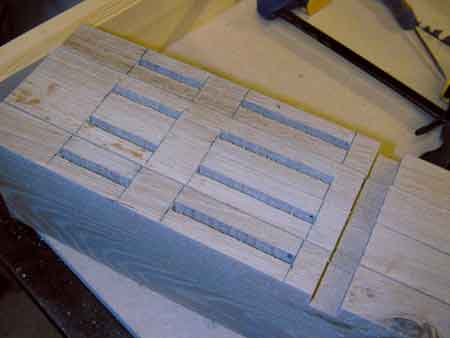
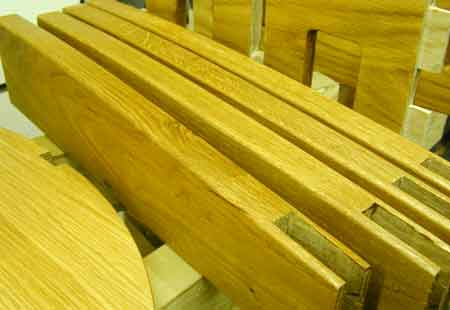
The legs each require four machining operations. The first was to cut the notch for the lower table. This was done for all four legs in one go using a sledge on the table saw to notch out the sides accurately, and then using multiple passes to waste away the remaining timber.
Stage two was to cut the mortice slots for the stretchers. This was done with a 1/4" hollow chisel in a bench morticing machine.
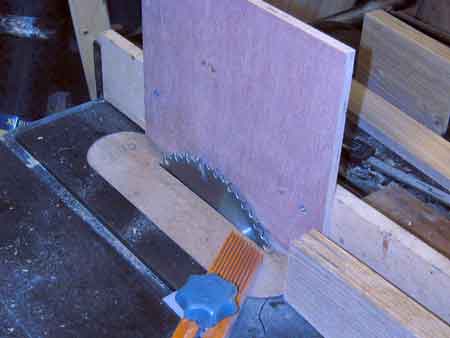
Stage three was to cut the bridle joints into the tops of the legs. This would be easy to do with a traditional table saw tenon jig, but alas I don't have one. Hence I made a taller extra fence to fix to the first one to help guide them safely on end over the blade:
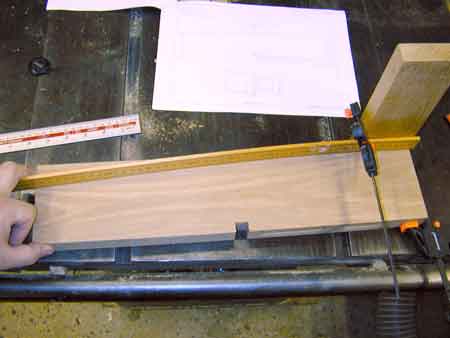
The final stage was to cut the taper on the upper section of the leg. To mark the wood for the cut, I clamped a block of wood to the side of the leg, and then clamped a wooden rule to the block. This was then bent to the required curve and used to pencil in the line:
The legs where then cut on the band saw, and finished to the final shape using a belt sander.
Templates
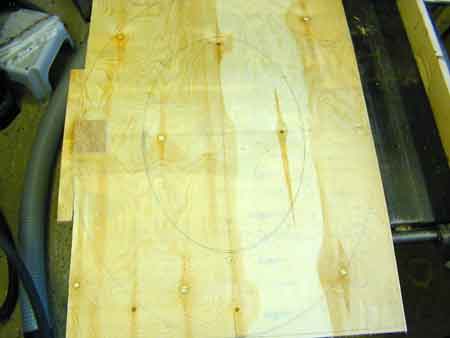
To get from the rectangle to final elliptical shape, needs a template. I made both templates for upper and lower table tops from the same section of 1/2" ply. The ellipses are marked out using a pair of panel pins - one tapped into each foci, and loop of string placed round them. The string then guides a pencil line. The foci are spaced at 17 and 5/16" for the smaller ellipse, and 24 1/4 for the large one. The ply was the cut just outside the line with the band saw. The smaller template was then cut free with a jigsaw. These were then very carefully sanded to the line to get a nice smooth shape.
Can you spot where I worked out my sheet of ply was too narrow?
(In an ideal world a thin sheet of MDF would probably make a batter template, than this rather shonky bit of shuttering ply)
Lower Table
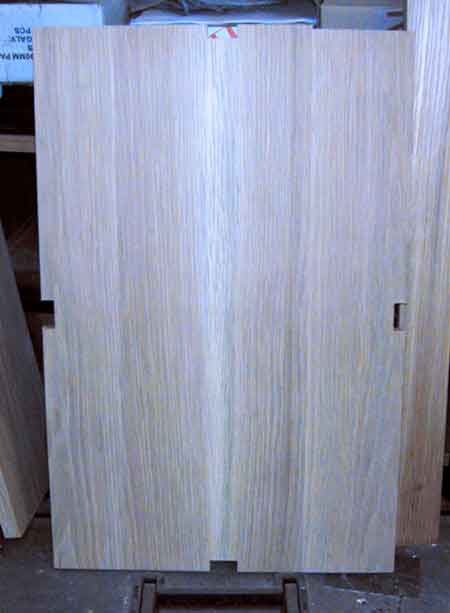
The lower table was glued up from 4 smaller planks, and trimmed to a rectangle as a first stage.
The boards where then rough sanded to remove all traces of glue squeeze out, and also to hide any errors in the board alignment using a hand held belt sander with a coarse 40 grit belt (dry oak really does take some effort to sand!)
The rebates on the mid span of each side where then cut with the table saw and the planks clamped on edge to the front of a table sledge. Again using multiple passes to notch out the waste.
Using the template, the shape was them marked and the top cut roughly to size on the bandsaw. The template was then clamped to the oak, and a bearing guided flush trim bit using in a router to machine the table top to the exact shape of the template.
Upper Table
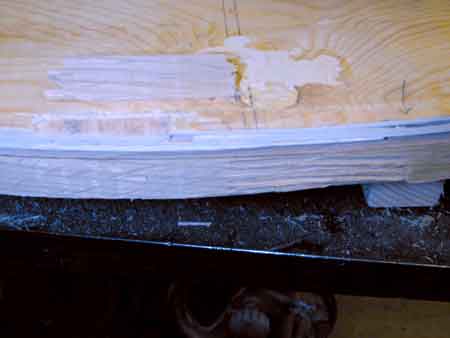
This was a repeat of the smaller one, just on a bigger scale. Just to add a little drama, a slight esnag when routing ripped out a small section of the edge:
This could probably have been prevented by flipping the whole job over half way through and swapping from a top bearing guided bit to a bottom baring guided bit. Thus allowing all of the grain to be routed "down hill".
A couple of minutes work with the belt sander however allowed this error to be polished away (at the expense of the table no longer being a perfect ellipse!)
