Difference between revisions of "DIY Personal Video Recorder (PVR)"
(More WIP) |
m (→Addresses) |
||
| Line 59: | Line 59: | ||
=== Addresses === | === Addresses === | ||
| − | All of the computers, phones, tablets, and smart TVs and other devices on | + | All of the computers, phones, tablets, and smart TVs and other devices on a network need a unique network address to be able to function properly. For normal home networks there is no need to give this any consideration due to the marvels of what it called the Dynamic Host Configuration Protocol (DHCP). Every time a device powers up and connects to the network, it will simply broadcast a message to every other device on the network with a DHCP request for an address, hoping there is a DHCP server listening that will be able to help. Normally this will be running on your internet router. It will look to see what addresses it has been told it is allowed to hand out, and will give out the next free address. It will keep a note of the addresses it has allocated so that it does not hand out the same one again (you must never have one network address used by more than one device at a time). |
Addresses are typically handed out with a "lease" time on them, meaning that the device using it can only have it for a certain amount of time (this might be a number of hours, or a few days - but 1 day is typical), after that time the device will need to ask the router to renew the lease if it still needs it. That way when a device drops off the network, the router can reclaim the address once it's lease has expired and use it again. | Addresses are typically handed out with a "lease" time on them, meaning that the device using it can only have it for a certain amount of time (this might be a number of hours, or a few days - but 1 day is typical), after that time the device will need to ask the router to renew the lease if it still needs it. That way when a device drops off the network, the router can reclaim the address once it's lease has expired and use it again. | ||
| Line 67: | Line 67: | ||
Allocating a Static IP addresses to a server is usually fairly simple, but it does take a bit of planning. There two basic ways of doing this. The first is (possibly counter intuitively) using DHCP, and the second is to do it manually. | Allocating a Static IP addresses to a server is usually fairly simple, but it does take a bit of planning. There two basic ways of doing this. The first is (possibly counter intuitively) using DHCP, and the second is to do it manually. | ||
| − | Setting a Static IP via DHCP | + | ==== Setting a Static IP via DHCP ==== |
| + | Many modern internet routers will implement DHCP address reservation. This is where you can tell the DHCP server in the router that you would like a particular IP address to be reserved for one particular network device and never used for any others. This is usually done from the routers management web page. This is a private web page that you can only access from "inside" your network (it is not visible to internet users outside of your network). There are a number of ways you can find out where this is. The first is to check the label on the back of the router - it will normally tell you want its default address is, and also the login details you need to access it. Typically it will be in the form of an IP address that starts 192.168.?.?. Quite often it will be 192.168.1.1, or 192.168.0.254 (BT routers), or 192.168.0.1 (Sky and Virgin routers). There is no harm in tapping that address into your web browser and trying it. | ||
| − | === Installing PVR software === | + | '''NOTE''' you must enter this address into the '''address bar''' of the router, don't use the search box since these addresses are not accessible from the internet: |
| + | [[File:ManagingYourRouter1.png|512x512px]] | ||
| + | |||
| + | |||
| + | If you are unsure, you can find out what address to use from your computer since if it is on the network and can access the internet, it must know. | ||
| + | |||
| + | For Windows PCs, it is usually easy to open a command prompt and type the command: | ||
| + | ipconfig | ||
| + | That will display a list of results, for each of the network connections your computer has (it may have several - typically one for its Ethernet connection, and another for its WiFi, and possibly a number of others). Look for the one for the connection you are using (Ethernet it connected with a network cable, or WiFi). | ||
| + | Ethernet adapter Ethernet 1: | ||
| + | Connection-specific DNS Suffix . : | ||
| + | Link-local IPv6 Address . . . . . : fe80::4811:e71c:d6ac:f92d%9 | ||
| + | IPv4 Address. . . . . . . . . . . : 192.168.1.35 | ||
| + | Subnet Mask . . . . . . . . . . . : 255.255.255.0 | ||
| + | Default Gateway . . . . . . . . . : 192.168.1.1 | ||
| + | Look for the "Default Gateway" address. That is most likely to be the address of your internet router. Enter that into the address bar of the router. | ||
| + | |||
| + | Once you are into the management page you will need to find the section that allows you to reserve a DHCP address. This will be different for every different type of router, but you will normally be able to find a guide for your brand of router on the internet - quite often your Internet Service Provider will have a help page on this. | ||
| + | |||
| + | ==== Setting a Static IP Manually ==== | ||
| + | The other way to set a static IP address is to do it manually. There are two stages to this: | ||
| + | |||
| + | # Decide on a free address to use, and make sure the router knows not to use it elsewhere. | ||
| + | # Set the address on your device | ||
| + | |||
| + | The decide on an address to use bit is normally easy - most people will go for an easy to remember one like 192.168.1.10, however it is important to make sure that your router knows it must not allocate this address to anything else via DHCP. | ||
| + | |||
| + | To do this you need to go to the routers management page again (see above), and set the start address and size of the address pool that the router will allocate addresses from. (some routers specify a start and end address, others a start and a pool size. You can move the start or end address of the DHCP pool, such that you leave some addresses free that will not be allocated by the router. | ||
| + | |||
| + | So for example, if your router's address is 192.168.1.1, you might set the start of the DHCP pool to 192.168.1.100, and the end to 192.168.1.200 giving it a pool of 100 addresses it can give out automatically, but leaving all the addresses below .100 and above .200 free to be allocated as Static IPs to your network servers. (note you can't use the router's own IP address for anything else, or the address ending .255). | ||
| + | |||
| + | The final stage is to set the IP address on the device itself. You may need to use the devices web management page, or you might have software supplied with it that can do this for you. | ||
| + | |||
| + | ==== Installing PVR software ==== | ||
| + | Once you have your devices setup, you are ready to start installing the PVR software. For network appliances like NAS boxes, this is often as easy as going to the management page and choosing the software from the Apps store. | ||
| + | |||
| + | E.g. install Plex on a Netgear ReadyNAS: | ||
| + | |||
| + | |||
| + | Install Plex on a QNAP NAX | ||
== Building a system == | == Building a system == | ||
Revision as of 14:02, 7 November 2021
Home based video recording of TV broadcasts revolutionised the way in which people could watch television, no longer being restricted to watching programs at set times, and being able to view programs broadcast simultaneously on different channels.
The digital PVR took these freedoms and elevated them to new levels of usability and convenience, being able to intelligently record multiple programs at once, and automatically record linked programs and series with one instruction from the user. All directed from detailed digital programme guides. Commercial devices made famous by Humax and Topfield made digital TV recording easy and user friendly.
Some might argue in these days of streaming platforms and "catch up" TV services, the days of the PVR are numbered as they lose relevance. However there are a number of key benefits you get with a PVR that you don't get with streaming services:
- The ability to record high quality content even without a good internet connection and without a subscription to a streaming service.
- The ability to record programs from the many TV channels that don't have catch up services
- Long term access to recorded content that is not "withdrawn" at the whim of the streaming service.
The DIY PVR project
So if you can buy a digital TV recorder "off the shelf" why go to the bother of a DIY solution?
The answer is that many of the COTS options are less than optimal. This is frequently the result of digital rights management restrictions placed on the manufacturers of the devices by the content production "industry" and broadcasters. As a result it is often only possible to play back recorded content on the device that made the recording, and there if often no facility to copy recorded programs from the recorder for longer term archival or for making those recordings available to multiple devices on a home network. Most commercial solutions can usually only record a maximum of two programs at once, which may seem restrictive with the hundreds now available.
The goals
This article will discuss ways to implement your own PVR platform that can do all the things the commercial products do, but also add some very nice to have extra capabilities.
- The ability to record multiple programmes concurrently
- To store them in common non encrypted video file formats
- To make them available by any TV or device on the home network with no restrictions.
- Be driven from a full featured digital program guide that also allows rich additional media content to be added to each recording.
- Make it easy to have near unlimited storage for content if required.
- Optionally make recorded content available to you from anywhere in the world when away from home
Getting started - what you will need
The foundation for a DIY PVR is a network TV tuner. Typically this is a small box that contains a number of TV tuners (typically 2 or 4), and local processing power to present the digital TV streams in real time on a TCP/IP based network. Many of these will allow live TV to be watched in a web browser, and may also come bundled with software that can record TV and do other tricks.
In addition we will need something to act as a storage server - providing the storage space to hold the programs we record, and the capability to run the server software required to make the platform function as a usable service.
Lastly we need client devices - i.e. something to watch the recordings on. This might be a computer, tablet, phone or smart TV, but might also include an older "dumb" TV or computer monitor.
TV Tuners
Popular tuners for this application are the HDHomeRun devices from SiliiconDust, and the various Win TV tuners from Hauppauge
Servers
The term server, really means two things in this context. Something with lots of spare disk space, and something to run our PVR software. The server may play back recordings directly to a locally connected screen, but will more typically make them available to clients on the network, which will either access the server via a web interface, or using bespoke client software.
Hardware
Many of the better Network Attached Storage devices (NAS) from the likes of Netgear, QNAP, Synology etc already have a number of suitable server applications already available and ready to download and install.
You could also use and old PC or laptop, however note that the ideal server will be something that has very low power consumption since this will likely be left running long term.
The tiny (and very cheap) Raspberry Pi can also make a an effective PVR server.
For storage, the ubiquitous Hard Disk Drive (HDD) is ideal here, it's plenty fast enough, and can offer loads of storage at a low cost. This is one of the few applications where there a not that many advantages for using modern Solid State Disk (SSD) drives, since the price per GB is higher. However there may be some cases where the reduced power consumption and silent operation could make them attractive.
Software
There are a number of popular platforms for this job. Many are derived from the open sauce Xbox Media Media Centre (XBMC), and include applications like Plex, and Kodi.
Clients
Clients can include anything that can run a web browser capable of displaying video, a smart TV (or a SMART TV add on dongle)
One Box Solution
You can also get TV tuners as an expansion card or on a USB device to add a tuner to your PC. Mac, or Linux computer. This then also raises the possibility of implementing all the parts of the PVR in one box.
Network Basics
In the majority of cases our PVR will be implemented to run on a home network, that will usually consist of a network router connected to the internet, and then a number of other devices that can run our PVR server and clients. There are a couple of basic principles that can use when setting up your PVR to make it easier to setup and operate.
Addresses
All of the computers, phones, tablets, and smart TVs and other devices on a network need a unique network address to be able to function properly. For normal home networks there is no need to give this any consideration due to the marvels of what it called the Dynamic Host Configuration Protocol (DHCP). Every time a device powers up and connects to the network, it will simply broadcast a message to every other device on the network with a DHCP request for an address, hoping there is a DHCP server listening that will be able to help. Normally this will be running on your internet router. It will look to see what addresses it has been told it is allowed to hand out, and will give out the next free address. It will keep a note of the addresses it has allocated so that it does not hand out the same one again (you must never have one network address used by more than one device at a time).
Addresses are typically handed out with a "lease" time on them, meaning that the device using it can only have it for a certain amount of time (this might be a number of hours, or a few days - but 1 day is typical), after that time the device will need to ask the router to renew the lease if it still needs it. That way when a device drops off the network, the router can reclaim the address once it's lease has expired and use it again.
This behaviour is all fine and dandy for network devices that are "consumers" of services - e.g. those that visiting web pages or stream music or video. It's not so well suited for devices that are servers. For servers, it is better to allocate a fixed network address to the device. That way all the client devices can be told where to find it, and know that it will always be at the same address regardless of what other devices are on the network, and which order they powered up in. This type of address is known as a "Static IP address".
Allocating a Static IP addresses to a server is usually fairly simple, but it does take a bit of planning. There two basic ways of doing this. The first is (possibly counter intuitively) using DHCP, and the second is to do it manually.
Setting a Static IP via DHCP
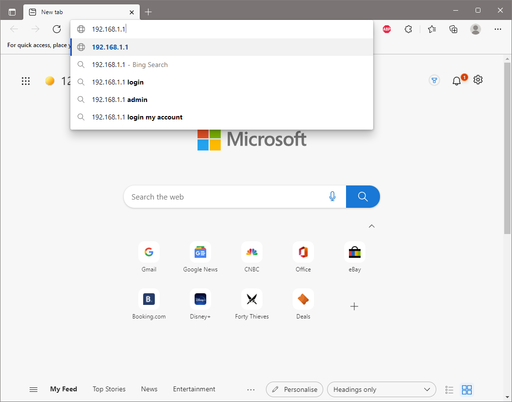
Many modern internet routers will implement DHCP address reservation. This is where you can tell the DHCP server in the router that you would like a particular IP address to be reserved for one particular network device and never used for any others. This is usually done from the routers management web page. This is a private web page that you can only access from "inside" your network (it is not visible to internet users outside of your network). There are a number of ways you can find out where this is. The first is to check the label on the back of the router - it will normally tell you want its default address is, and also the login details you need to access it. Typically it will be in the form of an IP address that starts 192.168.?.?. Quite often it will be 192.168.1.1, or 192.168.0.254 (BT routers), or 192.168.0.1 (Sky and Virgin routers). There is no harm in tapping that address into your web browser and trying it.
NOTE you must enter this address into the address bar of the router, don't use the search box since these addresses are not accessible from the internet:
If you are unsure, you can find out what address to use from your computer since if it is on the network and can access the internet, it must know.
For Windows PCs, it is usually easy to open a command prompt and type the command:
ipconfig
That will display a list of results, for each of the network connections your computer has (it may have several - typically one for its Ethernet connection, and another for its WiFi, and possibly a number of others). Look for the one for the connection you are using (Ethernet it connected with a network cable, or WiFi).
Ethernet adapter Ethernet 1:
   Connection-specific DNS Suffix  . :
   Link-local IPv6 Address . . . . . : fe80::4811:e71c:d6ac:f92d%9
   IPv4 Address. . . . . . . . . . . : 192.168.1.35
   Subnet Mask . . . . . . . . . . . : 255.255.255.0
   Default Gateway . . . . . . . . . : 192.168.1.1
Look for the "Default Gateway" address. That is most likely to be the address of your internet router. Enter that into the address bar of the router.
Once you are into the management page you will need to find the section that allows you to reserve a DHCP address. This will be different for every different type of router, but you will normally be able to find a guide for your brand of router on the internet - quite often your Internet Service Provider will have a help page on this.
Setting a Static IP Manually
The other way to set a static IP address is to do it manually. There are two stages to this:
- Decide on a free address to use, and make sure the router knows not to use it elsewhere.
- Set the address on your device
The decide on an address to use bit is normally easy - most people will go for an easy to remember one like 192.168.1.10, however it is important to make sure that your router knows it must not allocate this address to anything else via DHCP.
To do this you need to go to the routers management page again (see above), and set the start address and size of the address pool that the router will allocate addresses from. (some routers specify a start and end address, others a start and a pool size. You can move the start or end address of the DHCP pool, such that you leave some addresses free that will not be allocated by the router.
So for example, if your router's address is 192.168.1.1, you might set the start of the DHCP pool to 192.168.1.100, and the end to 192.168.1.200 giving it a pool of 100 addresses it can give out automatically, but leaving all the addresses below .100 and above .200 free to be allocated as Static IPs to your network servers. (note you can't use the router's own IP address for anything else, or the address ending .255).
The final stage is to set the IP address on the device itself. You may need to use the devices web management page, or you might have software supplied with it that can do this for you.
Installing PVR software
Once you have your devices setup, you are ready to start installing the PVR software. For network appliances like NAS boxes, this is often as easy as going to the management page and choosing the software from the Apps store.
E.g. install Plex on a Netgear ReadyNAS:
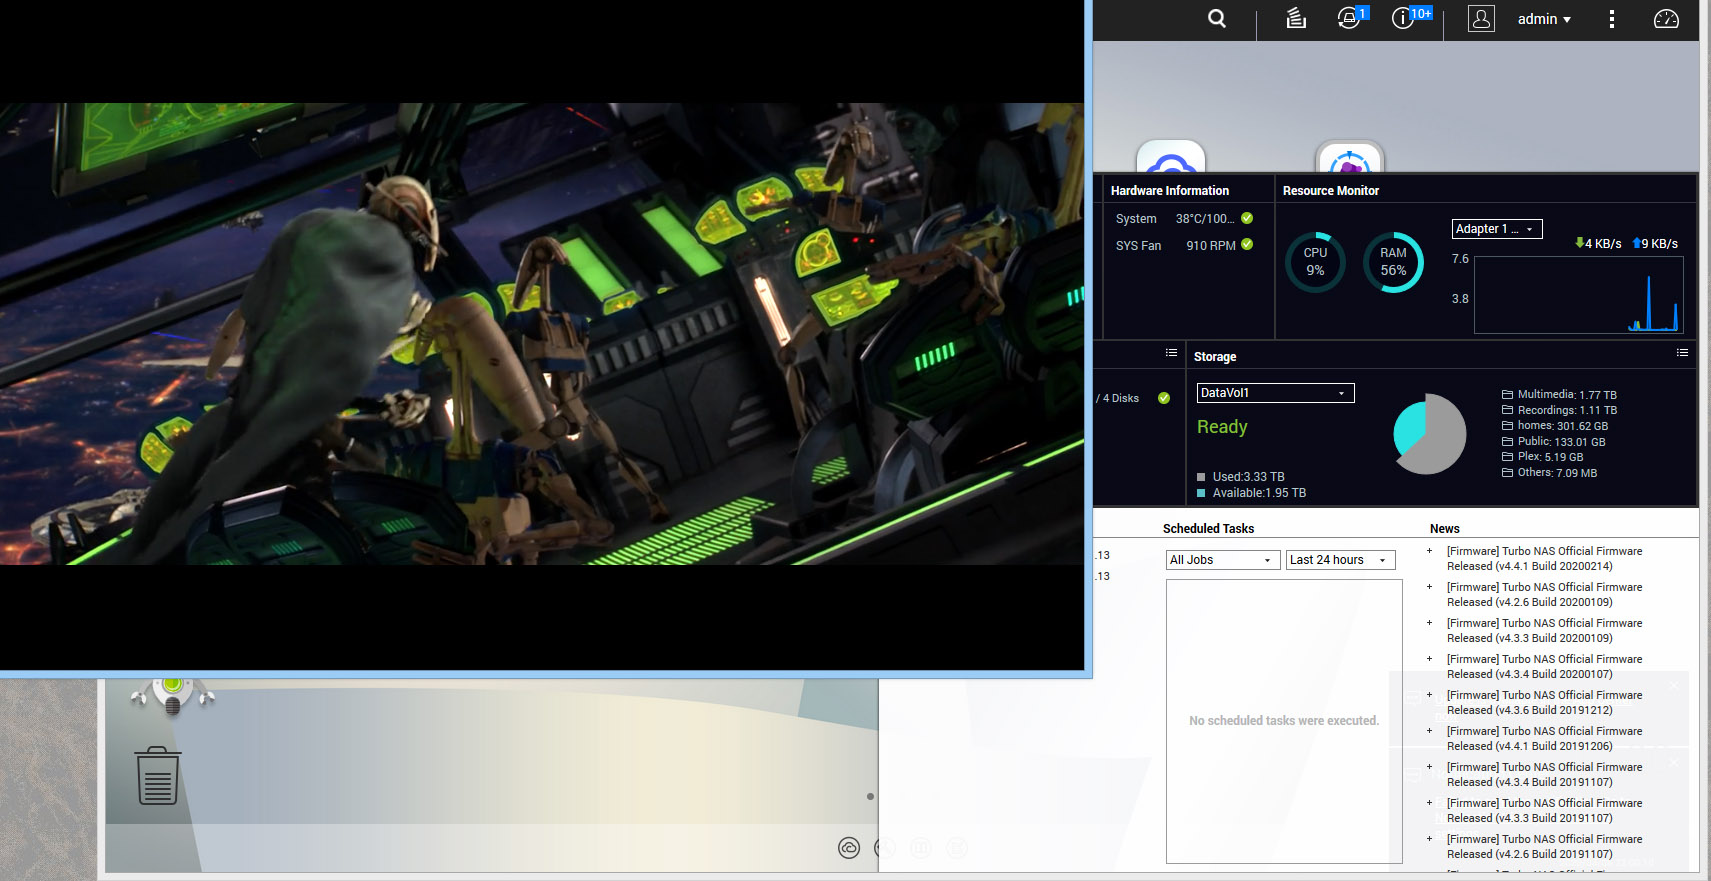
Install Plex on a QNAP NAX
Building a system
Please note that there is no "one right way" to do this. There are a huge range of possibilities, so you can build a system that works exactly the way you want and within your budget. Note that some options are very easy to setup, and some will need a bit more tinkering.
Example system 1
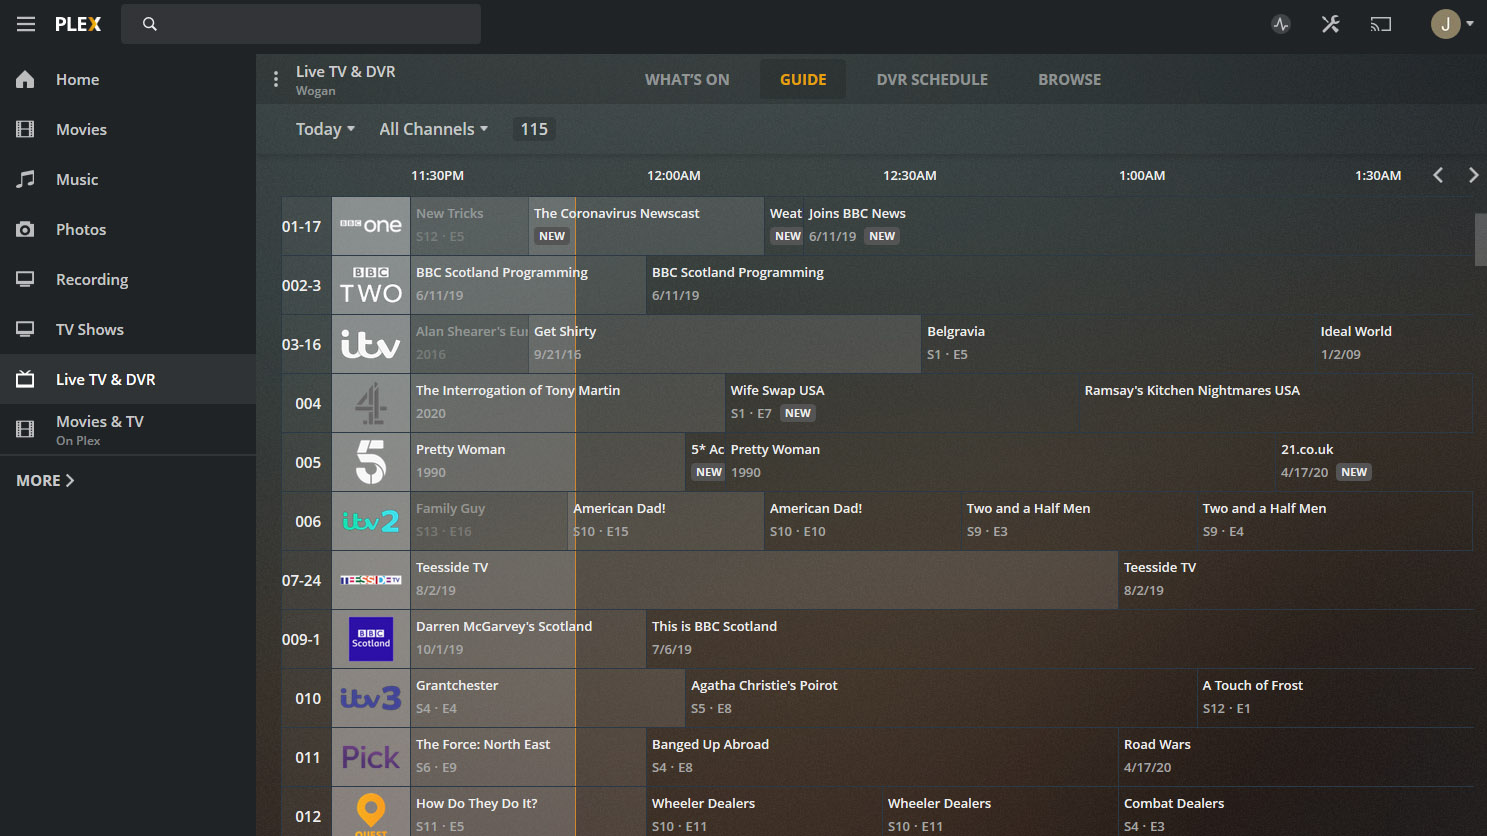
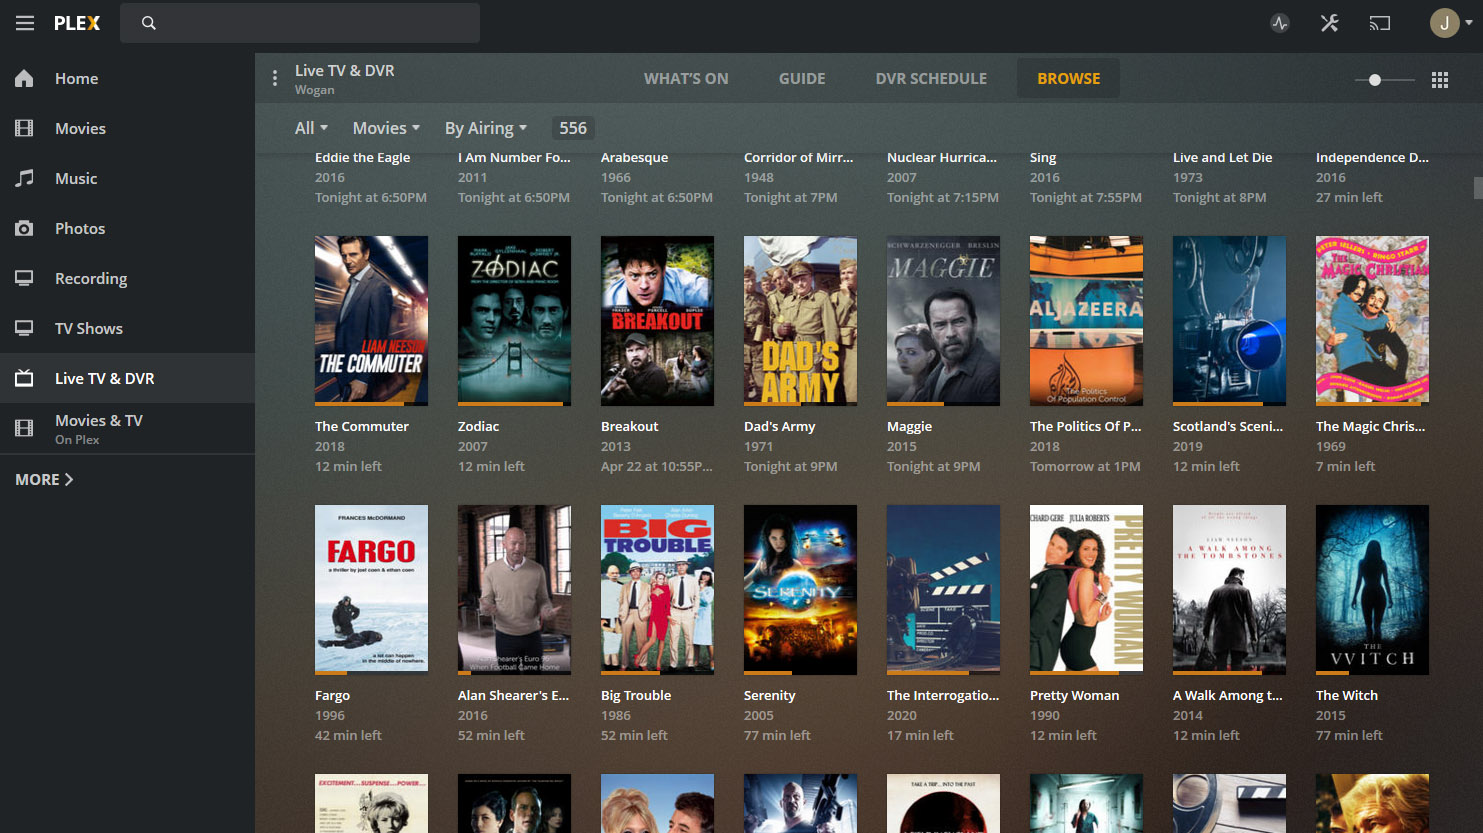
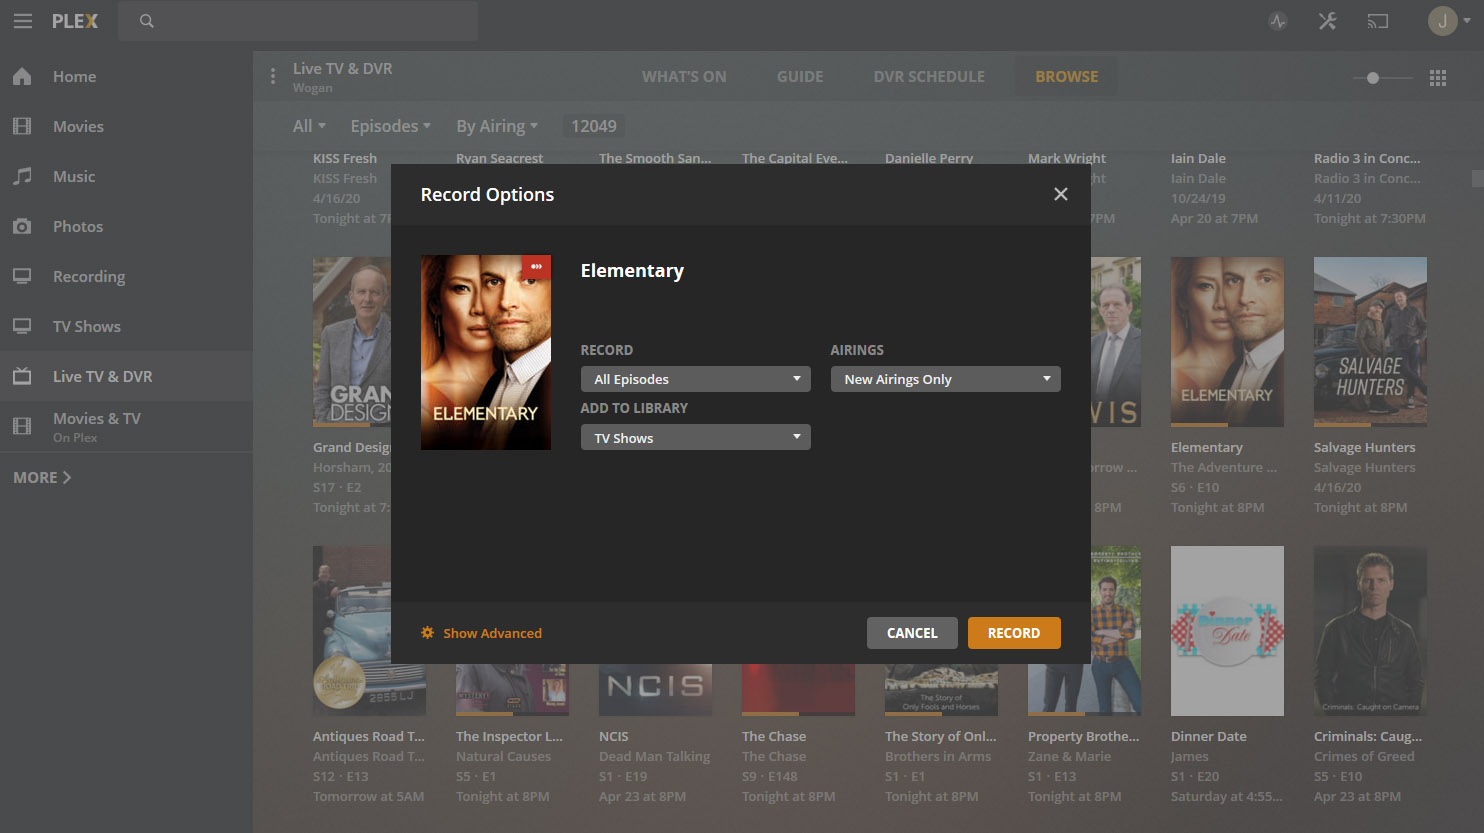
In this example we will discuss building an implementation of a PVR using a SiliconDust HDHomeRun duo TV tuner, and a QNAP NAS as the server running Plex as the software platform.
The goal here is ease of setup using intermediate level hardware, and low running costs.
Work in progress - ignore for now!
