Patching plasterboard
A quick overview of how to make repairs to holes in plasterboard walls and ceilings.
So you have a hole?
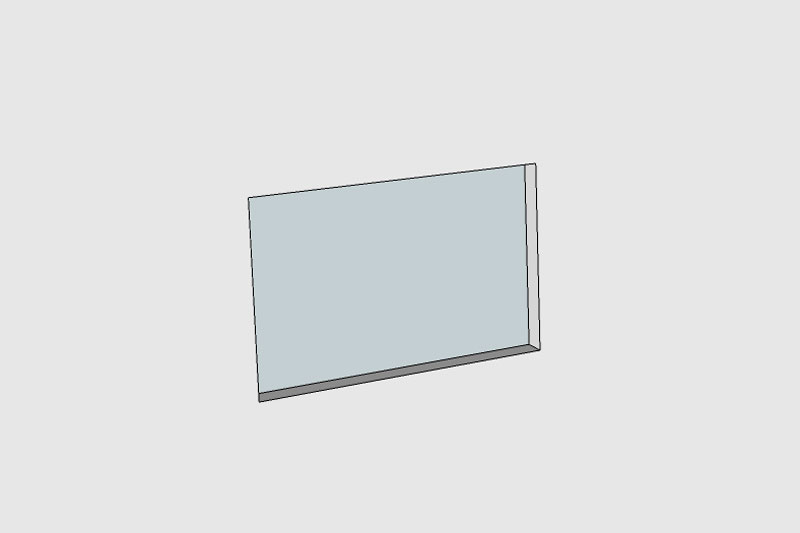
If you need to make a hole in plasterboard for any reason (to gain access to wires and pipes etc), one handy tip is to keep the bit of board you cut out - since it can be used to effect a repair. The finer the tool used for cutting the board - the less making good later.
How to
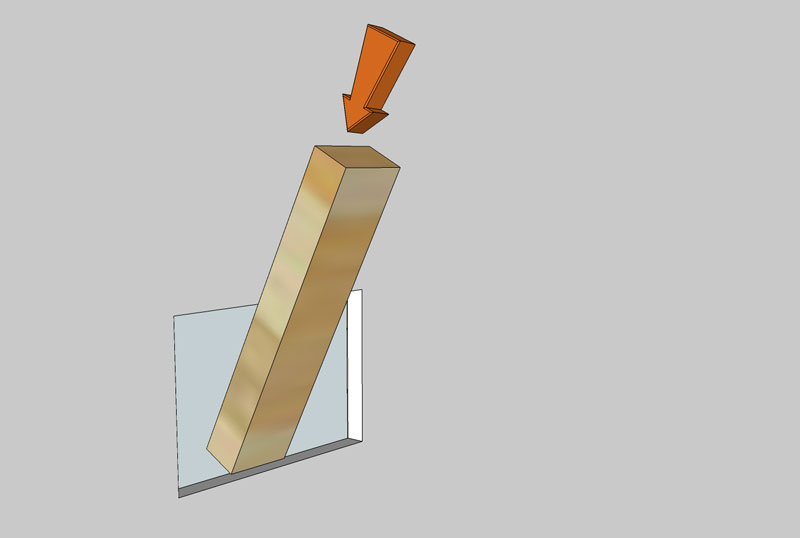
The easiest way to fix a plaster board patch is to a support batten. Sometimes if the cut out section straddles a stud or joist, you can refix the patch to this, however in most cases you will need to cut one or more bits of batten for the purpose. Normal 2x1" or similar sized softwood is fine. Cut the length about 4" longer than the size of the hole.
Insert the batten into the hole:
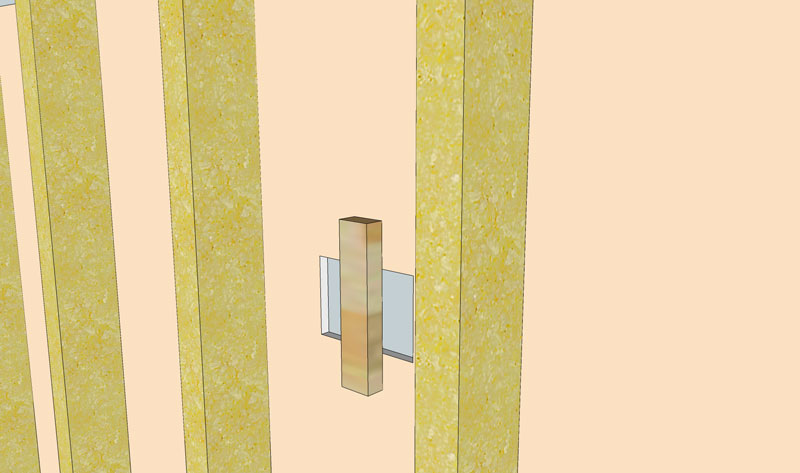
...and hold in place.
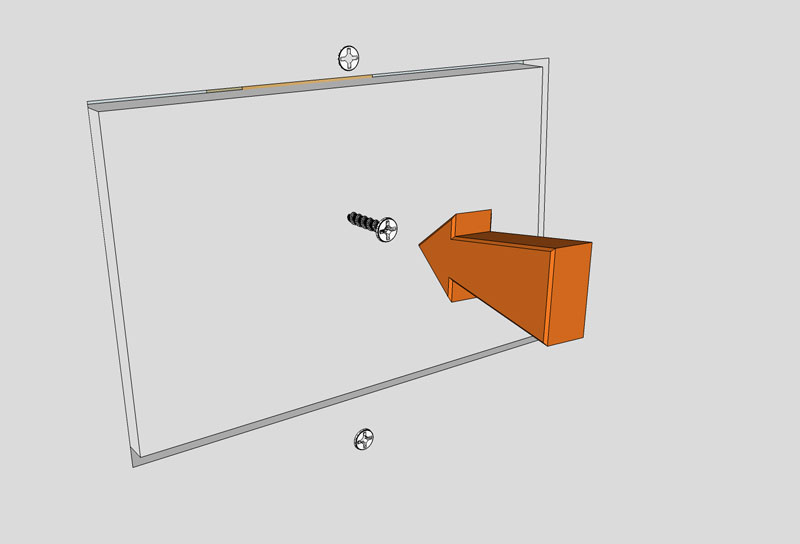
Now drive plasterboard / dry lining screws through the surface of the wall into the ends of the batten:
Try to sink the screw heads just a little below the surface of the wall.
Now insert your plasterboard patch (if you don't have one you took out, then you will need to cut one to fit. It needs to be a few mm smaller in each direction. If you need to buy plaster board remember it comes in two common thickness's (9mm and 12mm) - if you are unsure, then the thinner board can always be filled flush later (or packed out level). And screw that to you batten. Again set the screw below the surface.
Finally fill any gaps and the screw holes prior to making good the decorations. On many surfaces its possible to make a nearly invisible repair.


