Pipe repair
How to repair a leaking pipe - a beginner's guide
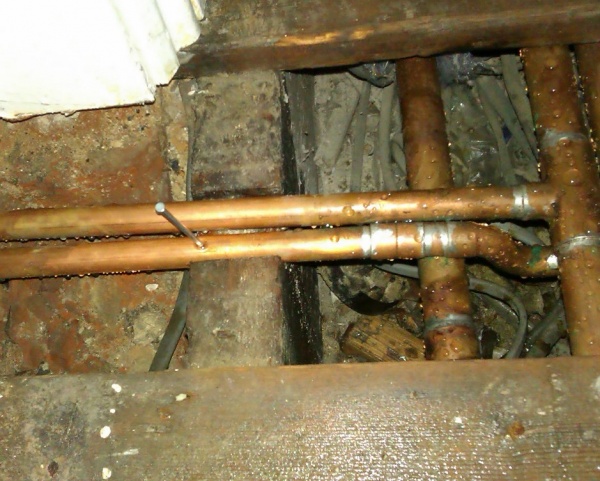
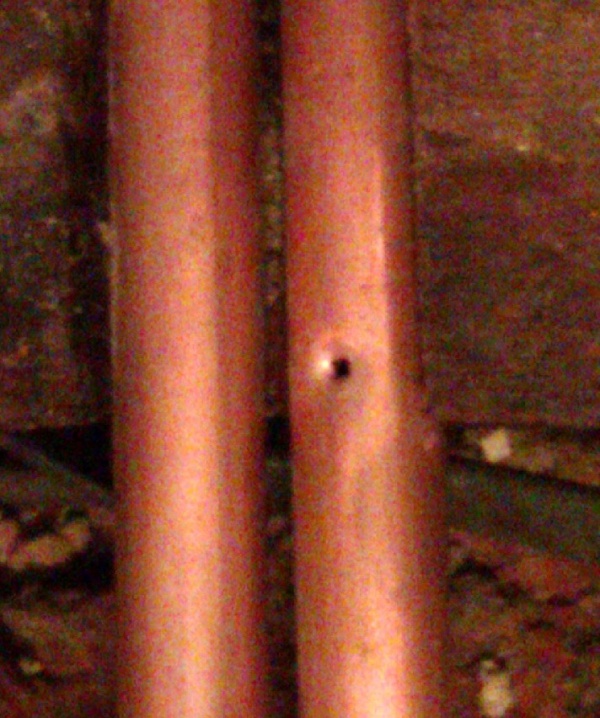
The homeowner decided to install a fountain by wacking a nail through a floorboard and into a pipe.
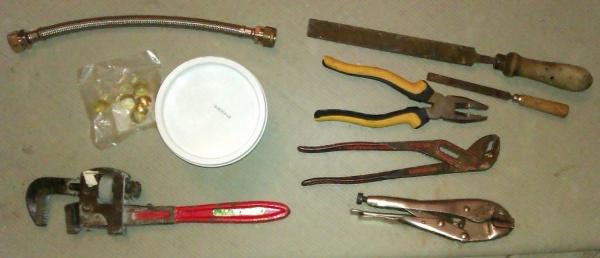
Parts & tools - a couple of fairly big screwdrivers were also used as levers to move the pipe a tiny bit so the nut could turn.
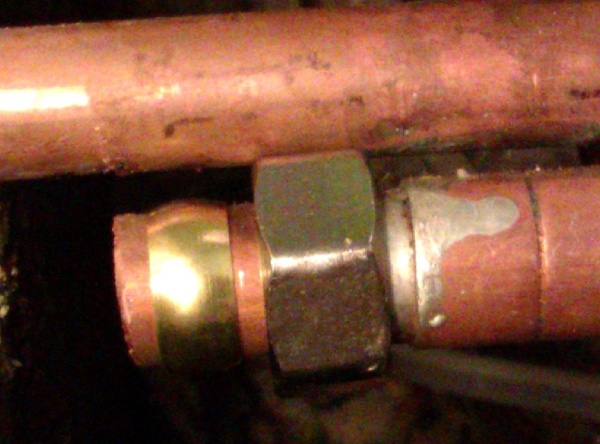
You should be able to do it without spare olives, but I've had enough incidences of needing a new olive to always take spares.
Mark where to cut the pipe. Usually a rotating wheel type pipe cutter woud be used, but here there was no space for one. An oscillating saw was used. A hacksaw is also possible, but avoid putting force on the pipe by twisting it, you don't want the soft copper to distort.
Olives won't fit onto a sawn pipe end, so the pipe ends were filed to remove any external burr. This required getting the file in at a few odd angles.
Slide nut then olive on
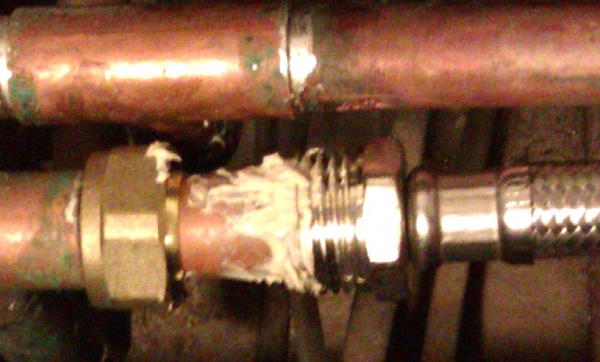
Add linseed putty.
Some people think you should never use gloop with compression fittings because they were designed to be used dry. Choice is yours, fwiw I find they're more reliable on used pipes with putty.
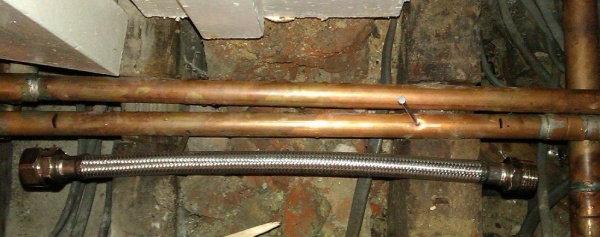
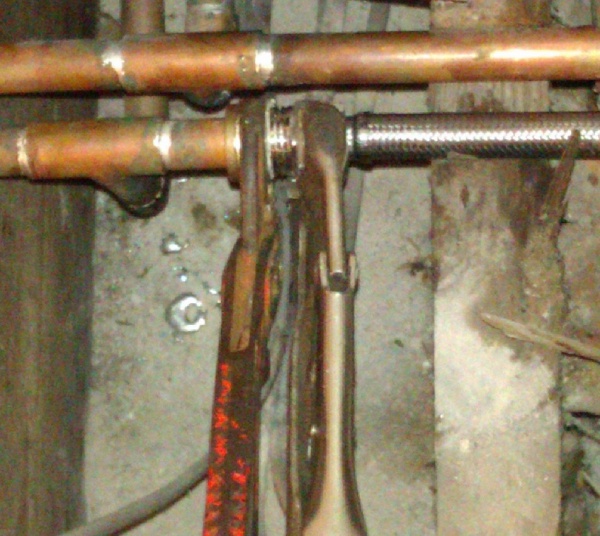
Tighten each nut; the 2nd wrench stops the new plumbing rotating. I removed a 2nd floorboard to get enough tool access. I also cut a quarter inch off the side of one of the wooden joist notches so the new pipe could move very slightly to enable everything to line up & the nut to turn.
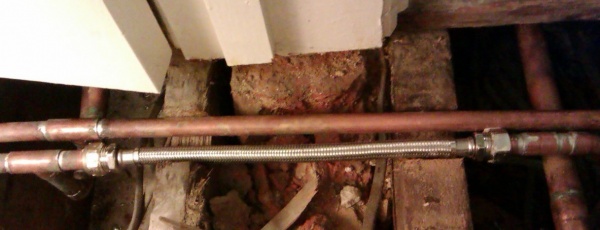
Job done!
This was a heating system pipe. So refill & repressurise heating according to boiler instructions. Add corrosion inhibitor ditto.
Nail floorboard back down, then you can repeat the whole process.
For an emergency repair you can use a Kibosh Clamp
