Terminating MICC / Pyro
This is a tutorial for terminating MICC / Pyro cable. Note this procedure is suited to "one off" terminations and does not assume one has the standard (expensive) tool set usually required.
Introduction
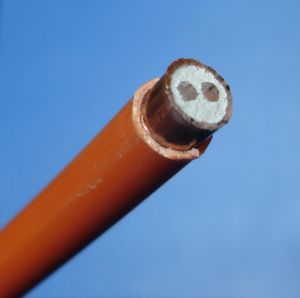
Mineral Insulated Copper Clad MICC cable - or Pyro as it is often called (after the originator, Pyrotenax), is most commonly used these days for wiring on fire and smoke alarms in commercial premises where the enhanced fire protection of the cable is a big advantage. However it can also be useful where the cable will be on show, as it is much smaller than T&E. It usually comes with a PVC sheath in either orange, red or white - but this can be removed for most domestic uses. Leaving a small diameter copper 'pipe' which blends in well with natural wood, brick and stone. There are two common sizes, 2L1 and 2L1.5 (conductor cross sectional areas of 1.0mm² and 1.5mm²). Note that in current handling capacity these equate to 1.5 and 2.5mm² T&E. Multi-core versions are also available, but this basic guide will be limited to what you're likely to use. Unlike conventional PVC cables, the individual conductors in MICC are bare copper, and are only separated from the overall sheath by a powdered mineral insulator. As a result, special methods must be used at the end of a run of MICC to make connection to it.
Glands
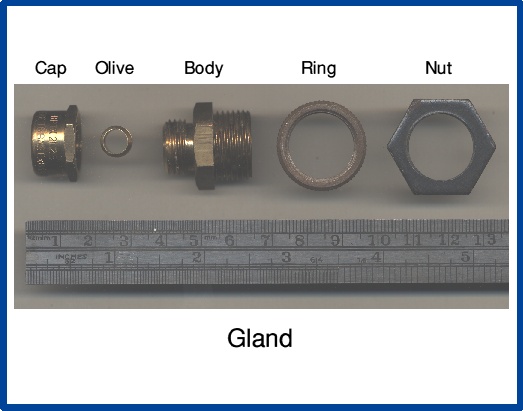
At each connection it's usual to use a gland and termination or "pot" - however the gland can be omitted in some circumstances. The gland is similar to a compression fitting on copper pipe and serves to secure the cable, provide the earth connection to a metal box via a standard 20mm thread, and waterproof the joint (if used into a waterproof enclosure). It's pretty straightforward on examination. But must be fitted before the termination.
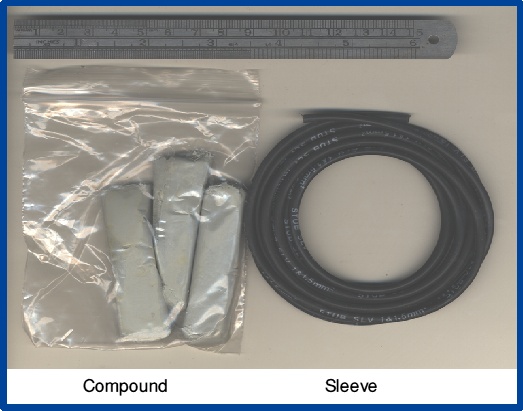
Fitting the termination correctly is the tricky bit. The termination consists of a kit of parts - the pot, seal, sleeving and compound. Usually supplied in packs of five or ten.
Note some kits come with colour coded lengths of sleeving.
Ideally, practice making one before doing it for real. In the same way as you should practice soldering pipe. You've probably bought more terminations than you need. There are special tools available for this - but they are expensive and possibly not worth it for just a few ends. I'm also not familiar with the latest ones - mine are quite old and no longer made. So I'm giving a method using tools you'll likely already have.
Leave plenty 'spare' cable over where the gland fits the box - about 9" is fine.
Stripping the sheath
Cut the cable copper sheath carefully with a copper pipe cutter, and don't tighten the adjustment by much after each revolution. You only want to go through the outer - not 'nick' the conductors, or leave a large lip inside the sheath.
Then from the end of the cable, cut into the outer longitudinally with small side cutters and peel the outer off - rather like peeling an apple. If you prefer, you can use the pipe cutter at about one inch intervals and just pull the sheath off. But don't attempt this over more than an inch or so.
Fitting the pot
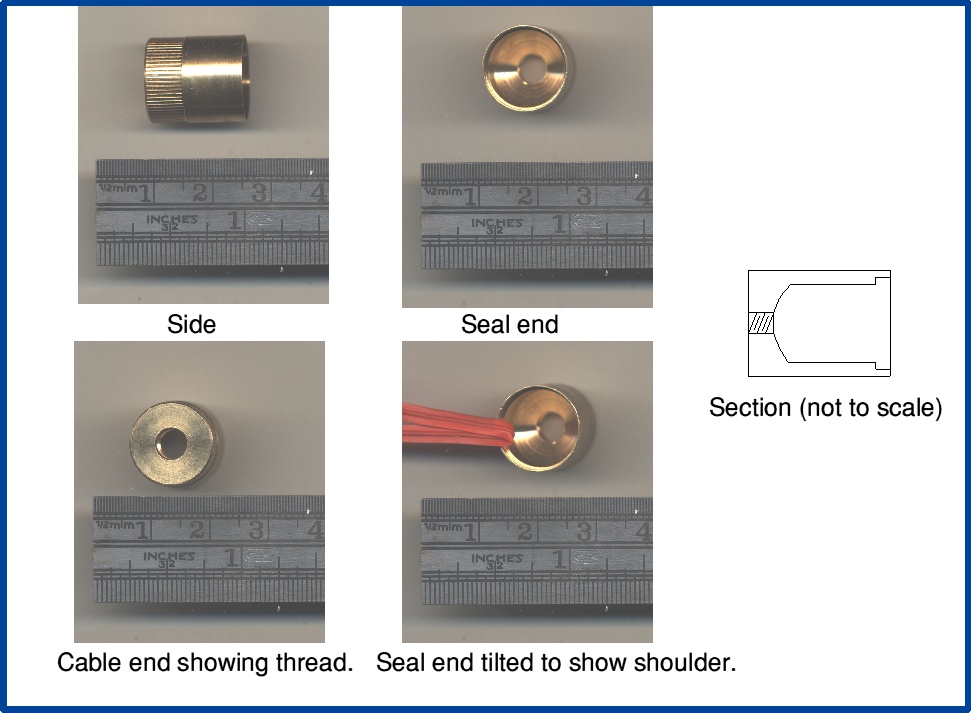
Screw the pot in place. It cuts its own thread. A drop of oil will help. Make sure you start it square, then screw down using grips until the cable sits flush to the end of the thread. Be careful not to damage the thin part of the pot where the seal fits.
Check the inside of the pot is reasonably free of the insulating powder and the conductors are straight - mark the side of the pot with a spirit pen to show where the conductors are.
Fill it with compound roughly to the top - pushing it into the space beside the conductors.
Note that pots come in more than one type. Some have an earth "tail" soldered to them. This is intended to make the final earth connection to your accessory. You will need this sort of pot when you are not using a gland. The type pictured here does not have a tail, and should be used with a gland to maintain a secure earth connection to the enclosure.
Fit the seal
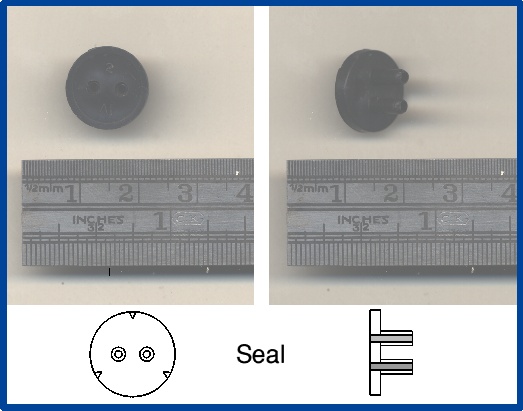
Slide the seal over the conductors and use the mark you've made to ensure it's not twisting the conductors inside the pot. There should be sufficient compound to stop the seal being pushed by hand into the pot.
The next bit needs care. Using two pairs of grips - one either side - force the seal into the pot. Excess compound should ooze out. If not, fill it some more. The seal should bottom out in the pot so that the top of the pot is proud of it. You might need to use some form of spacer between the grips and the seal to achieve this. The top of the pot is then crimped over to secure the seal - there are three indents in the seal. Large side cutters with one jaw on the back of the pot will achieve this.
Pull the conductors inline with the cable to make sure they're not touching inside the pot. Moderate force with pliers needed.
Fit the sleeving
Fit the sleeving and you're done. If your sleeve is not colour coded, then you'll need to mark one as line. You will need some form of tester to make sure which conductor is which. A cheap DVM with a continuity bleeper is ideal. On a long run where the DVM leads won't reach to both ends short the one marked line to the outer and measure outer to each conductor at the other end. The one which bleeps is the line. Use it too on the megohm range to make sure there's no shorts between line and neutral and between both of them in turn and sheath.
Finally, if you buy the cable some time before using it tape the ends and store in a warm dry place. The insulation absorbs moisture.
