Difference between revisions of "Wicker chair rattan replacement"
(Work in progress) |
|||
| Line 1: | Line 1: | ||
| − | [[ | + | We have a set of six dining chairs, which although mass produced in the far east, are not too bad to look at and are actually very comfortable. Alas at about 28 years of age they are showing some signs of age as more and more bits need fixing or replacement. I have replaced the [[Dining chair - cushion replacement|cushions]] before, and now the wicker / rattan / cane backing on many of them is also in need of some TLC. So at risk of them becoming a bit like [https://www.youtube.com/watch?v=BUl6PooveJE Trigger's Broom], This is the storey of their repair. |
| + | |||
| + | === The Damage === | ||
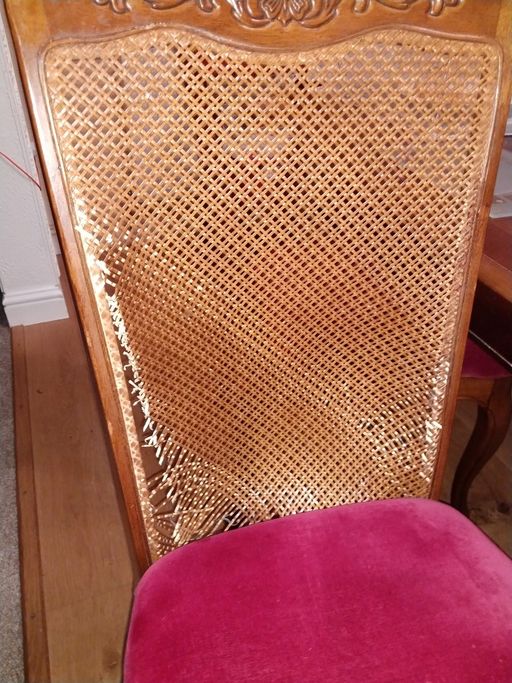
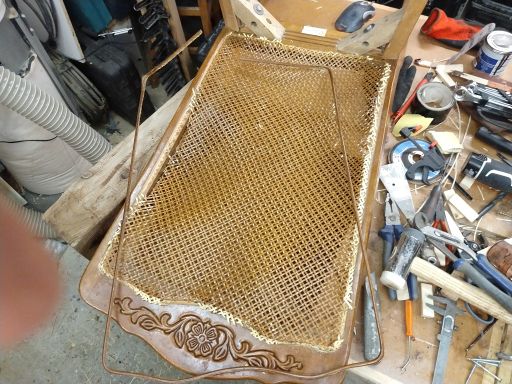
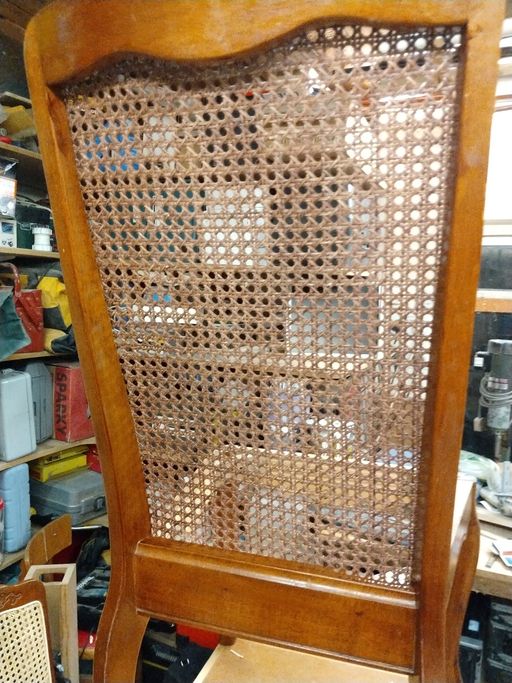
| + | The rattan back seems to be retained using the traditional method of being glued and wedged into a rebate in the wood using a reed section. Alas in some places this has failed where the rattan has pulled out of the grove. On other chairs it has actually torn or strands have been broken near the read, so the only way to fix this properly will be to replace the whole panel. Since weave pattern is not that easy to get it made sense to do all six chairs so the all match, and that way I could use any pattern that suited the chair. | ||
| + | |||
| + | |||
[[image:BrokenRattanChair.jpg|512px]] | [[image:BrokenRattanChair.jpg|512px]] | ||
| + | |||
| + | === Preparation - Removing the reed === | ||
| + | The first job (after taking the cushions off, and taking the arms off the carver chairs), was to get the retaining reed out of it's groove. Traditionally this would be glued in with a hide glue so you have a fighting chance of softening it (moisture, heat, steam etc) to make removal possible. These were a bit of an unknown! | ||
| + | |||
| + | So with the patient on the table: | ||
| + | |||
[[image:ChairOnTheBench.jpg|512px]] | [[image:ChairOnTheBench.jpg|512px]] | ||
| + | |||
| + | A quick slash with a Stanley knife got rid of the bulk of the rattan: | ||
| + | |||
[[image:ChairOnTheBenchRattanCut.jpg|512px]] | [[image:ChairOnTheBenchRattanCut.jpg|512px]] | ||
| + | |||
| + | Next I made tool for the job (apparently you can buy things for doing this bit). In this case just a small screwdriver that I did not mind sacrificing! I heated it with a MAPP gas torch and put a bend in, then quenched it. Then sharpened the end on a bench grinder so that it only had one bevel on the top surface. | ||
| + | |||
[[image:CustomRattanBeadLifter.jpg|512px]] | [[image:CustomRattanBeadLifter.jpg|512px]] | ||
| + | |||
| + | This was designed to get under the reed and make prying it up easier. It was also strong enough to be hammered along the base of the groove. | ||
| + | |||
| + | [[image:BeadLifterInUse.jpg|512px]] | ||
| + | |||
| + | Some of the reed came out easily enough - some bits were actually loose. A few bits were quite tight. There was also a significant variation between different chairs. | ||
| + | |||
| + | |||
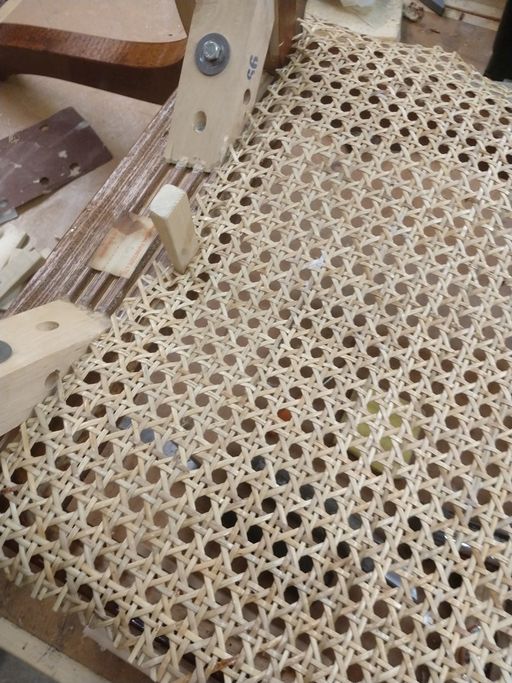
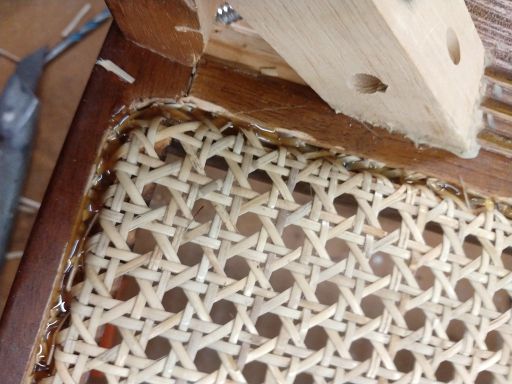
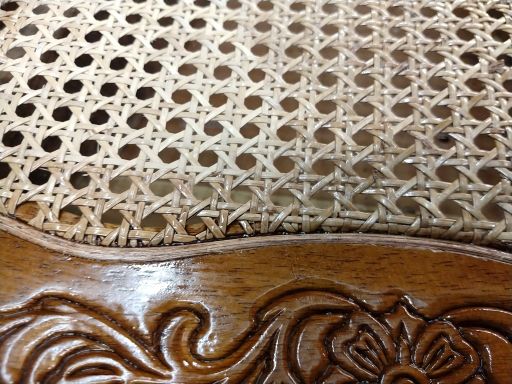
[[image:FixedRattanChairCloseup.jpg|512px]] | [[image:FixedRattanChairCloseup.jpg|512px]] | ||
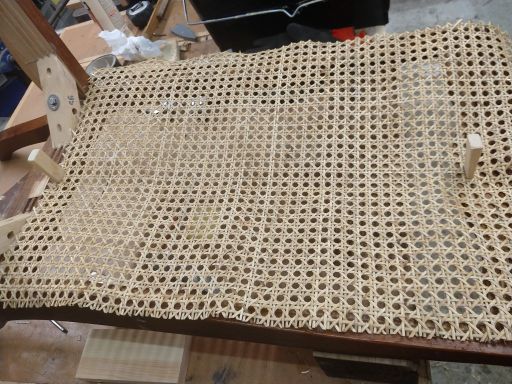
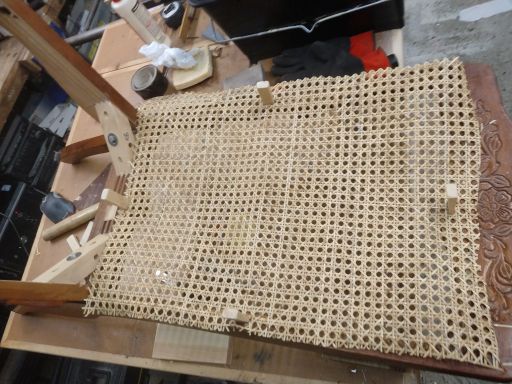
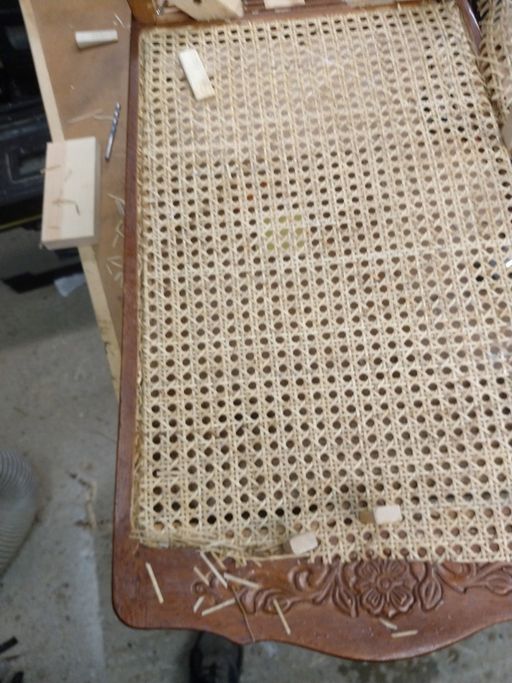
[[image:FixedRattanChairUnfinished.jpg|512px]] | [[image:FixedRattanChairUnfinished.jpg|512px]] | ||
Revision as of 20:42, 13 October 2021
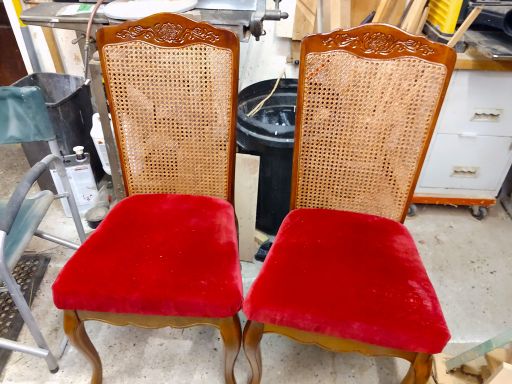
We have a set of six dining chairs, which although mass produced in the far east, are not too bad to look at and are actually very comfortable. Alas at about 28 years of age they are showing some signs of age as more and more bits need fixing or replacement. I have replaced the cushions before, and now the wicker / rattan / cane backing on many of them is also in need of some TLC. So at risk of them becoming a bit like Trigger's Broom, This is the storey of their repair.
The Damage
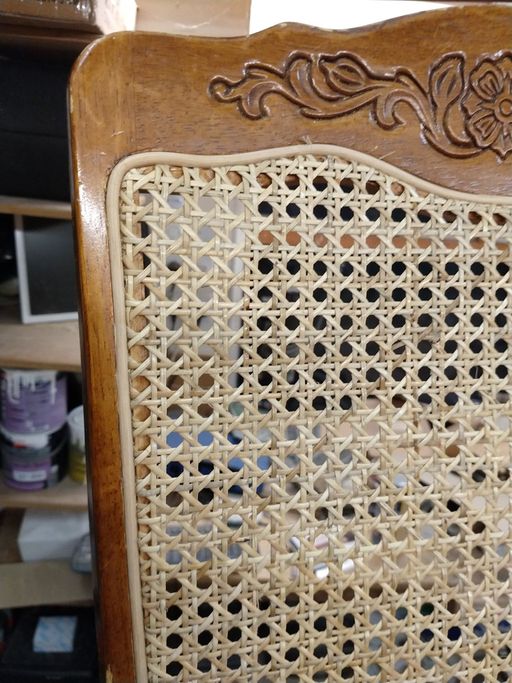
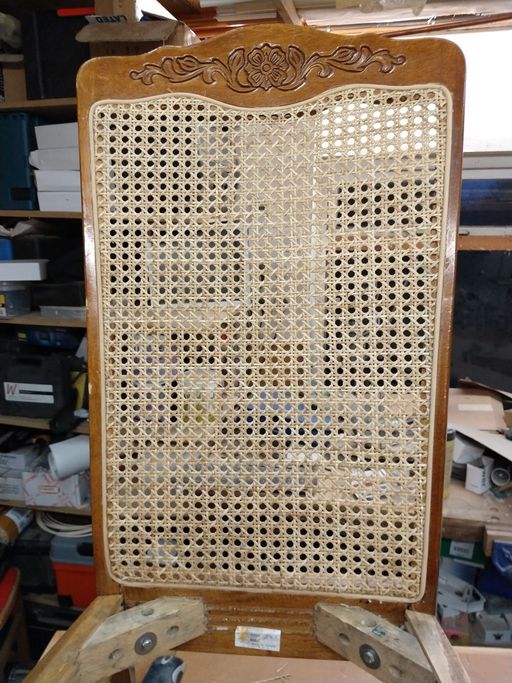
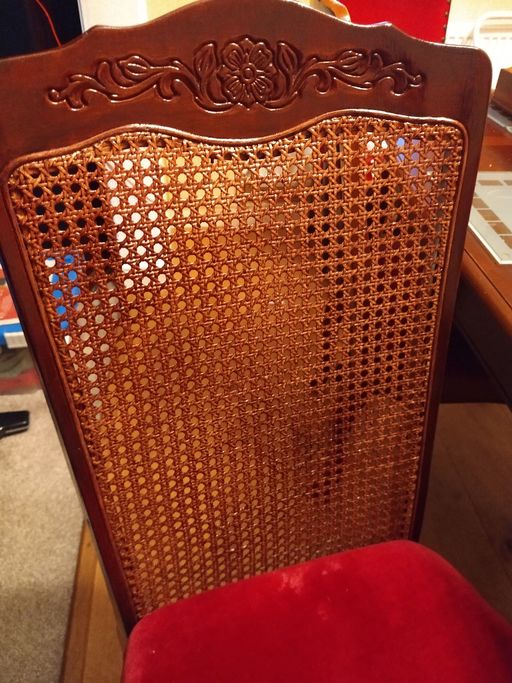
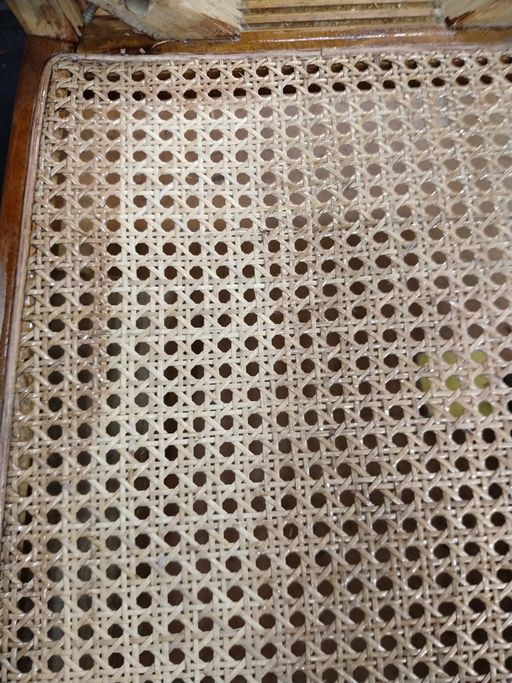
The rattan back seems to be retained using the traditional method of being glued and wedged into a rebate in the wood using a reed section. Alas in some places this has failed where the rattan has pulled out of the grove. On other chairs it has actually torn or strands have been broken near the read, so the only way to fix this properly will be to replace the whole panel. Since weave pattern is not that easy to get it made sense to do all six chairs so the all match, and that way I could use any pattern that suited the chair.
Preparation - Removing the reed
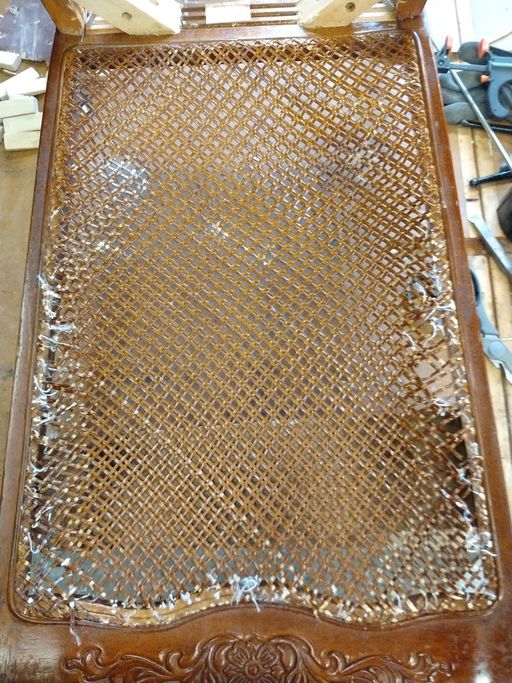
The first job (after taking the cushions off, and taking the arms off the carver chairs), was to get the retaining reed out of it's groove. Traditionally this would be glued in with a hide glue so you have a fighting chance of softening it (moisture, heat, steam etc) to make removal possible. These were a bit of an unknown!
So with the patient on the table:
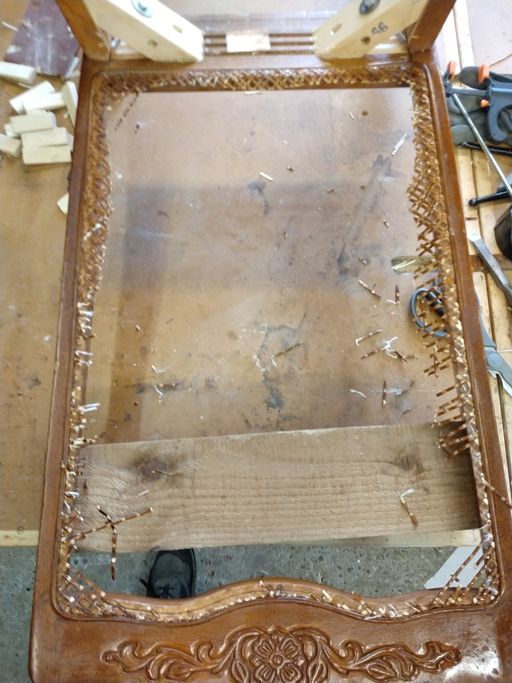
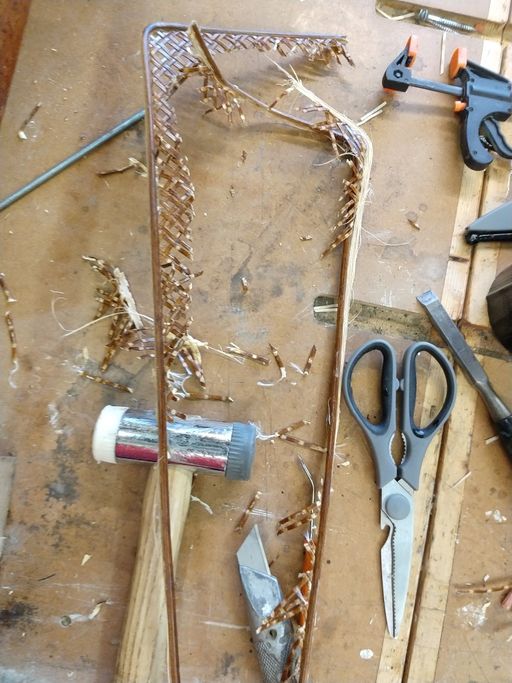
A quick slash with a Stanley knife got rid of the bulk of the rattan:
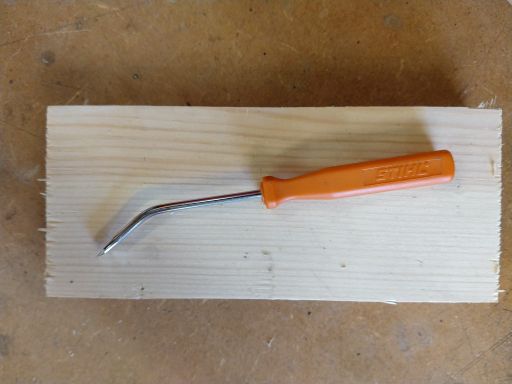
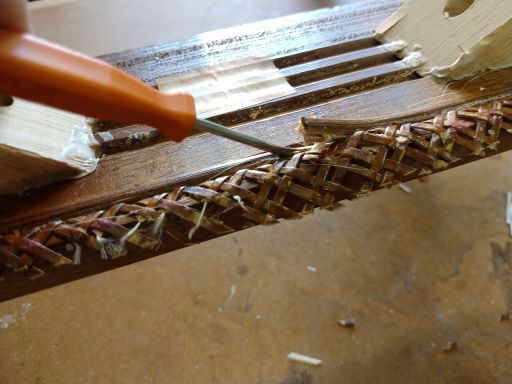
Next I made tool for the job (apparently you can buy things for doing this bit). In this case just a small screwdriver that I did not mind sacrificing! I heated it with a MAPP gas torch and put a bend in, then quenched it. Then sharpened the end on a bench grinder so that it only had one bevel on the top surface.
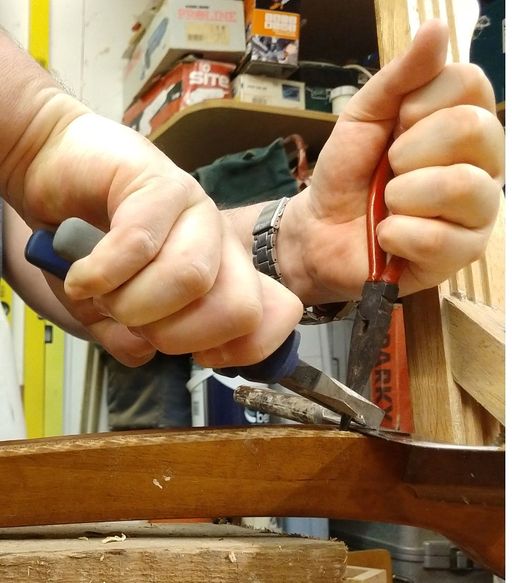
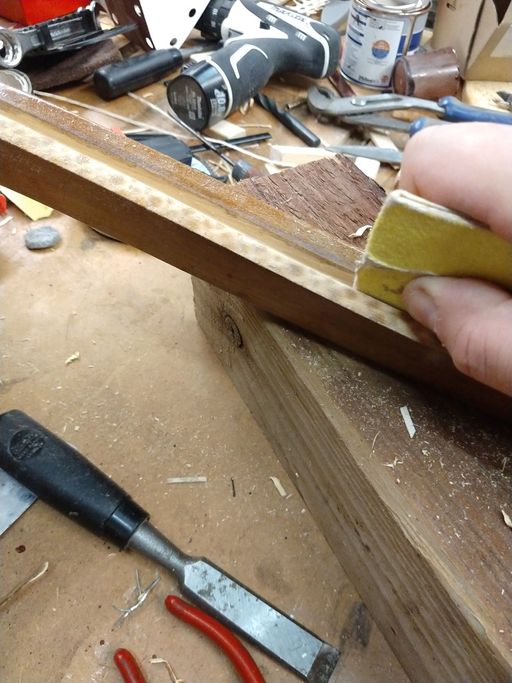
This was designed to get under the reed and make prying it up easier. It was also strong enough to be hammered along the base of the groove.
Some of the reed came out easily enough - some bits were actually loose. A few bits were quite tight. There was also a significant variation between different chairs.
