Routerboard
The Routerboard
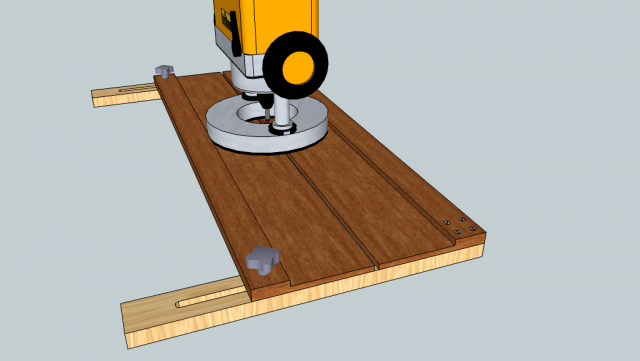
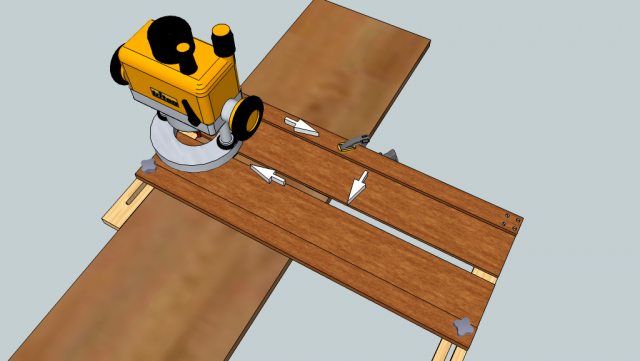
This is a simple jig that borrows heavily from the concept of the sawboard. However when used with a router, it allows this jig to make cutting custom width dados and rabbets very quick and easy. It is also useful for cutting reasonably large sized tenons, or half lap joints. In a way its a much posher version of the Custom rebate router jig.
(click the pictures for large versions)
Materials
You will need a length of 6mm ply or MDF or other similar sheet material with at least one factory straight edge still attached. A couple of strips of softwood for the braces, and some hand turn knobs or wing nuts and some domed or flat headed bolts.
Construction
Each routerboard is cut specifically for one router, and one bit size. So if you have several to choose from, then select the machine that is man enough for the size of work you expect to be doing most of.
Start by cutting a 2" wide strip of off the end of your sheet of material (the 4' side is ideal for most applications), flip it over and glue it back onto the top of the sheet so that the two cut edges are at the outside, and the factory edge is on the top facing inwards. Once the glue has dried, use the router to cut the board free from the sheet. Choose an appropriately sized cutter (either a straight fluted cutter, or a straight spiral upcut cutter). The size you choose here will dictate the smallest width dado you can cut in the future. So something like 3/8" is a good compromise size that can clear a reasonably wide dado quickly, but also allow dados for (typically undersized) 1/2" ply to be cut. Install the cutter in the router, place it on the board with its baseplate pushed against the stepped section of the routerboard and route all the way along it. That will cut the board free, and much like the sawboard will leave the cut edge exactly where the cutter selected will cut one edge of its dado.
Now chop the whole router board in half to make two bits - approx 2' long each.
Now prepare a couple of softwood strips approx 18" long. Route a slot through one end of both of them that is wide enough to take your bolt. Using an accurate set square, glue and screw each strip to the underside of an end of the routerboard, so they are perpendicular to it.
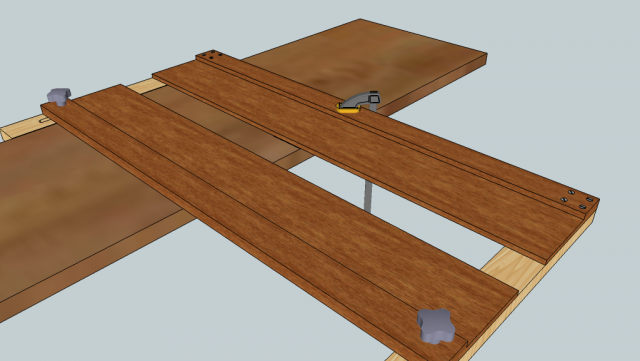
Now drill holes for the bolts in the second bit of routerboard, flip it round and mount it facing the already fixed part using the bolts in the routed slots.
You should now have something that looks like:
Use
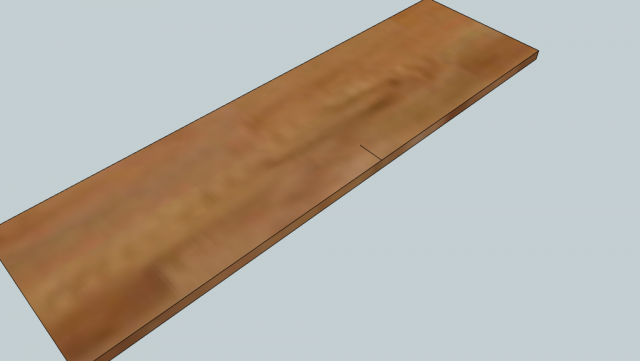
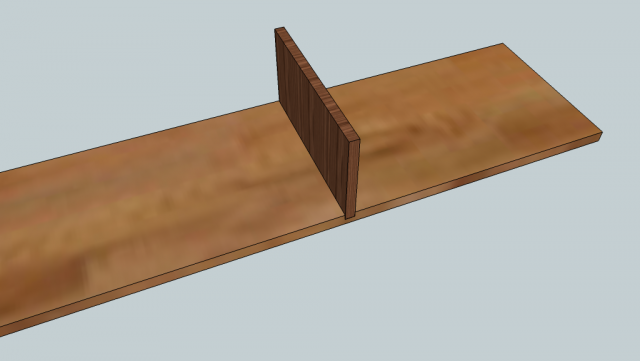
Yuu are now ready to cut a dado. First mark where you want one edge of your dado:
Offer the router board up, and place the fixed side dead on the line. Use the rail to brace against the side of your timber to make sure its all square. Apply a small clamp to the raised fixed section of the board to keep it all in place:
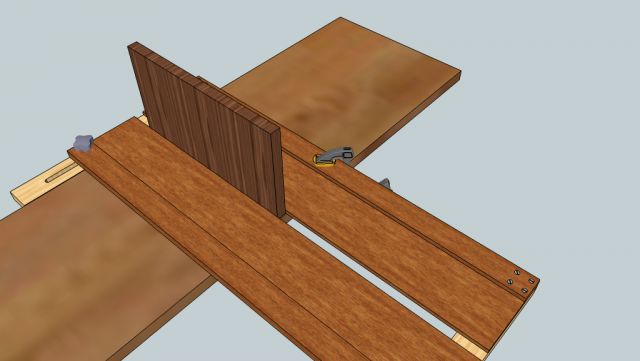
Now place a scrap of the material you want to cut a matching slot for into the gap of the routerboard, and move the sliding section snugly up to the other side. Tighten the knobs to fix the position. How tightly you trap the spacer board will indicate how tight fitting your dado will be:
Now set your router on the board between the raised sections. These will constrain the movement of the machine so that the only thing it can cut is the area you want removed. Make a cut up the fixed side of the board, and then return along the sliding side. If cutting very wide dados, then you may need extra passes to clear all the waste. For deep dados make the cut in a couple of stages to get a better finish, and lessen the load on the machine and cutter:
Once you have router all the waste, remove the clamp and lift off the routerboard, you should have a perfect width dado:
For other joinery tasks such as cutting tenons, just mark the shoulder position of the tenon, and set the fixed side of the routerboard against it. Widen the gap to expose all of the end of the timber. Set the plunge depth to give you the required depth of cut, and then route. Flip the work over to do the other side.
