Lawnflite 703 Autodrive blade clutch replacement
This article gives an overview of the replacement process for the blade / power take off clutch on a MTD / Lawnflite mower. Note that the basic process will be the same for many models of mower from the MTD stable of products.
The particular mower here is a 2007 model with an overall part number of 13AH483E611
Description of problem
The clutch was slipping - so that when engaging the blades, they either failed to spin up at all, or spun up after a long delay or took a long time to achieve full speed. Sometimes when mowing they would spin down if they hit a patch of grass that was more difficult to cut.
Layout
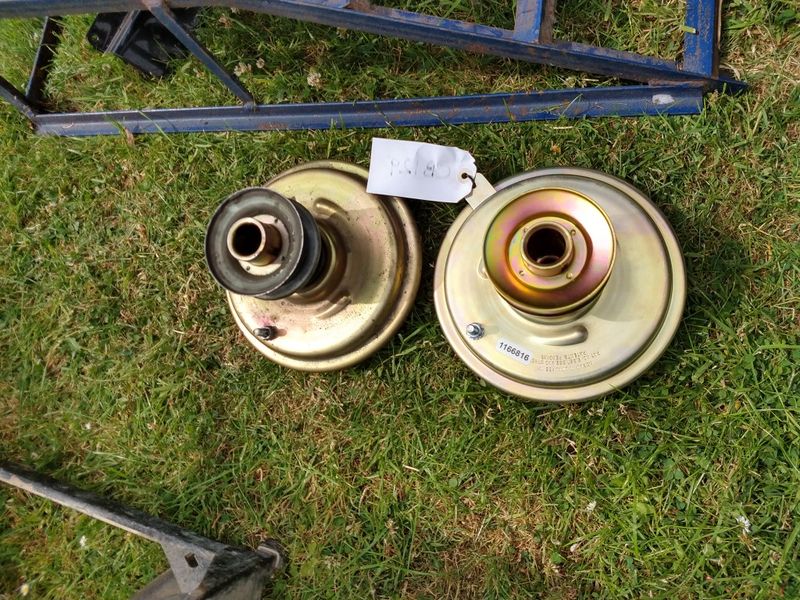
The clutch mechanism attaches directly to the output shaft of the B&S motor. It has a long spindle and two vee belt pulleys. The top smaller pulley is a fixed pulley that is used to propel the mower. The "hydrostatic" drive is basically a belt drive system where the main drive belt is fitted slackly round the motor and intermediate drive pulleys. It passes through a pair of idler pulleys, that rotate on a platform controlled by the accelerator. With the accelerator in the idle position the two tensioning wheels are almost inline, and the belt is able to slip. As you press the peddle, the idlers counter shit in position forcing the belt to follow a more serpentine path, pulling the drive belt ever tighter, reducing the amount of slip allowed.
The lower larger pulley features a clutch mechanism, and is used to provide a power take off to the cutting deck. A driver operated leaver will apply pressure to a control arm on the side of the clutch, via a spring. Pulling the arm to progressively engage the clutch.
Changing the clutch
Preparation
- Remove the rear grass collector bin, and remove the grass discharge tunnel.
- Drop the cutting deck to its lowest position, and disconnect the rear of the deck from the cable operated lifters.
- Raise the lift mechanism to full height.
- Shift the deck forward a little and disengage from the front hanger bracket.
- Slide the deck out to the side.
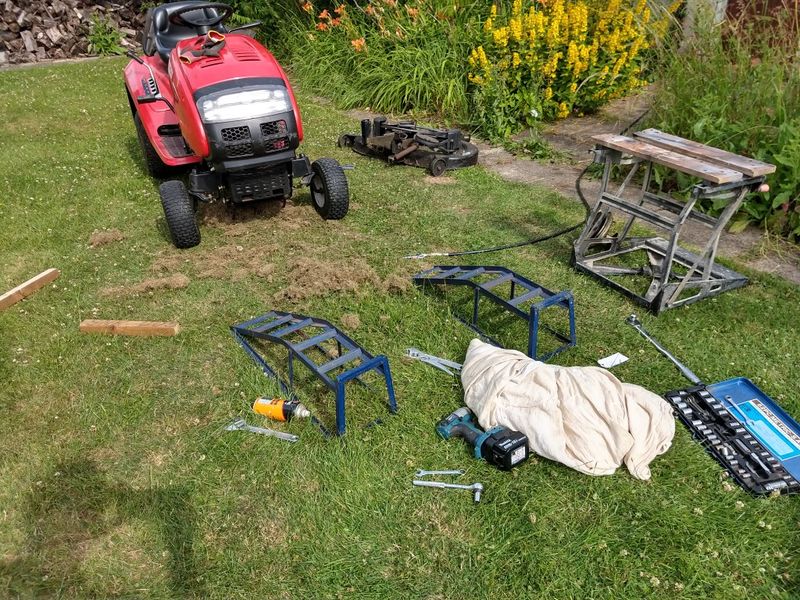
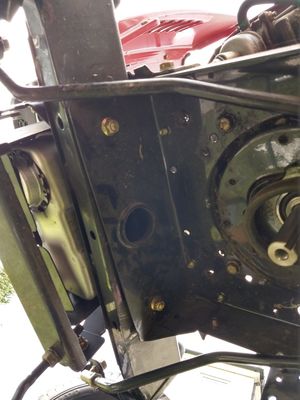
You now need access under the mower. I drove the front of mine onto a couple of car ramps:
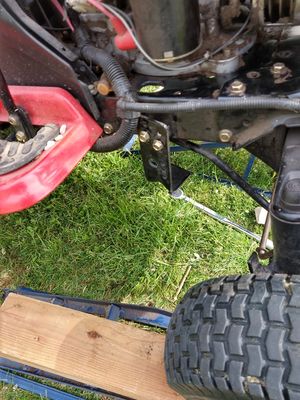
Once on the ramps, I manually lifted each wheel in turn and placed an off-cut of 4x4" fence post under the wheel to raise the height a bit further. (with the cutting deck removed, lifting one corner at a time is not too difficult. If you find it still too heavy, replace the collection bin on the back of the mower - this will lighten the front slightly since it is pushing down behind the rear axle).
Finally, place chocks around the back wheels so that it can't roll off the ramps
Removal
(These steps recounted here in the order I would have done them, had I have known what I knew by the end of the exercise!)
First loosen the L shaped bracket on the right hand side of the mower since this tends to partially trap the deck drive belt and will also prevent the clutch coming off the motor output shaft. Try to avoid dropping the nuts into the grass!
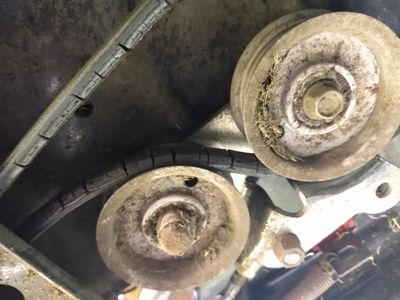
Under the chassis, above where the mower desk goes, you should see the pair of idler wheels that the main drive belt makes a serpentine path through. Lift the belt off these idlers and allow it to pass by one side of them . This will free a little more slack in the main drive belt.
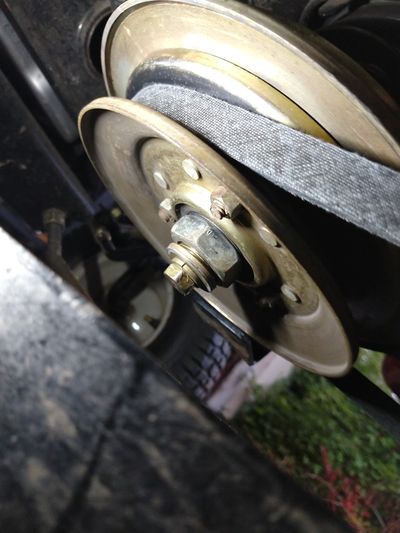
Now look at the under side of the clutch, and you will see two nuts:
The larger one turns with the clutch body, and the lower one is the end of a long bolt that screws into the motor output shaft. Hold the larger nut in a large spanner, and undo the smaller nut (anticlockwise). Note being a US designed mower, most of the nuts and bolts are imperial. The smaller nut may be very tight. I found that by putting a large adjustable spanner on the big nut, and allowing the handle to be restrained by the front deck bracket support arms, and using a long breaker bar on the smaller nut I was able to free it. (a preliminary squirt with some penetration oil spray is also worthwhile).
Remove the long bolt, and allow the clutch to slide down the motor shaft. It will be partially held in place by the main drive belt. You need to get the (now slackened) drive belt off the top pulley before the clutch will come free completely.
Once the clutch slides right off the shaft, it will now only be attached via its control arm to the blade clutch actuation leaver.
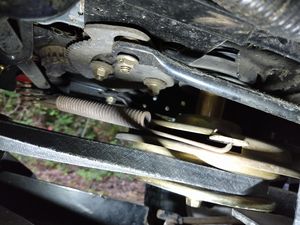
Un-hook the end of the spring from the clutch arm.
(I bought my replacement part here)
Reassembly
Reassembly is now just the reverse of the above:
Connect the new clutch to the actuator control spring (the open loop of the spring being at the top when refitted).
Slide the clutch mechanism back onto the motor shaft. Note that there is a "bump" on the inside of the hole through the clutch that you will need to align with the key way on the motor shaft.
Pull the drive belt over the top pulley, and keep it tucked inside the guide arms that surround it/
There is a bolt that protrudes up from the clutch body, This needs to locate into a hole in a L bracket that us bolted to the underside of the chassis just in front of the motor. The bolt is not actually retained in this hole in any way - just passing through it, traps the body and prevents it from rotating.
Refit the bolt.
Re-tighten the bracket on the side of the mower.
Finally drop the mower back on the ground, refit the cutting deck, the discharge tunnel, and the grass collection
Job done. Hopefully the blades should now engage and spin properly
