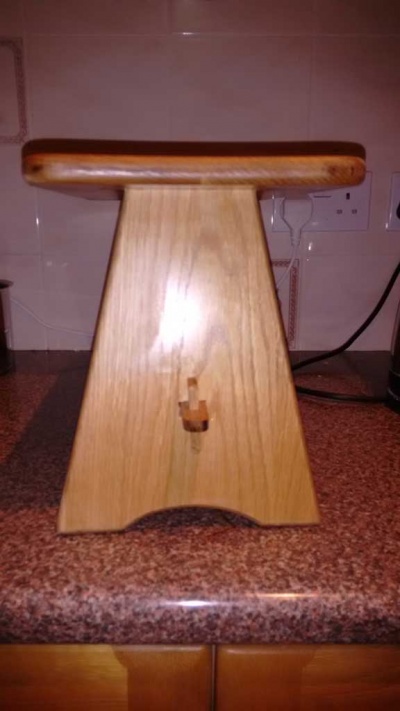
Traditional wooden stepping stool
Introduction
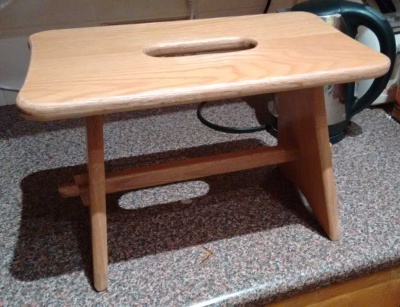
This article shows the design and construction of a simple trestle style step stool. Handy anywhere you need a small portable step for a bit of extra reach or somewhere to sit when working on something close to the floor.
Materials
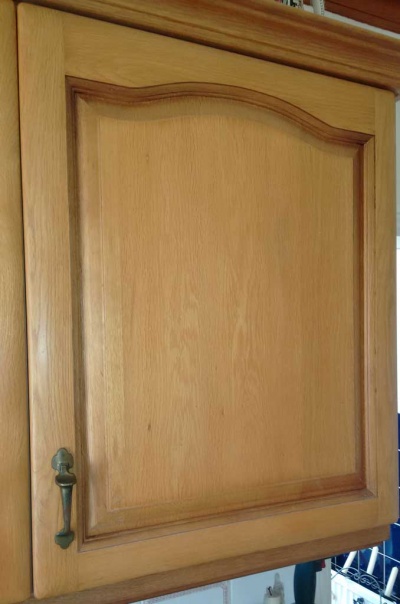
The source material for this project was a spare kitchen cabinet door. The main panel of which was made from white oak approx 15mm thick.
Tools
You can make the whole thing with basic hand tools, although I used a router for cutting the mortices.
Design
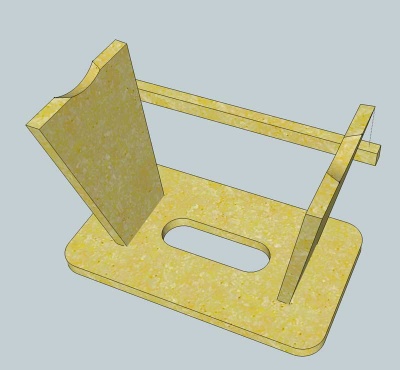
The design was created originally sketched out by hand, and made up on the fly. What you see here is a after the fact model made in sketchup. The stool needs to be strong and stable. The strength comes from the splayed legs and the stretcher design with pegs. These ensure that as the load increases on the stool it just translates into tension in the stretcher. Any racking motion of the stool will tend to allow the pegs at the stretcher ends to pull tighter into the holes.
Preparation / cutting
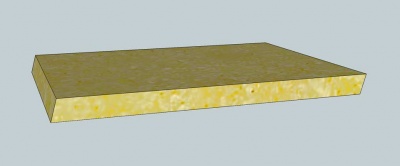
How my raw material started:
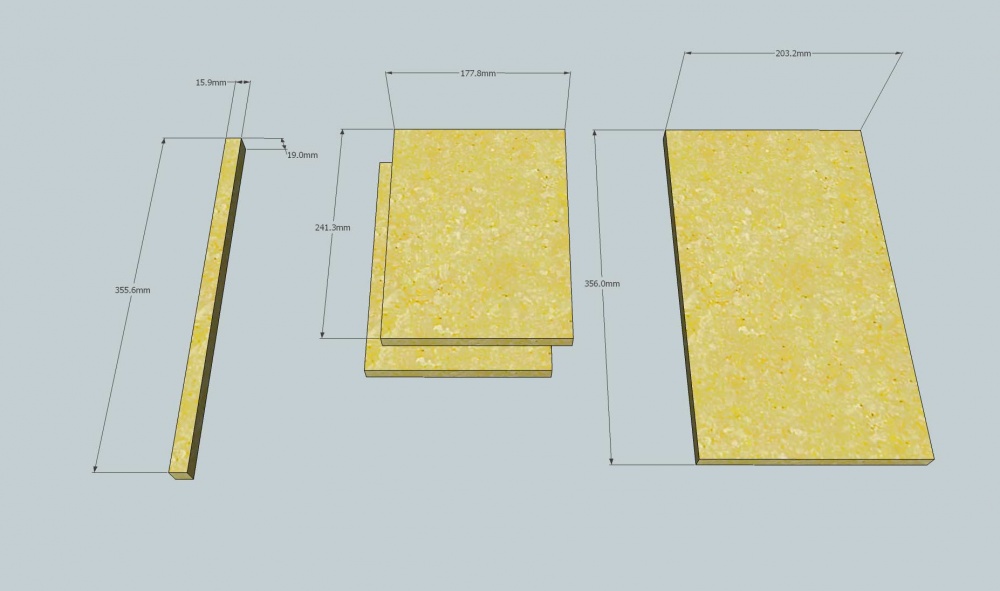
For the main step you will need a 14" x 7" platform, two smaller sections for the legs and a length to use for the stretcher. See the diagram for dimensions:
These can all be precut.
Construction
Stage 1 - the step
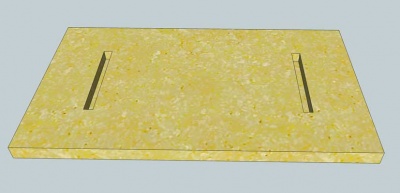
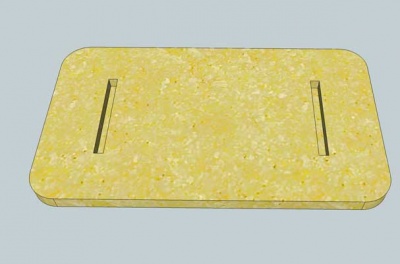
Using a router or a chisel cut a pair of 7/16th" / 10mm wide mortices about 1/2" deep, and about 2 1/2" in from each side. Each mortice needs to be about 100mm or 4" long. These will be used to firmly restrain the tops of the legs.
Next I rounded off the corners:
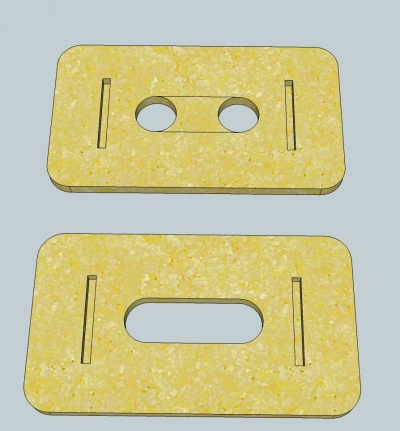
Next cut the carry hole. To do this I drilled a pair of 1.25" holes with a forstner bit on the pillar drill. I then marked lines to join up the holes at their widest points, and then connected the holes using a jigsaw, before sanding the edges smooth.
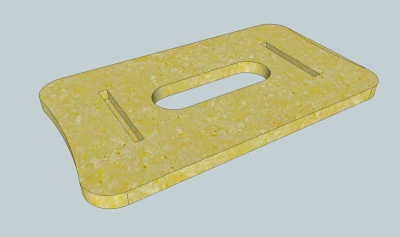
The next stage was to cut a very slight scallop into the narrow ends of the top.
Finally I rounded off all the edges with a 1/4" round over bit in a router.
Stage 2 - legs
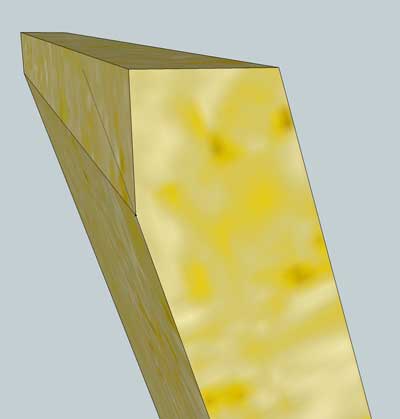
The legs are slightly more tricky to make since they involve a few angled cuts. The first required cut to the ends of the legs needs to be at an angle to match their "splay" so that the bottom of the leg will sit flat on the ground. I used around 12 degrees here. I cut the angles by tilting the blade on my table saw.
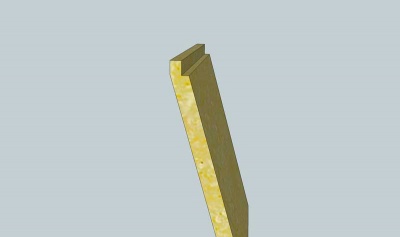
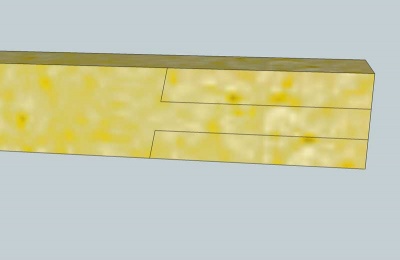
We now need to form what will become the tenon at the top of the leg (its easier to do this now while the leg is still rectangular). First cut the leg angle onto the inside of the tenon:
I did this by riding the leg along an tall fence on the table saw with the blade tilted again.
Next we need to cut the other cheek of the tenon in the same way. You may need several passes with a normal blade to get a neat shoulder:
I made a number of passes to "sneak up" on the final width required - test fitting the corner of the tenon into the mortice after each cut.
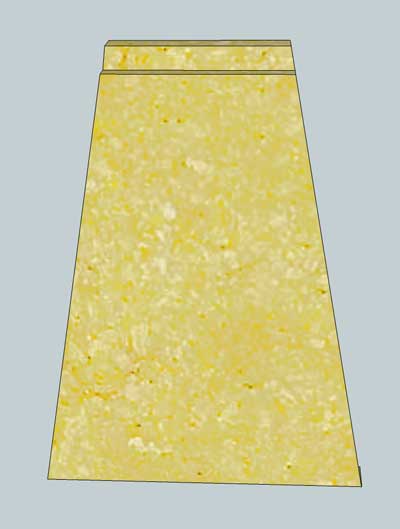
Now we can cut the taper onto the leg. This should flow from the full width at the base, to around 100mm at the top to match the mortice length.
You can cut the taper either with a taper jig if you have one, or as I did, using the mitre gauge in the saw's mitre slot.
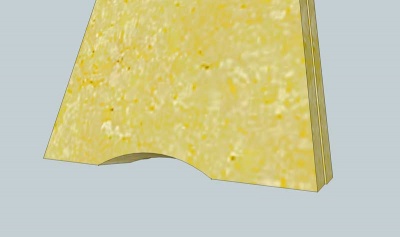
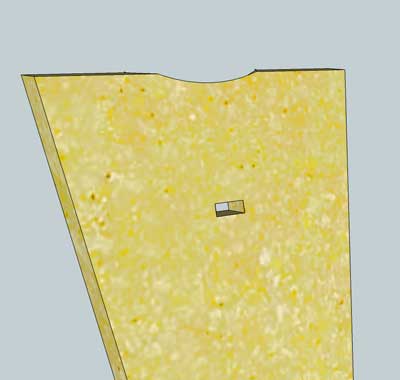
I marked out the scallop on one leg with a flexi curve, and then temporarily stuck the two legs together with a dab of hot glue (taking care to align the ends so they were flush at the bottom of the leg). Then cut both together on the bandsaw (jigsaw or fretsaw would also be fine). To make the scallop look neater you can tilt the saw table to the same angle as the leg - that way the curved top is horizontal, even though the leg itself is not quite vertical.
The last main operation is to cut the mortice for the stretcher. Take care as this needs to be horizontal when the leg is in its splayed position. I started by drilling a couple of holes at the required height (about 3" up from the floor) and required angle, then squared the result up with a small chisel:
Once that was done, I used the router and roundover bit to soften all the visible outside edges.
Stage 3 - the stretcher
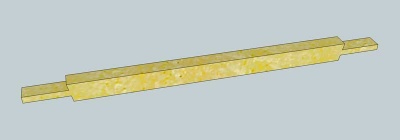
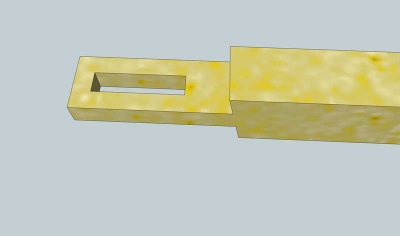
The stretcher is basically a posh stick with a mortice through the side of a tenon on each end:
Before cutting the stretcher, do a test fit of the legs, so that you can offer up the stretcher to the required height, and mark the shoulder position for the main tenon each end:
The cut the cheeks to match you angle:
(I did this on the table saw with the blade tilted. I used repeated cuts to waste away the remainder of the wood, before cleaning up the cheeks of the tenon with a scraper to remove the saw marks.
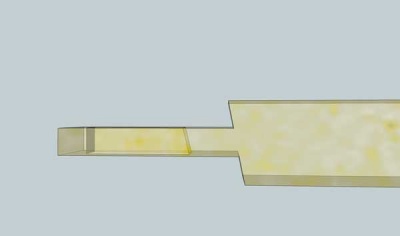
The final stage is to do the mortice through the tenon:
The inner edge of this either needs to be cut far enough back to be inside the leg, or at an angle to that the peg will enagage fully with the flat of the leg and not catch on the corner of the mortice:
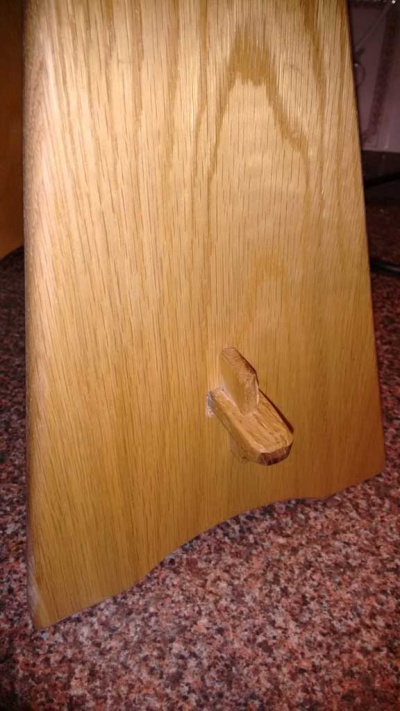
Finally cut some tapered pegs to match the thickness of the mortice.
Assembly
Assembly is straight forward - just remember to put the stretcher in place before you glue the legs to the stool!
Once the glue on the legs is dry, drive the tapered pegs into the stretcher ends.
Finishing
To finish the oak, I wiped over a couple of coats of Liberon finishing oil. This leaves a low satin finish that is easy to renew and top up as it wears.
