Difference between revisions of "BBQ fire tray upgrade"
(wip) |
m (wip - add images) |
||
| Line 10: | Line 10: | ||
I chopped that out with the metal cutting blade in the circular saw. I then marked out where the folds needed to go. Since I don't have a sheet metal brake (another project perhaps!) I needed to find a way to do a neat bend. So I scored the fold lines with a thin kerf slitting disk on the angle grinder, clamped it the the edge of the workbench, and worked my way along the edge with a bending bar (basically a length of angle iron with a notch cut in one end and a couple of stubs of rebar welded to it). This can be hooked over the edge and some bend applied. | I chopped that out with the metal cutting blade in the circular saw. I then marked out where the folds needed to go. Since I don't have a sheet metal brake (another project perhaps!) I needed to find a way to do a neat bend. So I scored the fold lines with a thin kerf slitting disk on the angle grinder, clamped it the the edge of the workbench, and worked my way along the edge with a bending bar (basically a length of angle iron with a notch cut in one end and a couple of stubs of rebar welded to it). This can be hooked over the edge and some bend applied. | ||
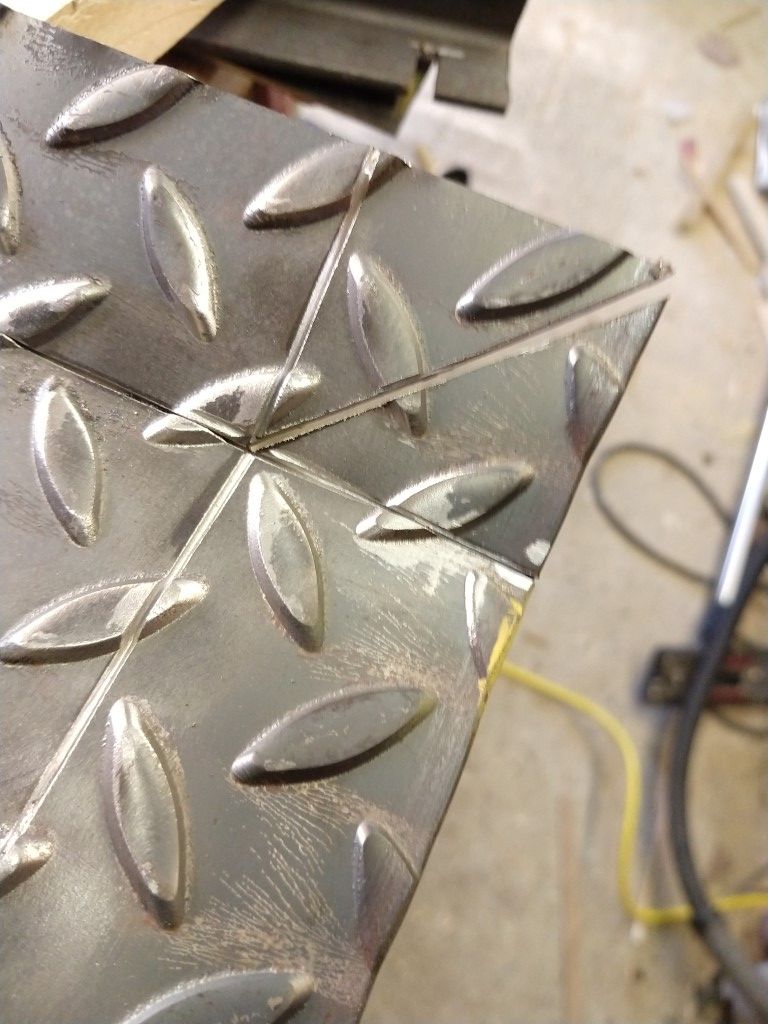
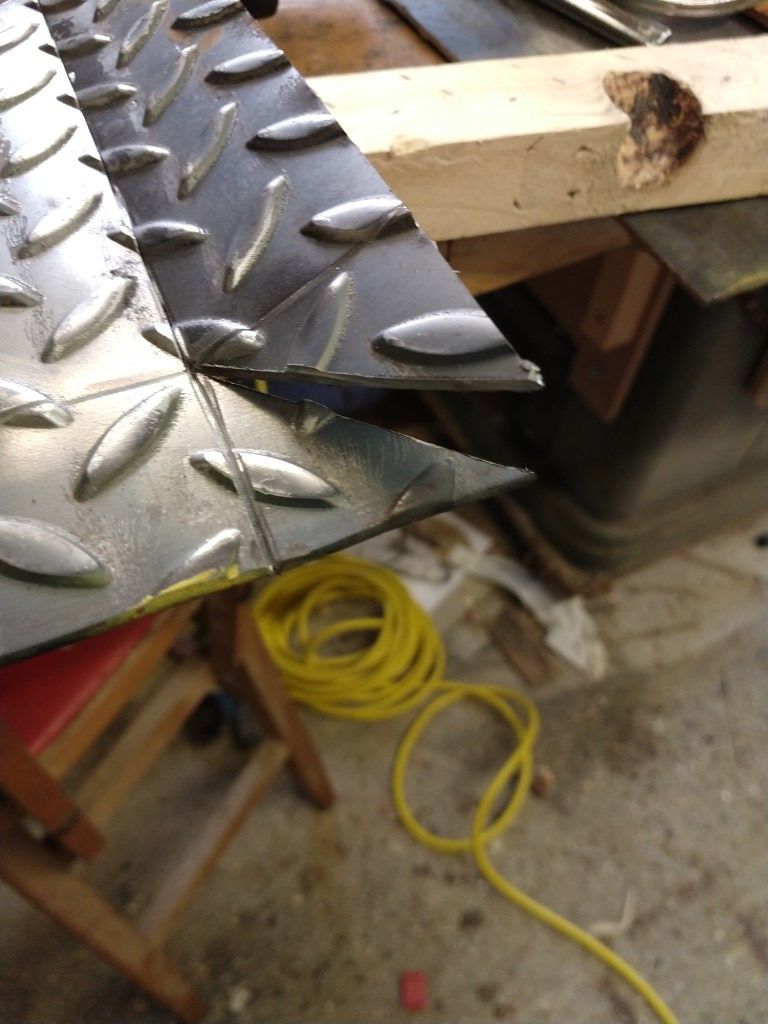
| + | Having bent a side I then cut a mitre at the corner, so that I could then bend the adjacent edge. Since once folded the corner will not be a true 45, that needed a little tweaking. The easiest way was to bring the edges nearly together (they overlap slightly) and just run the angle grinder disk up the join. | ||
| + | |||
| + | Next job was to weld up the surface cuts where the bend was made. Then I cut some lengths of 20x5mm flat bar, clamped that to the underside edge, and tacked that on. When I was happy with the placement, I then did a full corner weld along the edges, making sure to add enough weld metal to leave scope for some aggressive rounding over. | ||
| + | |||
| + | Final job was to set about it with a 40 grit flap disk and make it all look smooth and pretty. | ||
| + | |||
| + | [[File:BBQTrayCompletedBending.jpg]] | ||
| + | [[File:BBQTrayScoresWelded.jpg]] | ||
| + | [[File:BBQTrayComplete.jpg]] | ||
| + | [[File:BBQTrayMarkUp.jpg]] | ||
| + | [[File:BBQTrayClamped on edge.jpg]] | ||
| + | [[File:BBQTrayClamped.jpg]] | ||
| + | [[File:BBQTrayBendingWithBar.jpg]] | ||
| + | [[File:BBQTrayEdgeBent.jpg]] | ||
| + | [[File:BBQTraySurfaceScored.jpg]] | ||
| + | [[File:BBQTrayEdgeCorner.jpg]] | ||
Revision as of 23:47, 24 September 2023
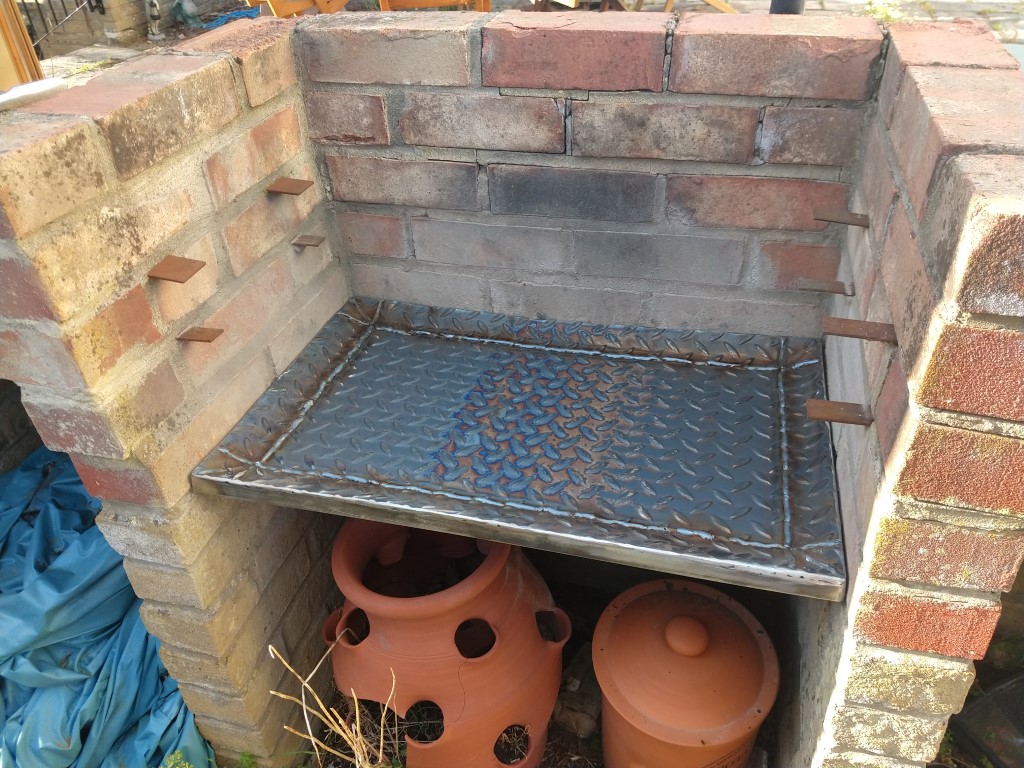
We have this brick built BBQ, a simple arrangement with brick side walls and a back, and a couple of side supports that sport a paving slab work surface. The walls have some projecting tabs onto which you can install a standard BBQ kit, with a fire tray, and grill wires etc. Having recently had the second or possibly third of these flimsy things fail due to the fire tray being made of what seems like folded tin foil - tin foil that rusts through after about the third use, I though it was time to over build a more industrial solution, just in time for Autumn.
I had some spare 3mm mild steel checker plate left over, so this what I did with it...
Design
The plan was "simple" - mostly flat sheet with the edges turned up a bit to add some stiffness, and also to stop the coals leaning against the brickwork or falling off the edge, then a lip round the under side of the tray for extra stiffness and hopefully to stop it warping from the heat.
Fabrication
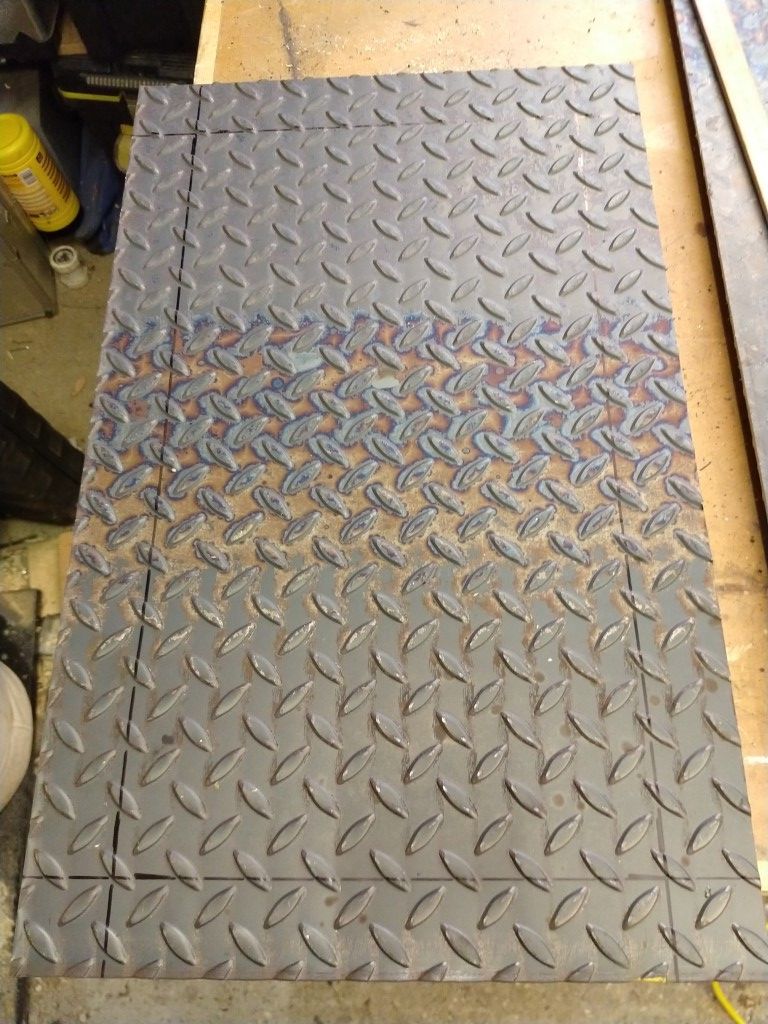
I measured the gap, and worked out the finished size. Then got all mathematical on it and worked out how much extra material I would need to a 50mm perimeter that bent up 25mm at the edges. (about 12mm extra apparently).
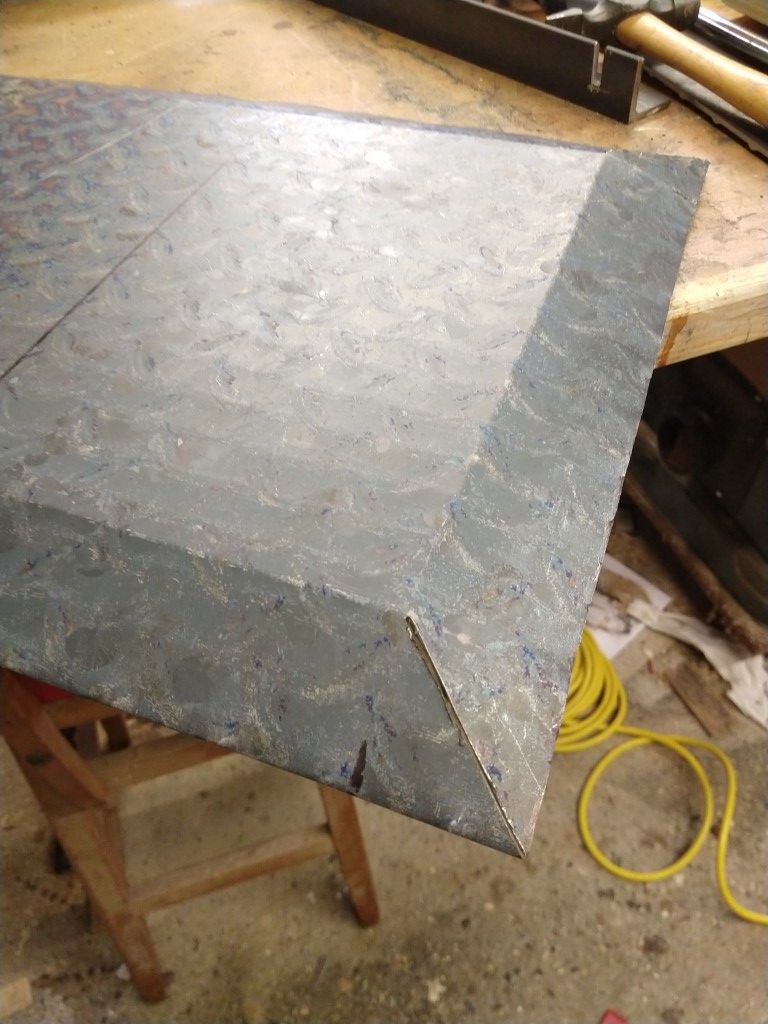
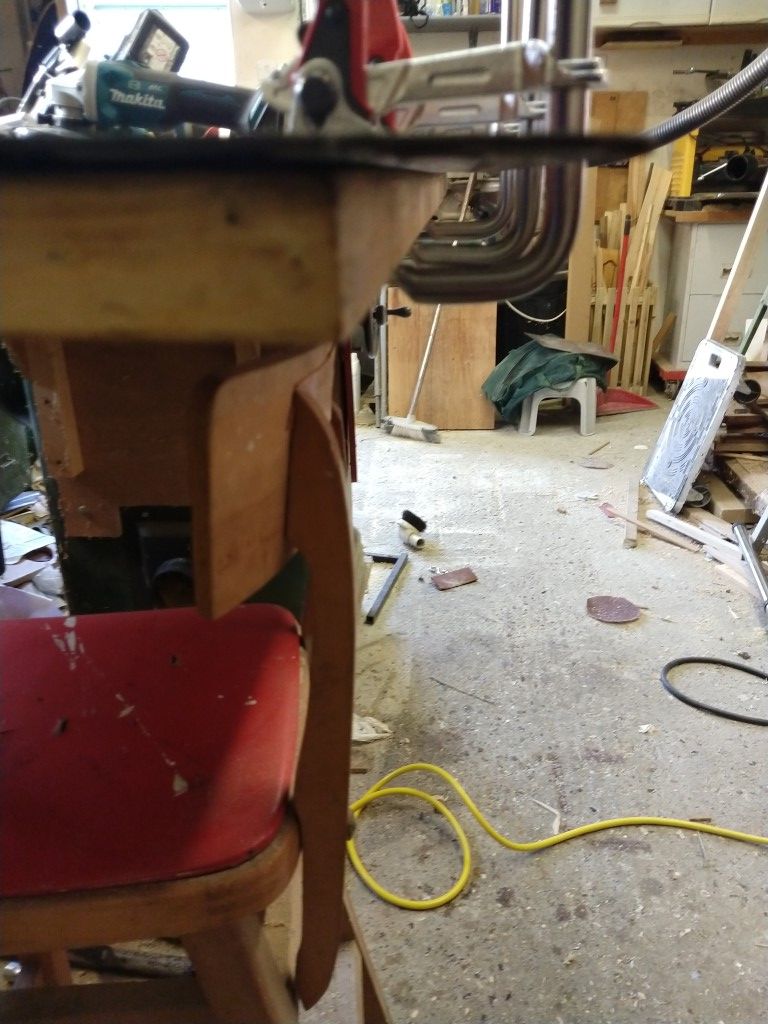
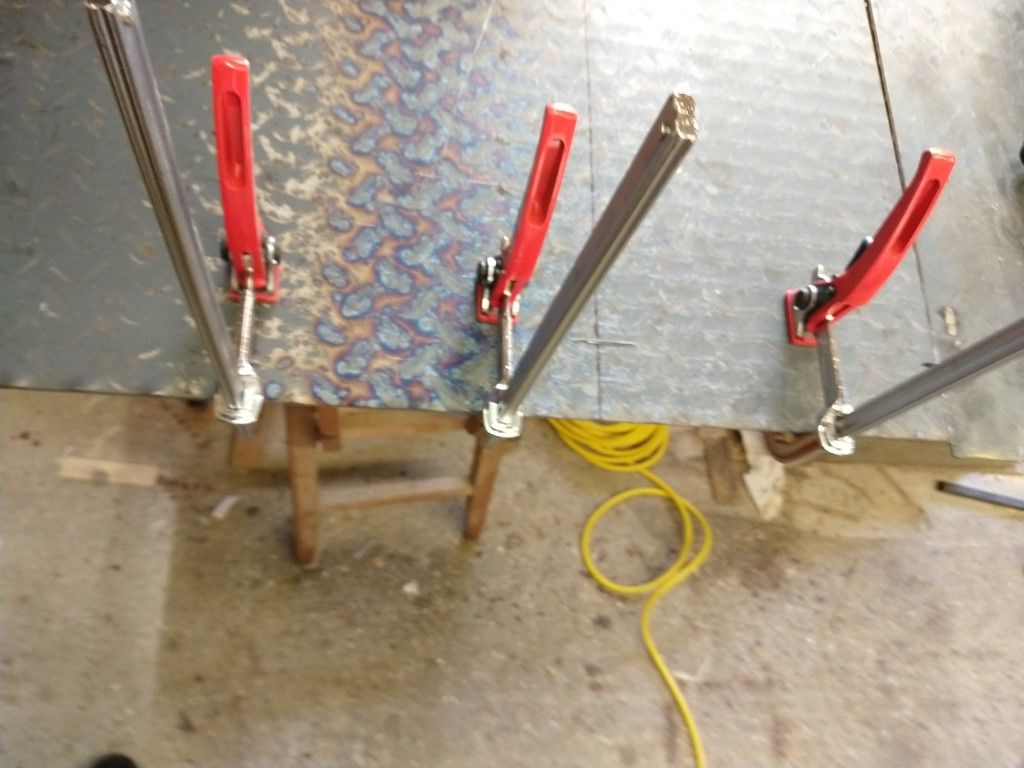
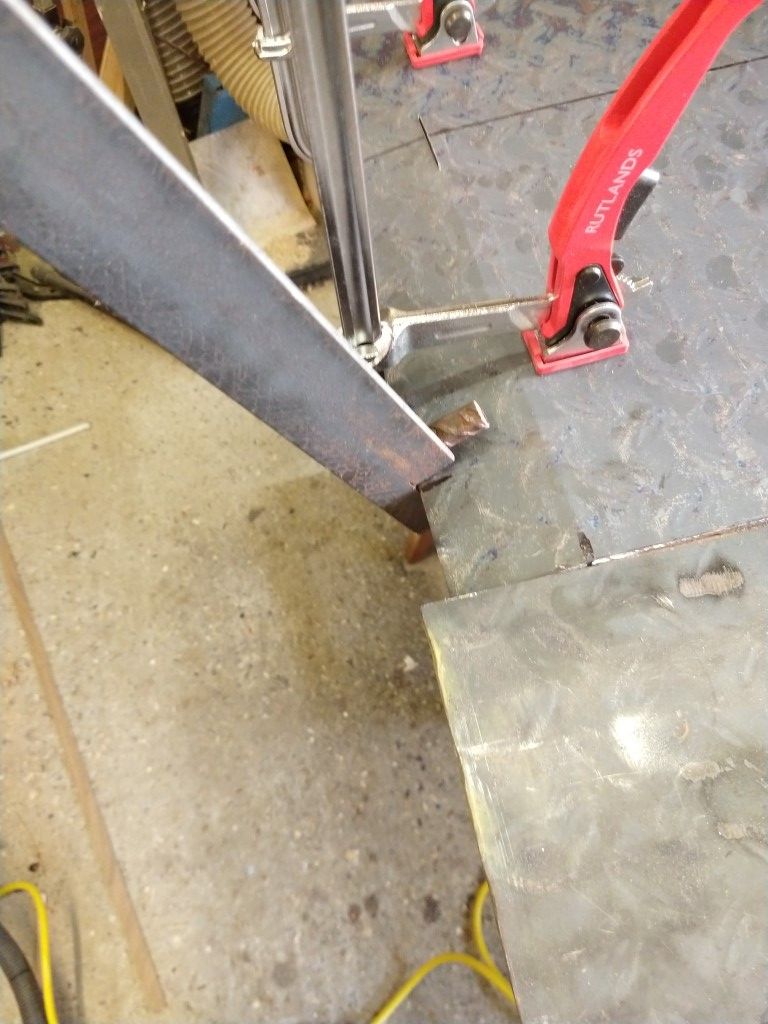
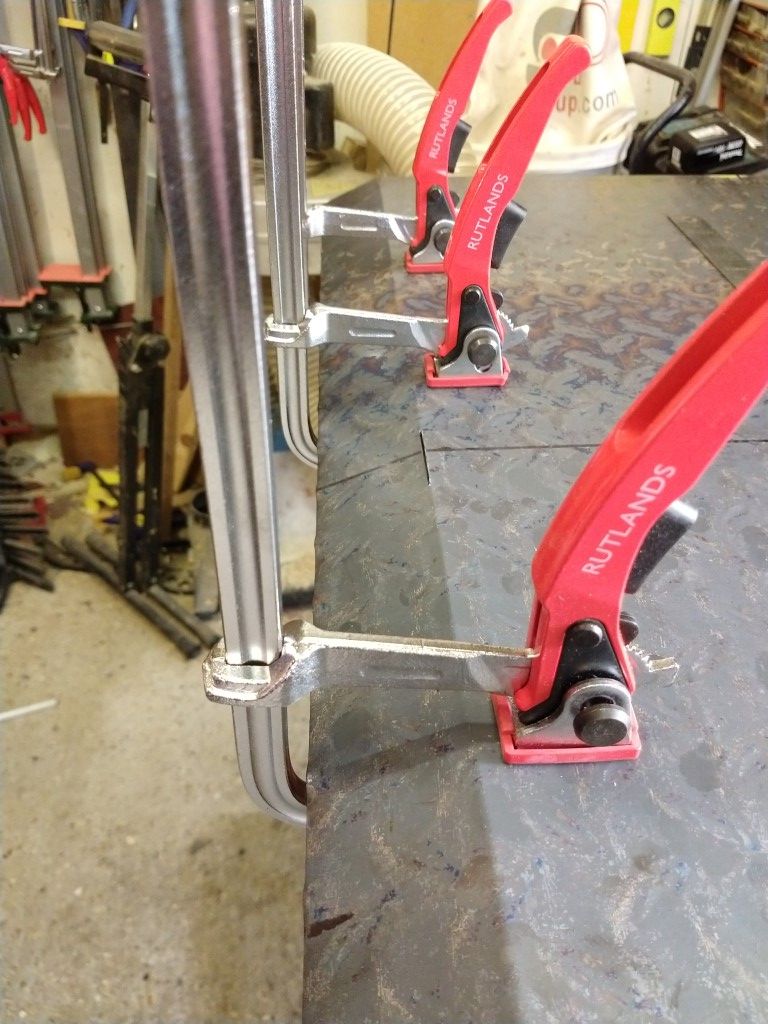
I chopped that out with the metal cutting blade in the circular saw. I then marked out where the folds needed to go. Since I don't have a sheet metal brake (another project perhaps!) I needed to find a way to do a neat bend. So I scored the fold lines with a thin kerf slitting disk on the angle grinder, clamped it the the edge of the workbench, and worked my way along the edge with a bending bar (basically a length of angle iron with a notch cut in one end and a couple of stubs of rebar welded to it). This can be hooked over the edge and some bend applied. Having bent a side I then cut a mitre at the corner, so that I could then bend the adjacent edge. Since once folded the corner will not be a true 45, that needed a little tweaking. The easiest way was to bring the edges nearly together (they overlap slightly) and just run the angle grinder disk up the join.
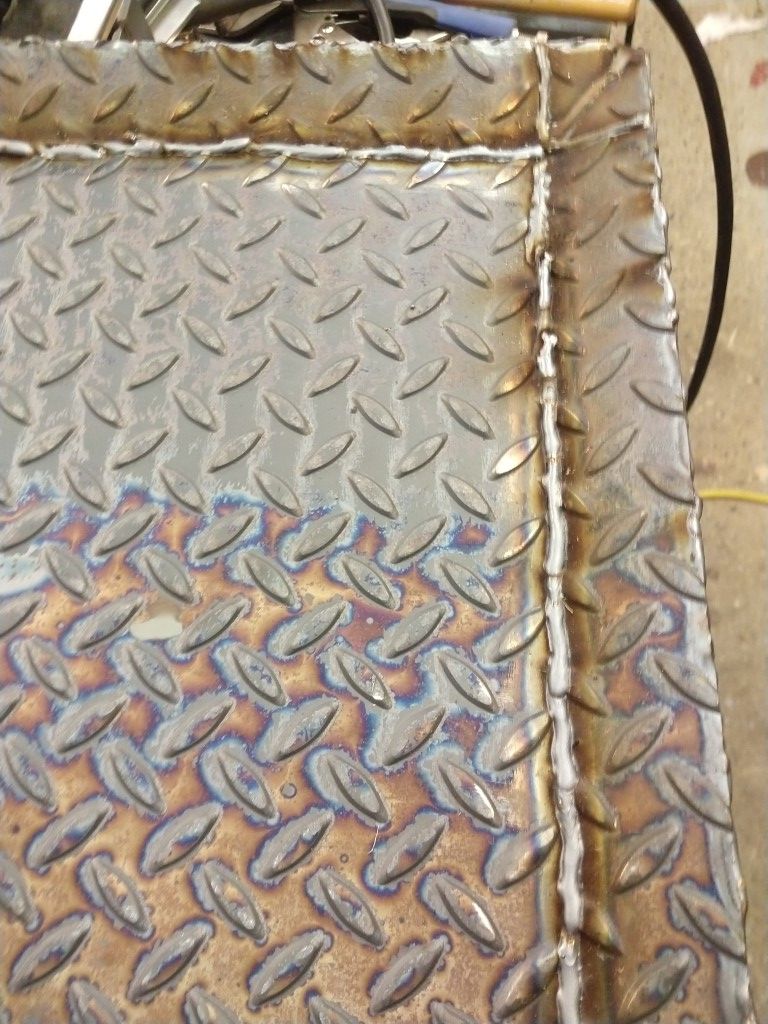
Next job was to weld up the surface cuts where the bend was made. Then I cut some lengths of 20x5mm flat bar, clamped that to the underside edge, and tacked that on. When I was happy with the placement, I then did a full corner weld along the edges, making sure to add enough weld metal to leave scope for some aggressive rounding over.
Final job was to set about it with a 40 grit flap disk and make it all look smooth and pretty.
