Home made timber
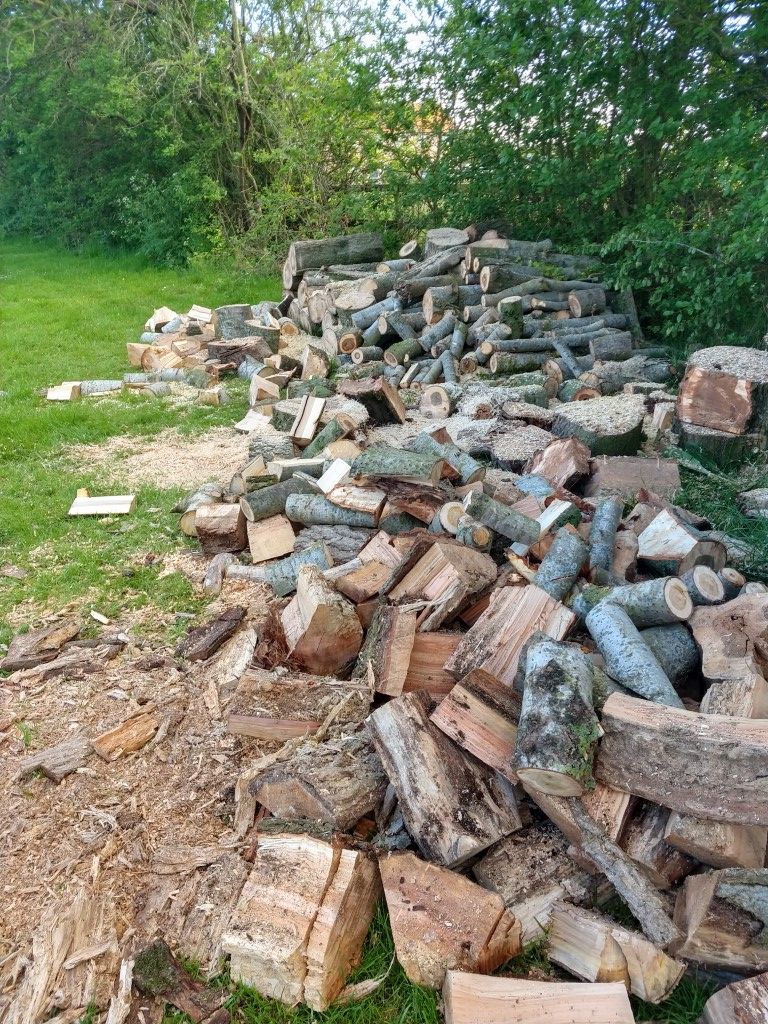
There was this large pile of bits of tree, the result of having three mature poplars (one White, two Vertiginous) felled. We also had a rotting weeping willow that was about to fall over, so set about that with the chainsaw and added it to the pile. So having turned much of the smaller (and larger but awkward shaped bits) into firewood, I was left with a number of trunk sections about 5 to 6' long, and mostly 12" diameter or larger. I thought it might be fun to try making some planks out of them. This is that story.
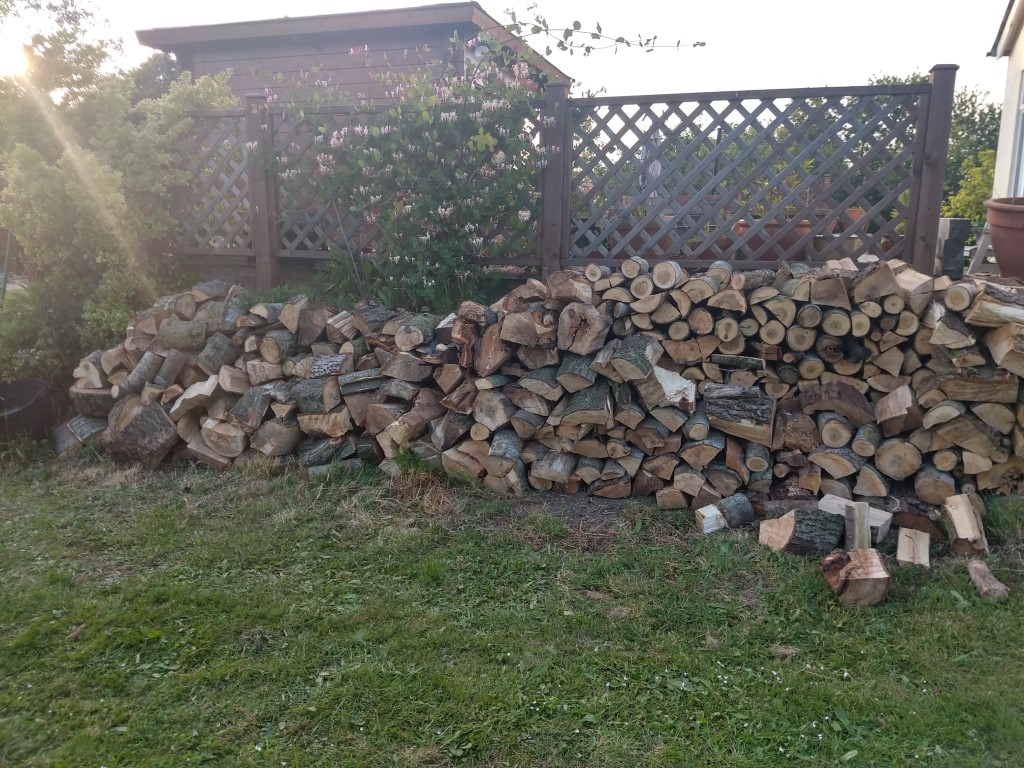
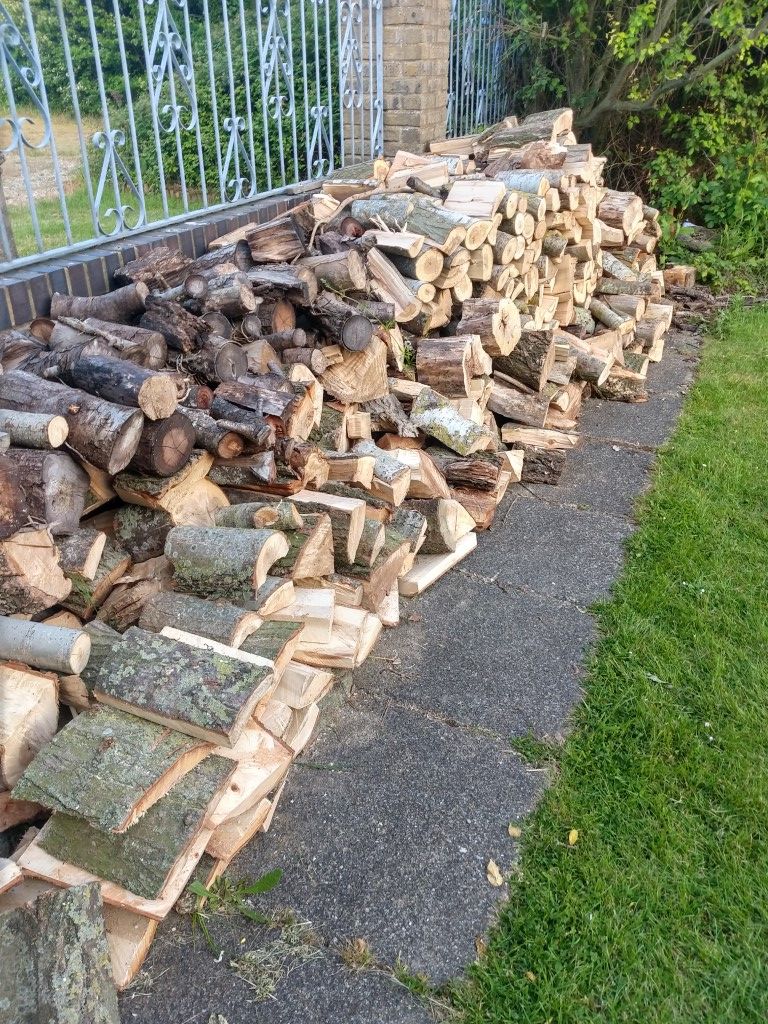
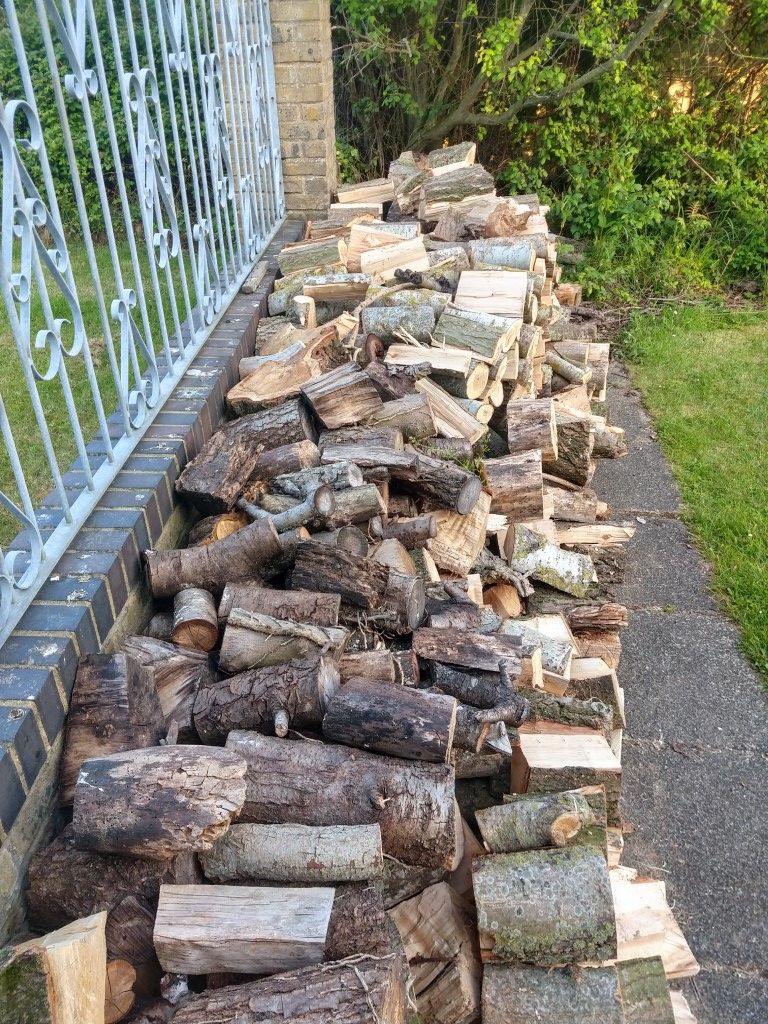
So the smaller stuff was logged, and split, and stacked everywhere! Unless we have an episode of boiler failure again like last year, it is probably many years worth of log supply.
That left the bits that looked like they might one day turn into supply of home grown timber.
Many years ago I bought a contraption called a Beam Machine. This is just a basic jig (calling it a sawmill seems to be over selling it a bit!) that clamps onto the bar of a chainsaw, and allows you to ride along a length of 4"x2" that you have fixed to a log. I had not used it, but this seemed like a good time to try it.
Its is a Canadian design, so perhaps unsurprisingly it is designed to fit CLS (Canadian Lumber Standard) 4"x2", and not the slightly larger stuff one often finds in the uk. (CLS is lightly planed, and the corners rounded off to make it safer and more comfortable to handle). Fortunately I had a 8' length of tannalised 4"x2" CLS going spare. It turned out to be a slightly tight fit, so I still need to plane it slightly on one side to allow the beam machine to fit it snugly but also slide on it freely.
The Beam Machine
This is a fairly basic "saw mill" - a section of ~4" wide channel to sit over the top of a 4"x2", a pivot point, and a bracket that clamps onto the bar of a chainsaw with a couple of square head bolts. It is supposed to hold the bar at a consistent right angle to the timber guide beam. In reality the manufacturing tolerance is such that the right angle bit is not that precise, but you can get fairly consistent results with a bit of practice.
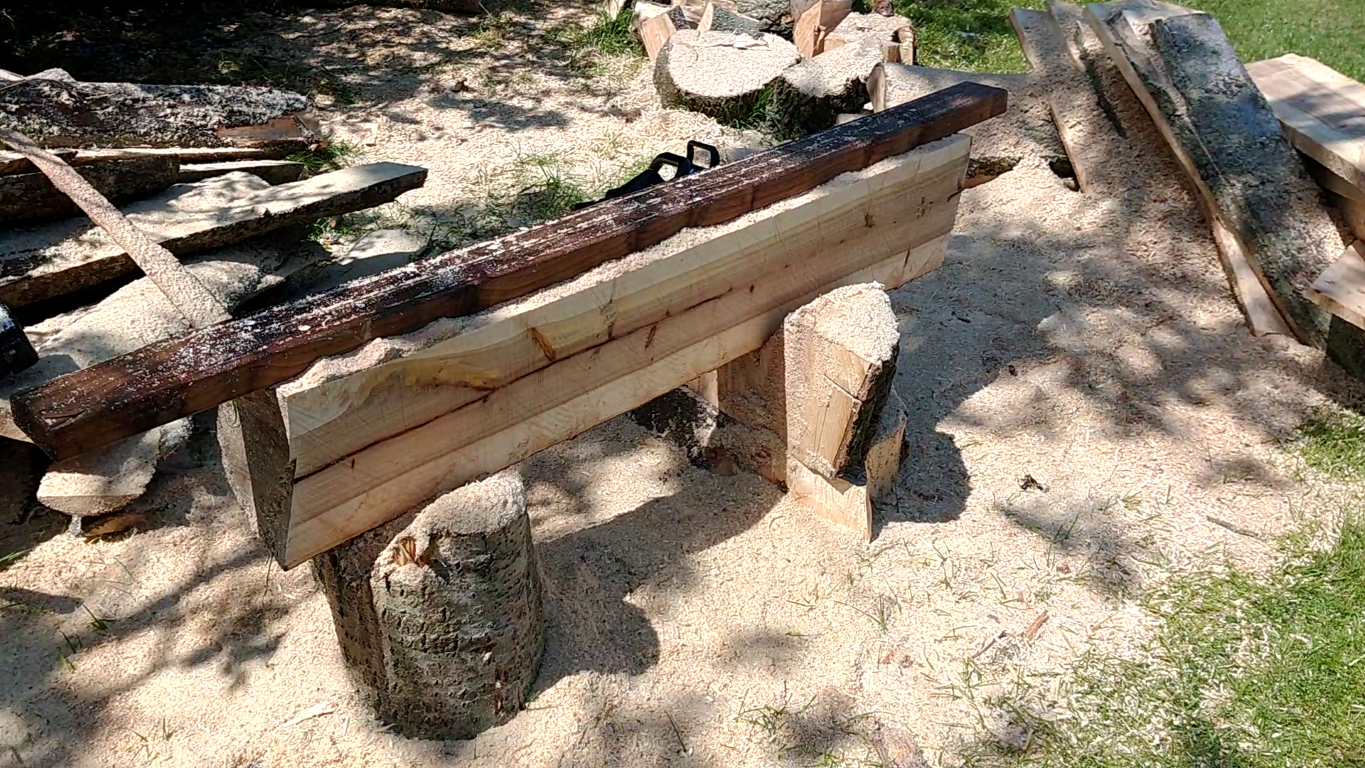
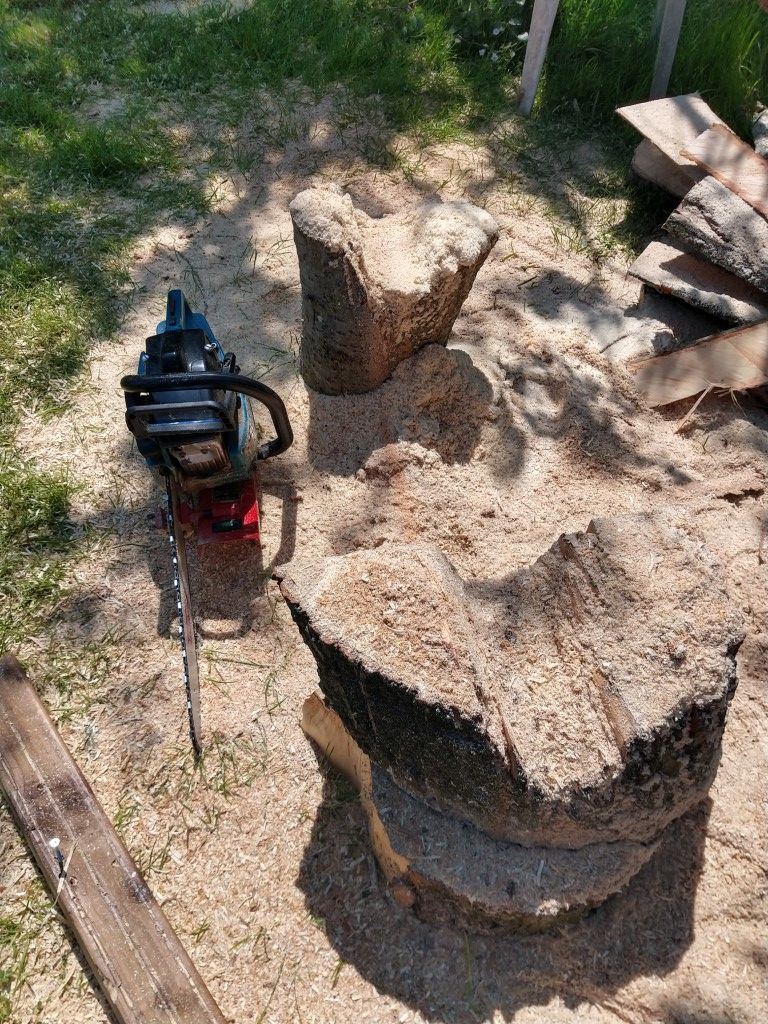
In use you screw the guide timber to the top of the log. Slap the saw on the guide, and then pivot it down into the log. Sliding along a bit after each pivot. You need to prop the log up off the ground so that you don't plunge the nose of the saw into the ground (or worse, your toes!). There are some dog teeth on the channel to help grip the guide beam and stop the reaction to the saw cut sliding the jig back along the guide.
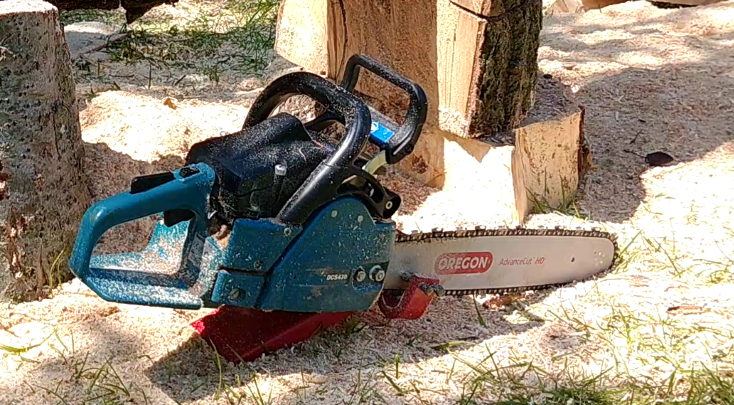
Rip cutting (i.e. with the grain rather than across the grain) wet timber is very much slower than cross cutting. You will need a chain bar long enough to get through the full thickness of the log (plus a 2" extra for the guide rail), and a saw with enough power to not bog down in the cut. I found my 45cc Makita (a badged Dolmar in reality) could just about cope. I put a longer 18" bar on it to replace the 15" it came with (the DCS 430 was available in 15, 16, and 18" versions from new). I tried some experiments, and found the rip cuts were quite slow. So I bought a proper ripping chain (these have teeth filed at a much shallower angle to the bar - typically 10° rather than the 30° commonly found on cross cut general purpose chains). This performed significantly better. It is worth noting that cut speed is much faster when cutting at an angle to the timber than when at right angles to the end grain - hence not plunging the saw more than necessary to get through the log gives the fastest cut.
With some practice I found I could slice off a 5 to 6' plank in less than a minute typically. I found I spent more time positioning the log, and screwing and unscrewing the guide bar to it than actually cutting. Have a stash of spare screws to hand, and swap any that show signs of head wear (it is much easier than fighting to get out a screw that can no longer be driven by the screwdriver bit!).
Planks
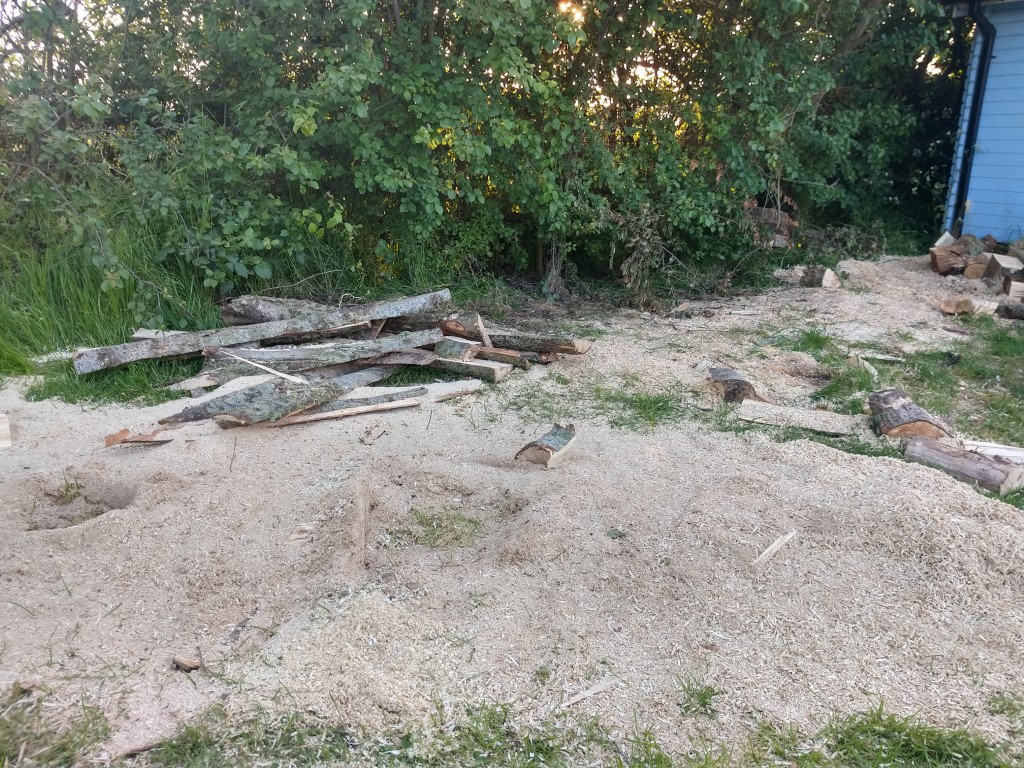
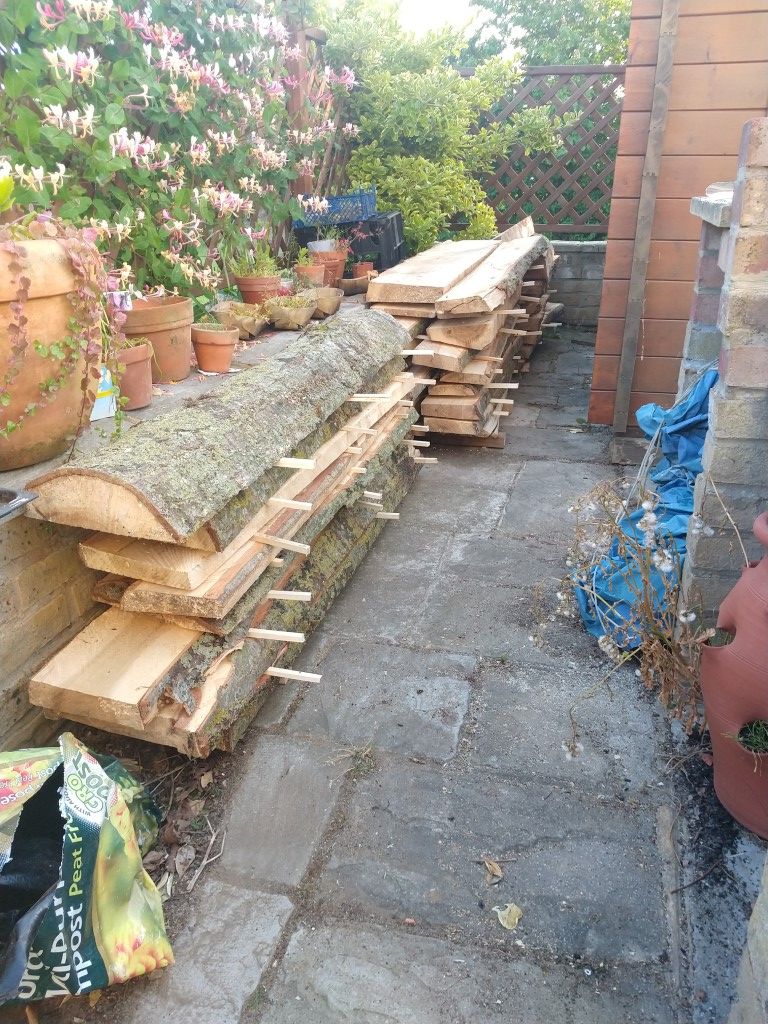
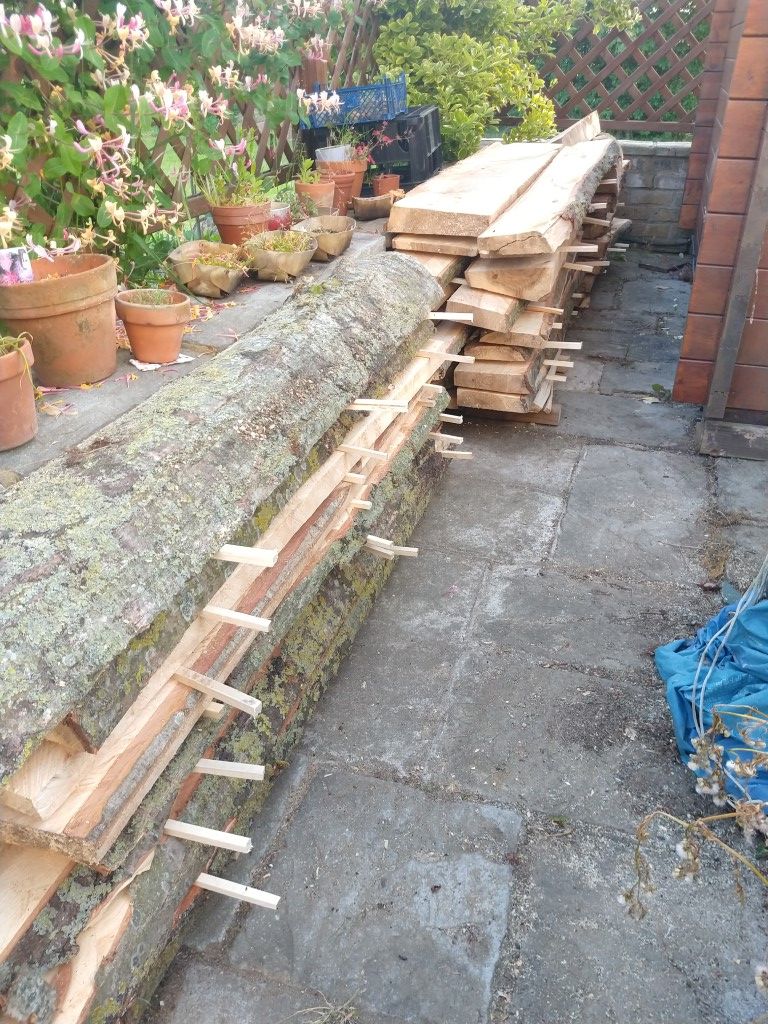
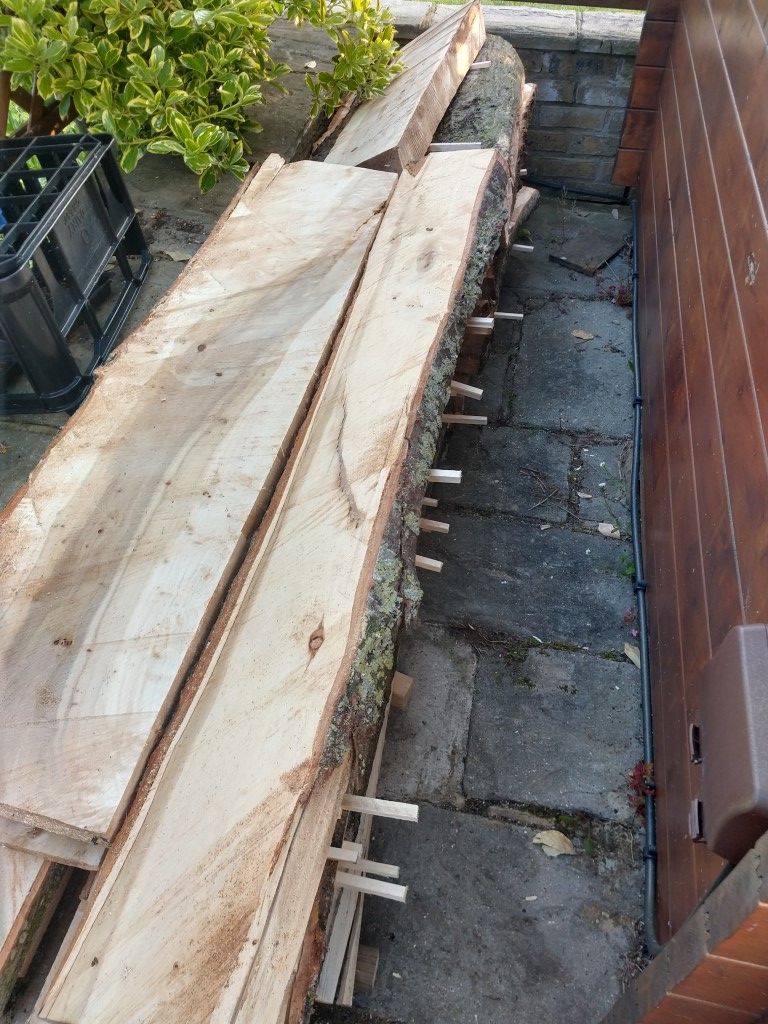
After several sessions cutting I had a nice pile of planks (and a sea of sawdust). I cut a variety of different thickness planks ranging from around 1" sawn to 3". I was erring slightly on the thicker side since I can always cut it down later, and a bit more thickness will allow for more aggressive planing should they cup or twist while drying.
So the next job was to find an out of the way place to stack them. To help them air dry better I used some of the offcuts to cut some stacking strips on the table saw. These are inserted between each plank in the stack to allow air to circulate.
Now all I need do it wait a while (typically 1 year per inch of thickness!) before I can do anything useful with my planks. So watch this space!
