Difference between revisions of "The never ending patio rebuild"
(More wip) |
|||
| Line 161: | Line 161: | ||
==Rejoining the wall== | ==Rejoining the wall== | ||
Now the wall was upright, I needed a way of keeping it that way. The first job was to pin it to the returning wall that flanked some steps down from the patio. I drilled through with a long 14mm SDS bit. Then pumped some bonding resin into the holes and tapped some 12mm rod home into the resin. Once this had set (about 15 mins in the summer heat!) | Now the wall was upright, I needed a way of keeping it that way. The first job was to pin it to the returning wall that flanked some steps down from the patio. I drilled through with a long 14mm SDS bit. Then pumped some bonding resin into the holes and tapped some 12mm rod home into the resin. Once this had set (about 15 mins in the summer heat!) | ||
| + | |||
| + | [[image:PPPinningWallBackTogether.jpg|512px]] | ||
I made up a load spreading plate from some more flat bar, and fixed that on the ends of the studs: | I made up a load spreading plate from some more flat bar, and fixed that on the ends of the studs: | ||
| Line 193: | Line 195: | ||
For change of pace I decided to get some of the new trellis in place. | For change of pace I decided to get some of the new trellis in place. | ||
| + | So that meant digging some fence post holes: | ||
| − | |||
| + | One was over a section of drain, so I had to mount that in a shoe bolted to a concrete paf: | ||
| + | [[image:PPSettingPostPlumb.jpg|512px]] | ||
| + | Having the wall close was handy since I could use some clamps and scraps of wood to hold the post plumb when fixing. (the post base being levelled on bonding resin). | ||
| + | Of course it did not take long to realise that it would be much easier to fix the last cracks in the wall '''before''' the fence posts were in place. So some more work with the brick removal chisel: | ||
| + | [[image:PPRepointingCrackedSections.jpg|512px]] | ||
| − | + | and a bit at the other end: | |
| − | [[image: | + | |
| + | [[image:PPRepointedEndSection.jpg|512px]] | ||
| + | So finally with the post in place: | ||
| − | |||
| − | |||
[[image:PPRepointedBehindPost.jpg|512px]] | [[image:PPRepointedBehindPost.jpg|512px]] | ||
| + | |||
| + | So that is most of that wall done - save for relaying the slabs on the patio, and redoing the capping stones, | ||
| + | |||
| + | [[image:PPFirstTrellisUp.jpg|512px]] | ||
| + | |||
| + | Oh, and a bit of tarting up of the cracks on the inside: | ||
| + | |||
| + | [[image:PpCornerCosmeticRepoint2.jpg|512px]] | ||
| + | |||
| + | [[image:PpCornerCosmeticRepoint.jpg|512px]] | ||
| + | |||
| + | ==The final wall== | ||
| + | So with that done, I was hoping it was going to be a bit less hassle (spot a theme emerging here yet?). First job was to get choppy with the chainsaw and knock down that hedge: | ||
| + | |||
| + | [[image:PPWall3HedgeDestruction.jpg|512px]] | ||
| + | |||
| + | Alas once one could see the state of the wall close up, the news was less encouraging. Although it was not as obviously distorted as the other side, it was broken through top to bottom in four places: | ||
| + | |||
| + | [[image:PPWall3CrackedAgain.jpg|512px]] | ||
| + | |||
| + | So the choice was now, do I dig down on the inside, extract root, straight and try to patch, or just knock it over, pull out any roots and build it again. In the end I decided that the latter course was probably less work. What is more, I could cheat by taking the wall apart in sections. | ||
| + | |||
| + | [[image:PPWall3FirstSectionFree.jpg|512px]] | ||
| + | |||
| + | Then stack them up ready for re-use: | ||
| + | |||
| + | [[image:PpWall3SectionRemoval2.jpg|512px]] | ||
| + | |||
| + | I think after about section three, I worked out it was taking rather a long time to neatly cut free "toothed out" sections. So for the last bit, I employed the "push it over and be done with it" technique: | ||
| + | |||
| + | [[image:PpWall3SectionRemovalFedUp.jpg|512px]] | ||
| + | |||
| + | |||
| + | |||
| + | |||
[[image:PPSetingFencePostDistances.jpg|512px]] | [[image:PPSetingFencePostDistances.jpg|512px]] | ||
[[image:PPPostCretePoured.jpg|512px]] | [[image:PPPostCretePoured.jpg|512px]] | ||
| − | |||
| − | |||
[[image:PPFixingFencePostBases2.jpg|512px]] | [[image:PPFixingFencePostBases2.jpg|512px]] | ||
| − | + | ||
| − | |||
[[image:PPExplosionAtTriffidPlantation.jpg|512px]] | [[image:PPExplosionAtTriffidPlantation.jpg|512px]] | ||
| − | |||
[[image:PpWall3SectionRemoval1.jpg|512px]] | [[image:PpWall3SectionRemoval1.jpg|512px]] | ||
| − | + | ||
[[image:PPWall3PatioBreakout.jpg|512px]] | [[image:PPWall3PatioBreakout.jpg|512px]] | ||
[[image:PPWall3RootOut.jpg|512px]] | [[image:PPWall3RootOut.jpg|512px]] | ||
[[image:PPWall3SecondRoot.jpg|512px]] | [[image:PPWall3SecondRoot.jpg|512px]] | ||
[[image:PPWallThreeCrack2.jpg|512px]] | [[image:PPWallThreeCrack2.jpg|512px]] | ||
| − | + | ||
[[image:PPWall3SaveEndSection.jpg|512px]] | [[image:PPWall3SaveEndSection.jpg|512px]] | ||
[[image:PPWall3StartRebuild.jpg|512px]] | [[image:PPWall3StartRebuild.jpg|512px]] | ||
| Line 255: | Line 293: | ||
[[image:PPWallBracingRebar.jpg|512px]] | [[image:PPWallBracingRebar.jpg|512px]] | ||
| + | [[image:PPArchInPlace2.jpg|512px]] | ||
| − | |||
[[image:PPFallenWall.jpg|512px]] | [[image:PPFallenWall.jpg|512px]] | ||
| Line 262: | Line 300: | ||
[[image:PPMixingBarrowWithDrill.jpg|512px]] | [[image:PPMixingBarrowWithDrill.jpg|512px]] | ||
| − | + | ||
[[image:PPSecondWallDisjoint.jpg|512px]] | [[image:PPSecondWallDisjoint.jpg|512px]] | ||
[[image:PpWallThreeToothedInJoin.jpg|512px]] | [[image:PpWallThreeToothedInJoin.jpg|512px]] | ||
| Line 273: | Line 311: | ||
[[image:PPWall3GreatSlabsOfPatio.jpg|512px]] | [[image:PPWall3GreatSlabsOfPatio.jpg|512px]] | ||
[[image:PPwall3Bacfill2.jpg|512px]] | [[image:PPwall3Bacfill2.jpg|512px]] | ||
| − | + | ||
[[image:PPFixingFencePostBases1.jpg|512px]] | [[image:PPFixingFencePostBases1.jpg|512px]] | ||
Revision as of 22:03, 10 September 2020
A long rambling saga that started with a gust of wind...
Introduction
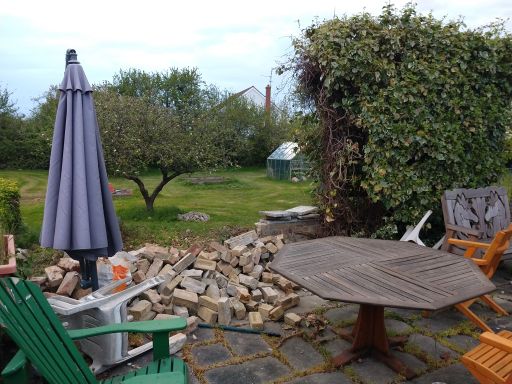
Our patio is a fairly substantial affair, that was created by the previous owners of the house to address a number of issues. One to cope with the reasonably high drop from the house floor level to the outside ground level, and possibly also as a place to "hide" a large quantity of spoil dug out in the creation of a large pond! (this last bit is conjecture - maybe they really wanted over 70 sq m of patio space).
So to the gust of wind; early in 2020 there were a couple of hurricane force winds. Once coming from an unusual direction for these parts, and as a casualty it claimed a tall hedge. Now when I say tall, it was over 3m at this point. Construction was a fairly elaborate wooden trellis system supported on 4 fence posts, and then a mass of ivy an other evergreen shrubbery. So in the wind, a post snapped, and another fell over. The problem here being that these posts were set into the edge of the patio on the inside of a dwarf wall. So when the hedge fell over, so did the wall. So here is where the tale begins.
Fallen over
At the time it was cold and wet, and beyond observing a large section of missing hedge, and wall to boot, that was about the end of the investigation. Warmer weather was awaited.
So after a couple of months it warmed up enough to get stuck in. The hedge cleared and dumped on the bonfire, we were left with a now horizontal wall in a few large sections. Setting about that with a chisel in a SDS Max drill turned that into a pile of bricks. To have any chance of re-using the bricks they all needed cleaning up and separating from the mortar still attached to most of them. So the Masonry cutting sawbench was concocted, and that made a fairly quick job of that.
Plan of action
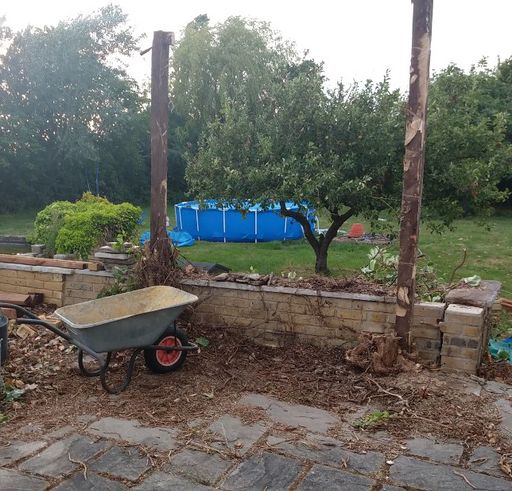
The obvious bit was to rebuild the wall, however there were other changes that were due. Firstly those hedges to each side of the patio. They were impossible to maintain, and actually somewhat too enclosing blocking all views to the sides.
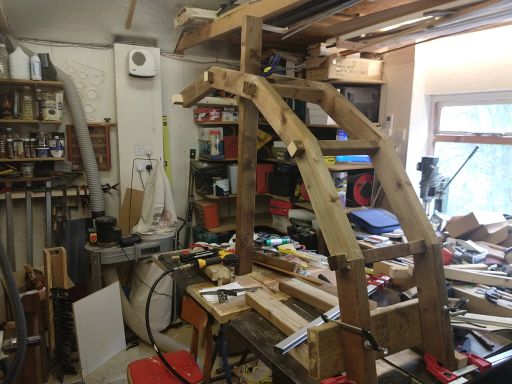
The construction of the trellis was such that it made it near enough impossible to trim the top of the hedge from the ground - even with a long reach hedge trimmer, there were cunningly placed horizontal beams at the top that made it difficult to get in and actually cut anything:
Previously a scaffold tower was used to get up level with the top, then long reach tools to reach into the 5 to 6' depth of hedge to trim it. Needless to say it did not get done often enough. Also there was the worry that the root system of the hedge was causing damage to things around it.
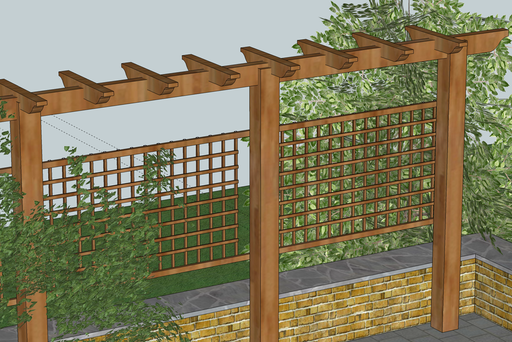
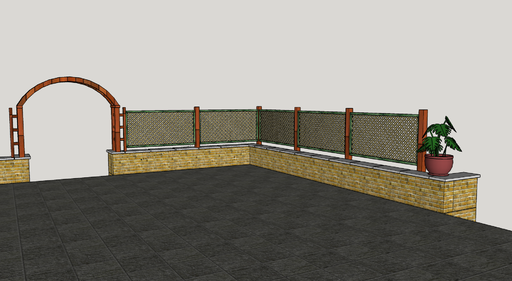
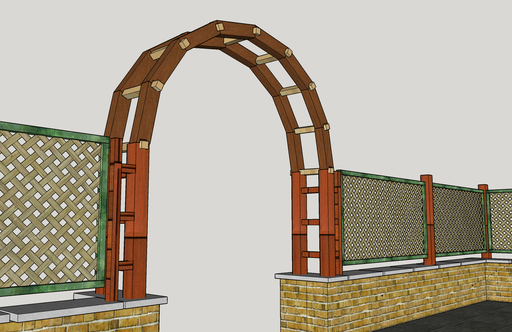
So we decided we needed to not only fix the broken bit, but do away with the tall hedges and replace them with something more attractive and manageable. That led to the inevitable sketch up model:
Fix the wall, repair any other bits that looked dodgy, and take the hedge and trellis out of the patio altogether. Stick a new hedge outside the perimeter, fixed into the ground, and create some purpose made raised beds well away from the house to accommodate something pretty and climbing. Simple enough...
Odd Construction
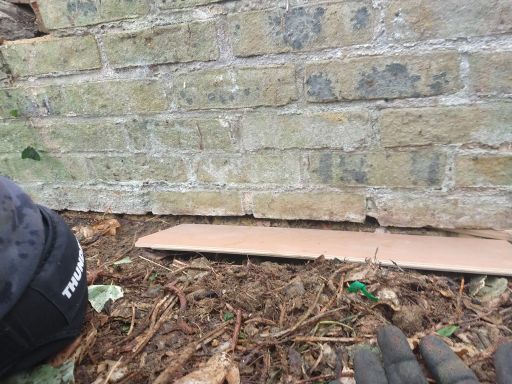
Closer inspection of the wall, revealed a slight oddity to its construction - it only had one leg! It seems that a "half brick" thick retaining wall had been built up to the floor level of the patio. Then this was probably back filled and capped in concrete, and the final perimeter wall (now a full brick thickness) built on top of that. Creating what looks like a fairly substantial solid wall from the top, but with only one leaf at the bottom. As the patio had subsided and sunk a little over the years, the inner course of bricks were in some places now held up by thin air.
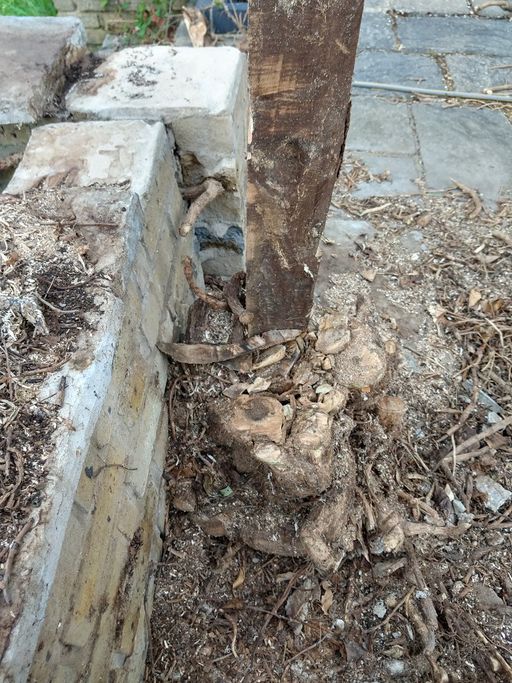
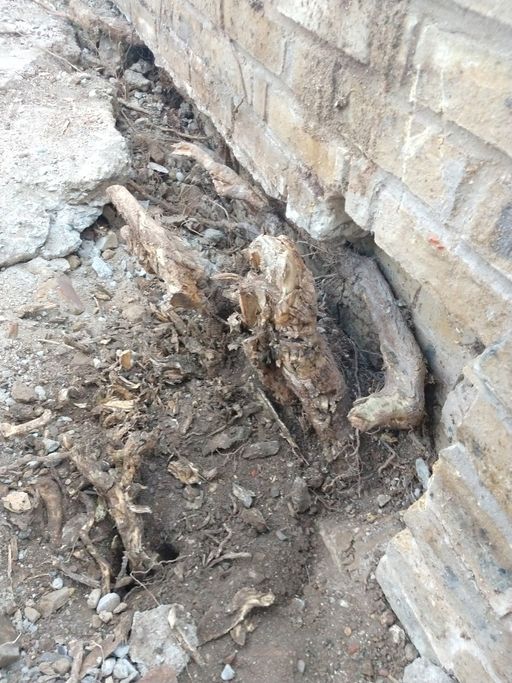
It was also noticeable just how much root there was stuck into the fabric of it all. Pat of the difficulty is the original builder had only allowed a small 9" cross section pit at three points as beds to grow the hedge in. Needless to say as that grew so had its roots, and when push came to shove, they ere not going to stop in their allocated space. The easiest thing to push out the way at that point being the wall.
Not looking too bad
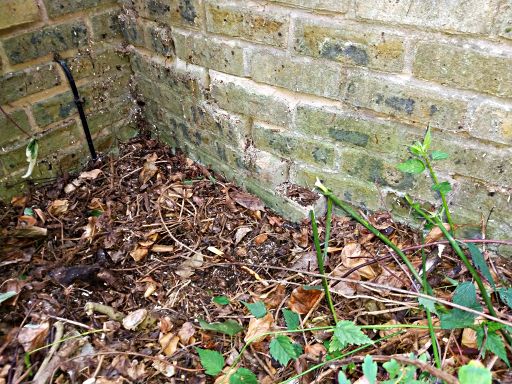
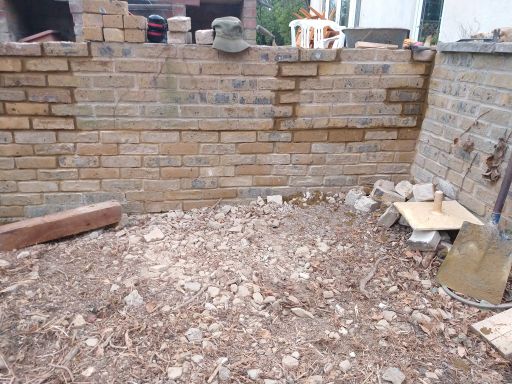
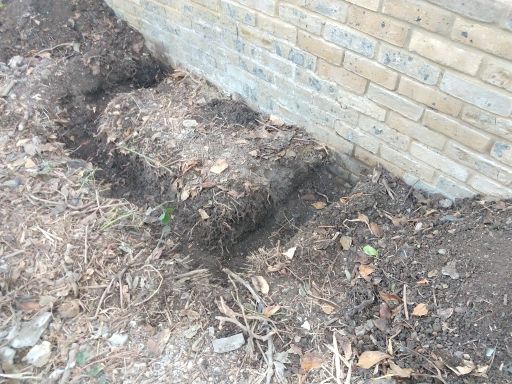
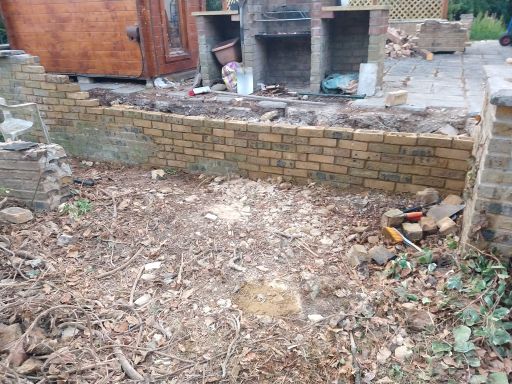
Having got the old wall cleared, and the foundation exposed, we could see that the remaining section of wall, had a slight lean, but not too much. It might even be possible to straighten a bit.
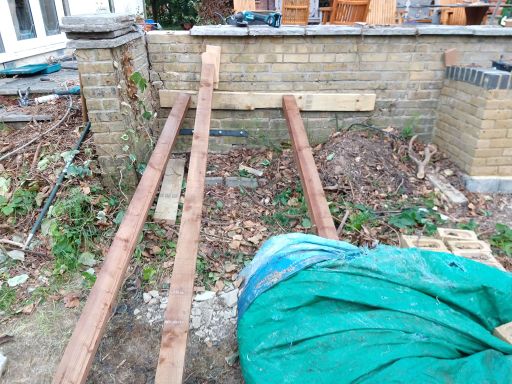
So next job was shifting all the root, and digging out the bases of the fence posts.
Rebuilding the wall
So June is upon us, the evenings are long, and so I can spend two to three hours a night on this after work (even if it does mean getting too well acquainted with the local mosquitoes!)
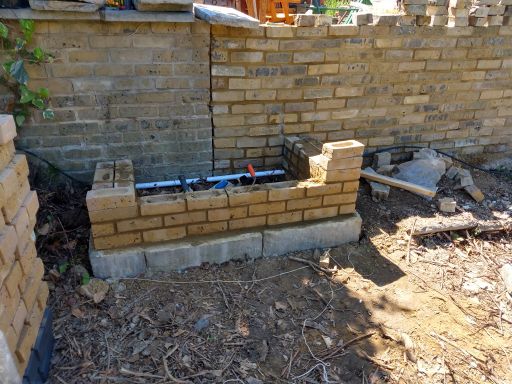
First bit to fix was the corner - that had lots of broken half bricks still stuck in it, and a few cracked whole ones.
Editors note: from here on there will be lots of talk of brickwork. This would be a good time highlight that I am a novice bricklayer, so please don't
take anything here as instruction of suggestion of best practice! If anything just take away the knowledge that having almost no bricklaying experience,
you can still get usable results, and by the end if it you may not be so bad any more! (also remember this is rustic garden brickwork, not a house)
So using a brick removing chisel in the SDS drill, I took out all of those. And started getting the corners in, trying to stay square and plumb:
Next the lower bit of the wall:
Then finally
(at this point I was realising that the original brickwork seemed to change bed thickness seemingly at random. That made matching it actually quite difficult! However it was up to height. When looked at from the end, you could see the lean it the bit or original wall still standing, but nothing a raised flower bed would not hide.
Raised flower bed
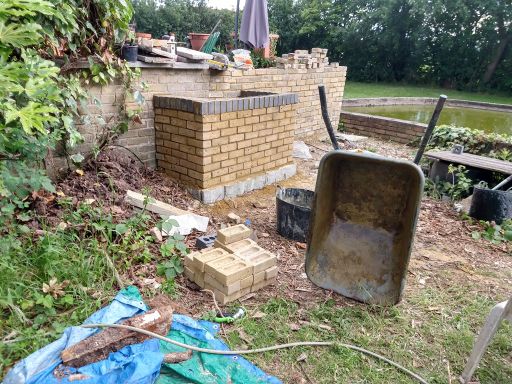
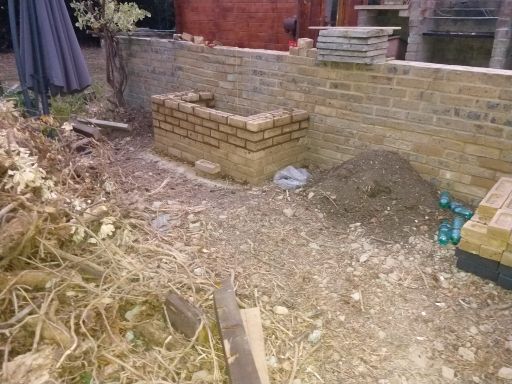
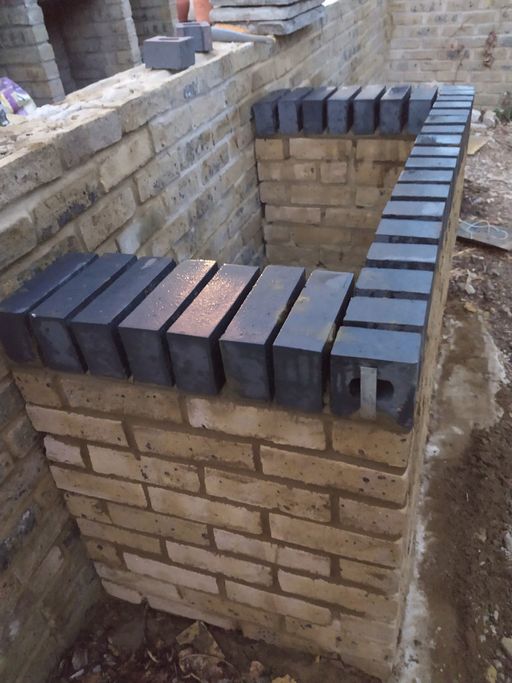
Started by digging an 18" deep foundation (that's well into the Essex clay in these parts), and the used some spare capping stones to shutter up the top. Three or four barrows of concrete later:
Then start building up the bed
Before finishing and doing a (slightly wonky!) soldier course of blue engineering bricks on top:
Backfilling
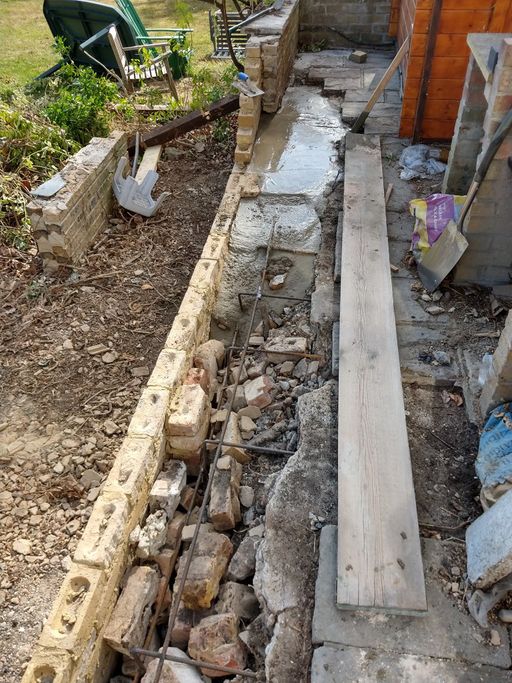
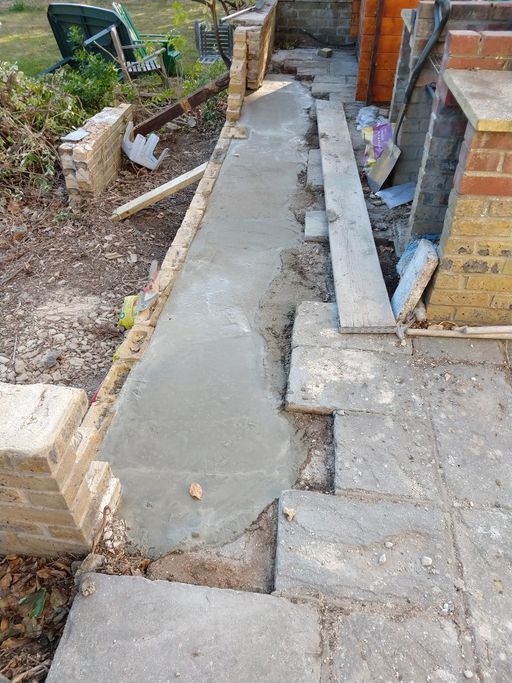
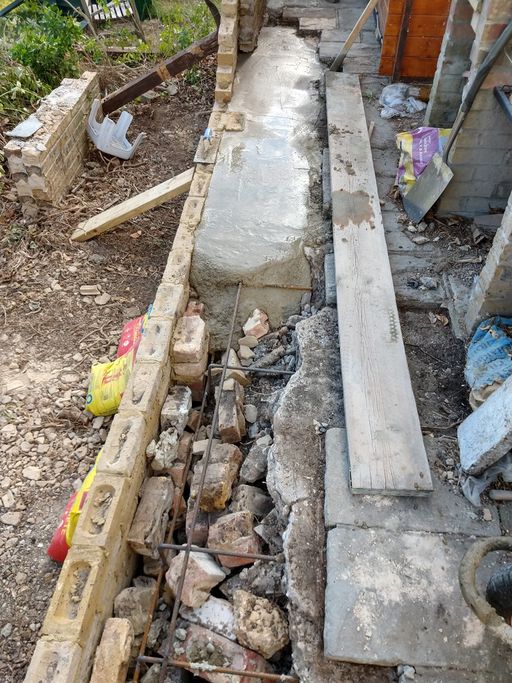
Now that the new wall has had a chance to set up a bit, and it has a buttress, we can back fill the space behind it with concrete to replace all the soil and other bits of assorted masonry that fell out of the edge.
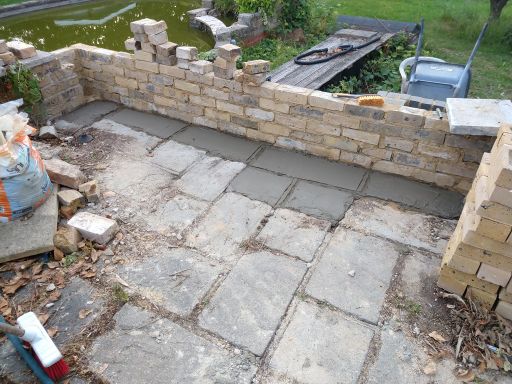
Since we were not going to have enough slabs to completely redo the top (many of the originals were cut out to make space for the beds and the fence posts), I patterned some joint lines into the top of the drying concrete.
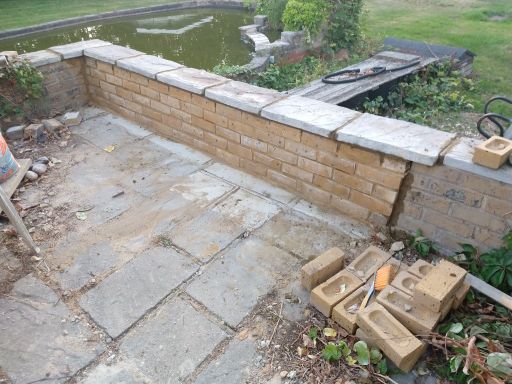
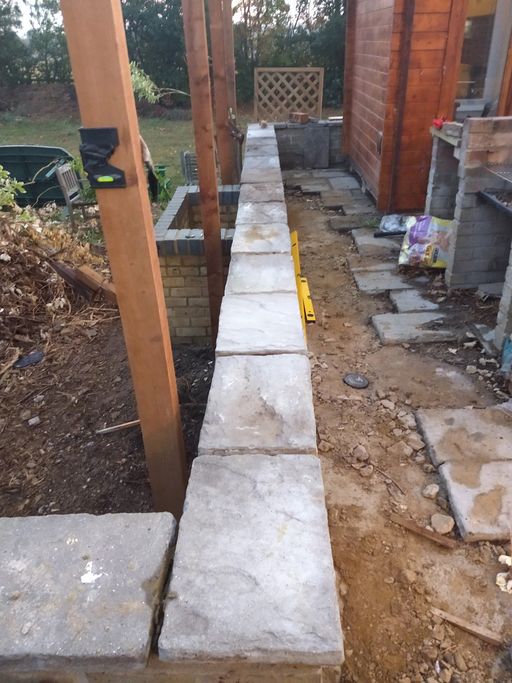
Once that had gone off, I could now rebuild the inner leaf of the wall that sat on the patio, and replace the capping stones on top:
(the capping stones don't line up yet - but we can move the ones on the older bit of wall later)
Take down the hedge
Now it should get easier from here, we just need to take down the remaining bit of hedge...
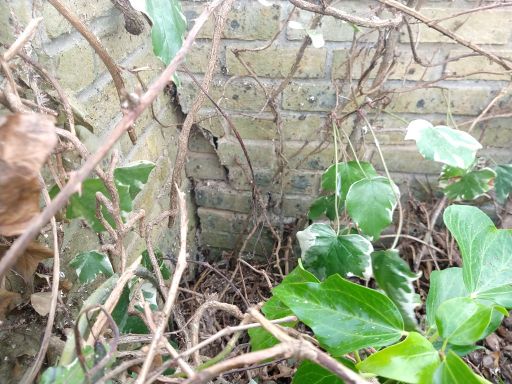
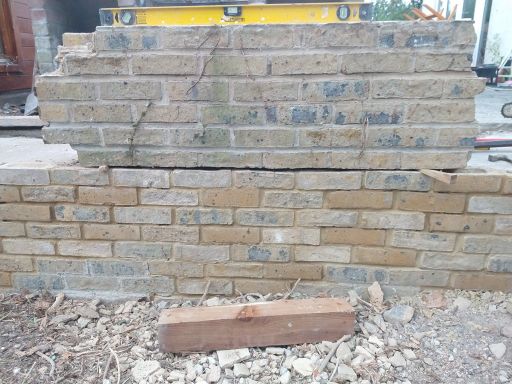
Now this is where the scope of the job starts to creep a bit. The observant will notice a crack at the right hand corner of the wall. Closer inspection is a bit more worrying:
Goodness gracious, great balls of... erm root!
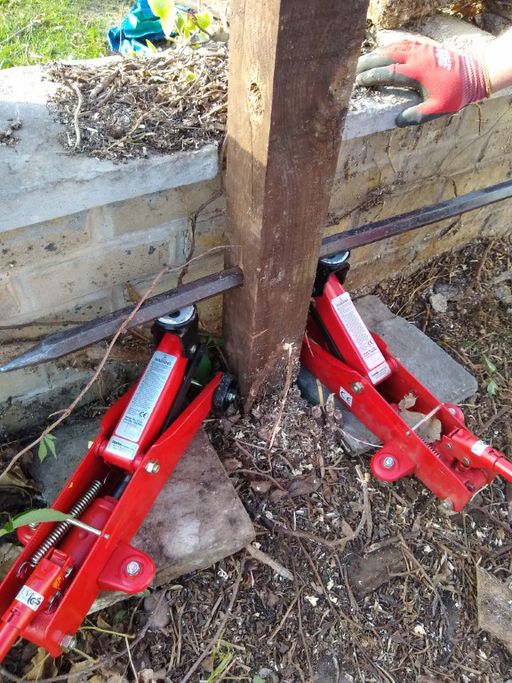
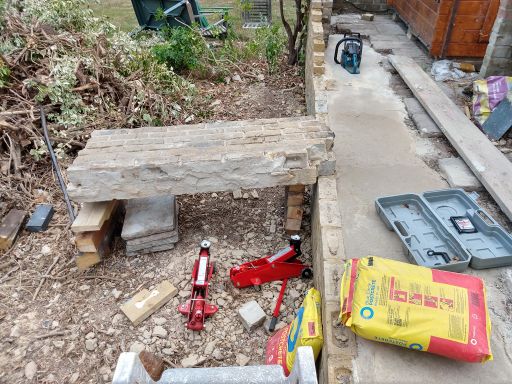
So before going much further, lets get those posts out of the way. I drilled a 32mm hole through with a spade bit, then used a couple of trolly jacks and my large bar to prise them out:
Now back to the damage. It seems that the roots at this end are far more substantial, and have pushed the wall over by a significant amount. Its surprising its still standing (especially with its one legged construction).
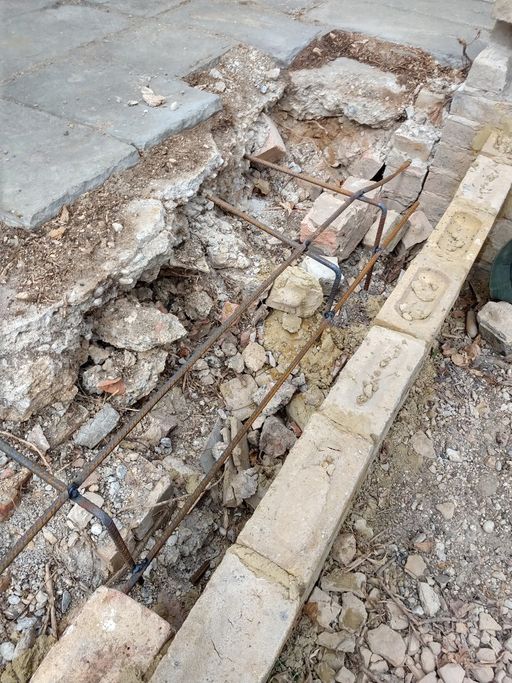
All this had been obscured by hedge previously. Hacking through undergrowth on the outside of the wall also showed significant damage:
Split right down the corner, and
The bottom of the wall was falling apart and also being pushed by something.
Propping it up
At this point it was clear there was not much holding up this end of the wall (the other end was nicely trapped behind the buttress), so I pressed some of the new fence posts into service as wall props:
Straightening the wall
Now it was at least supported enough not to fall over, but there was still the problem of how to straighten it. It was obvious that could not happen with whatever was pushing it out of line still there.
So we now start the excavate the patio stage! Digging down looking for roots.
The deeper we got, the more we found:
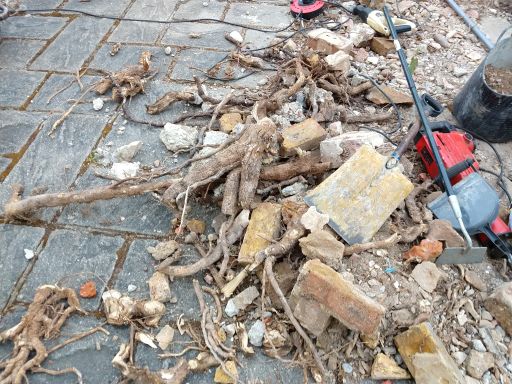
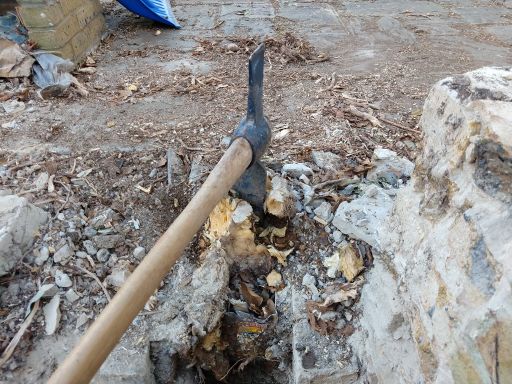
Eventually we were right down to outside ground level. Just to add insult to injury, at some point in the past, someone had placed some very large decorative pebbles around the base of the trees. These has slowly been assimilated into the mass of root. They were now ideally placed to blunt every saw blade or chain that you tried to get through the mass of root! In the end the cheap greenwood reciprocating saw blades were the easiest since it did not matter so much when one of those hit a stone.
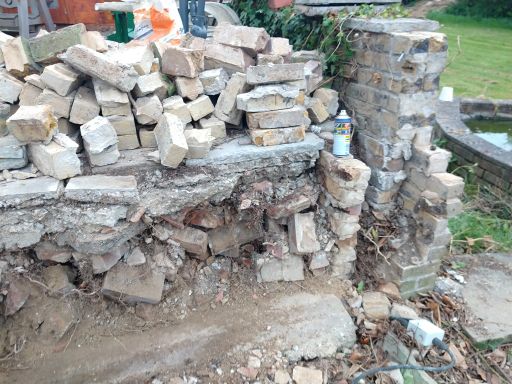
Once all the roots where out, there was now a fighting chance of straightening the wall. The first bit to fix was the "pushed out" section at the base. Easiest way to do that was to prop a length of scrap 6x2" against it with my foot, and clomp it gently with the 14lb sledge hammer until it was all back in line.
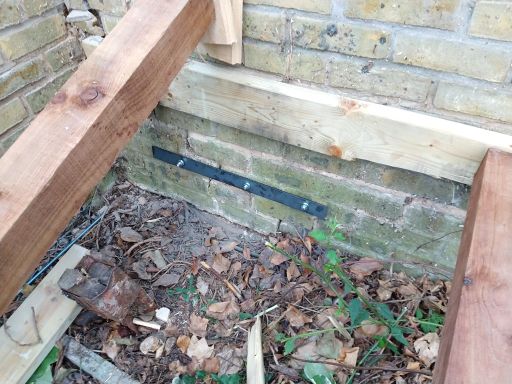
Next job was to give it a bit of bracing. I had some 50mm x 5mm flat bar, so cut and drilled some lengths of that. Sandwiched the wall between them, and drilled and bolted right through with some 12mm studding:
and outside:
Now the wall could be straightened. This was done by progressively tapping down the ends of the props with the sledge. Inch by inch the wall moved more upright. At one point it stopped moving but it was just caught on a bit of masonry against the side wall. A quick tickle with the SDS freed that.
Rejoining the wall
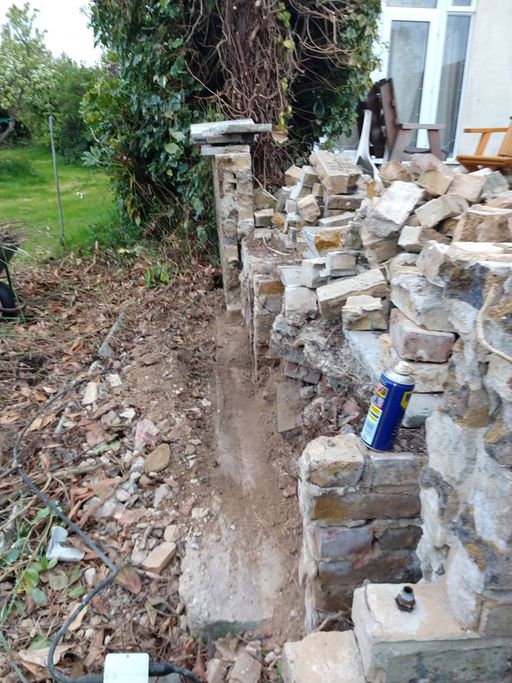
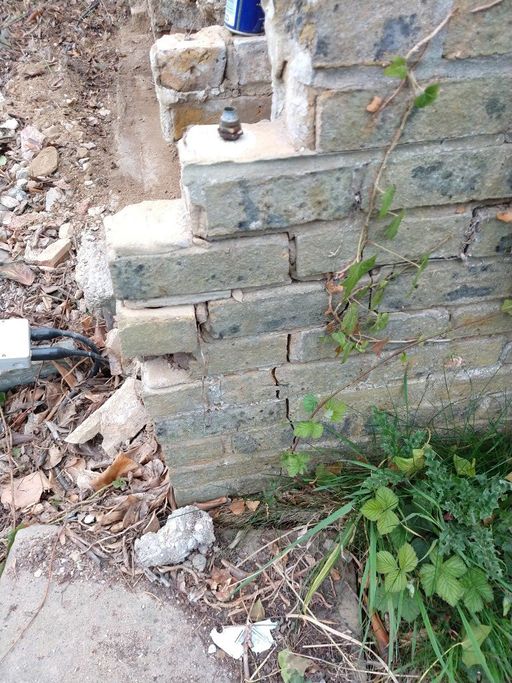
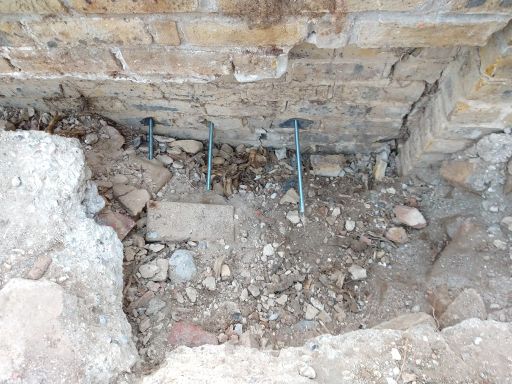
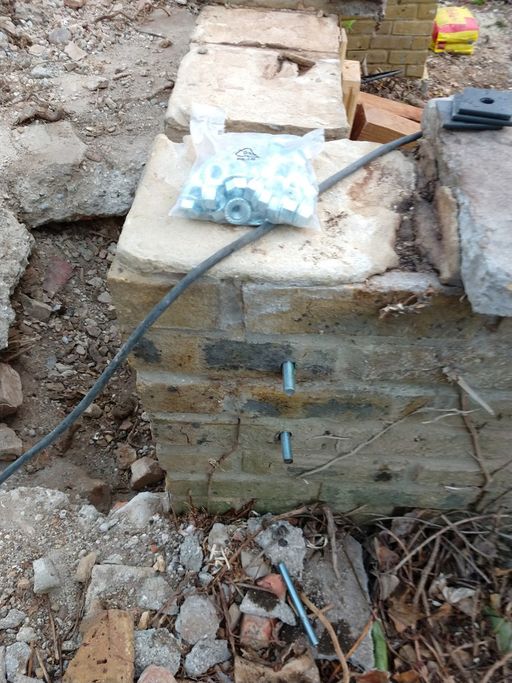
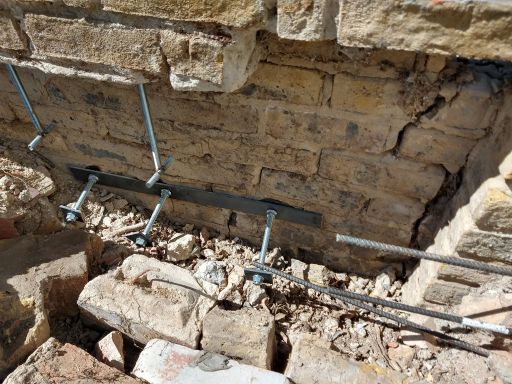
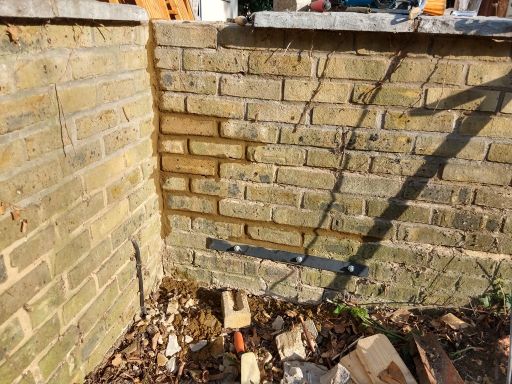
Now the wall was upright, I needed a way of keeping it that way. The first job was to pin it to the returning wall that flanked some steps down from the patio. I drilled through with a long 14mm SDS bit. Then pumped some bonding resin into the holes and tapped some 12mm rod home into the resin. Once this had set (about 15 mins in the summer heat!)
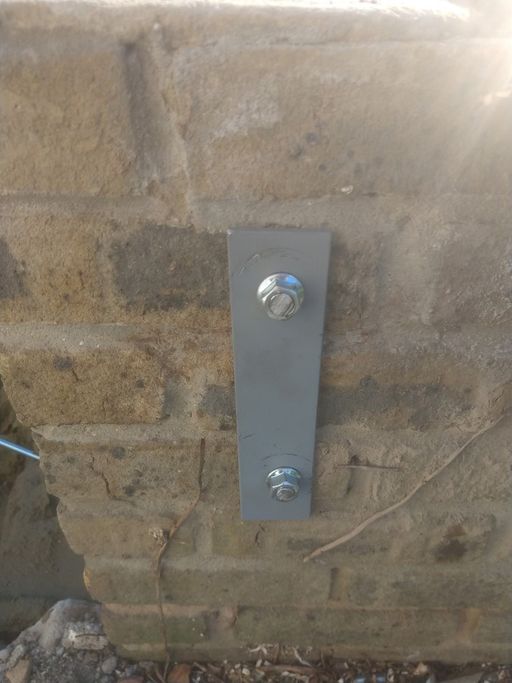
I made up a load spreading plate from some more flat bar, and fixed that on the ends of the studs:
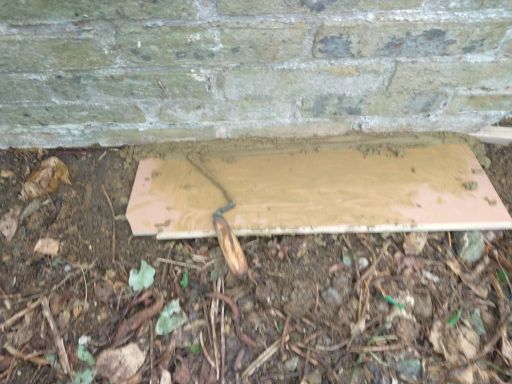
Tightening each nut in turn to slowly pull the bits of wall together. I pumped a bit more resin into the join before bringing it tight.
Doing the same on the outside leaf:
Now that was all pinned back together, I needed a way to consolidate it all. I added to plate washers to the end of the bracing studs, and put some more metalwork around the corner where the two wall met:
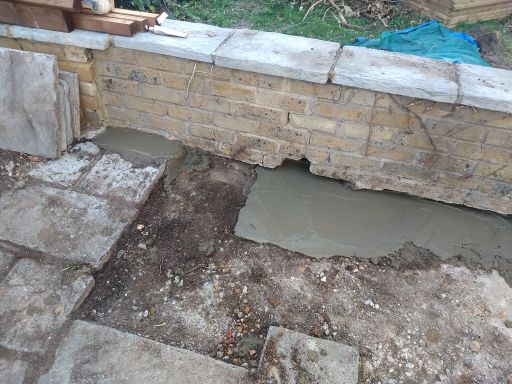
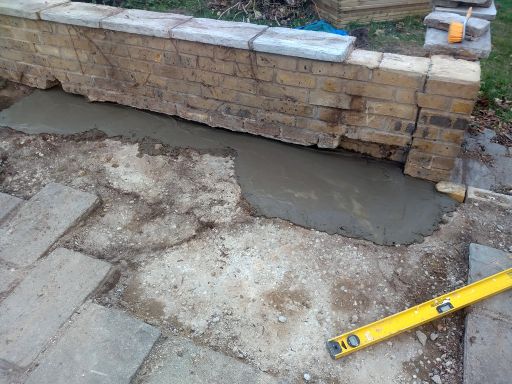
Concrete was to be the final "glue"
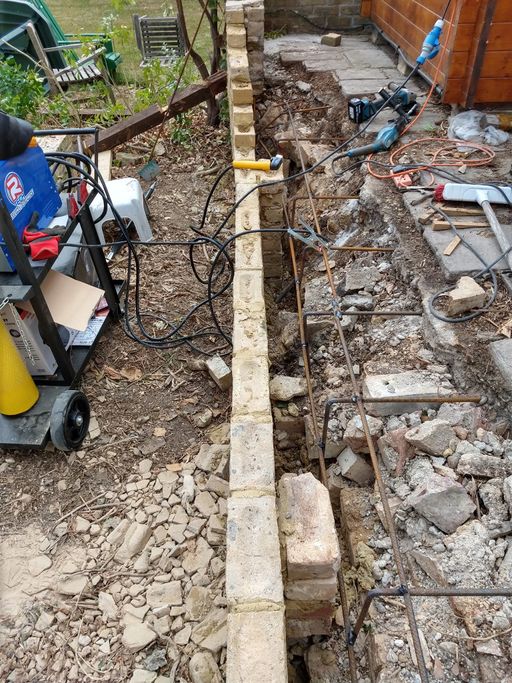
Fixing the bits of wall in place, and locking them to the end wall
And the other end.
Starting some trellis
For change of pace I decided to get some of the new trellis in place.
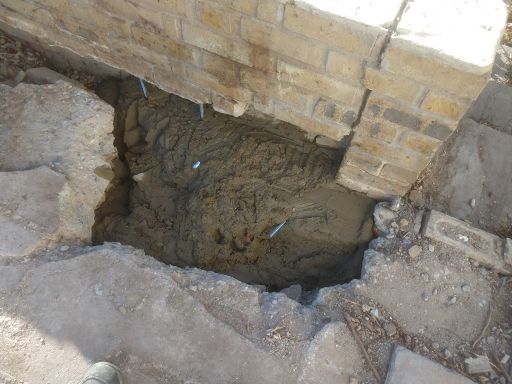
So that meant digging some fence post holes:
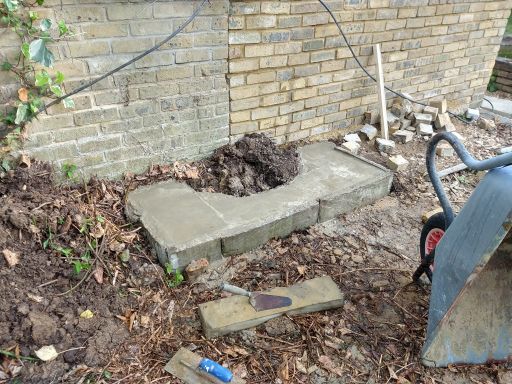
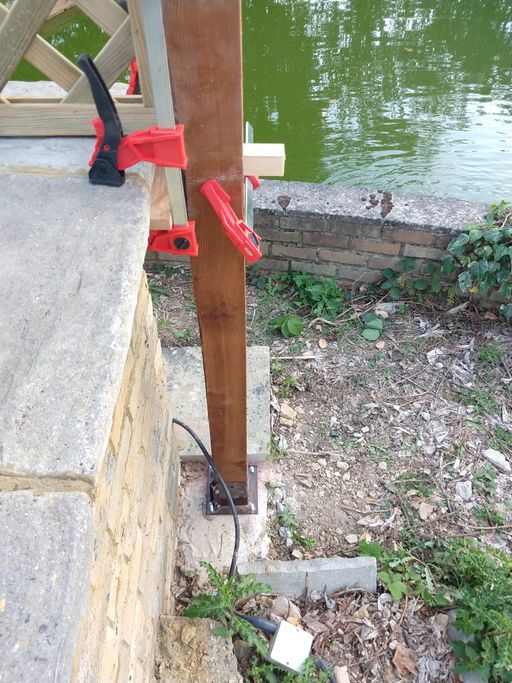
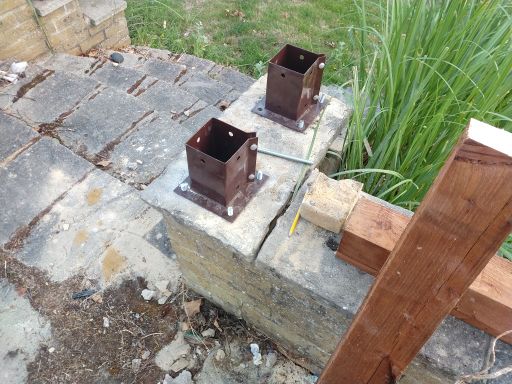
One was over a section of drain, so I had to mount that in a shoe bolted to a concrete paf:
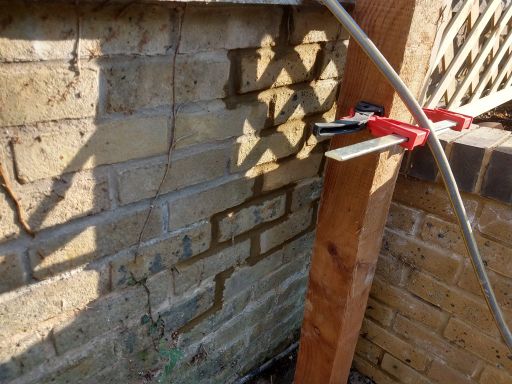
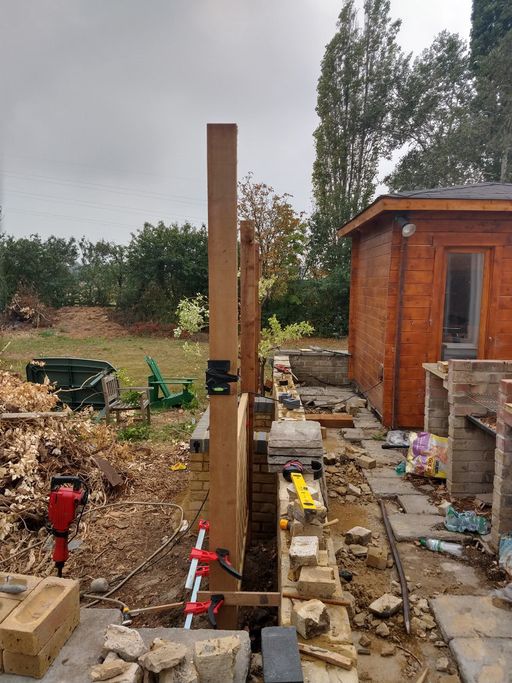
Having the wall close was handy since I could use some clamps and scraps of wood to hold the post plumb when fixing. (the post base being levelled on bonding resin).
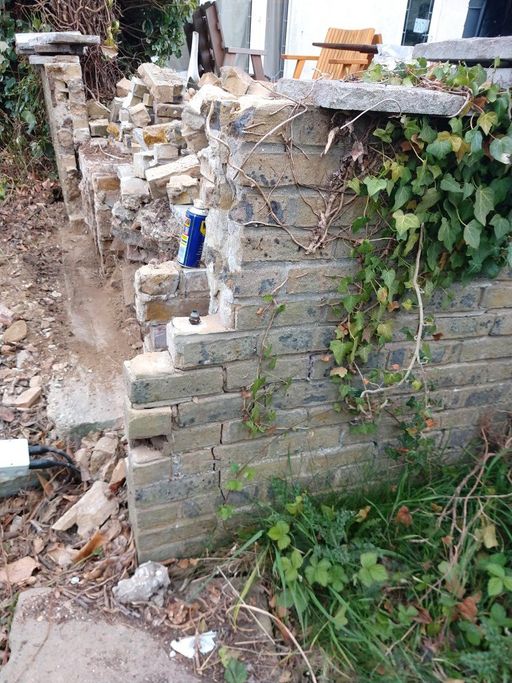
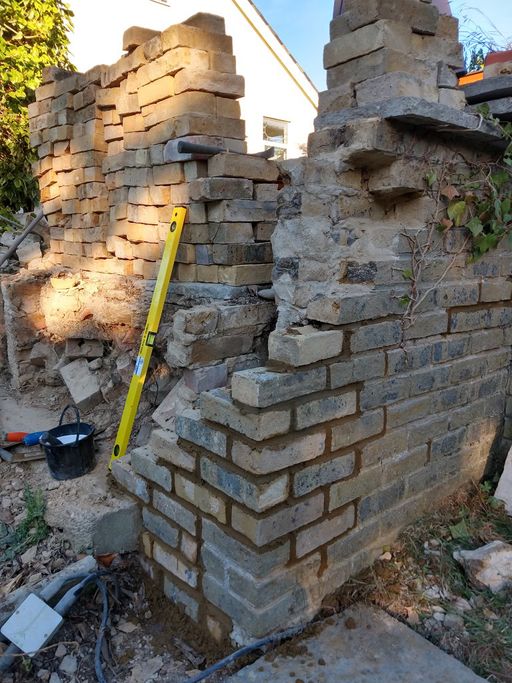
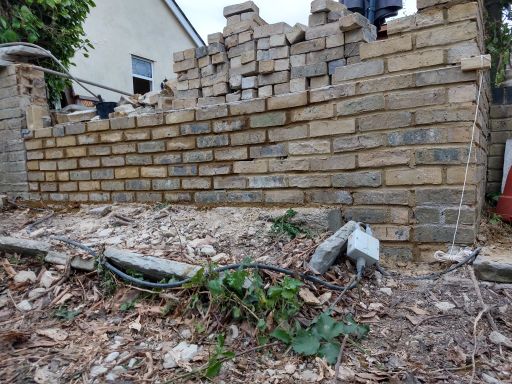
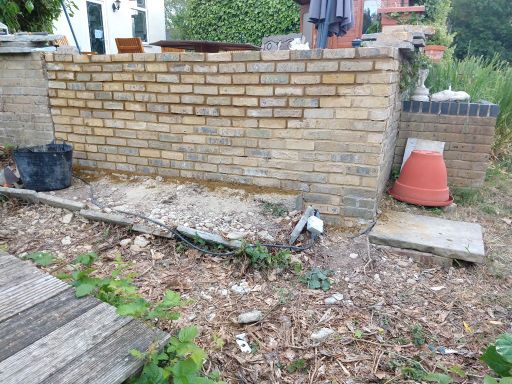
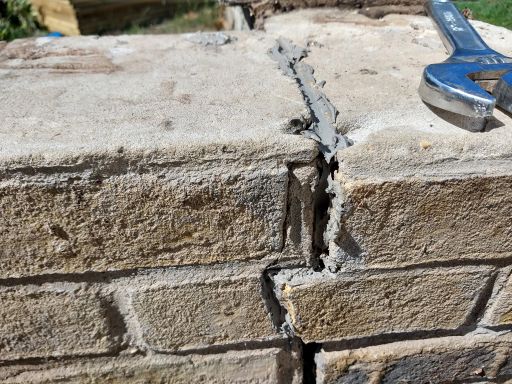
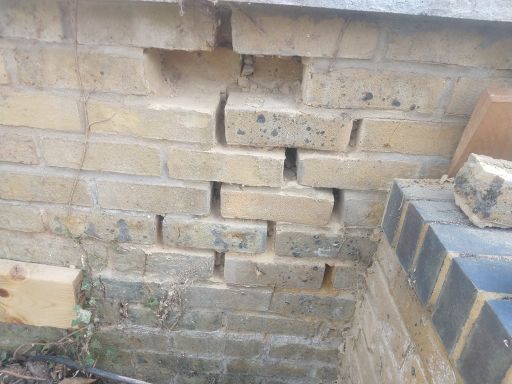
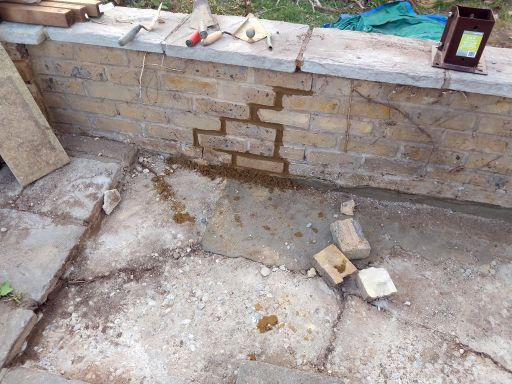
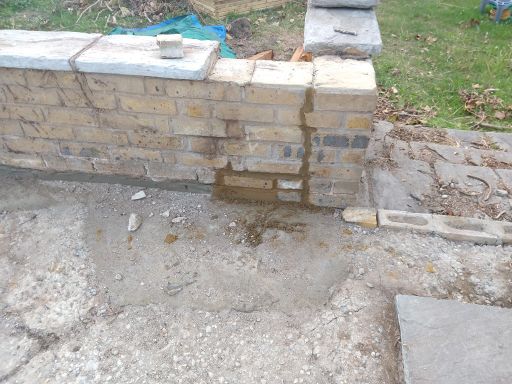
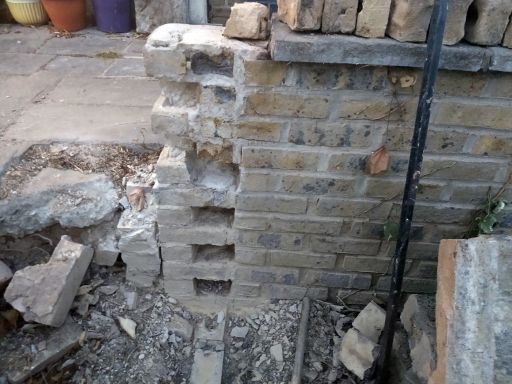
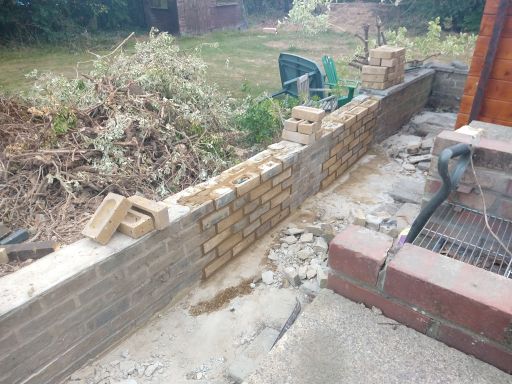
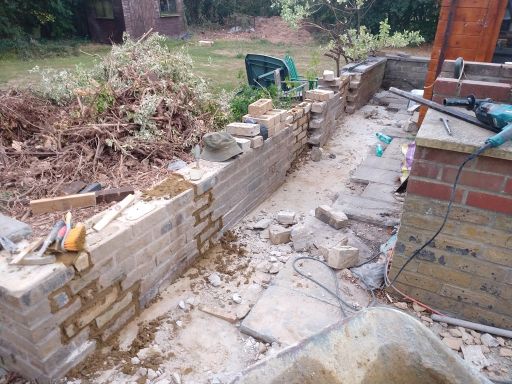
Of course it did not take long to realise that it would be much easier to fix the last cracks in the wall before the fence posts were in place. So some more work with the brick removal chisel:
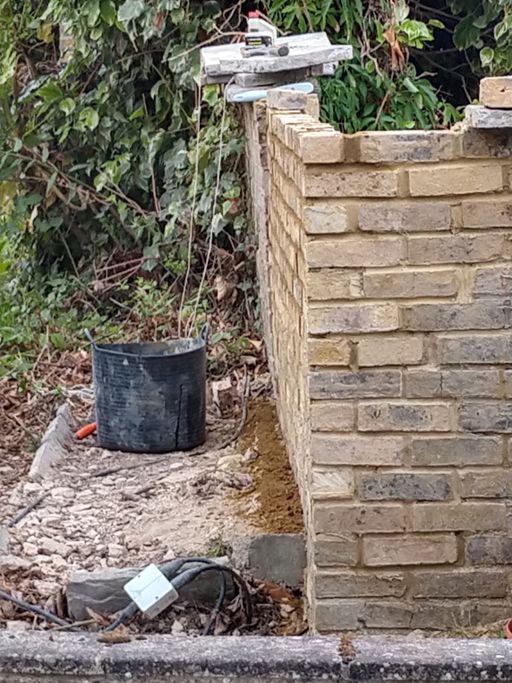
and a bit at the other end:
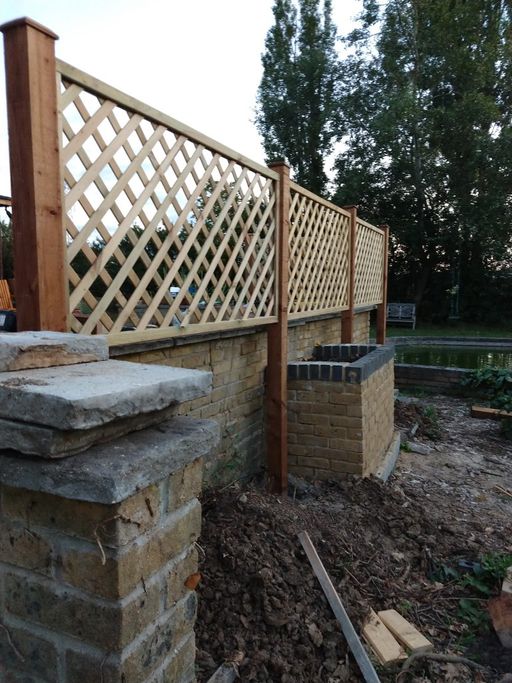
So finally with the post in place:
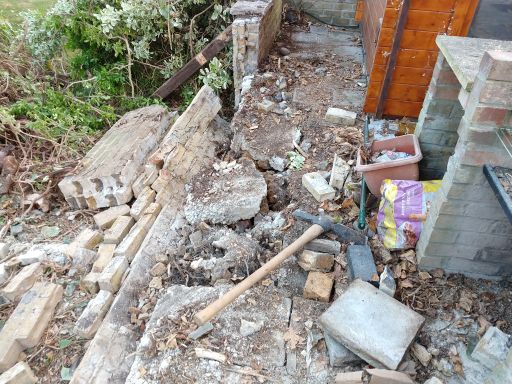
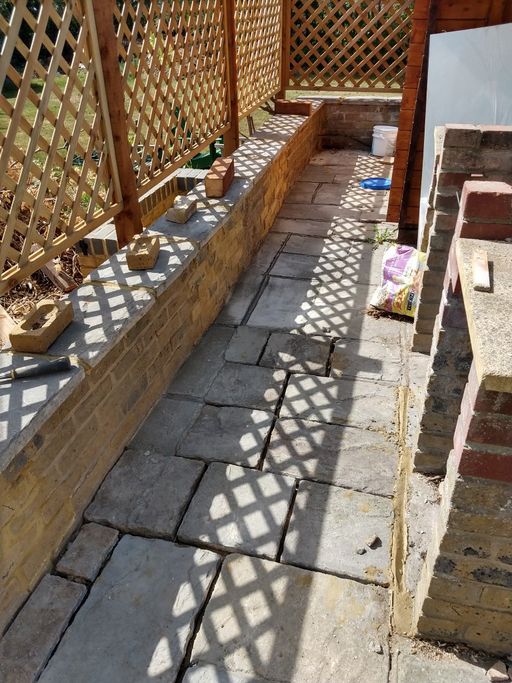
So that is most of that wall done - save for relaying the slabs on the patio, and redoing the capping stones,
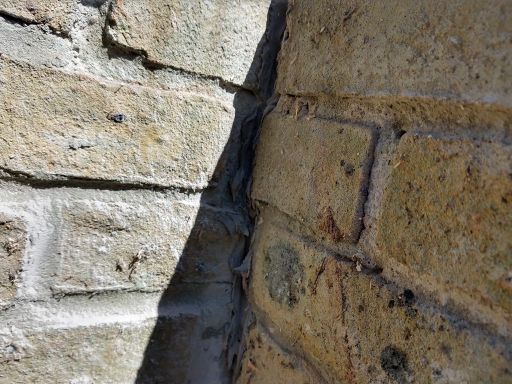
Oh, and a bit of tarting up of the cracks on the inside:
The final wall
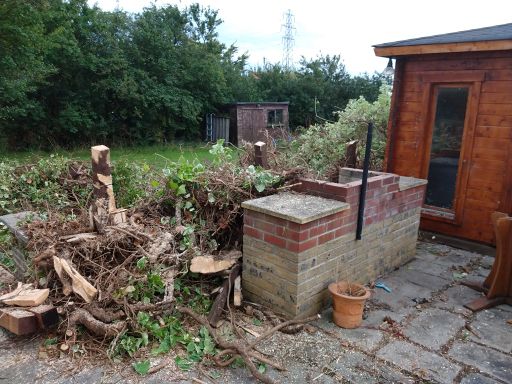
So with that done, I was hoping it was going to be a bit less hassle (spot a theme emerging here yet?). First job was to get choppy with the chainsaw and knock down that hedge:
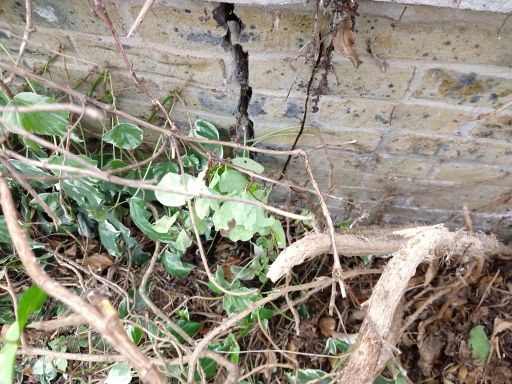
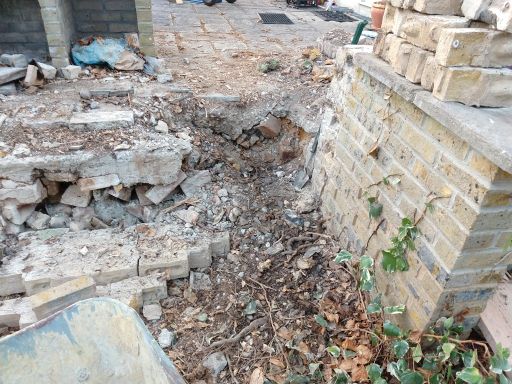
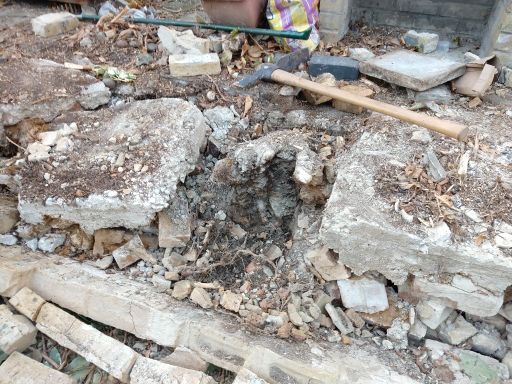
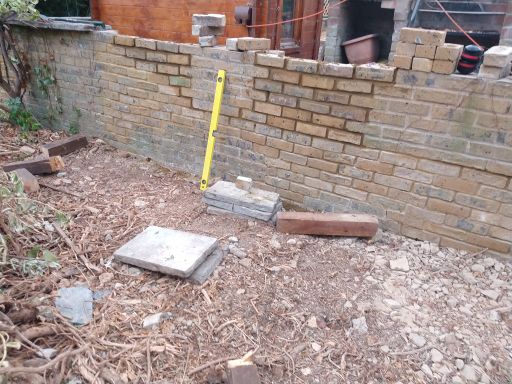
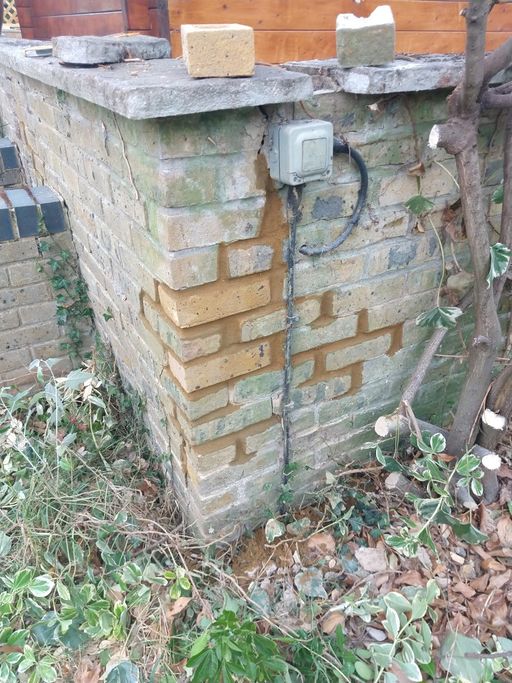
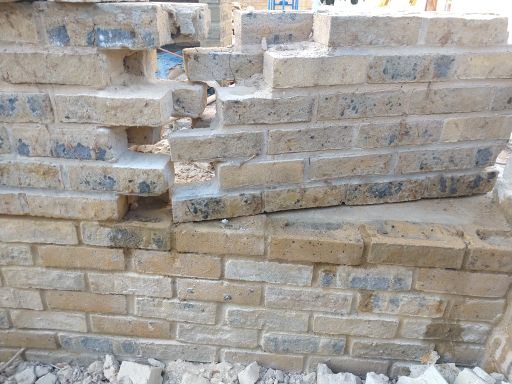
Alas once one could see the state of the wall close up, the news was less encouraging. Although it was not as obviously distorted as the other side, it was broken through top to bottom in four places:
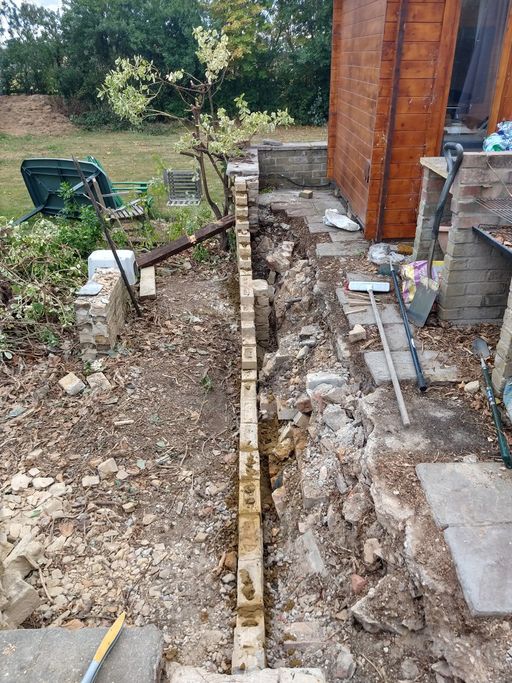
So the choice was now, do I dig down on the inside, extract root, straight and try to patch, or just knock it over, pull out any roots and build it again. In the end I decided that the latter course was probably less work. What is more, I could cheat by taking the wall apart in sections.
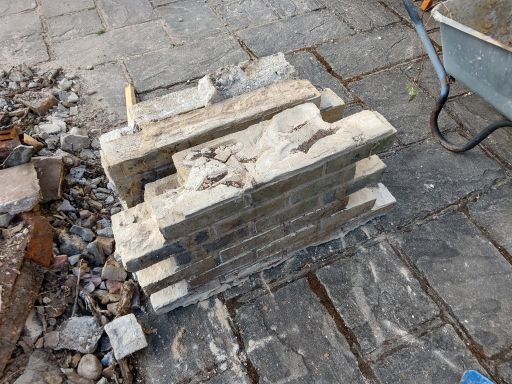
Then stack them up ready for re-use:
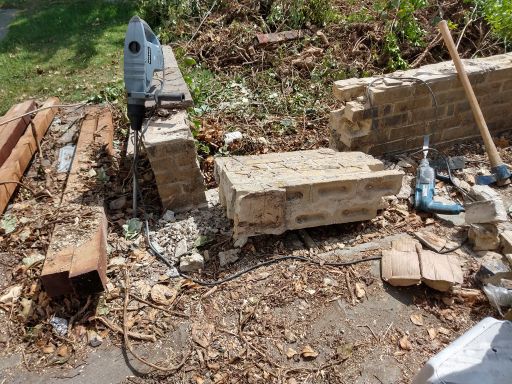
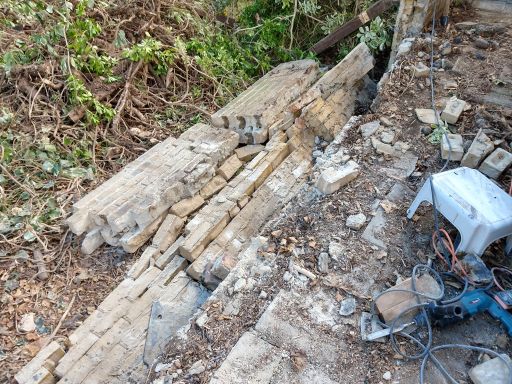
I think after about section three, I worked out it was taking rather a long time to neatly cut free "toothed out" sections. So for the last bit, I employed the "push it over and be done with it" technique:
